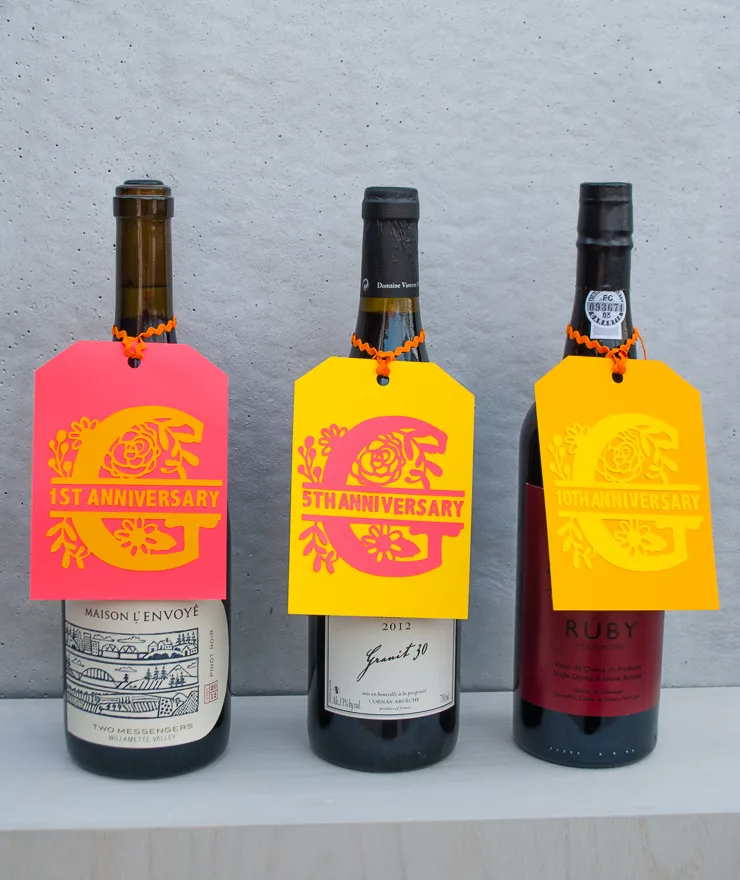
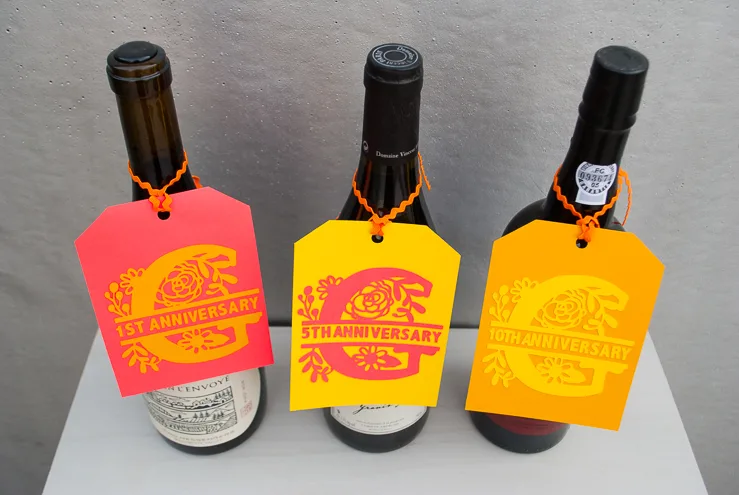
I made these DIY monogrammed wine tags for a wine-themed wedding gift for our downstairs newlywed neighbors. We gave them three bottles of wine: one to open on their 1st wedding anniversary, one to open on their 5th annivesary, and one to cellar until their 10th. And you can download my free wine tag file below to make your own gift.
Normally, I am strictly a registry girl but my neighbors literally had a full registry already, all my fault for waiting too long. I mean, one of the only things left was a turkey flavor injector at Williams-Sonoma. Flavor injector?!? Ack! Time to get creative.
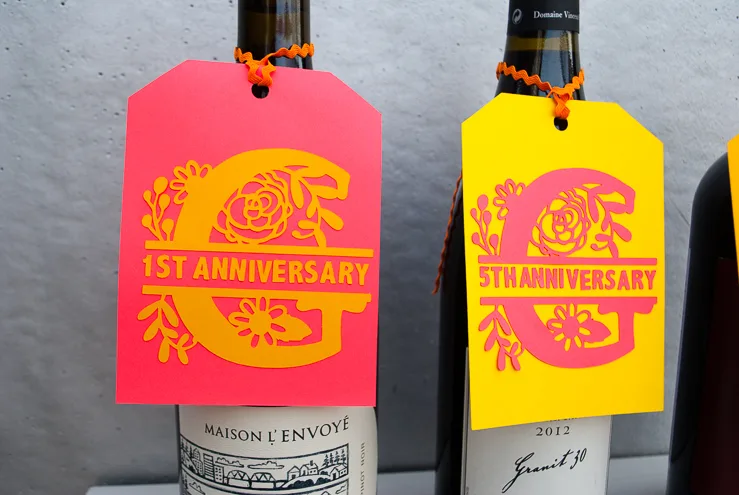
Our awesome local Chicago wine shop helped me pick out three bottles that would age well for their anniversaries: a Maison L’Envoye pinot noir for their 1 year anniversary, this Vincent Paris French wine for their 5th year anniversary, and a ruby port for their 10 year anniversary.
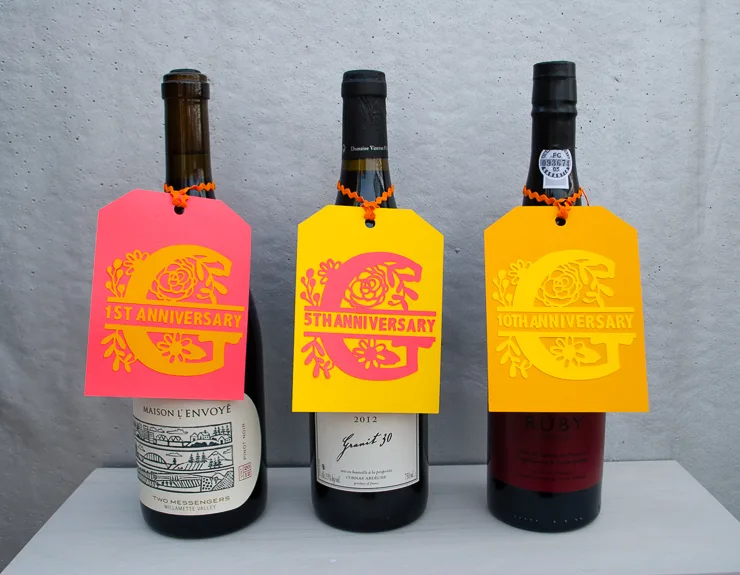
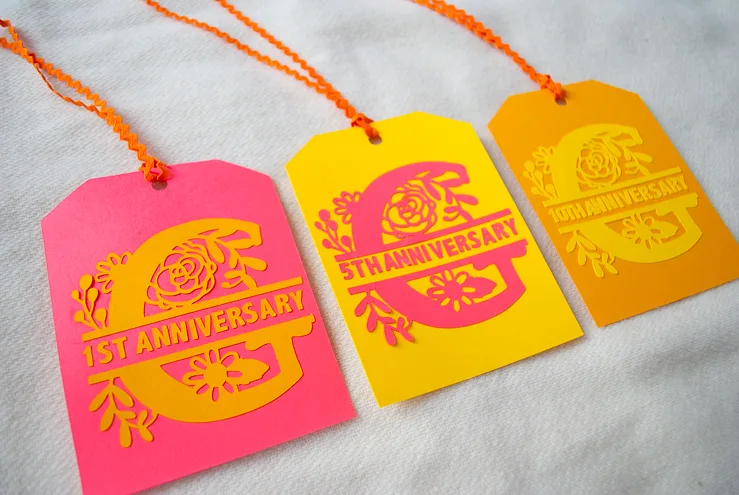
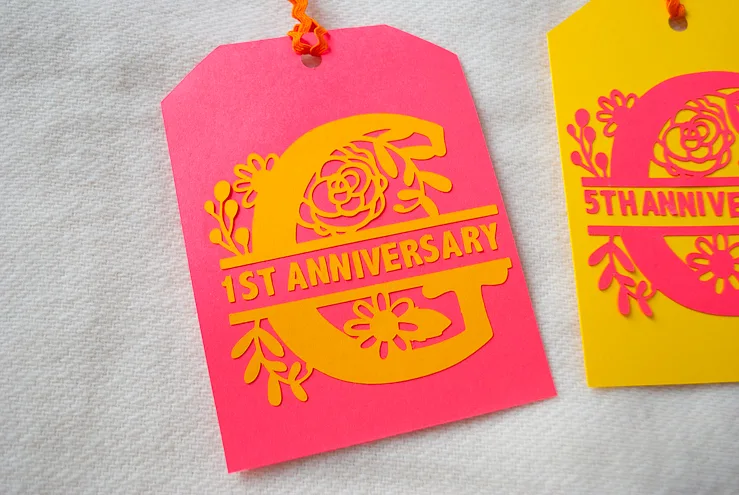
And then I made these monogram “G” wine tags using my Silhouette Portrait. I used my Silhouette Portrait to cut out three tags, cut out this G monogram shape from the Silhouette Design Store and added the anniversaries.
I love this wedding gift idea especially for the couple who has everything. Tell me, would you want a wine wedding gift for future anniversaries? Let me know in the comments below!
Supplies for making a wine tags for a wine wedding gift:
- Kathy’s free tag .studio3 file for the Silhouette Studio (you’ll need to buy the monogram from the Silhouette Design Store
- Colored card stock (I like Astrobrights)
- Silhouette Portrait, Silhouette Spatula, Silhouette Scraper, Silhouette Cutting Mat
- Craft glue (I like Aleen’s)
—
How to make a wine tags for a wine wedding gift:
Here is my start file. You can purchase your chosen monogram from the Silhouette Store and drop it in underneath the tag surrounding the anniversary text (I used Abadi MT Condensed Extra Bold as my font — if you do not have this font, you may need to adjust the size). Pick three coordinating colors of card stock — I like Astrobrights — and watch it cut it all out for you.
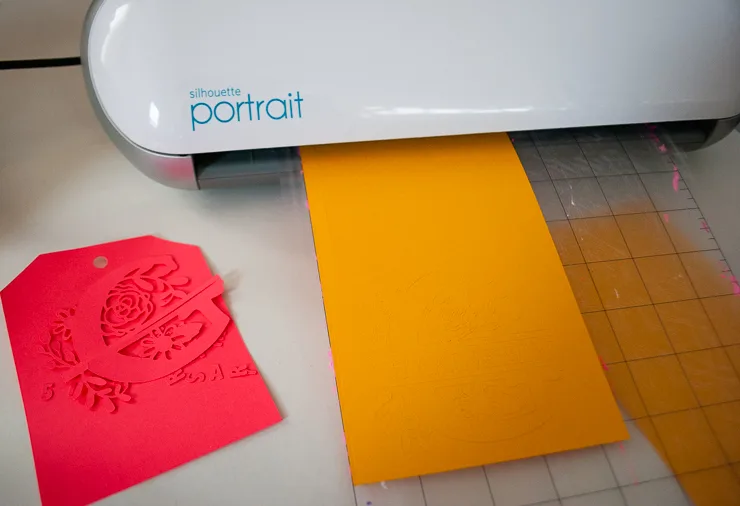
Carefully pull it back, saving all the letters. You’ll probably want a Silhouette Spatula for this step.
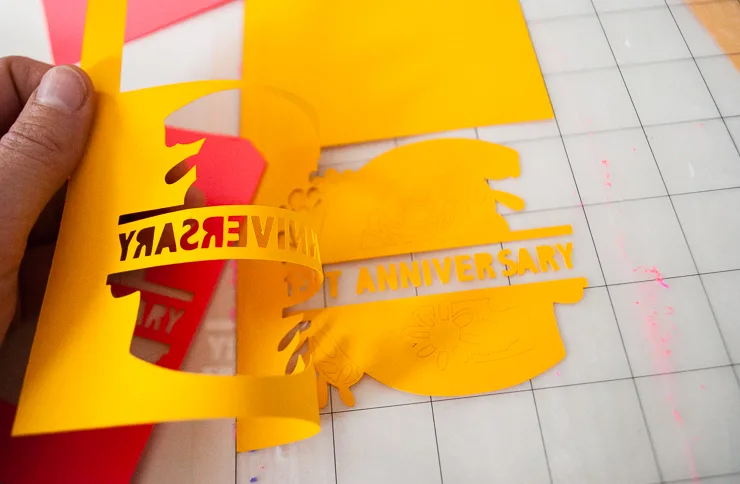
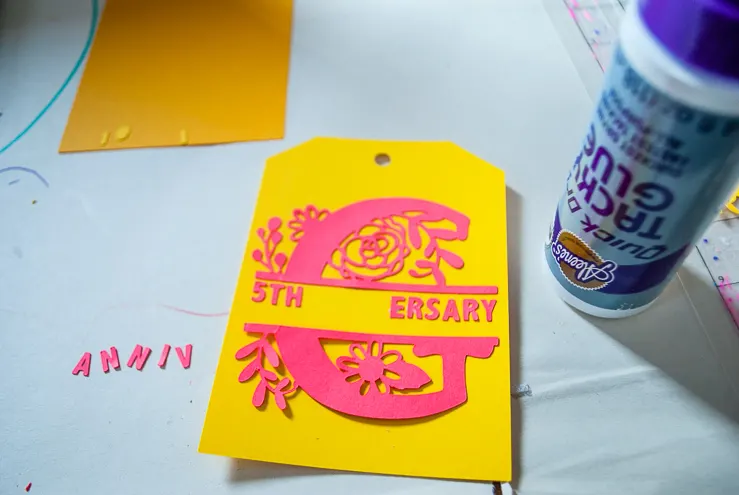
Arrange your pieces like so.
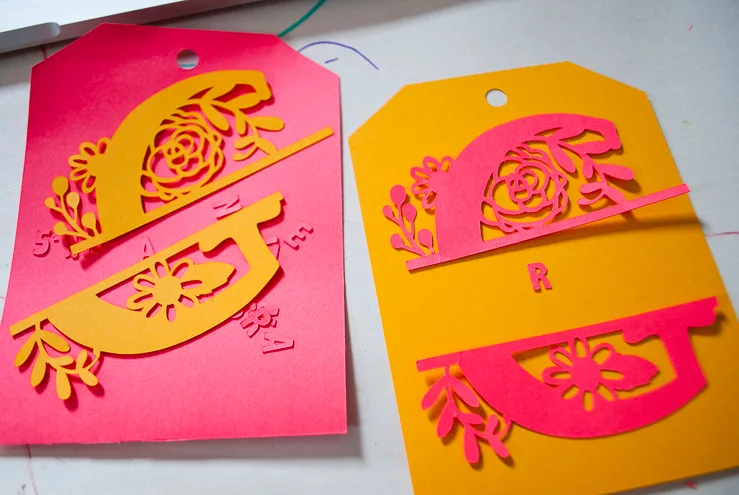
This part is a little tedious – I’m not gonna lie. I swore I’d finish this project in just one nap time so my glue job is a little bit sloppy – you’ll be more precise, I’m sure!
Now just tie them on using ribbon or rick rack and give to the newlyweds.
—
Like it? Share it!
The nicest way to say you like it is to pin it on pinterest, post a comment, follow Merriment Design on Facebook, twitter, pinterest, Google+, instagram or sign up for monthly emails. Enjoy! 🙂
Copyright stuff: You’re more than welcome to use this free project and tutorial for personal use. Contact me for commercial use and etsy sales.
