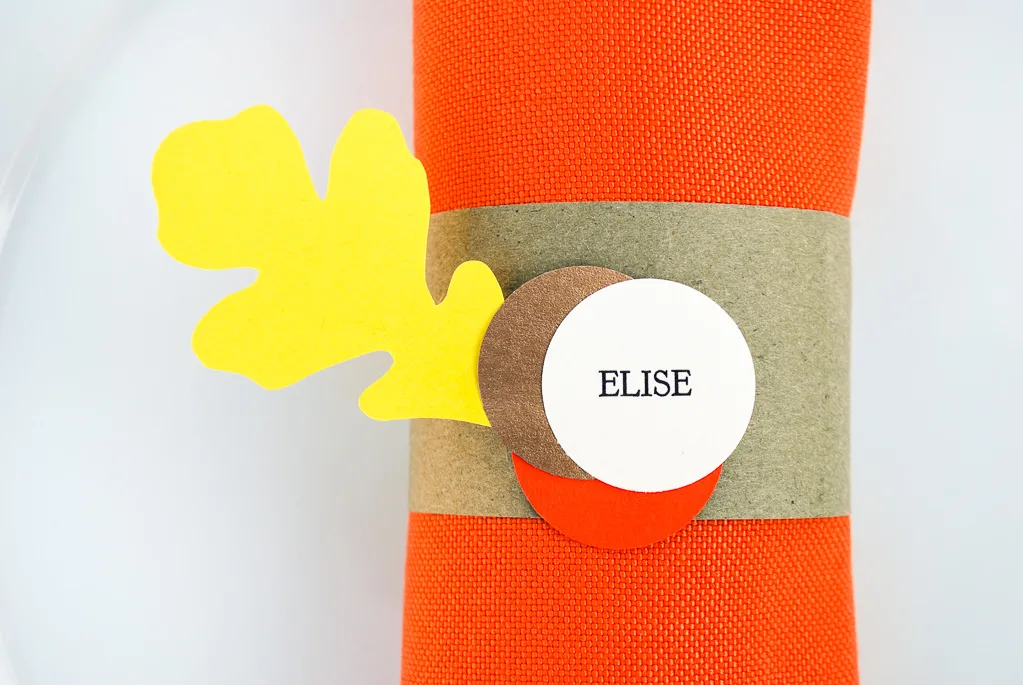
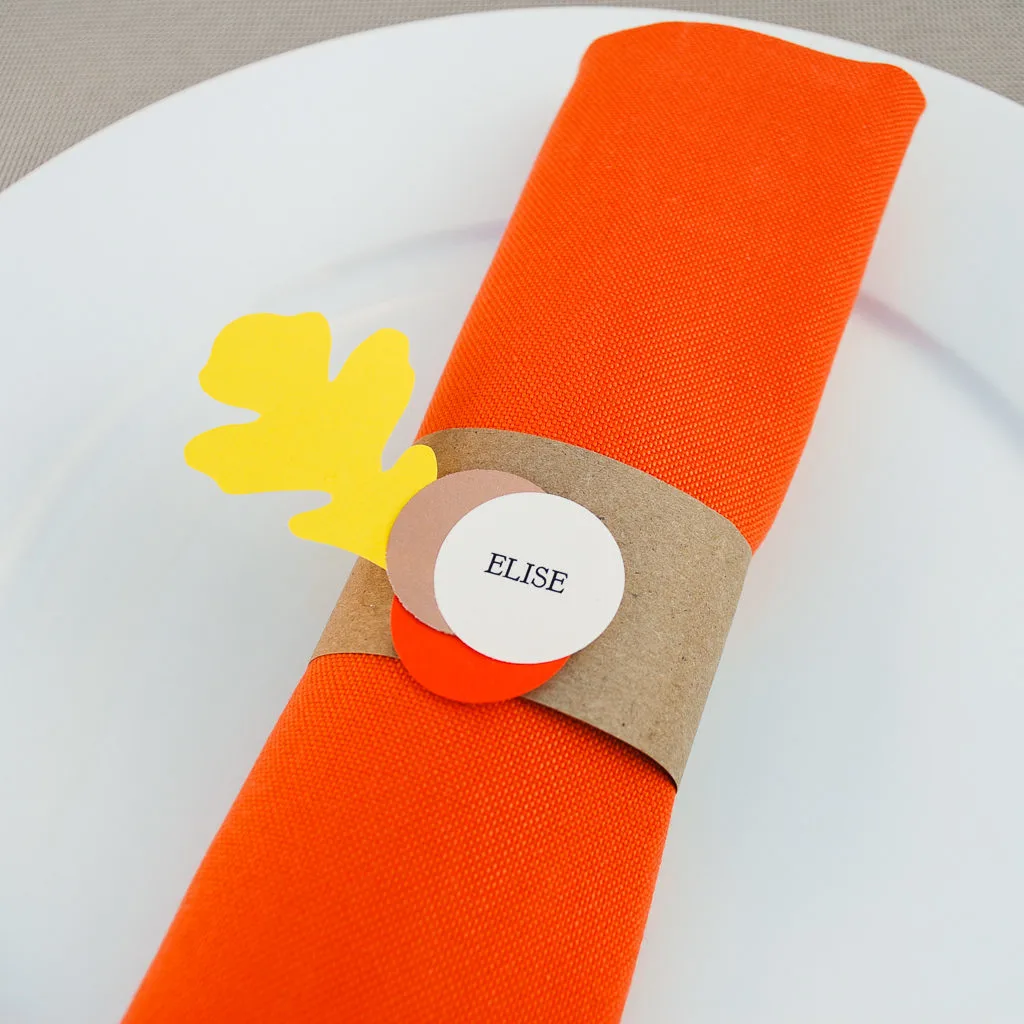
Transform brown paper grocery bags into cute and easy DIY Thanksgiving place cards that double as napkin rings. How useful! My Thanksgiving place cards DIY uses craft supplies that you probably already have at home so they’re super easy to make last-minute. Keep reading to download my free printable Thanksgiving place cards template.
Simple Thanksgiving table decor from brown grocery bags
This year, we made our Thanksgiving table decor using upcycled brown paper grocery bags. Elise and I went grocery shopping for Thanksgiving dinner and I totally forgot to bring our cloth bags. We walked out of the store with about 8 big brown paper grocery bags and I instantly felt a little guilty about it. So I thought I’d recycle the grocery bags by incorporating them into napkin rings for our Thanksgiving table decor (and if you don’t have a grocery bag you can always use Kraft paper, butcher block, or brown paper).
Cute Thanksgiving place cards that use paper scraps
And another bonus? I used up some of the scrap paper that I’d saved from making Elise’s birthday party hats. Yeah, I kept the scraps from her birthday party. I have a serious pack rat problem. But when things like these napkin rings actually turn out cute then I’m glad I hoarded all that stuff. To save even more time, I re-used my free leaf shape template from our past Thanksgiving. Remember these Thanksgiving place cards?
Merriment Design is supported by readers like you. If you buy products that I recommend, I may earn an affiliate commission at no additional cost to you. Thanks – your clicks help me make more free DIYs!
++++++
Supplies for making DIY place cards for the Thanksgiving table that double as napkin rings:
- Kathy’s free leaf template – from the retro place card project (PDF)
- Free printable name pattern in Microsoft PowerPoint (works with 1″ craft punches) and free Goudy Bookletter 1911 font from The League of Moveable Type
- Brown paper grocery bag (or Kraft paper)
- Assorted cardstock paper scraps or sheets (I used orange, metallic bronze, yellow, and bright white)
- Self-healing mat, craft knife, and metal ruler
- Good paper scissors
- Adhesive dots or glue stick
- 1″ inch circle craft punch
- Craft adhesive
How to make DIY place cards for the Thanksgiving table that double as napkin rings:
Step 1: Cut strips from a brown paper grocery bag
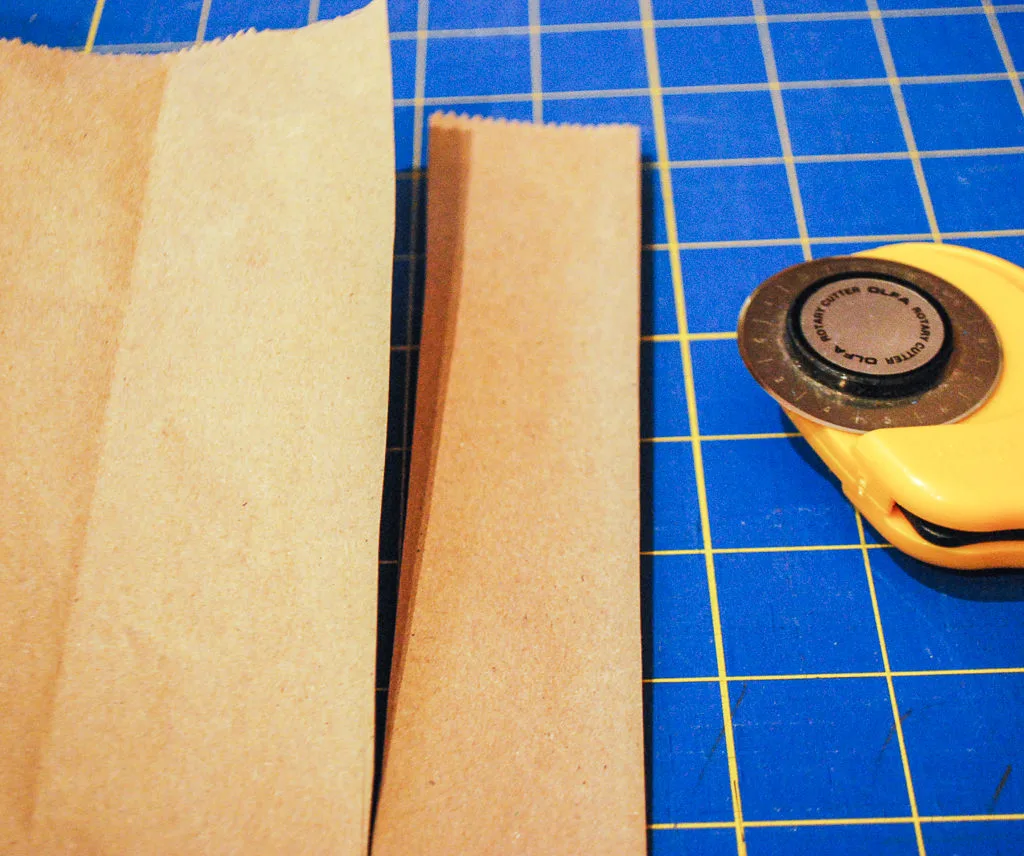
Cut open a brown paper grocery bag so it lays flat. Try to choose a brown grocery bag with few wrinkles.

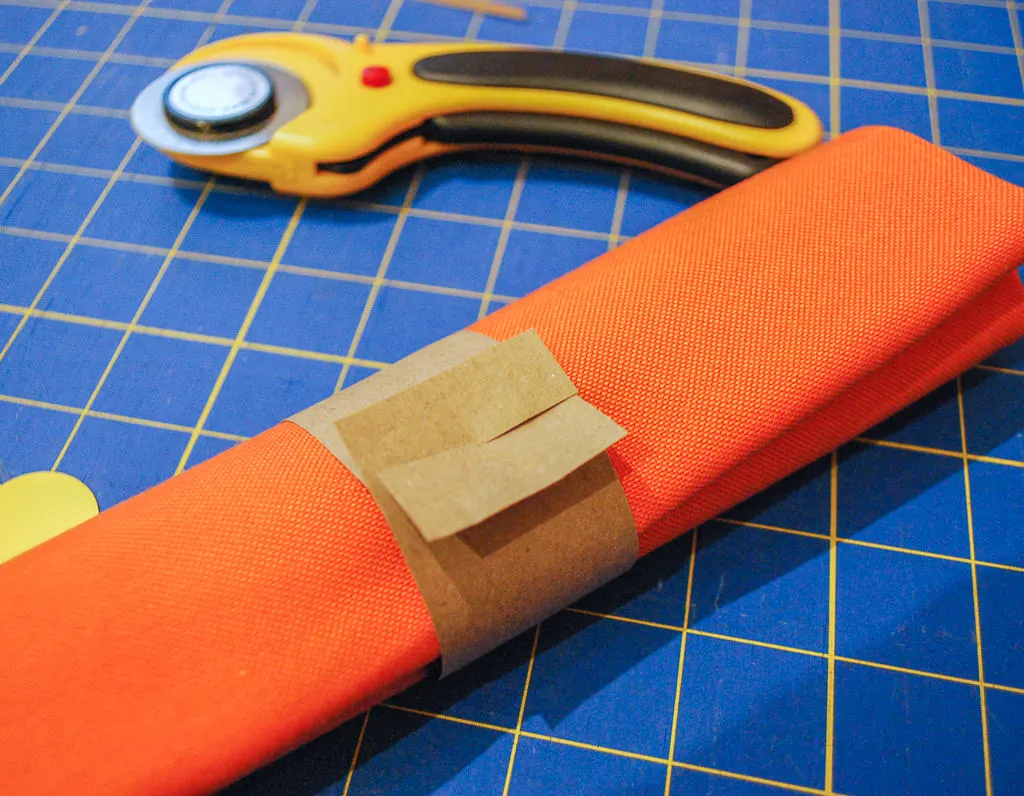
Cut strips from the brown paper bag that are 7″ wide x 1.5″ tall. Use good paper scissors or a self-healing mat, craft knife, and metal ruler. (I was a little lazy as you can see and I used my rotary cutter and clear plastic ruler from my sewing stash.)

Step 2: Cut slits in the paper napkin ring
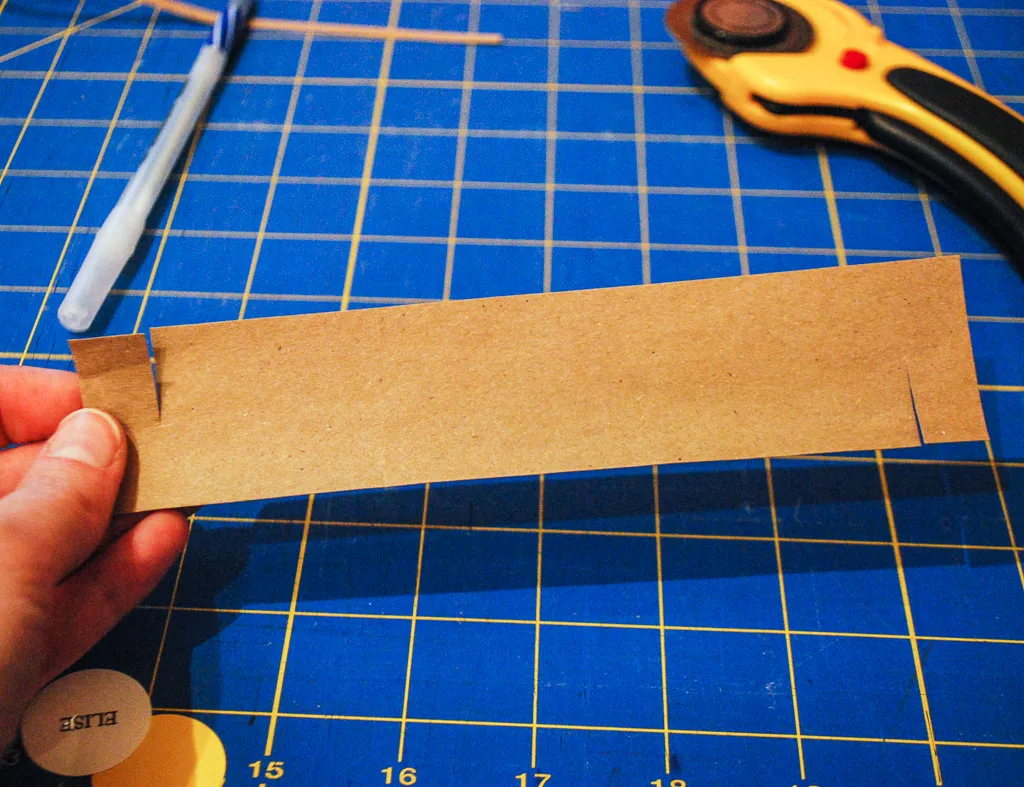
Measure 1/2″ from the left side of the napkin ring and cut a slit halfway through (so your slit will be half of the 1.5″ tall like mine below). Repeat on the right side, and make sure the right side slit is opposite like in my photo below.
Step 3: Print out guest names for Thanksgiving place cards
Download my free printable name pattern and open PowerPoint. If you want to use my font, then you’ll need to download and install the free Goudy Bookletter 1911 font from The League of Moveable Type or change the font to one that you prefer. Print names onto white cardstock paper. Use your 1″ circle craft hole punch to punch out names. You will need to do a little trimming to get the craft punch close enough to punch the inner rows.
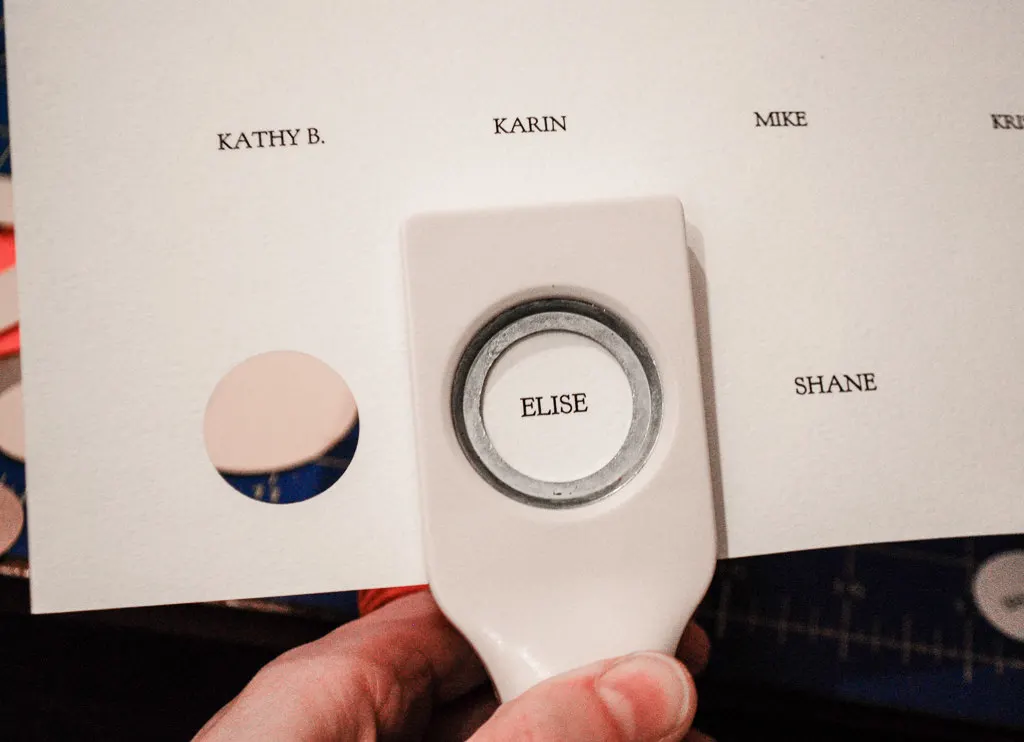
Step 4: Cut out paper leaves using my free template
Print my free printable leaf template. Now here’s a neat trick if you’re using scraps: Just put the leaf pattern on top of the scrap yellow paper that you want to cut. Trace around it using a ballpoint pen with firm pressure. The ballpoint pen will press a trace line onto the yellow paper below.
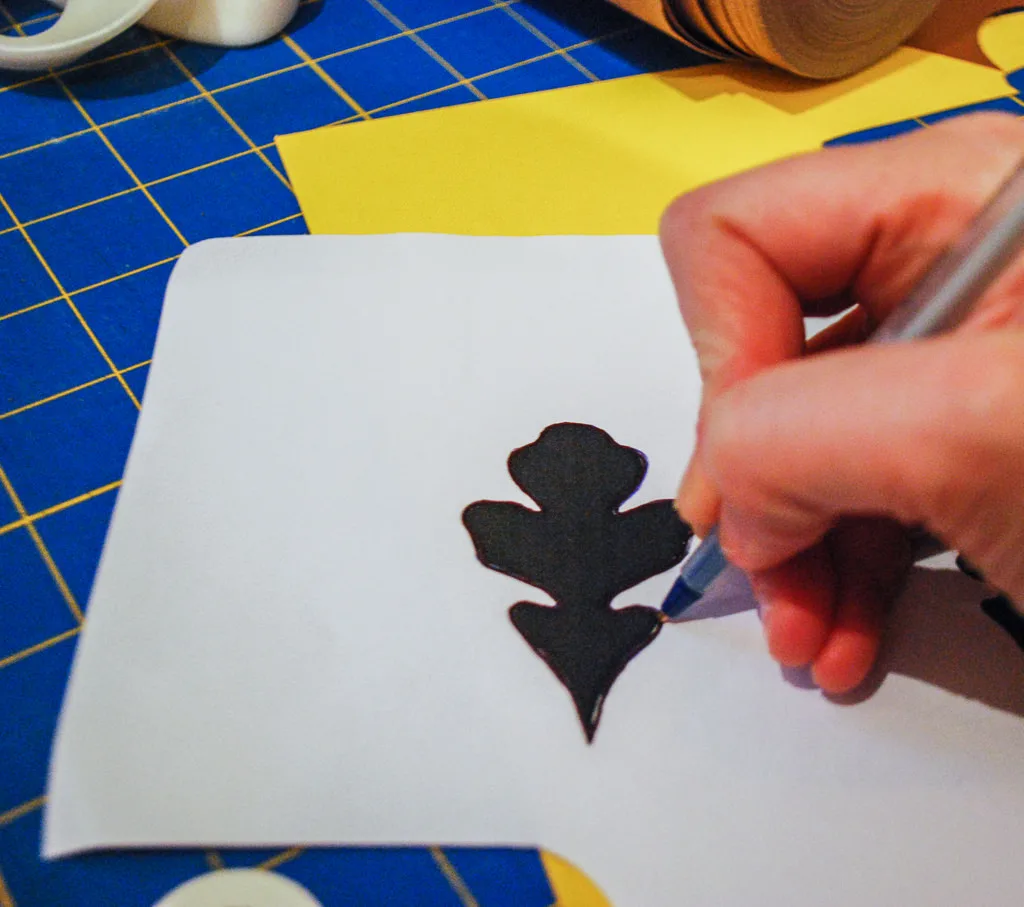
Here you can see the faint trace lines. Cool, yes?
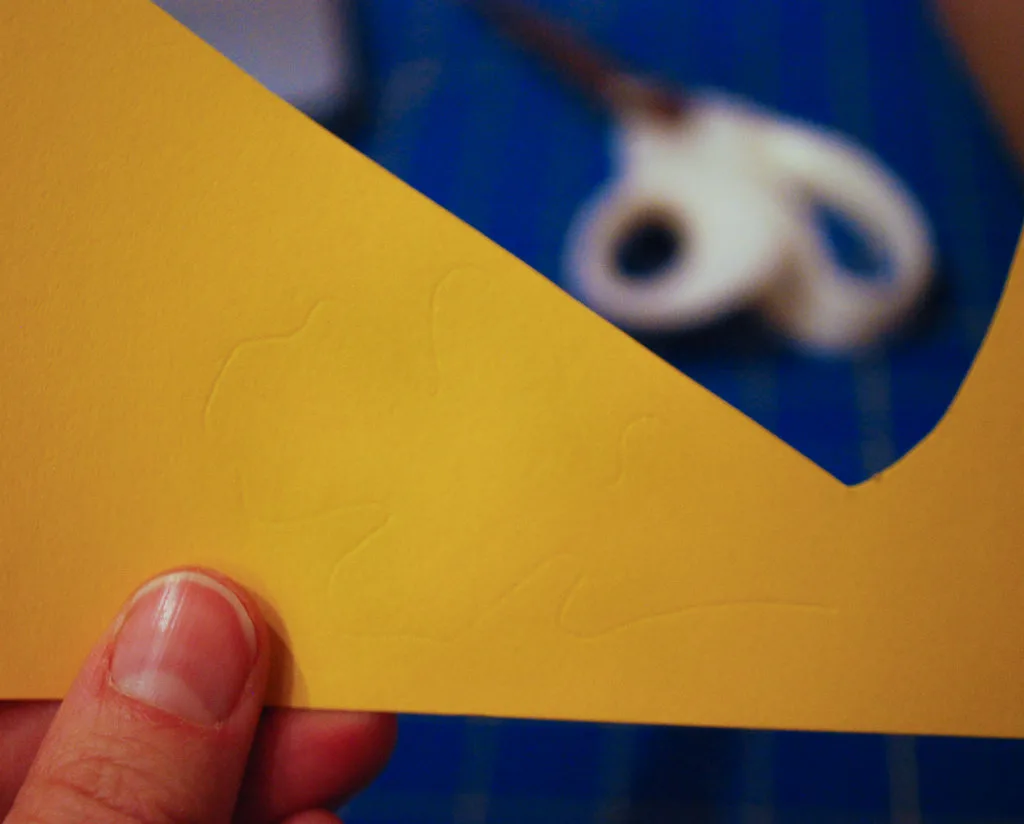
And now you just cut! This technique is great on scrap paper and also avoids messy printer lines around your cut leaf.
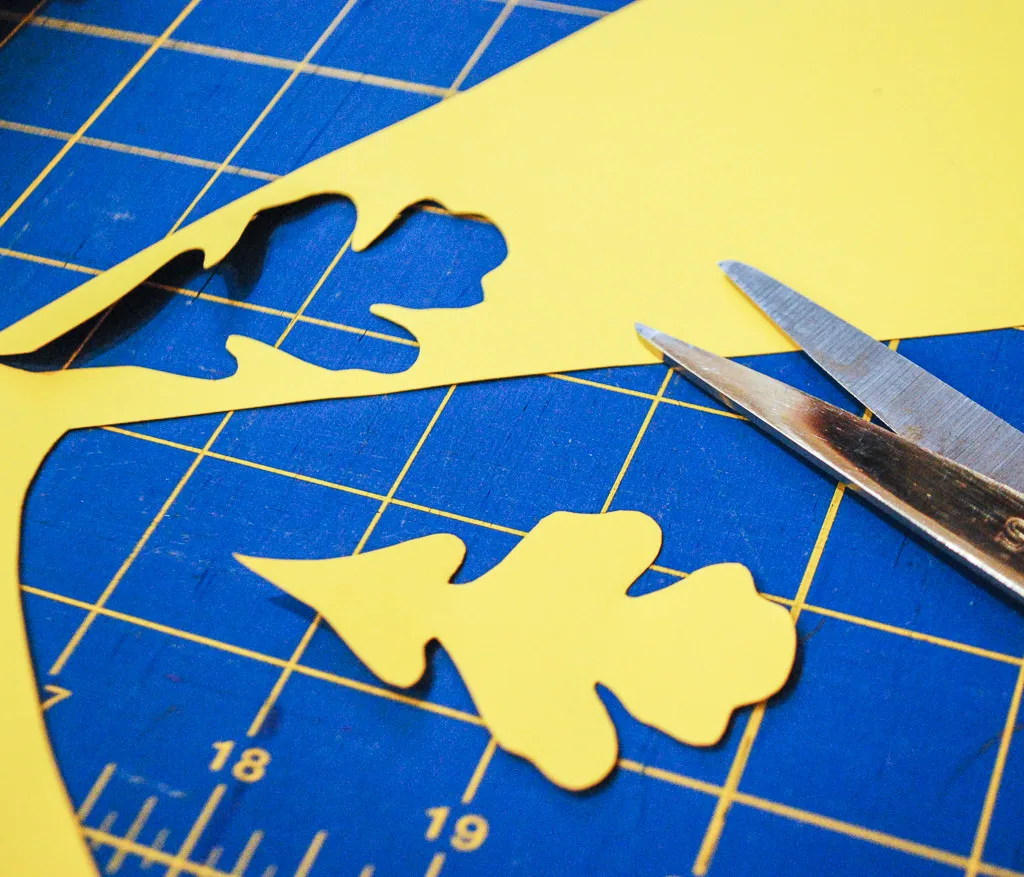
Step 5: Cut out circles from scrap paper
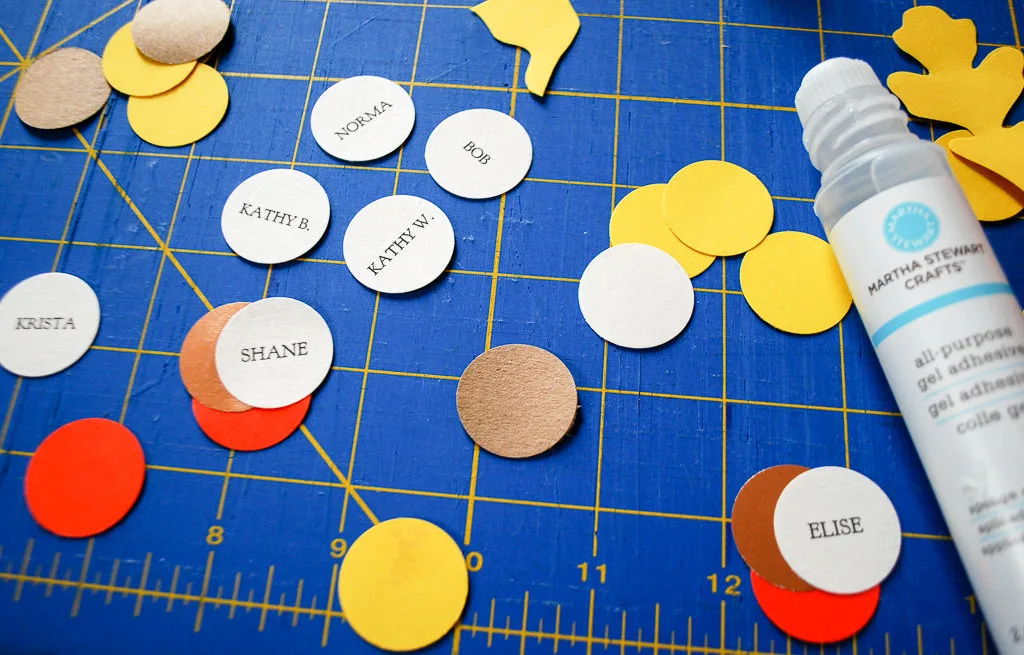
Use your 1″ circle craft punch to punch assorted circle colors from scrap paper.
Step 6: Glue the paper circles to the leaf
Glue three together with the name circle on top using a glue stick. Slip the leaf between two circles. Let it dry.
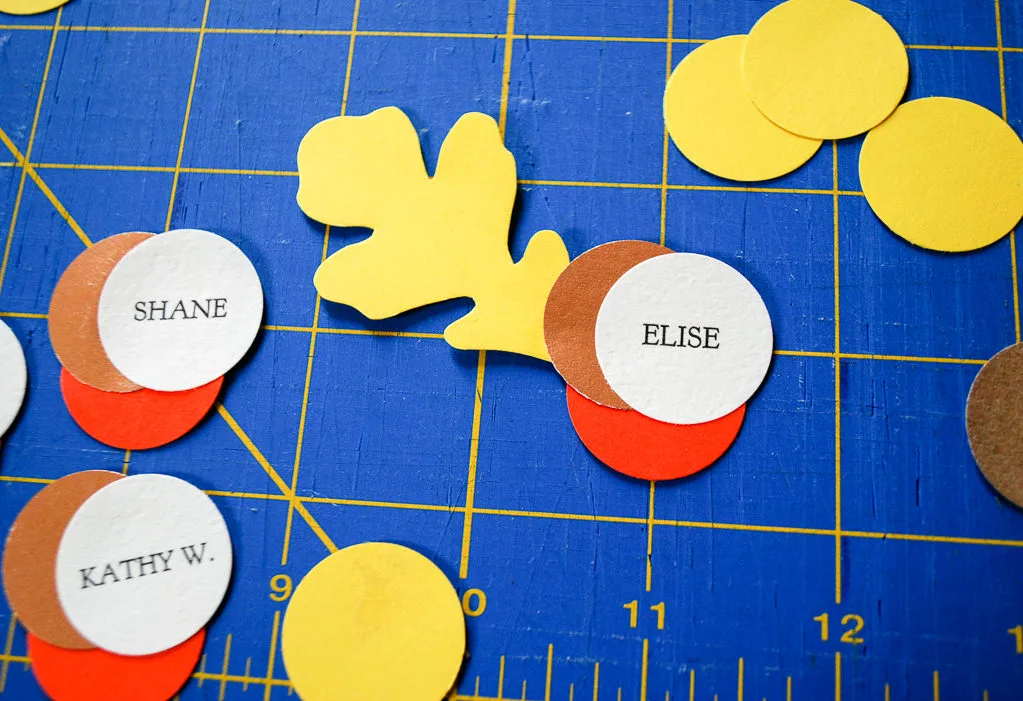
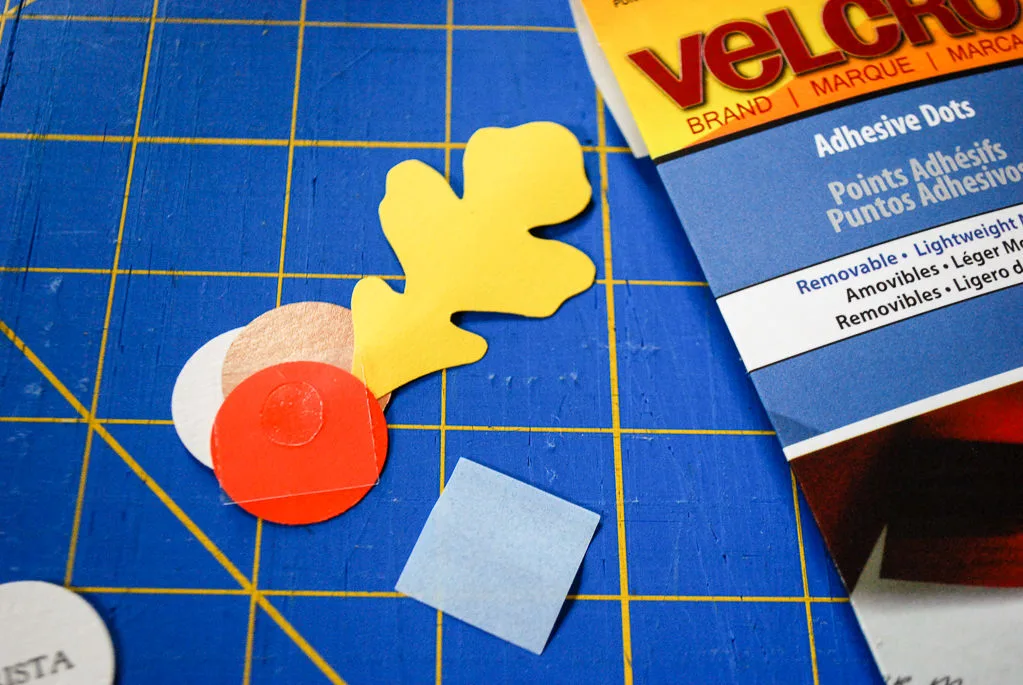
Peel the backing off of a VELCRO Adhesive Dot and press onto the back of the orange circle. Peel the other side of the backing and press onto the brown paper bag napkin ring.
Step 7: Wrap the DIY place cards around cloth napkins
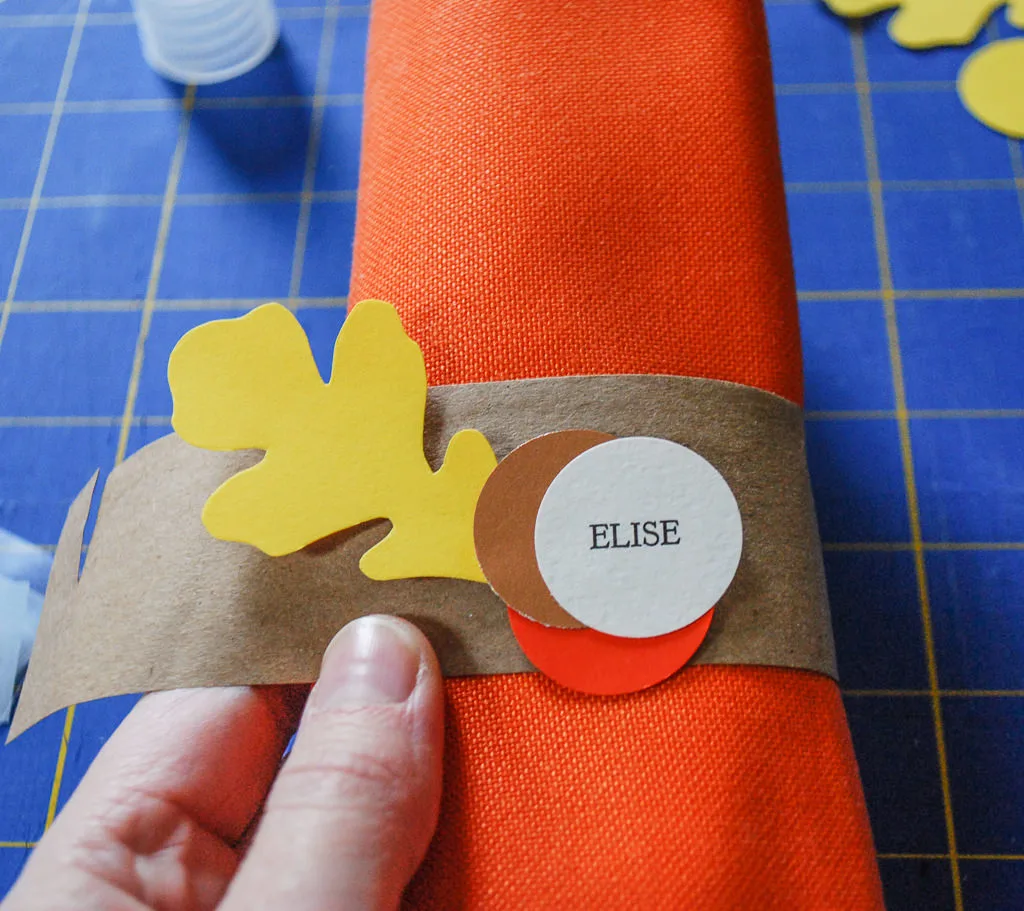
Wrap your DIY napkin rings around rolled fabric napkins. Hook the two sides together using the slits like the photo below. Happy Thanksgiving!
++++++
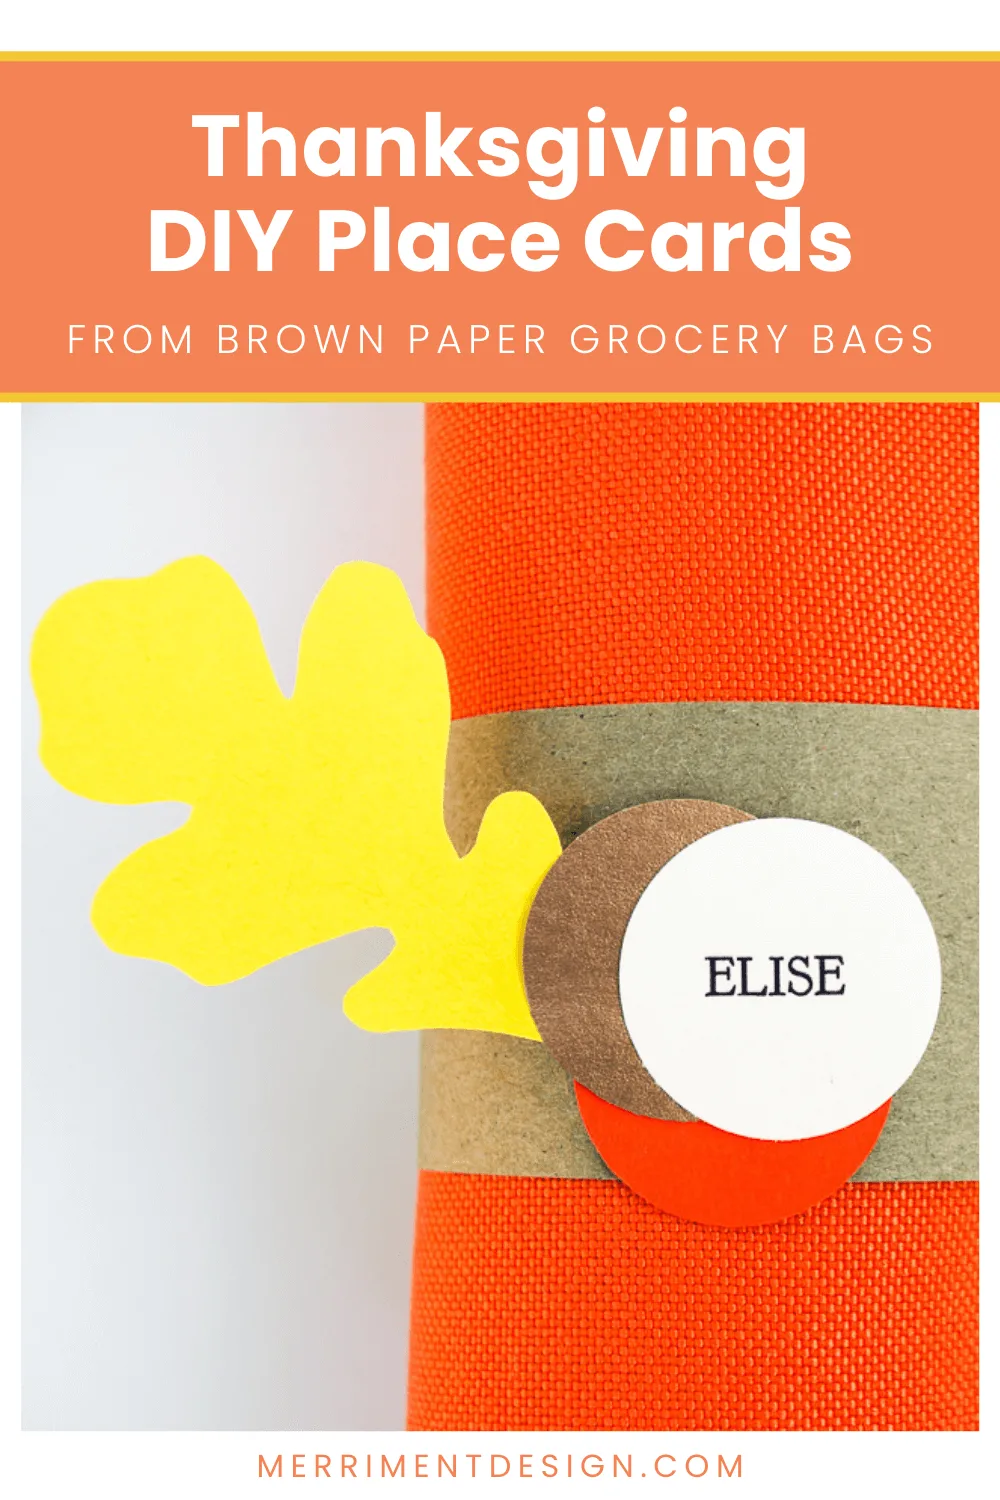
Be sure to pin my DIY Thanksgiving table decor idea:
And see more Thanksgiving craft ideas like my DIY felt napkin rings, DIY fall wreath using Polaroid photos, and DIY Mayflower snack cups for the Thanksgiving table.
++++++
Like it? Share it!
The nicest way to say you like it is to pin it on Pinterest, post a comment, follow Merriment Design on Facebook, Pinterest, Instagram or sign up for monthly emails. Enjoy! 🙂
