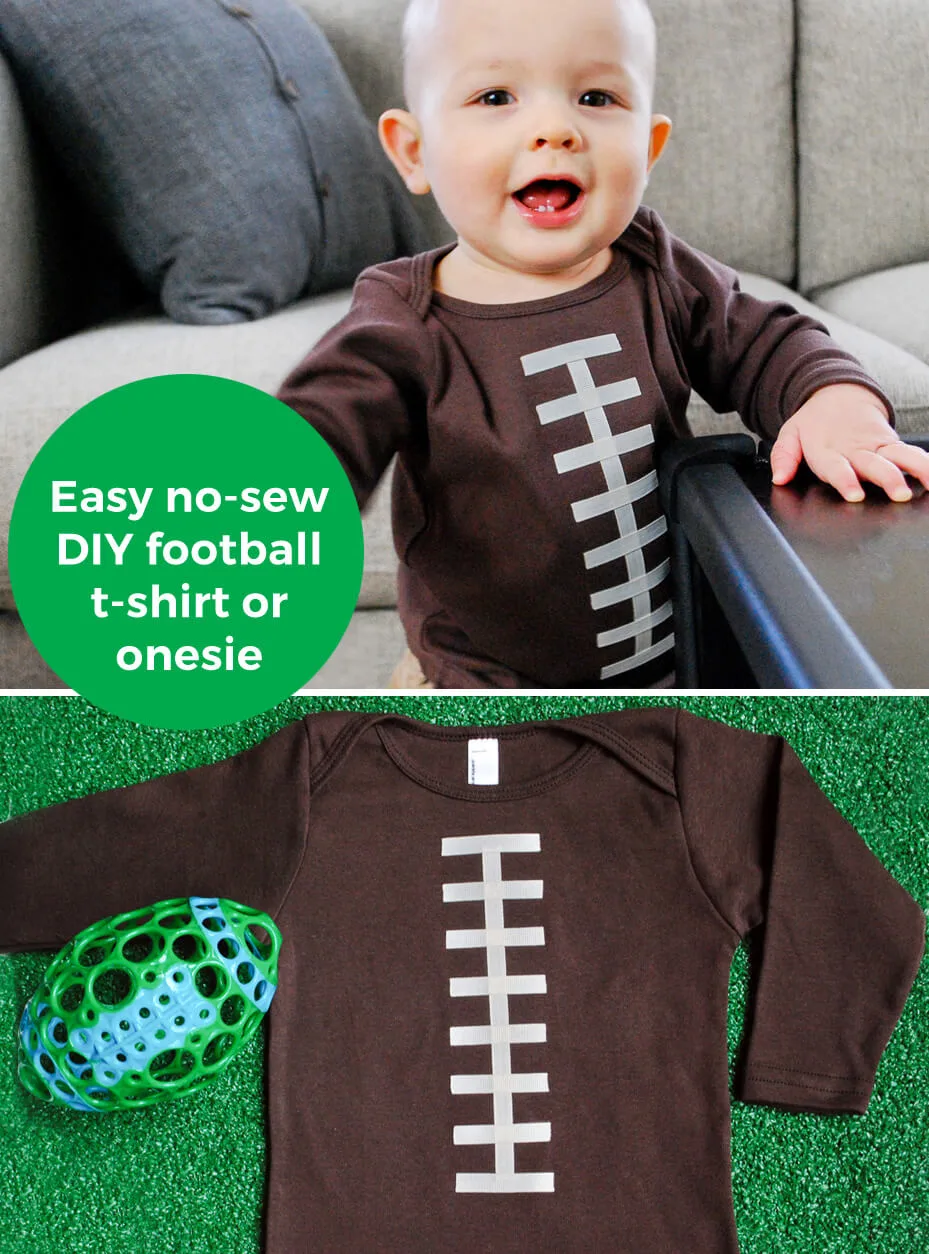
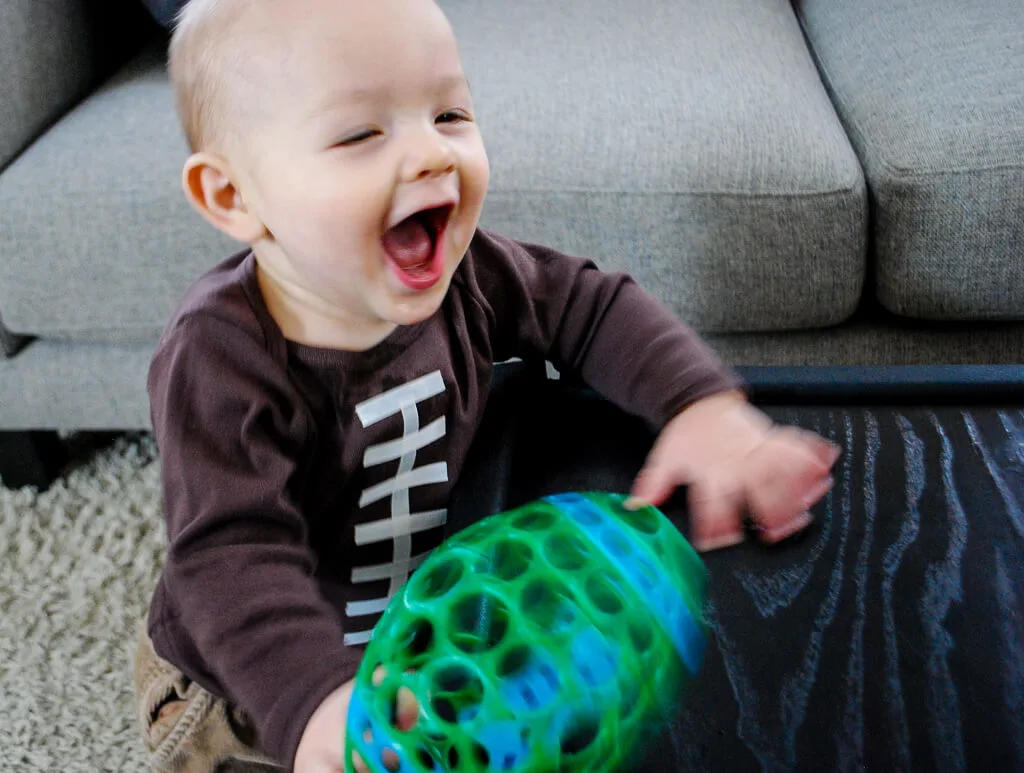
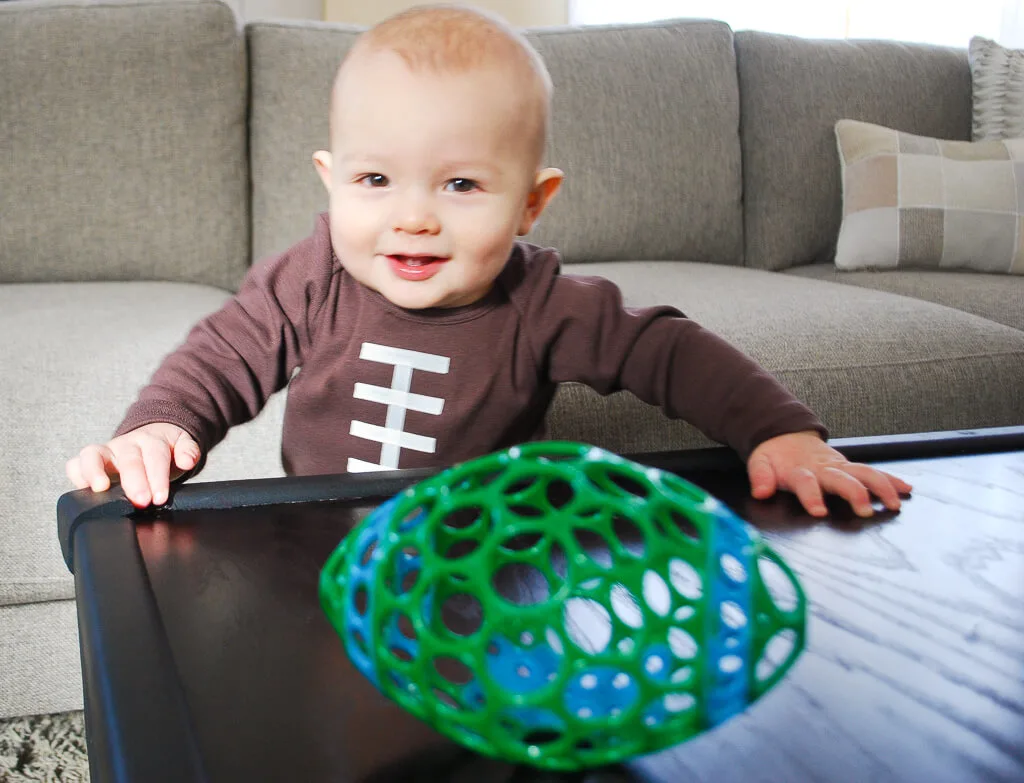
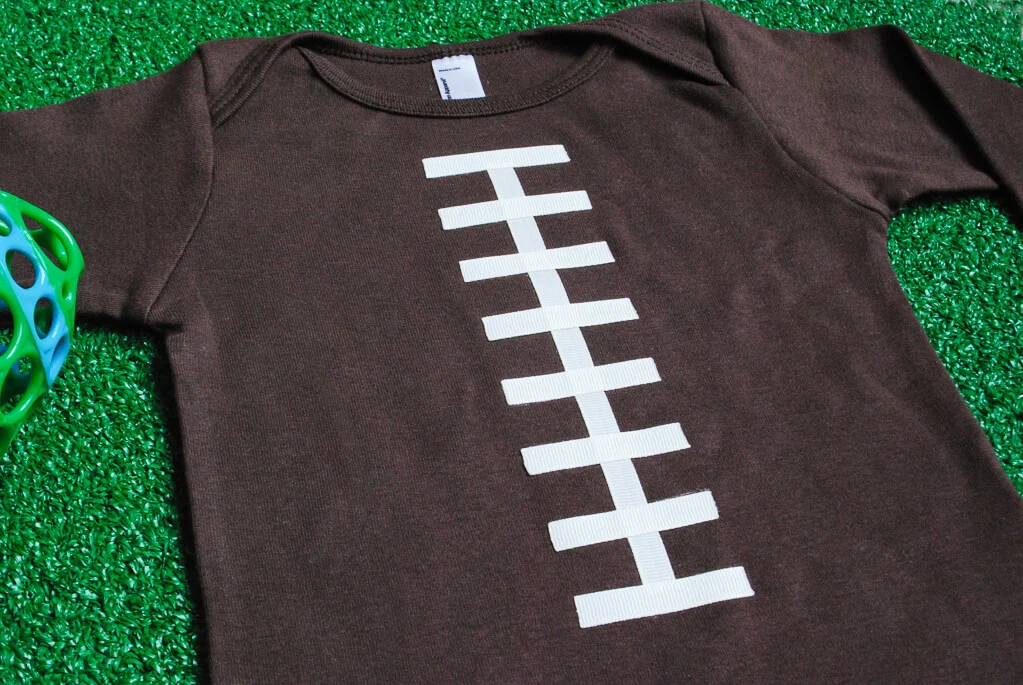
Make a cute and easy DIY football shirt for kids for your little Super Bowl fan — no sewing required! All you need for this no-sew football t-shirt or onesie for baby is a t-shirt, ribbon, and some fusible webbing to iron it all together.
Easy no-sew DIY football shirt for kids
There are a lot of sewn and screenprinted versions out there (including my favorite, a Sports Illustrated screenprinted t-shirt fashion design project) but it’s easy to whip up your own without any sewing.
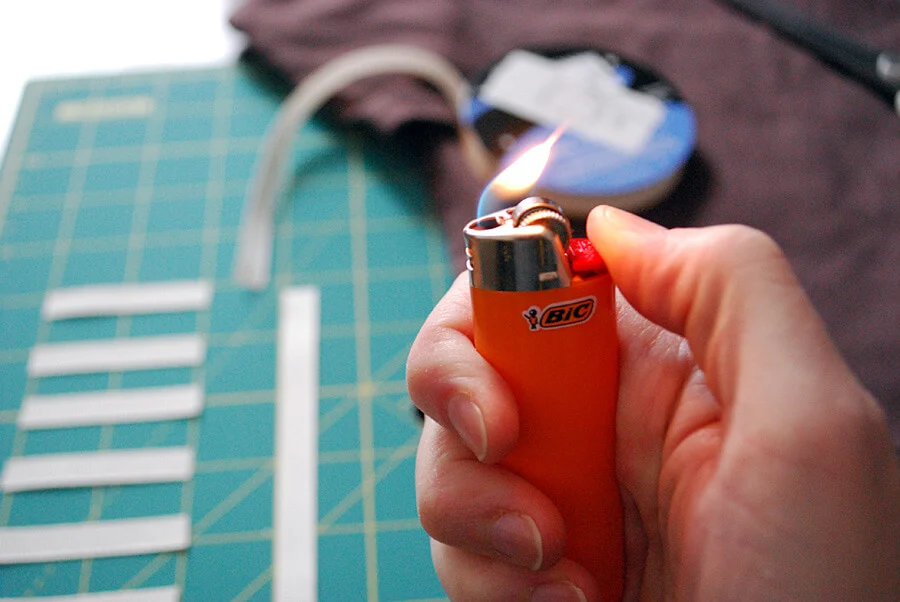
Oh, and a little fire too.
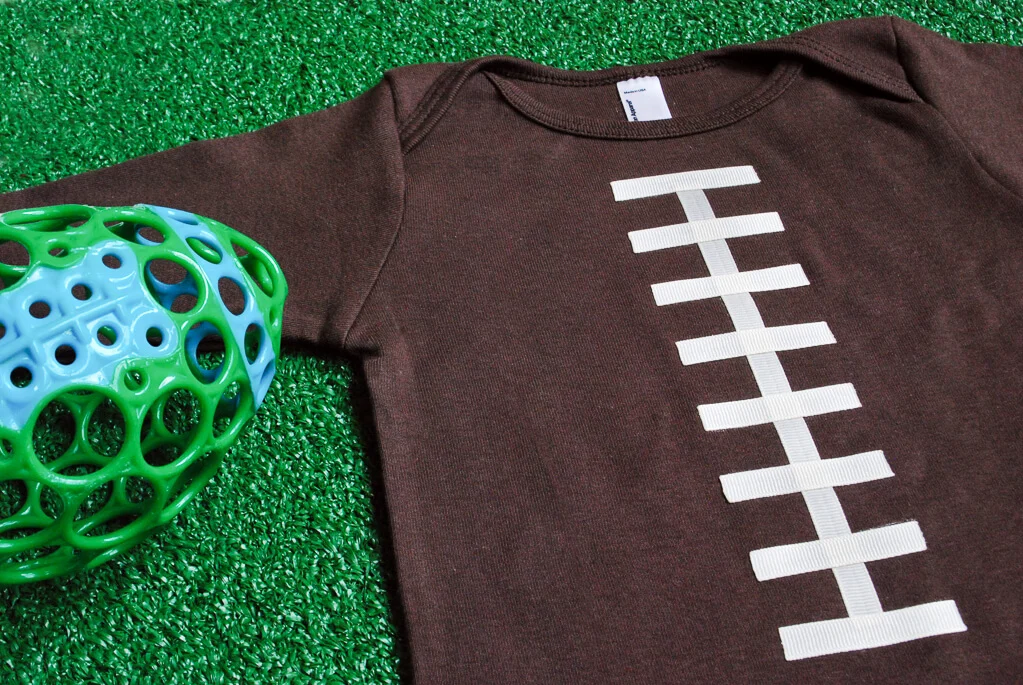
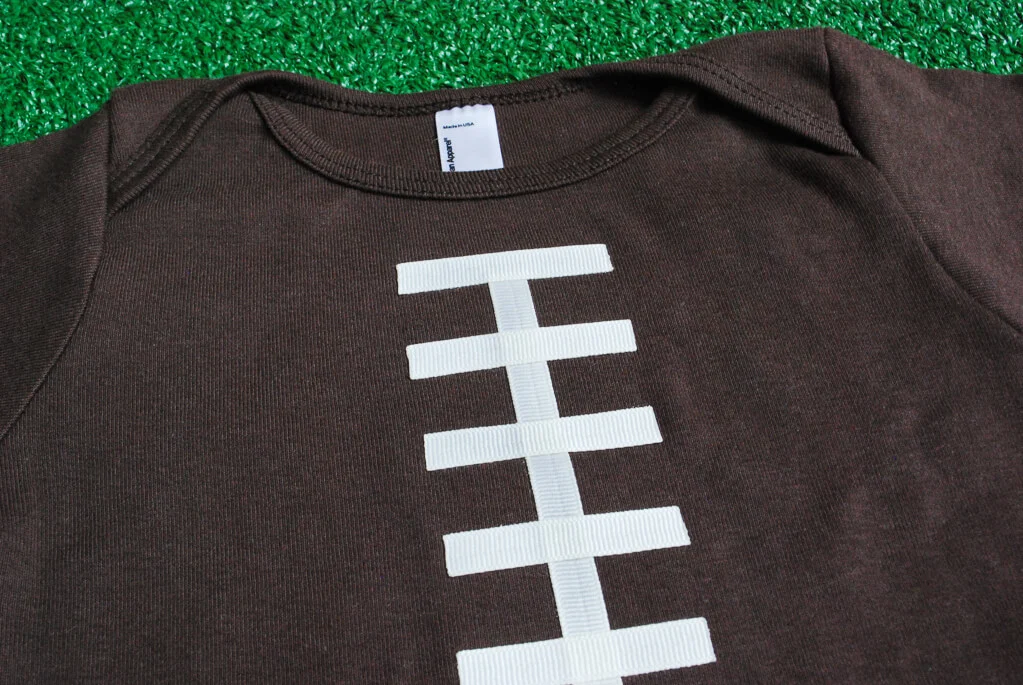
Cute kids football t-shirt for the Super Bowl
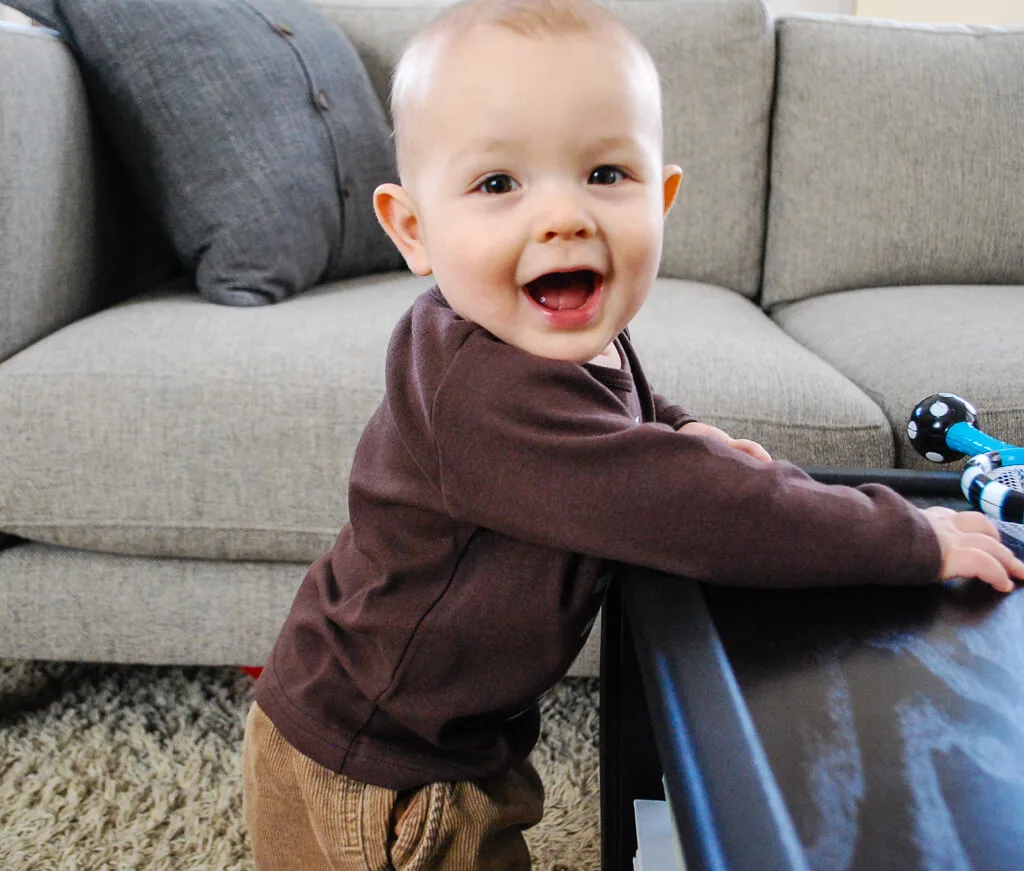
I’ll say it: I could care less about the teams in this year’s Super Bowl so come Sunday, I’ll be all about the food, the commercials, and my cute little future football player in his no-sew ribbon DIY football shirt. Touchdown!!
Merriment Design is supported by readers like you. If you buy products that I recommend, I may earn an affiliate commission at no additional cost to you. Thanks – your clicks help me make more free DIYs!
—
Supplies for making a no-sew DIY football shirt for kids (or football onesie) for the Super Bowl:
- Brown kids t-shirt or brown long-sleeve baby onesie or brown short-sleeve baby onesie
- White grosgrain ribbon
- Fusible iron-on web or Fabric glue
- Good fabric scissors
- Rotary fabric cutter, ruler and self-healing mat (optional)
- Good iron and ironing board
—
How to make a no-sew DIY football shirt for kids (or football onesie):
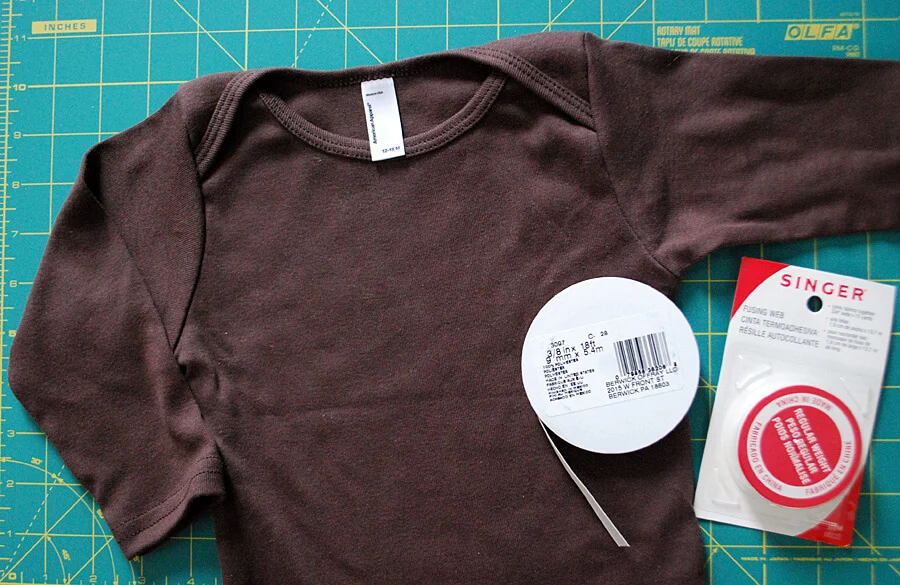
Step 1: Get a brown t-shirt or onesie and ribbon
Gather your brown kids long-sleeve t-shirt or brown short-sleeve baby onesie or brown long-sleeve baby onesie, plus white 3/8″ grosgrain ribbon and iron-on fusible web. Alternatively, you can use fabric glue to make your kid’s DIY football t-shirt.
Step 2: Make football lacings from ribbon
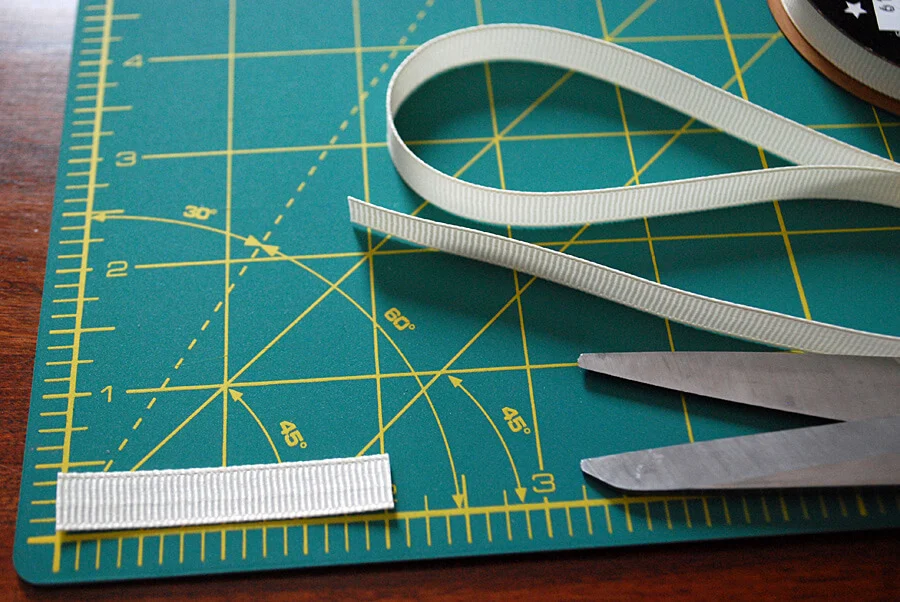
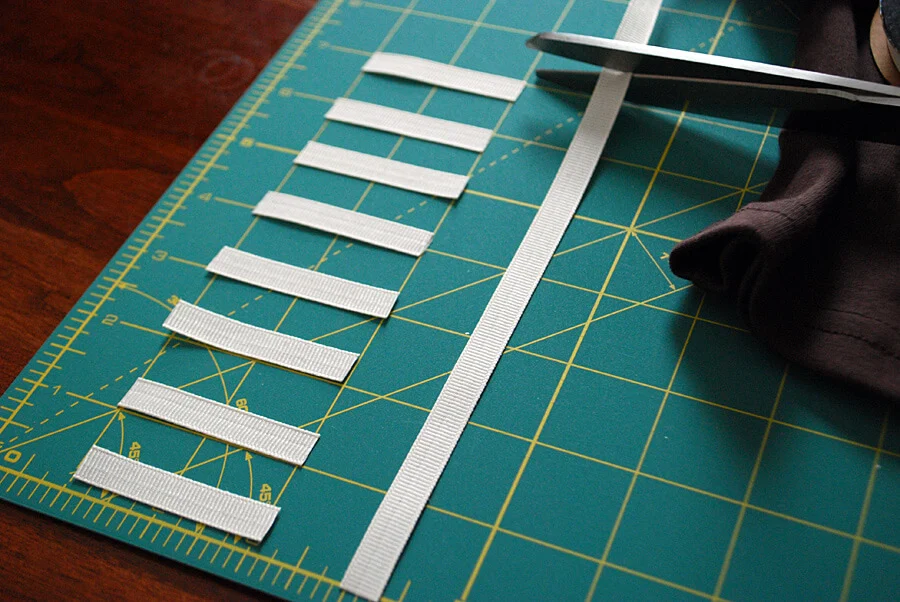
Decide how long you’d like your football lacings to be based on your chosen t-shirt size. I made a 12 month – 18 month t-shirt for Liam, so I cut eight 2″ pieces of white 3/8″ grosgrain ribbon for the lacings…
…and one 7″ piece of 3/8″ white grosgrain ribbon for the middle.
Step 3: Seal ribbon edges with a lighter to prevent fraying
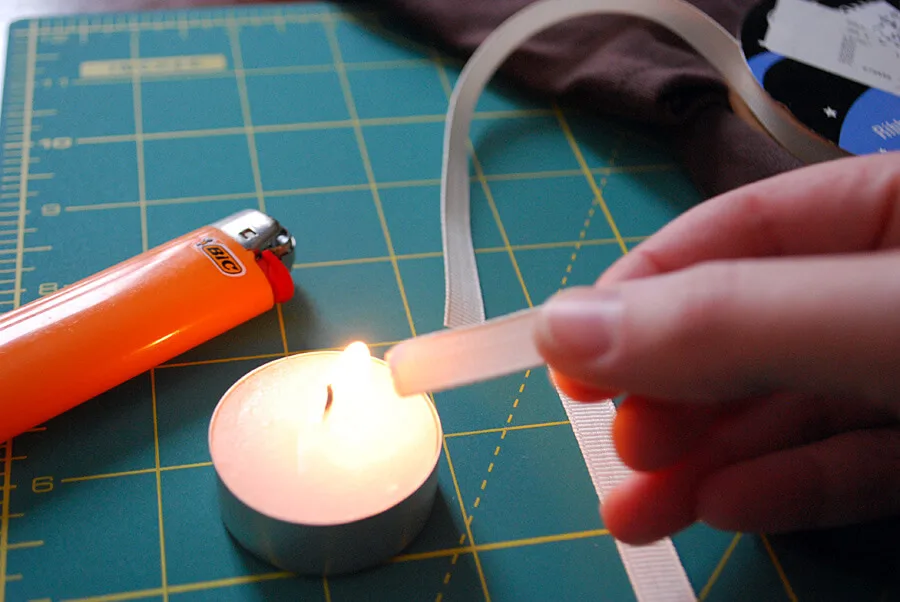
You’ll use a lighter to seal the edges of your ribbon so they won’t fray. Light a candle because the lighter will get hot to hold. Lightly pass a ribbon end *near* but not *in* the candle flame. You want the edge to barely melt …if you hold it too close to the flame for too long it will shorten the lacing too much and you’ll need to start again with a fresh piece. How do I know this? Well, let’s just say I went through a few lacings before I got it down.
Step 4: Check your lacing lengths
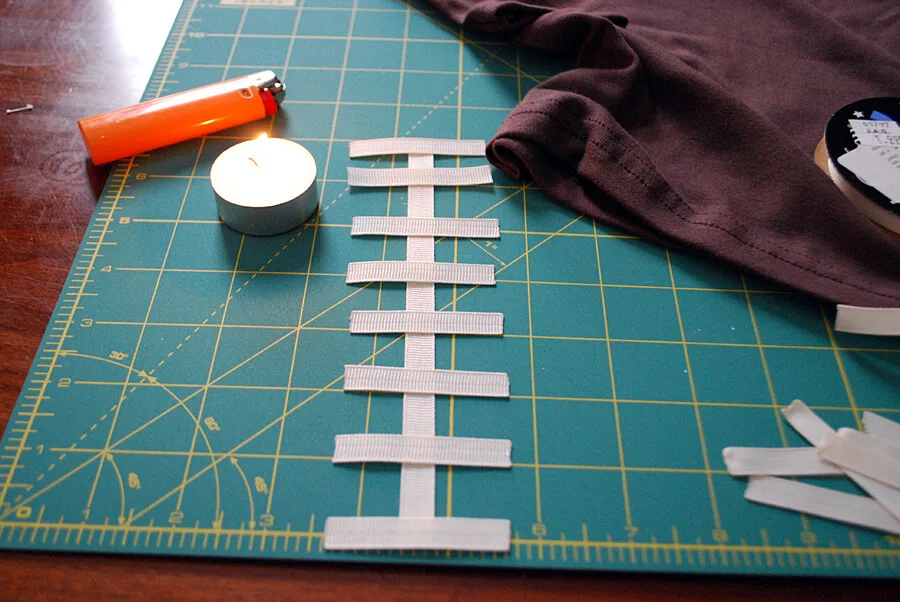
Line up your lacings to make sure they’re still the same length compared to one another. Re-do any lacings that ended up being too short. And don’t forget to seal the 7″ ribbon too.
Step 5: Cut fusible web, if using, or use fabric glue
Roll out your iron-on fusible web on a self-healing cutting mat. Cut four 2″ pieces and one 7″ piece. Or you can use fabric glue.
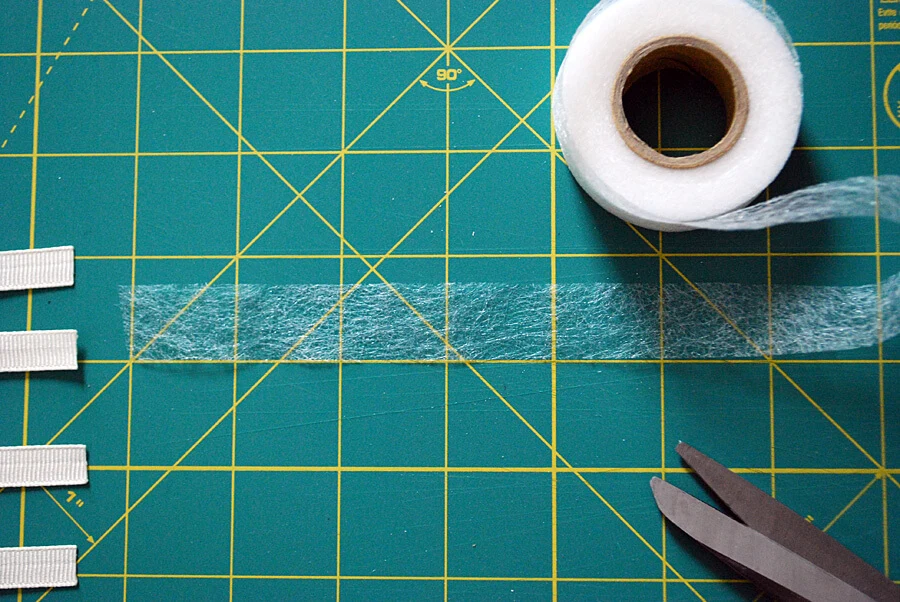
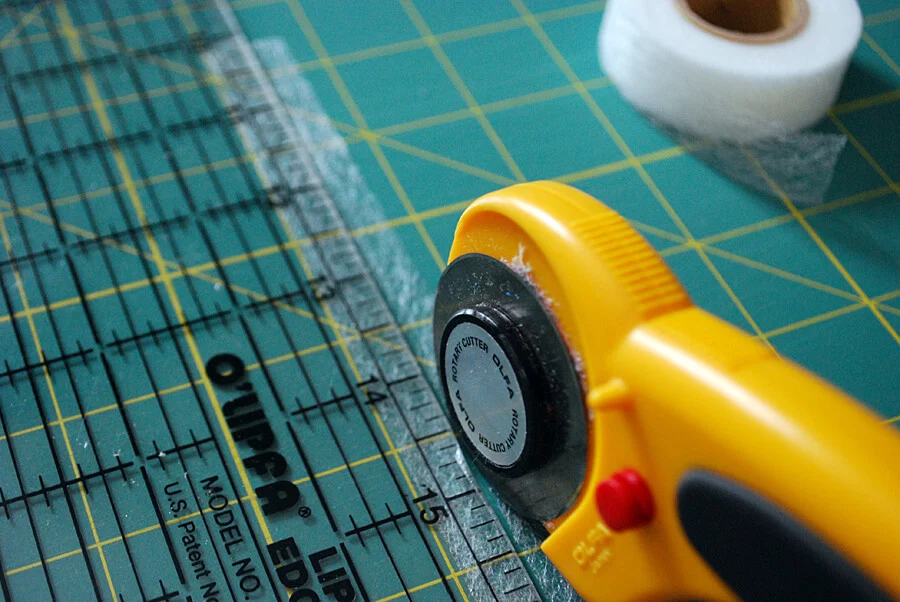
Slice them in half lengthwise using a fabric rotary cutter, clear plastic ruler and self-healing mat.
Step 6: Iron the t-shirt very flat
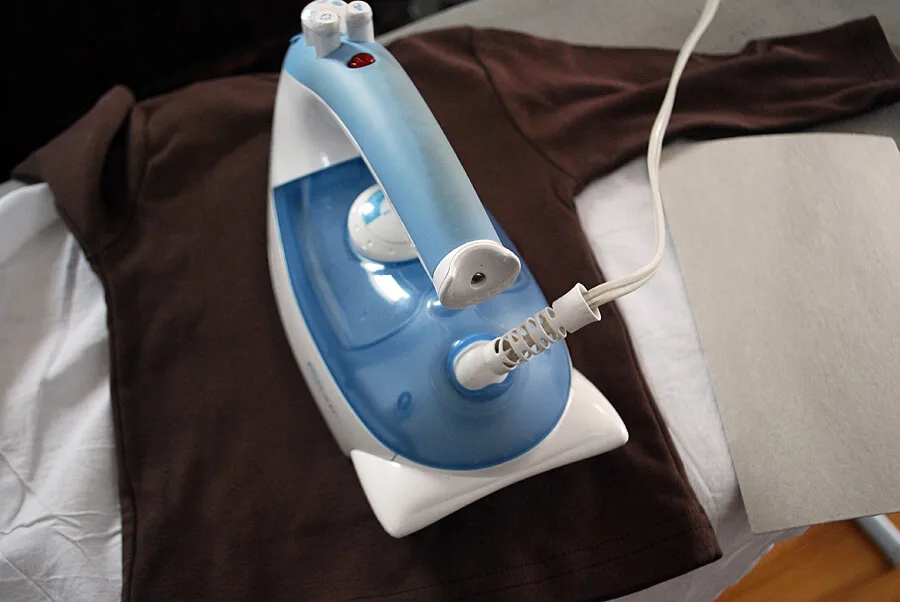
Place your t-shirt onto your ironing board. Slip a piece of cardboard between the t-shirt layers.
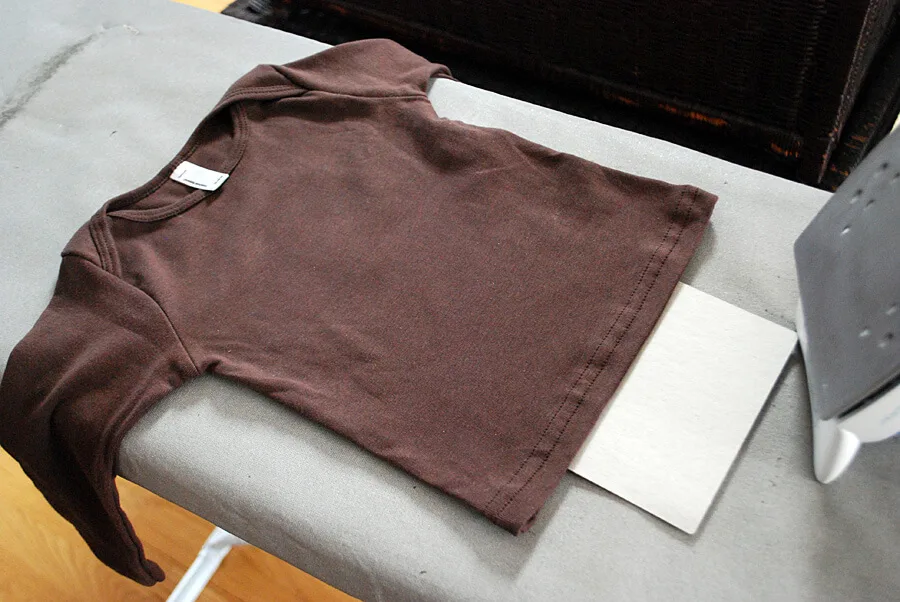
Iron the t-shirt flat.
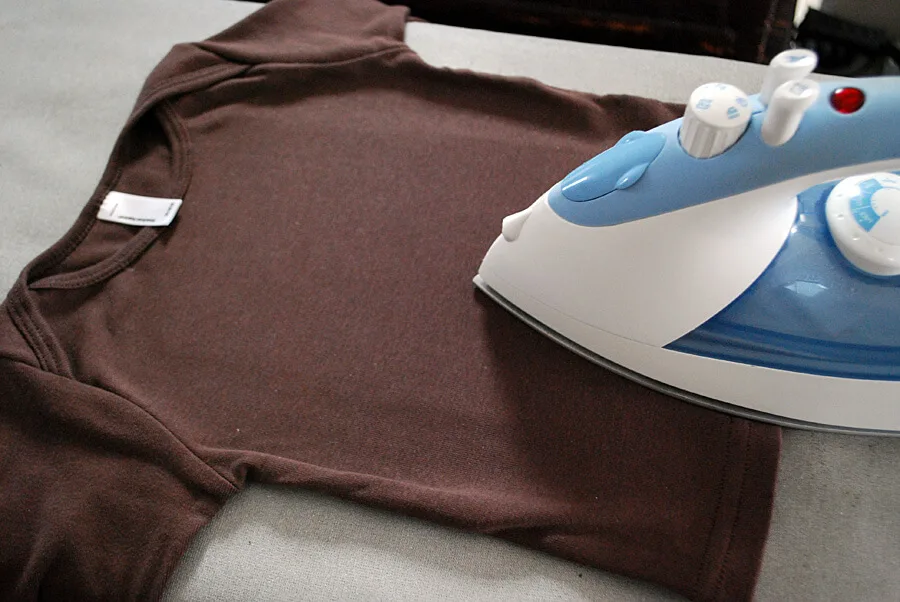
Step 7: Iron or glue football lacings to your shirt or baby onesie
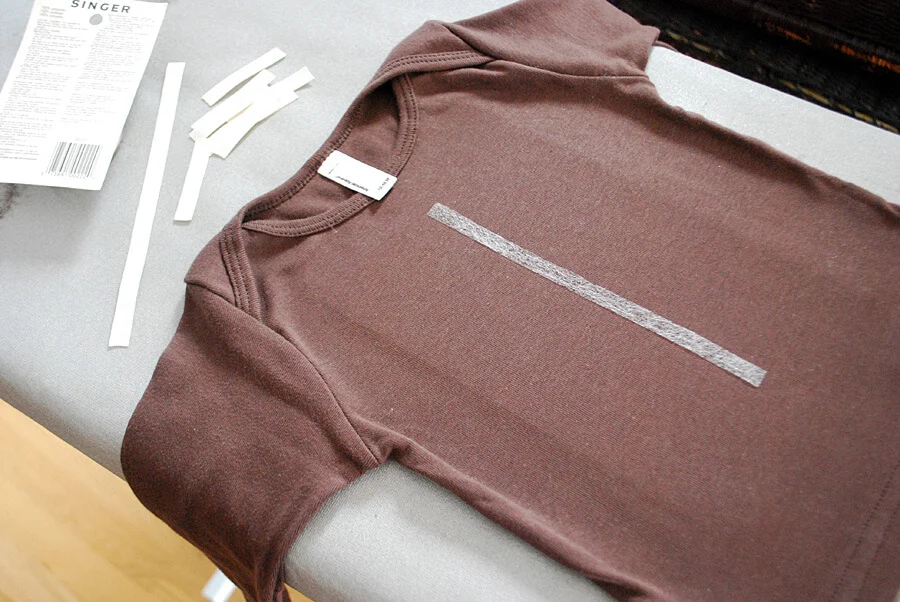
Center the 7″ piece of iron-on fusible web onto the t-shirt.
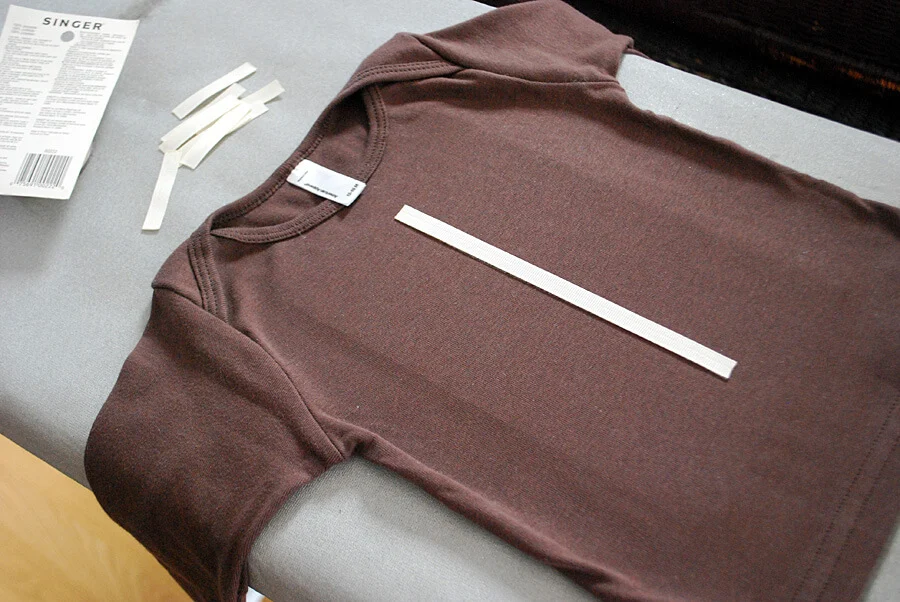
And carefully lay the 7″ piece of white grosgrain ribbon on top, making sure that it totally covers up the iron-on fusible web.
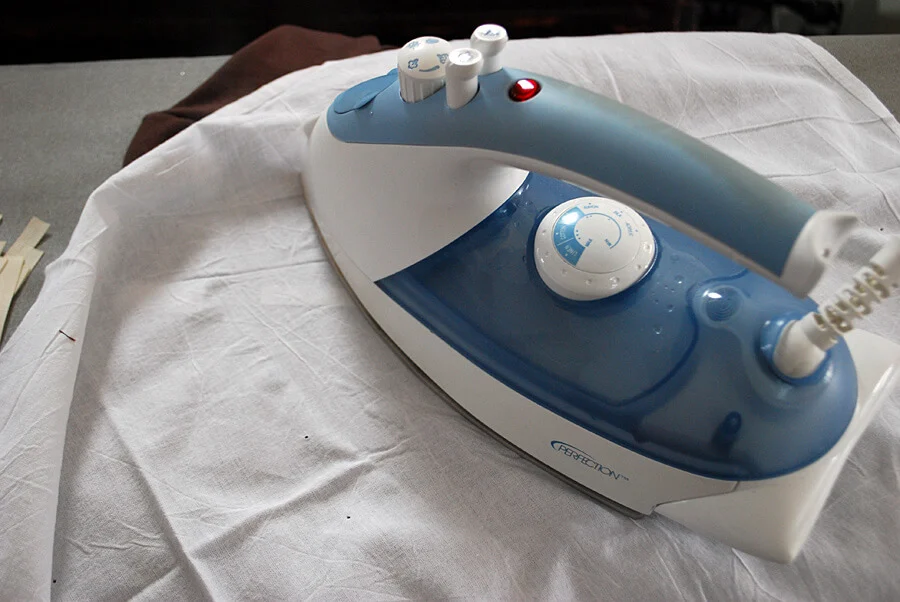
Very carefully place a pressing cloth on top making sure not to move the ribbon or webbing. Following the package directions, with a steam-iron set to the Wool setting, place the iron on top and let it sit for 10 seconds. Don’t move the iron around …when it’s time to move it, pick it up and place it back down again rather than slide it.
Now place a 2″ piece of iron-on fusible web on the top of the 7″ ribbon.
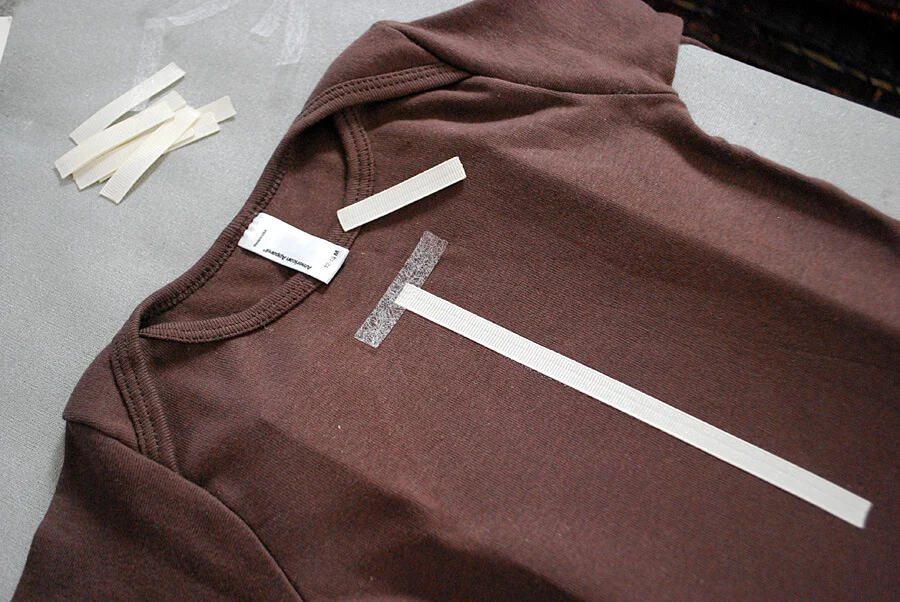
I overlapped the iron-on fusible web about 1/2 way to cover up the end.
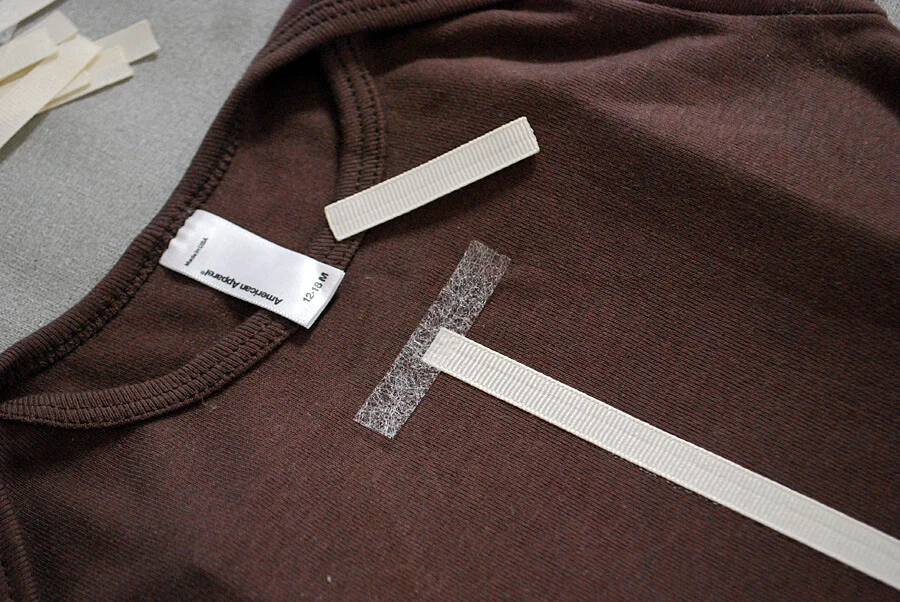
Again, put a press cloth down carefully so as not to move the webbing and ribbon and hold for 10 seconds. Repeat on the other end of the 7″ piece.
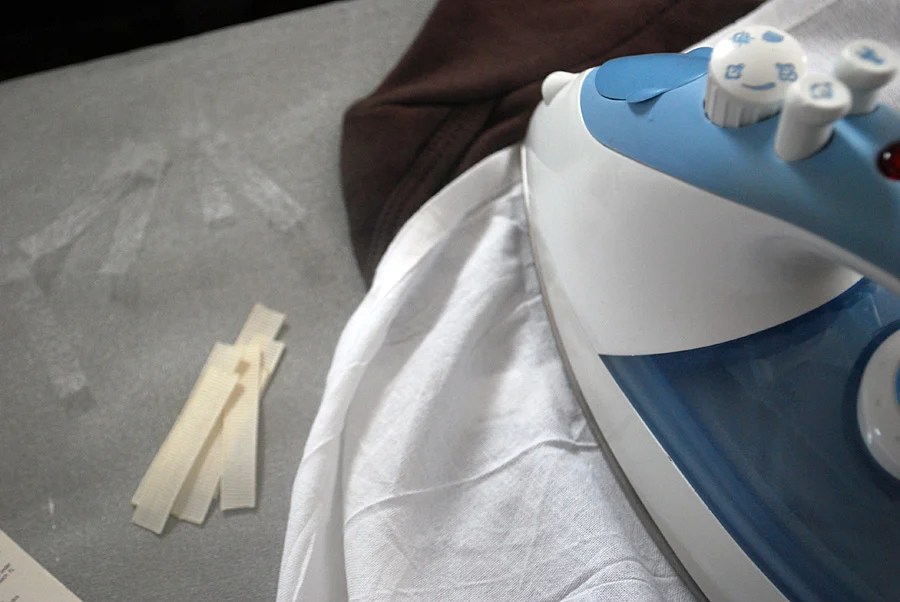
Line up the rest of the lacings evenly spaced between the two ends. Lift up each one and repeat the process until all lacings are adhered.
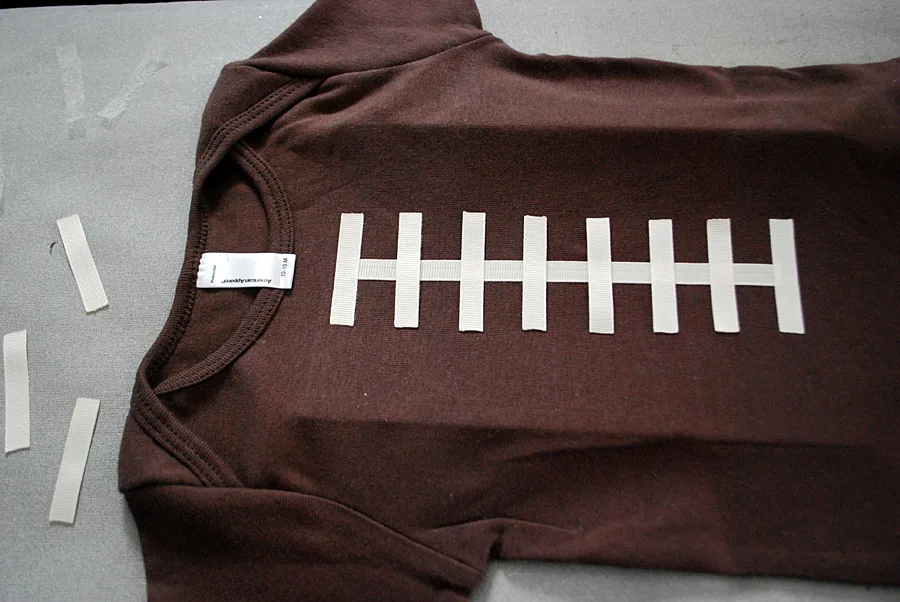
Remove the cardboard piece, turn the t-shirt over and place face-down on top of the pressing cloth, and steam press for 10 seconds.
Step 8: Wear your DIY football shirt or onesie to the big game
It’s all done. Iron-on fusible webbing is supposed to wash well in the washing machine but I recommend washing it inside out on delicate cycle and hanging dry just in case.
Be sure to check out more DIY projects for kids and baby. Hike!
—
Like it? Share it!
The nicest way to say you like it is to pin it on Pinterest, post a comment, follow Merriment Design on Facebook, Pinterest, Instagram or sign up for monthly emails. Enjoy! 🙂
Copyright stuff: You’re more than welcome to use this free project and tutorial for personal use. Contact me for commercial use and Etsy sales.
