Today I’m sharing my paper bead jewelry DIY ideas that celebrate spring. I designed four pieces of bright and cheery paper bead jewelry — paper bead necklaces, paper bead bracelets, and paper bead earrings — inspired by my favorite spring flowers: daffodils, hyacinths, violets, tulips, and azaleas. Keep reading to see how to roll paper beads to make your own stunning jewelry out of paper.
See also: ‘DIY paper Easter basket template’ »
DIY paper beads jewelry ideas inspired by spring flowers
ASTROBRIGHTS® Papers asked me to design a paper project for them that’s inspired by spring. Spring comes super late here in Chicago yet I still find myself constantly scanning the ground for little peeks of green that signal early spring flowers are on their way. After months of Chicago snow and chapped skin and boots and hats, early spring flowers really make me happy because they show that the earth is waking up again. So I decided to share some paper beads DIY ideas with you that celebrate these resilient and colorful spring flowers.
You can easily create your own spring flower DIY paper bead jewelry in a few easy steps with ASTROBRIGHTS Papers. Just download my free paper bead printable template over at Astrobrights, print onto your chosen bright colors, cut, roll, and glue. String the paper beads onto embroidery floss or elastic thread to make paper bead necklaces and bracelets inspired by spring. I’ll show you how, step-by-step.
++++
Let’s start with a few basics about making jewelry out of paper beads:
What are paper beads?
Paper beads are simply beads made from paper. Paper beads have been around for generations when people saved scrap bits of paper and wallpaper, magazine pages, you name it to create their own DIY jewelry. It’s a great way to use scraps of paper for no waste, and they’re fun and easy to make on your own.
How do you make paper beads?
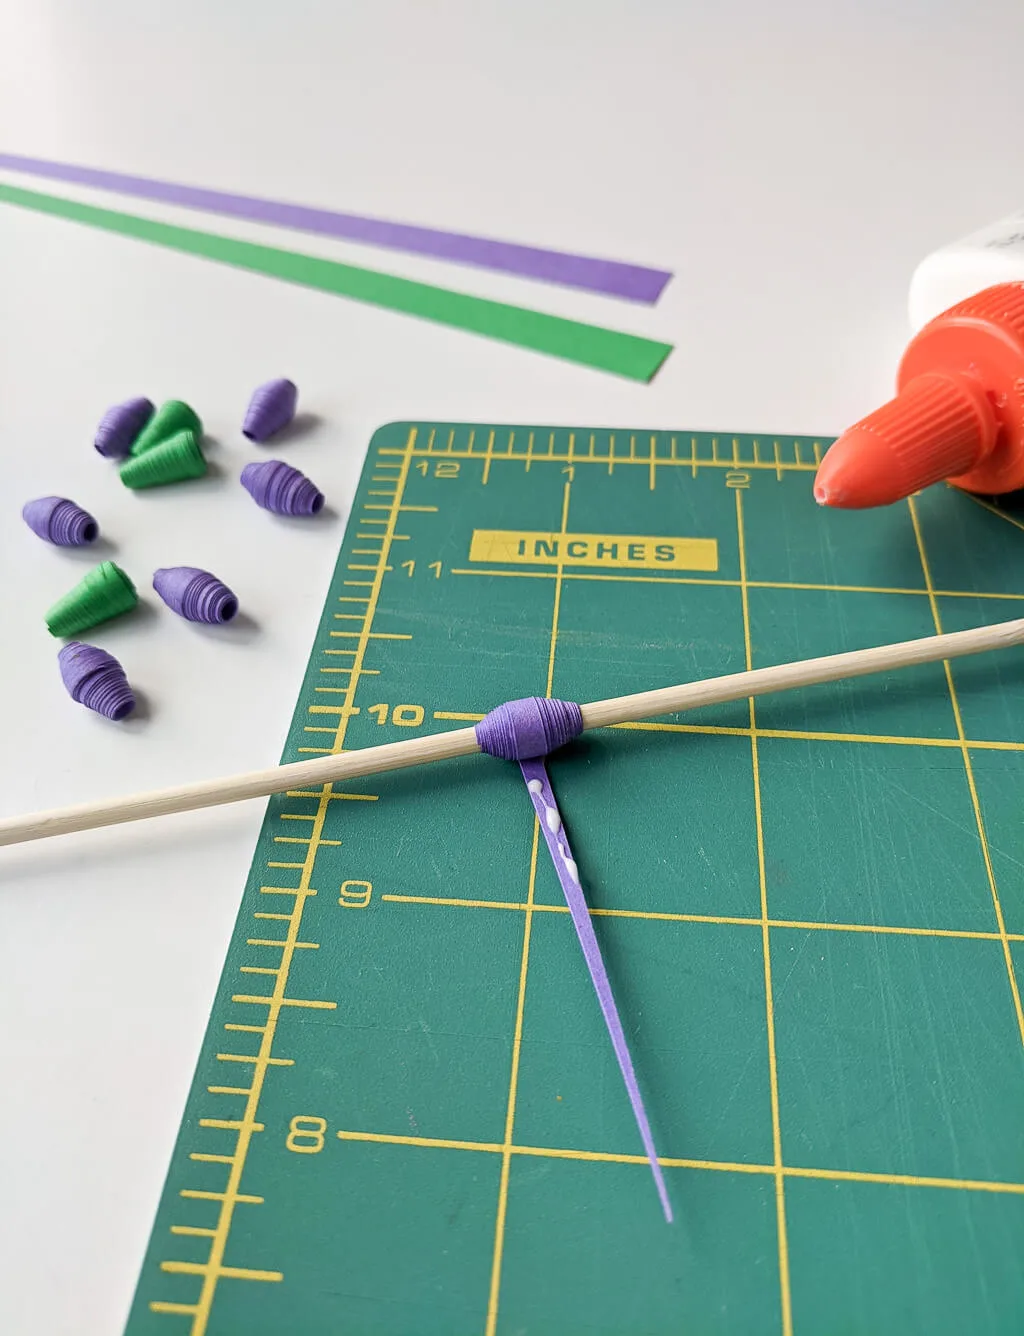
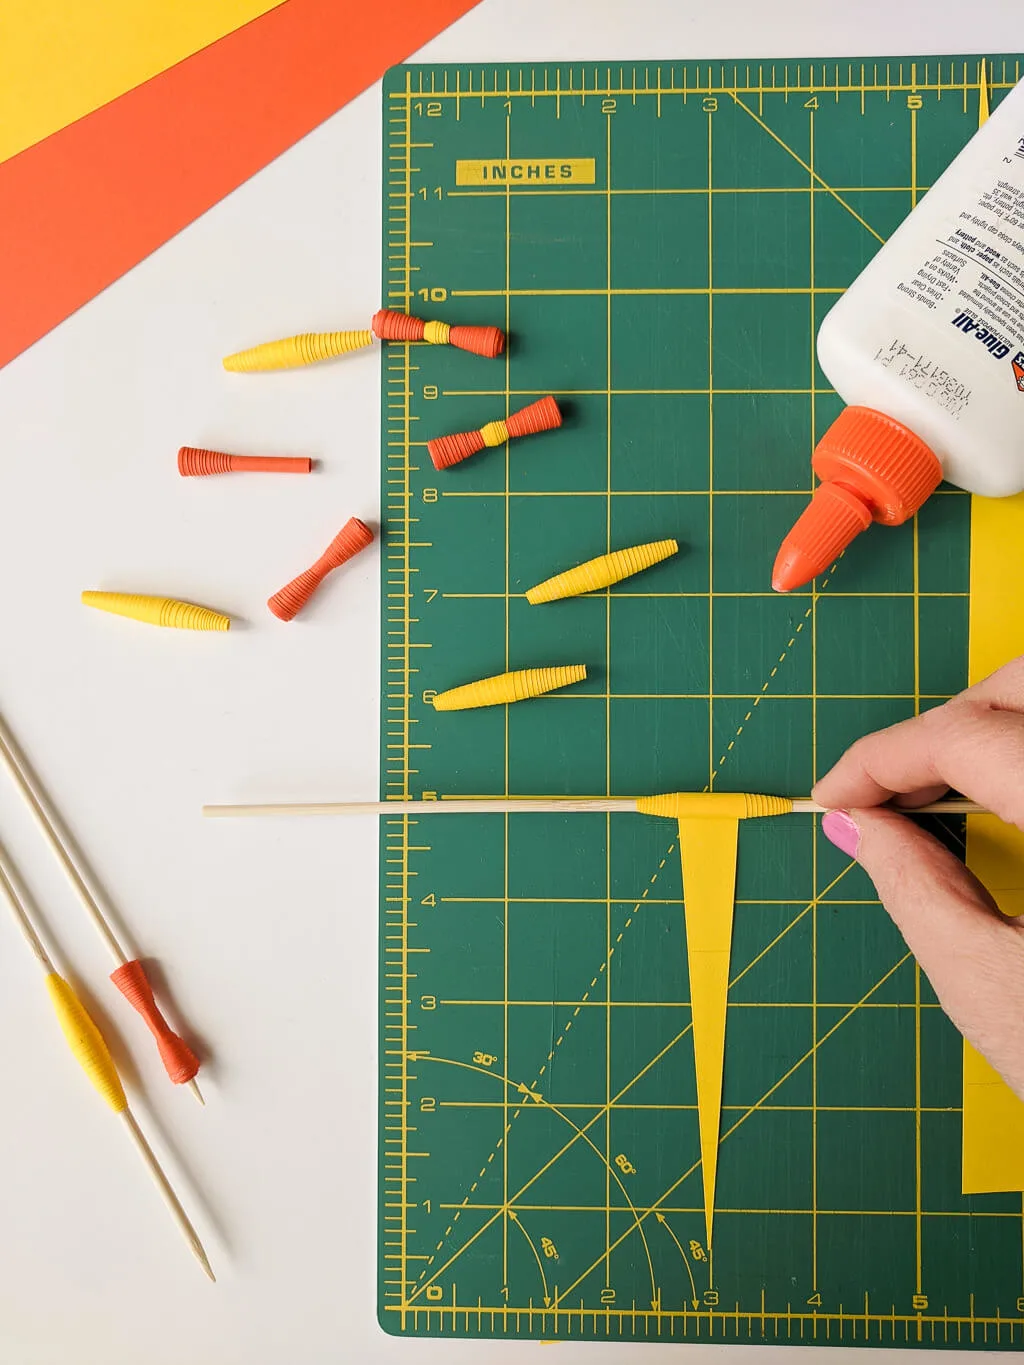
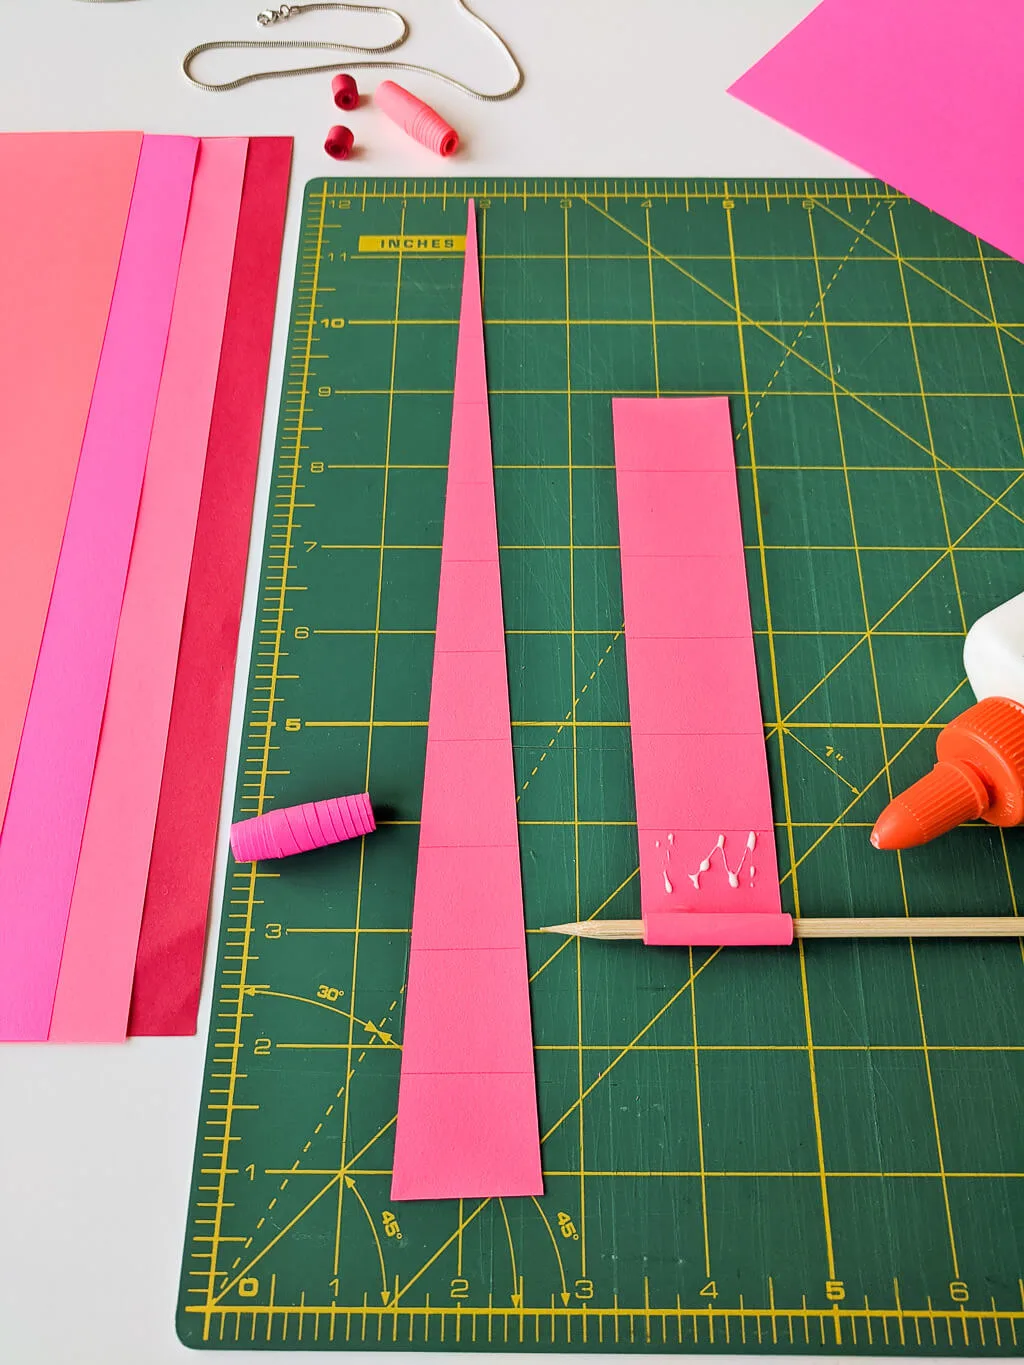
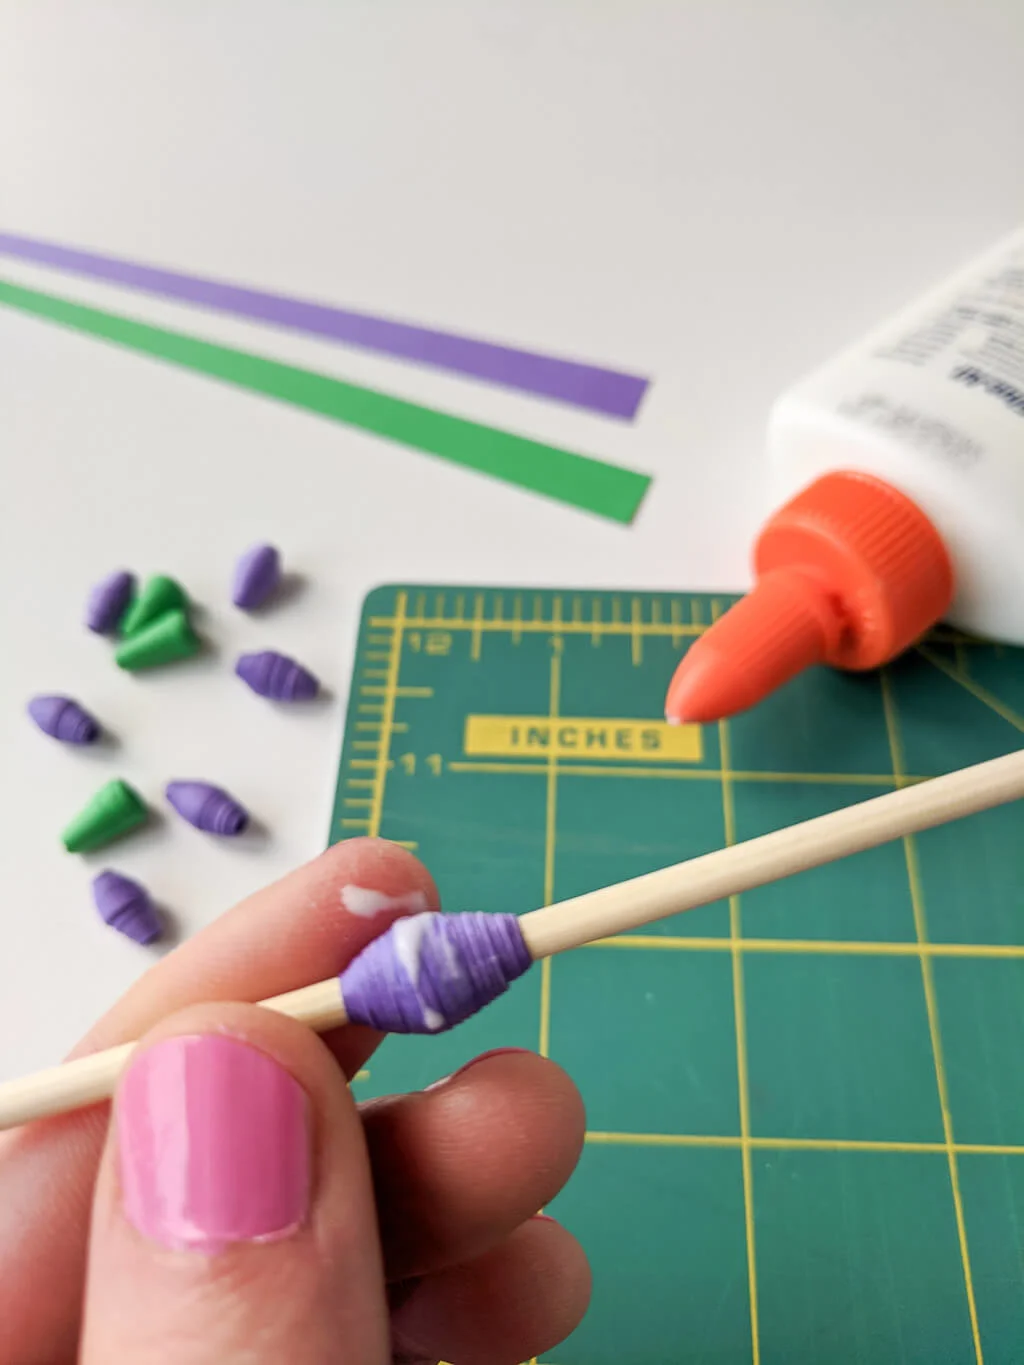
So, how do you make jewelry out of paper? Tightly roll strips of paper onto wooden skewers, dotting a bit of glue along the way as you roll. When you get close to the end of the paper, dot some extra white glue on the seam and thinly spread it on the bead and allow the paper beads to dry. I will show you this process in step-by-step detail at Astrobrights.com.
What are the measurements for paper beads?
You can actually choose any measurement for your paper beads. I like to start with letter-sized paper and cut paper strips both 11″ long and 8.5″ long and play around with widths. Equilateral triangles will make round paper beads. Right triangle strips of paper will make cone-shaped beads. Rectangle strips of paper will make cylindrical beads. Long strips of paper make more graduated beads. Short strips of paper make fatter beads; alternatively, you can roll a rectangle strip first to make a cylindrical bead and then top it with an equilateral triangular strip of paper to make a super chunky bead like I did for my tulip necklace below. There are free paper bead templates to print — you can download my free printable paper bead templates to make the same measurements that I made or use as a jumping off point to experiment.
++++++
What craft supplies do you need for making DIY paper beads for necklaces, bracelets, and earrings?
- ASTROBRIGHTS® Papers Spectrum Pack
- Paper scissors and optional craft knife, metal ruler and self-healing mat
- Wooden skewers
- School glue
- Silver chains or embroidery floss to make necklaces, elastic string to make bracelets, silver hoops to make earrings
- Optional gloss spray sealant or matte spray sealant for extra protection
Where can I download paper bead templates to print?
Head on over to Astrobrights for my step-by-step paper beads tutorial. I’ll show you how to roll paper beads – both round beads and cone beads. No need to figure out any measurements — you can just print my template, cut out, and roll.
++++
Paper bead jewelry DIY ideas inspired by spring flowers
Here are my four unique paper bead jewelry ideas that you can make for yourself or your loved ones. Paper bead jewelry makes a great DIY Mother’s Day gift, so pick your favorite flower-inspired DIY jewelry idea below and start rollin’ 😀
Idea #1: Make a cheery paper bead necklace DIY idea inspired by daffodils
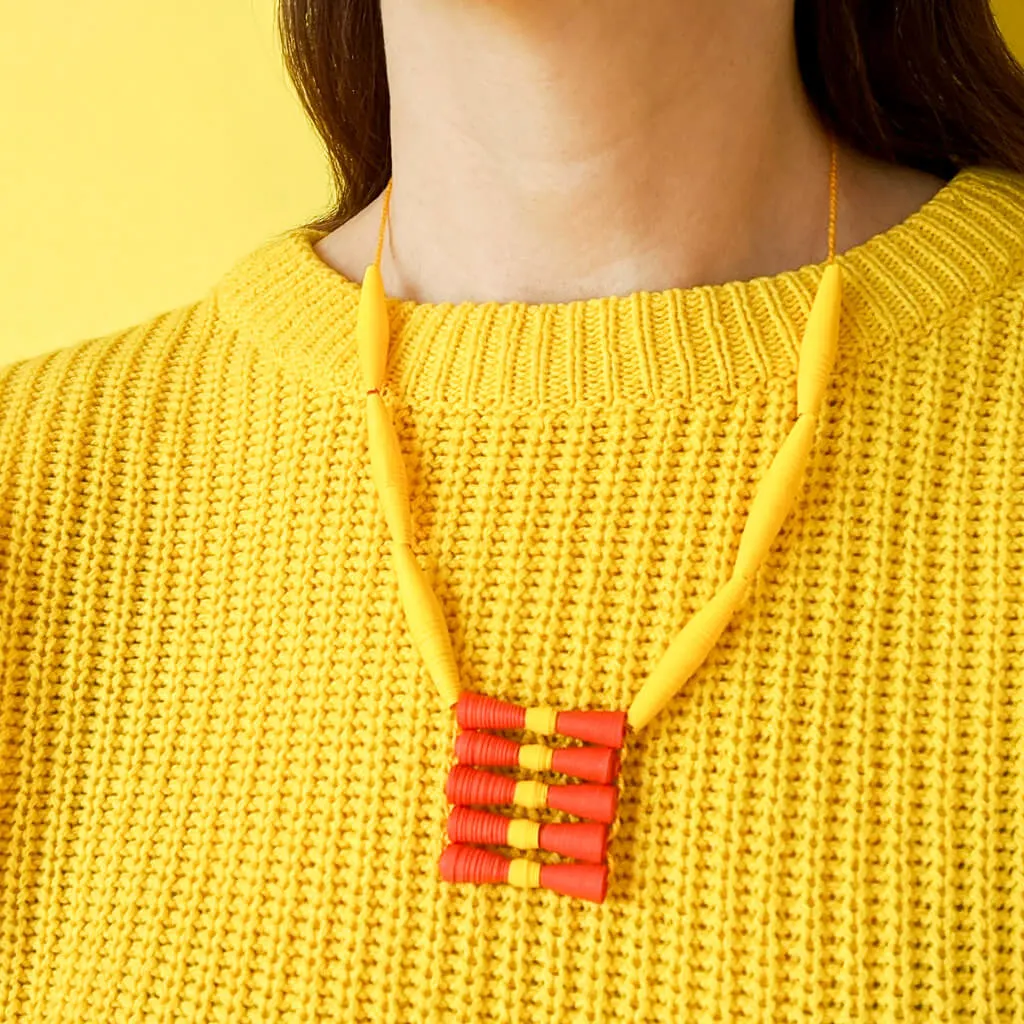
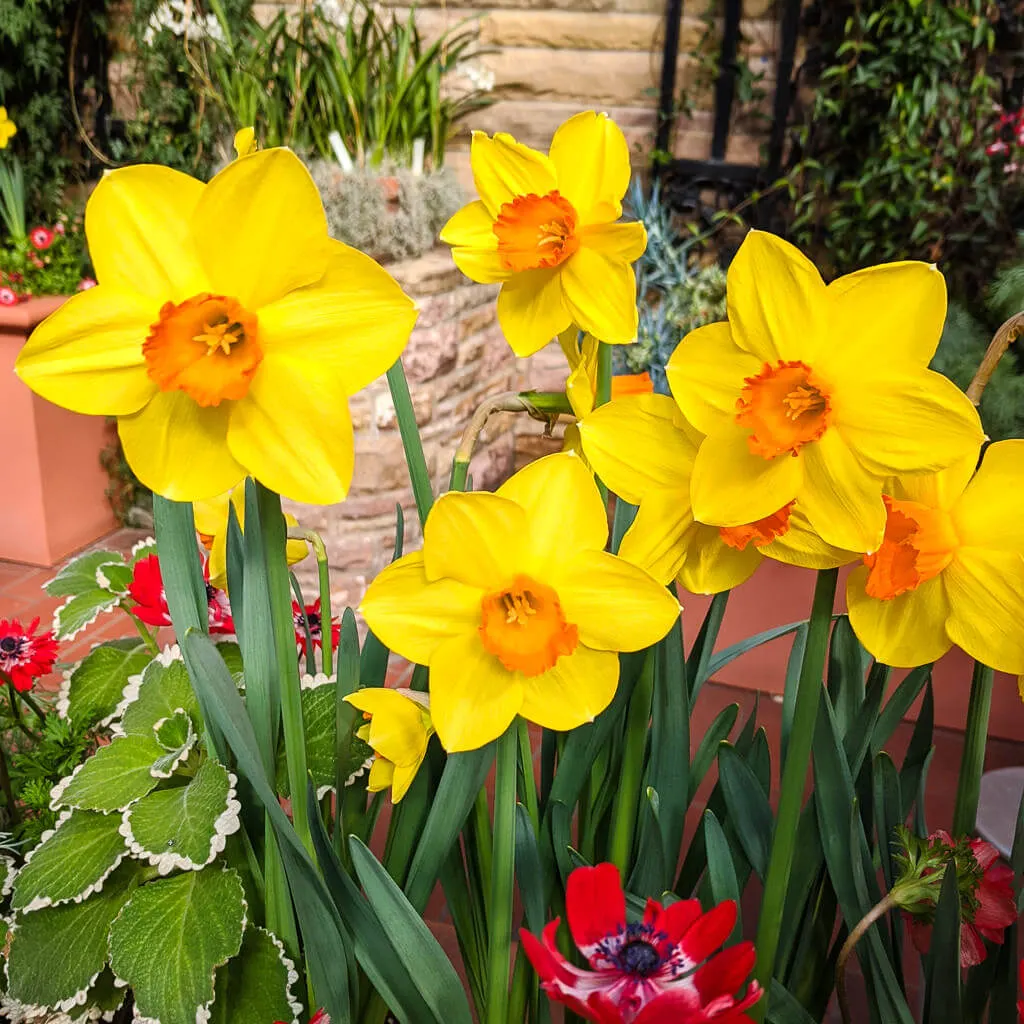
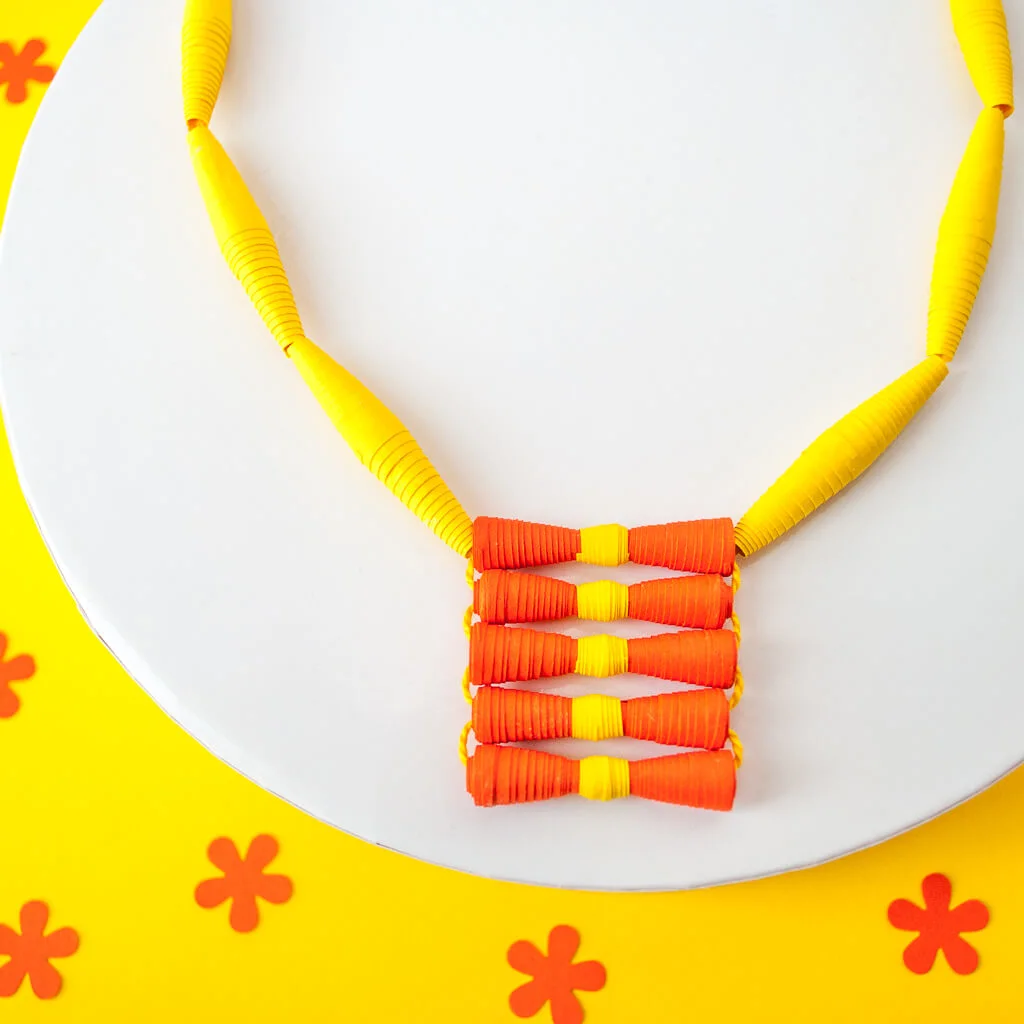
First, I designed a cheery daffodil necklace with long Sunburst Yellow™ paper bead ‘petals’ and an Orbit Orange™ cup center. Daffodils remind me of my dad. He planted tons of daffodils in the front yard where I grew up, and they inspired him to make this amazing daffodil stained glass window. I think of him every time I see a daffodil peeking up from the ground.
Idea #2: Make DIY delicate paper bead bracelets inspired by hyacinths & violets
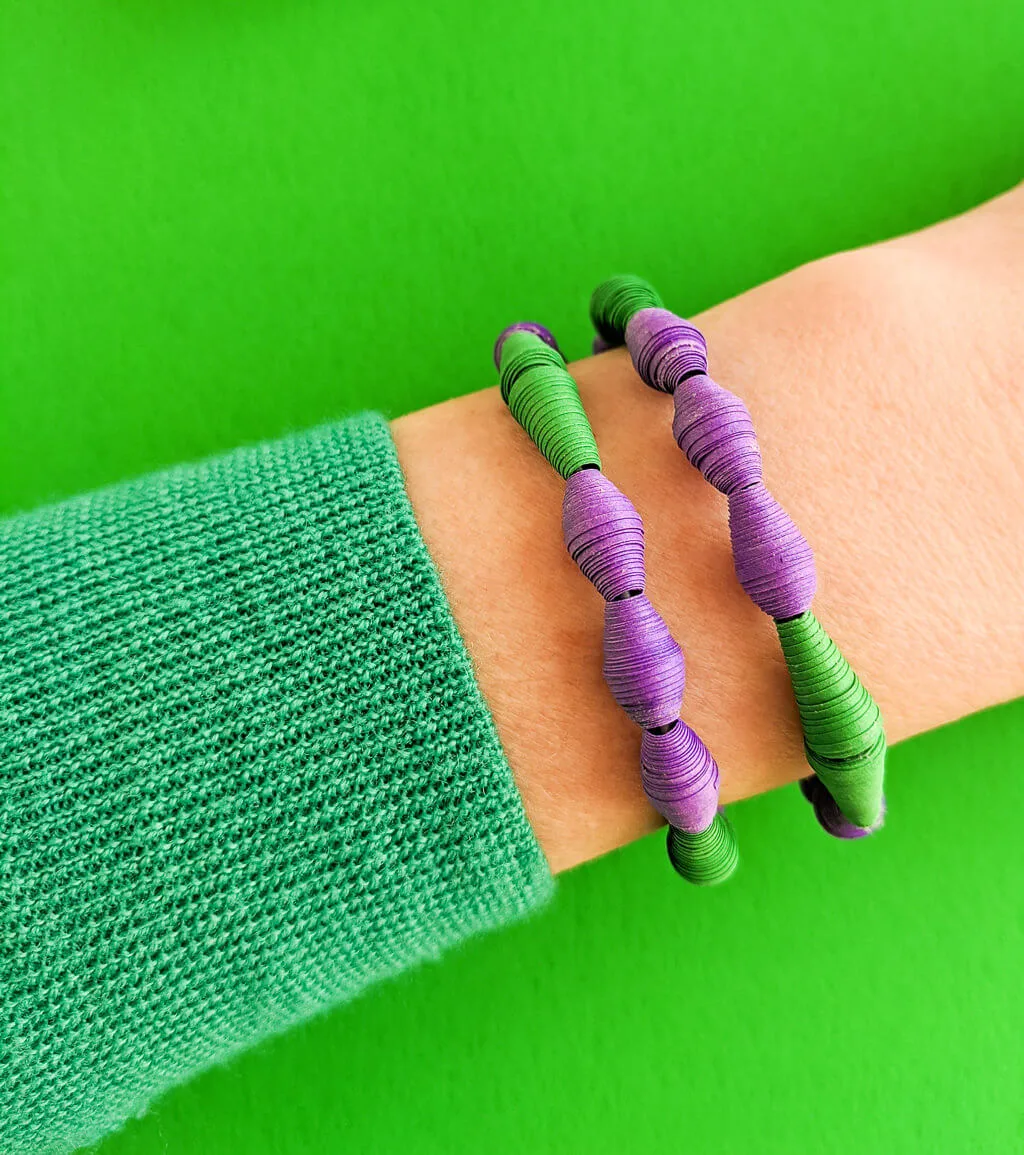
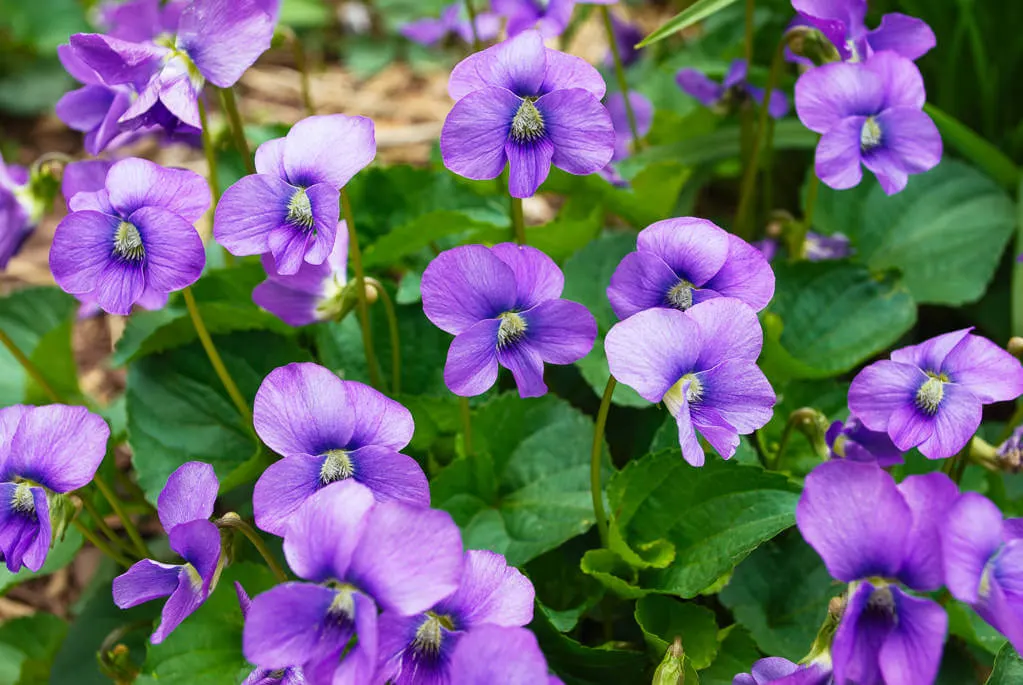
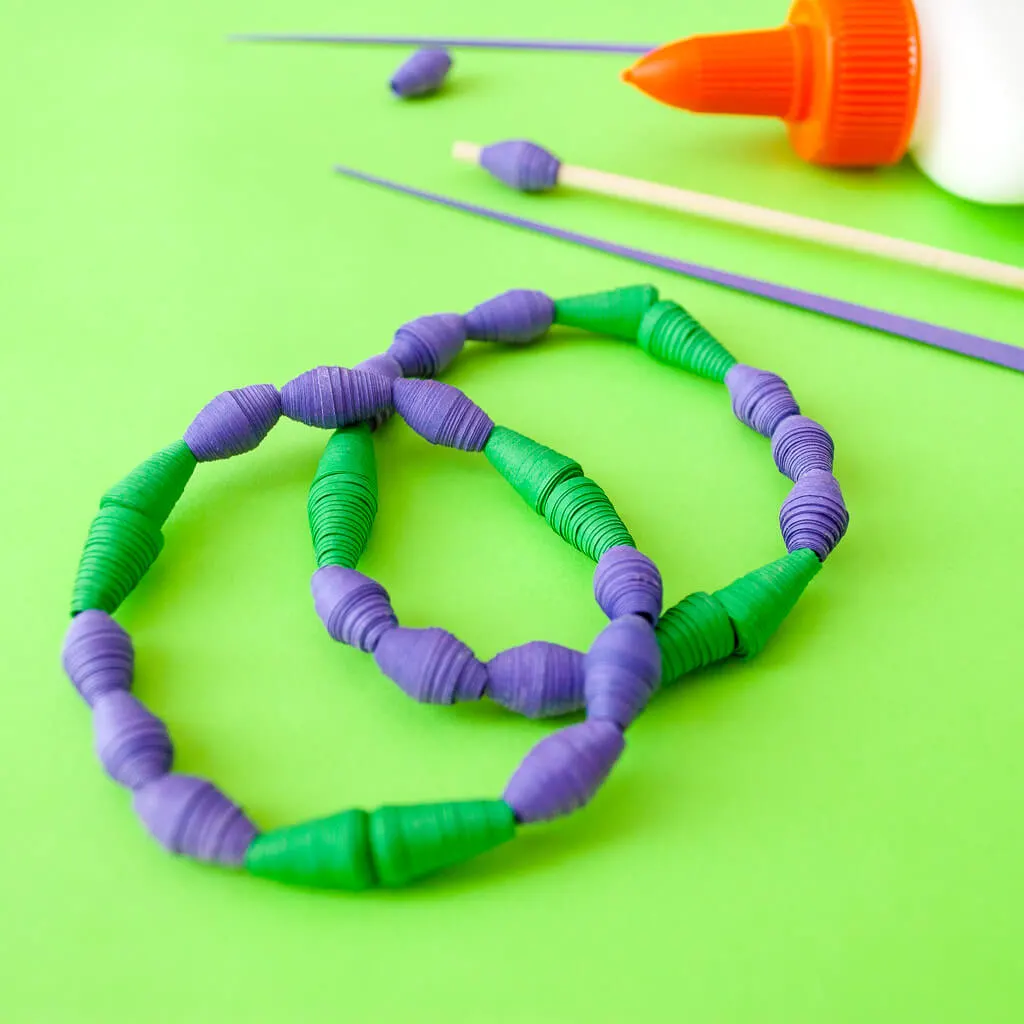
Next, I designed delicate hyacinth bracelets with deep purples and splashes of green. My paper bead hyacinths come in bunches: three stacked Gravity Grape™ flowers with one Gamma Green™ stem for each hyacinth stack. You could also choose to add a little Planetary Purple™ or Venus Violet™ to make paper bead bracelets inspired by an ocean of violets in bloom.
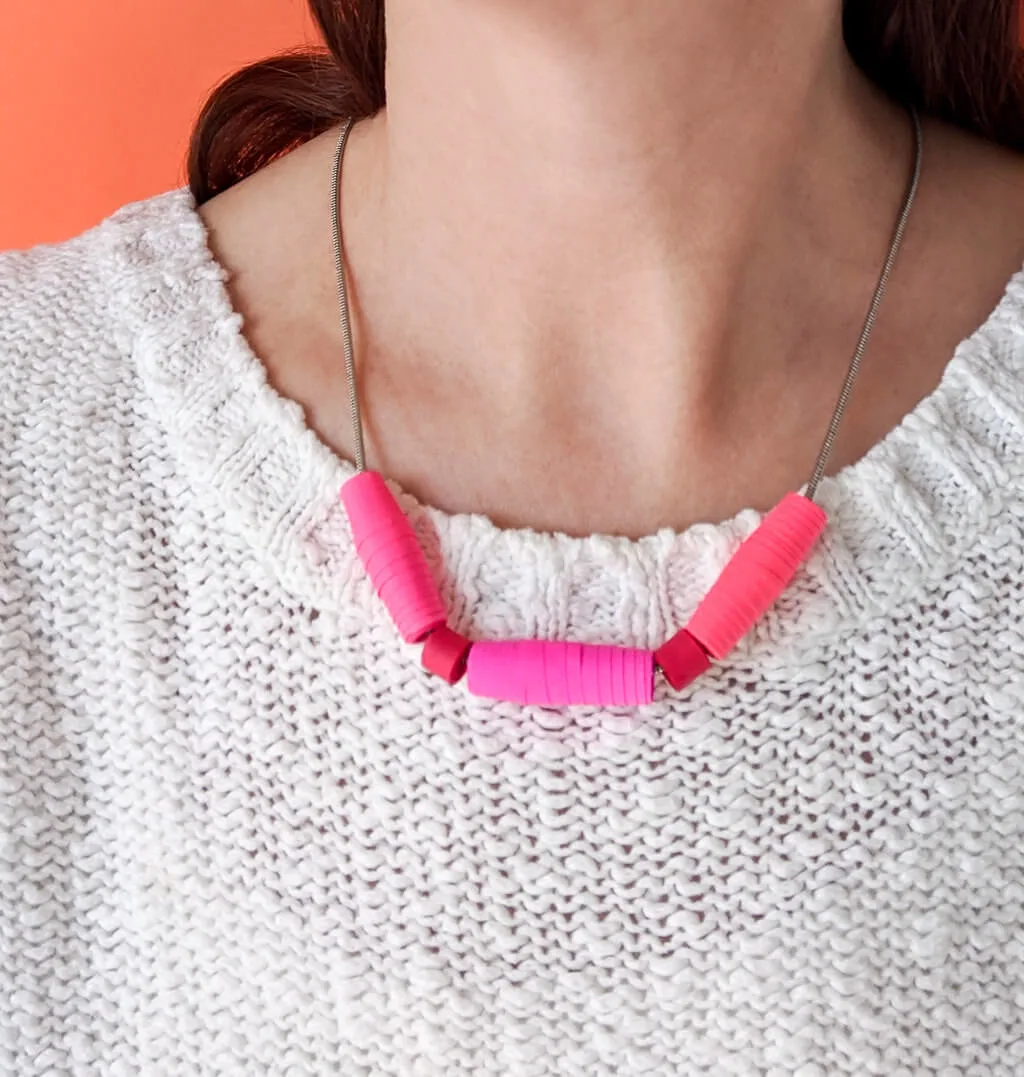
Idea #3: Make a bold and chunky DIY paper bead necklace inspired by tulips
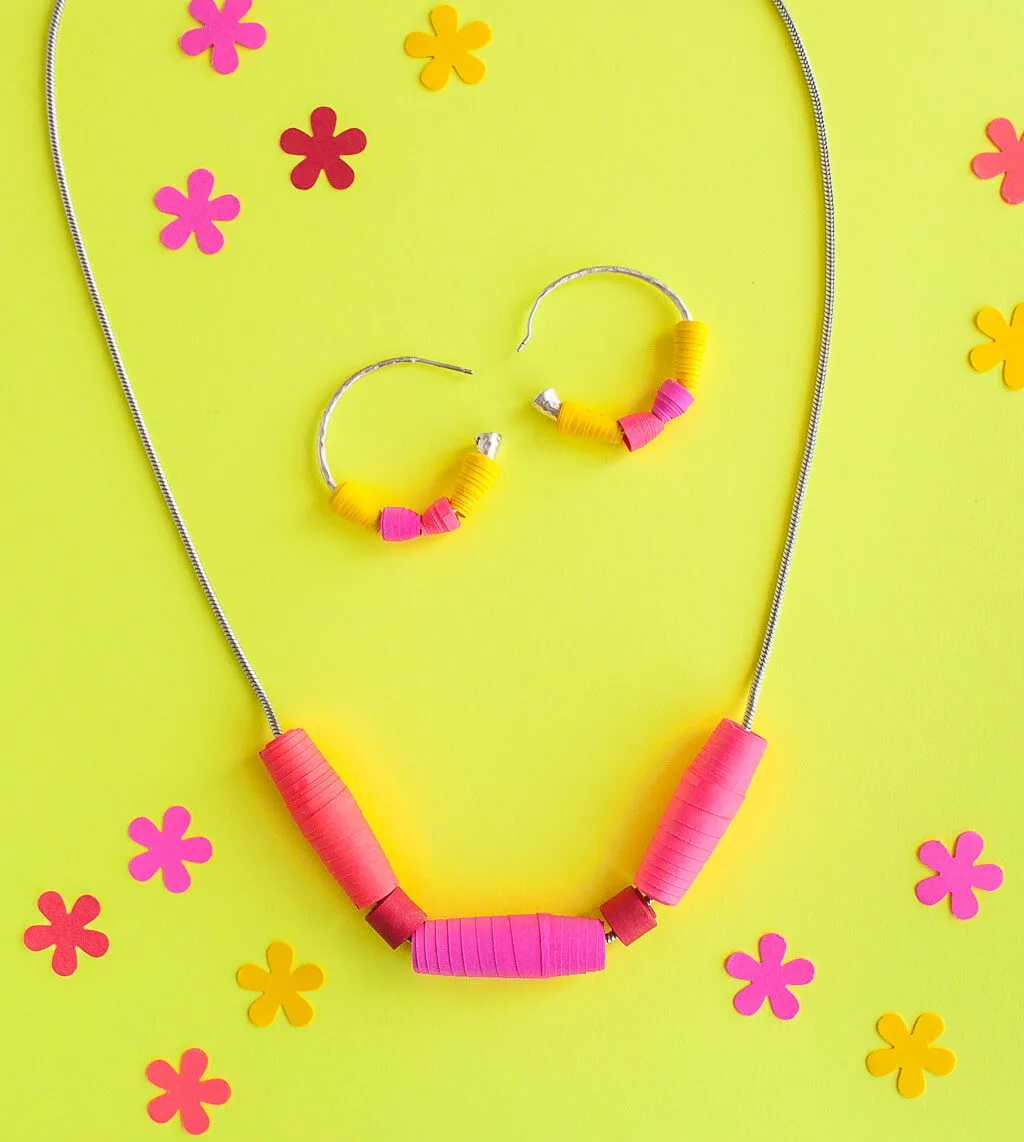
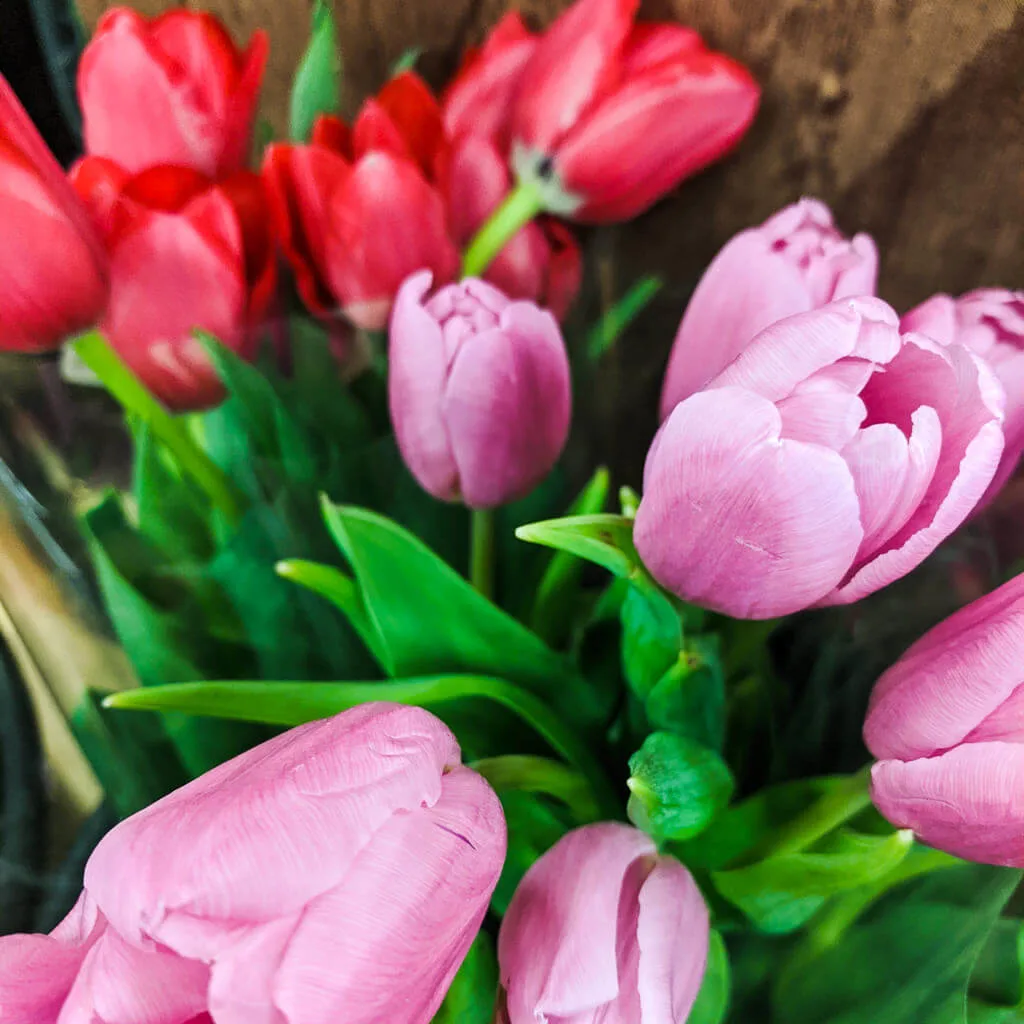
Tulips are one of my top favorite flowers across all seasons so I was doubly-inspired. Tulips are large and showy, so I made a pink and red chunky necklace inspired using Fireball Fuchsia™, Plasma Pink™, Rocket Red™, and Re-Entry Red™.
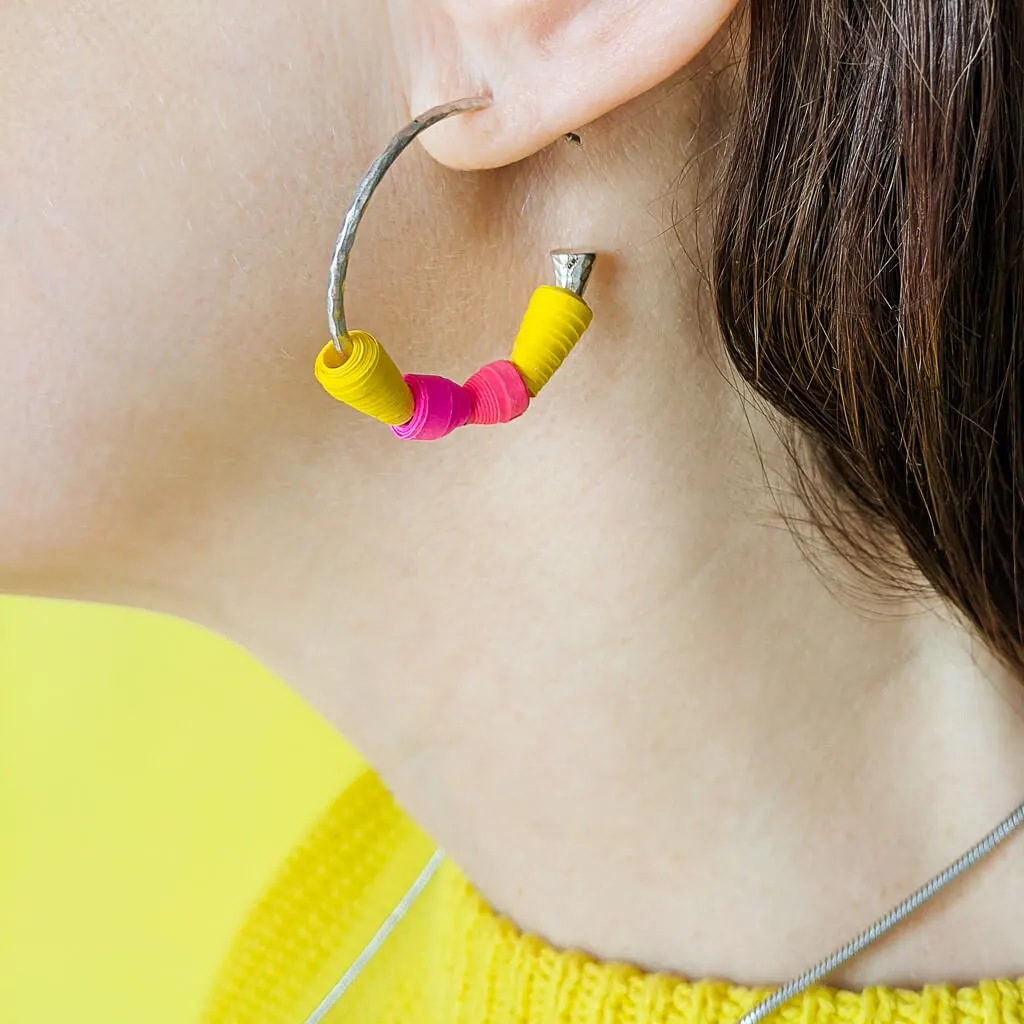
Idea #4: Make easy DIY paper bead earrings inspired by azaleas and tulips
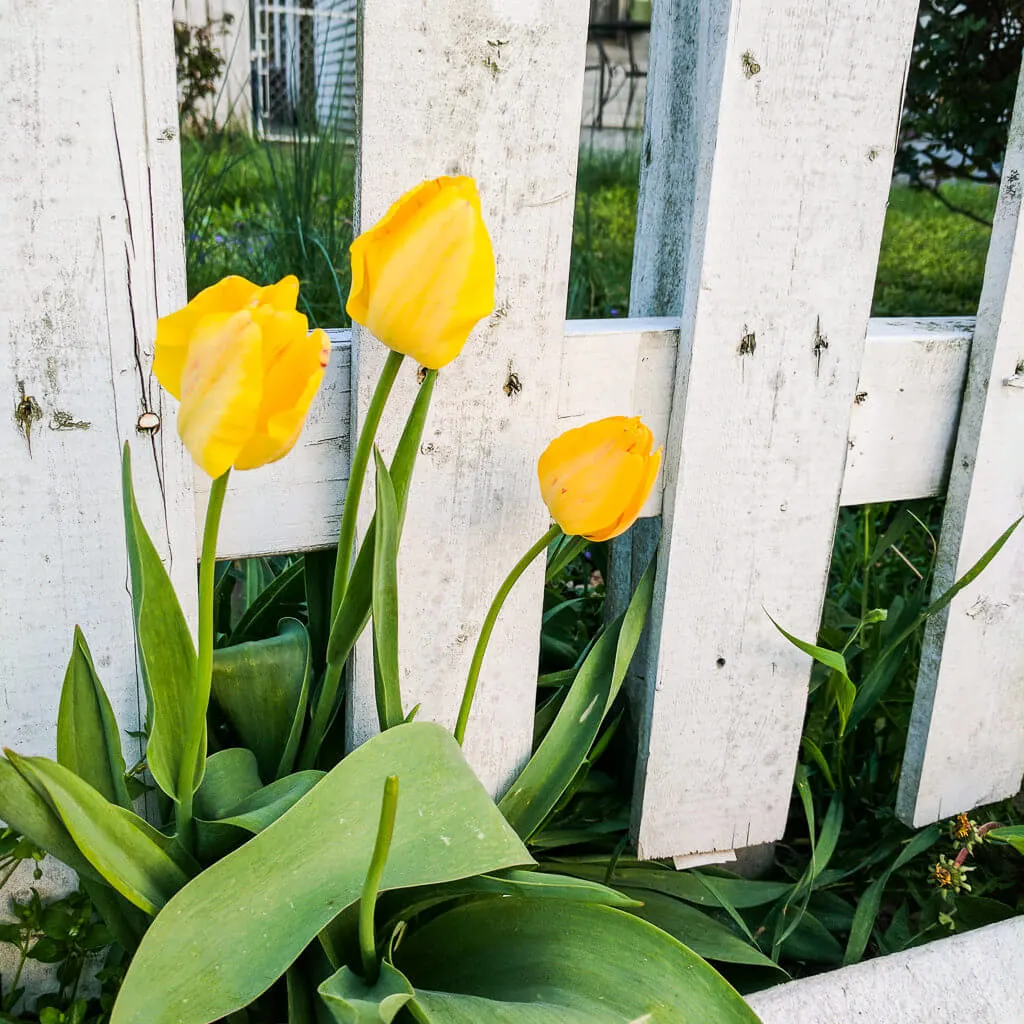
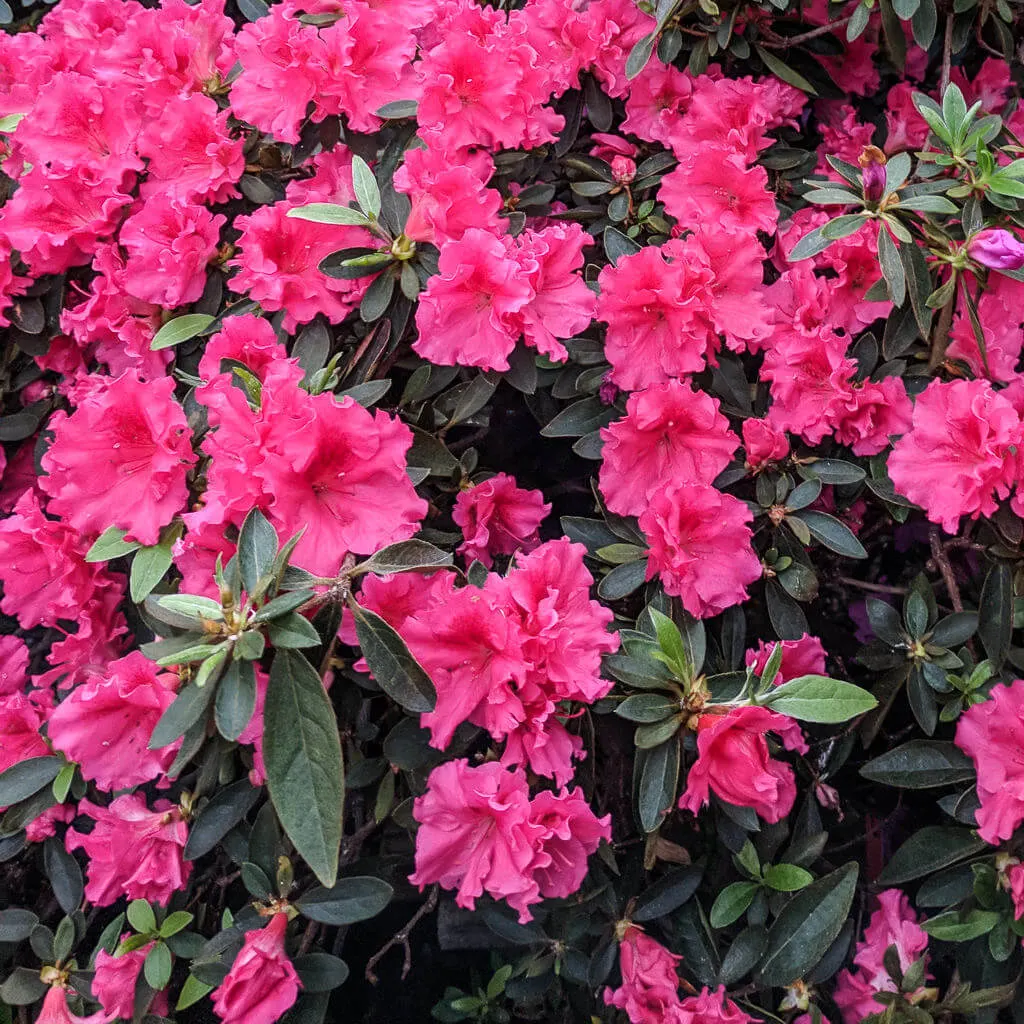
Well, I love tulips so much that I was doubly inspired. I designed a pair of vibrant earrings inspired by yellow tulips and pink azalea shrubs using Sunburst Yellow™, Fireball Fuchsia™, and Plasma Pink™. I slipped teeny paper beads onto my silver hoop earrings. That’s it! Making paper bead earrings was so easy that I’ll be mix-and-matching paper bead colors on my silver hoops all year long.

++++
Here are more tips to help you successfully make paper beads:
How to you make round paper beads?
You can make round paper beads by cutting out symmetrical equilateral paper triangles. My free paper bead printable templates at Astrobrights include guide lines that help ensure you’re rolling round beads symmetrically. Use my template with round beads in several shapes and sizes to make sure your round beads actually turn out round.
How do you roll paper beads?
I recommend starting with cone beads first while you’re get the hang of rolling. For cone beads: Line up the straight outside edge as you roll. For symmetrical round beads: You’ll notice that there are faint light gray lines on my paper beads printable templates — be sure to line those up as you roll to keep your paper beads even and symmetrical. For extra chunky beads: roll a straight core onto the skewer first. Then layer on a triangle piece for extra bulk. I cover all of this in my template.
Where can I get free paper bead templates to print?
You can get my free paper beads templates to print over at Astrobrights.com. My templates include round paper beads, cone paper beads, chunky beads, and several different sizes.
How to you make paper beads waterproof?
Paper beads are, well, made from paper so it’s a good idea to seal them to protect the beads. You can choose gloss spray sealant or matte spray sealant; I chose matte finish for my spring flower beads for a more realistic look. Spray the sealant on the beads and let dry. Even sealed beads should be protected from drenching spring rains, so be sure to pack that umbrella.
How do you make paper beads shiny?
You can either seal your paper beads with gloss spray sealant or alternatively, use clear nail polish for super glossy beads.
++++
Be sure to pin this paper bead jewelry DIY for later:
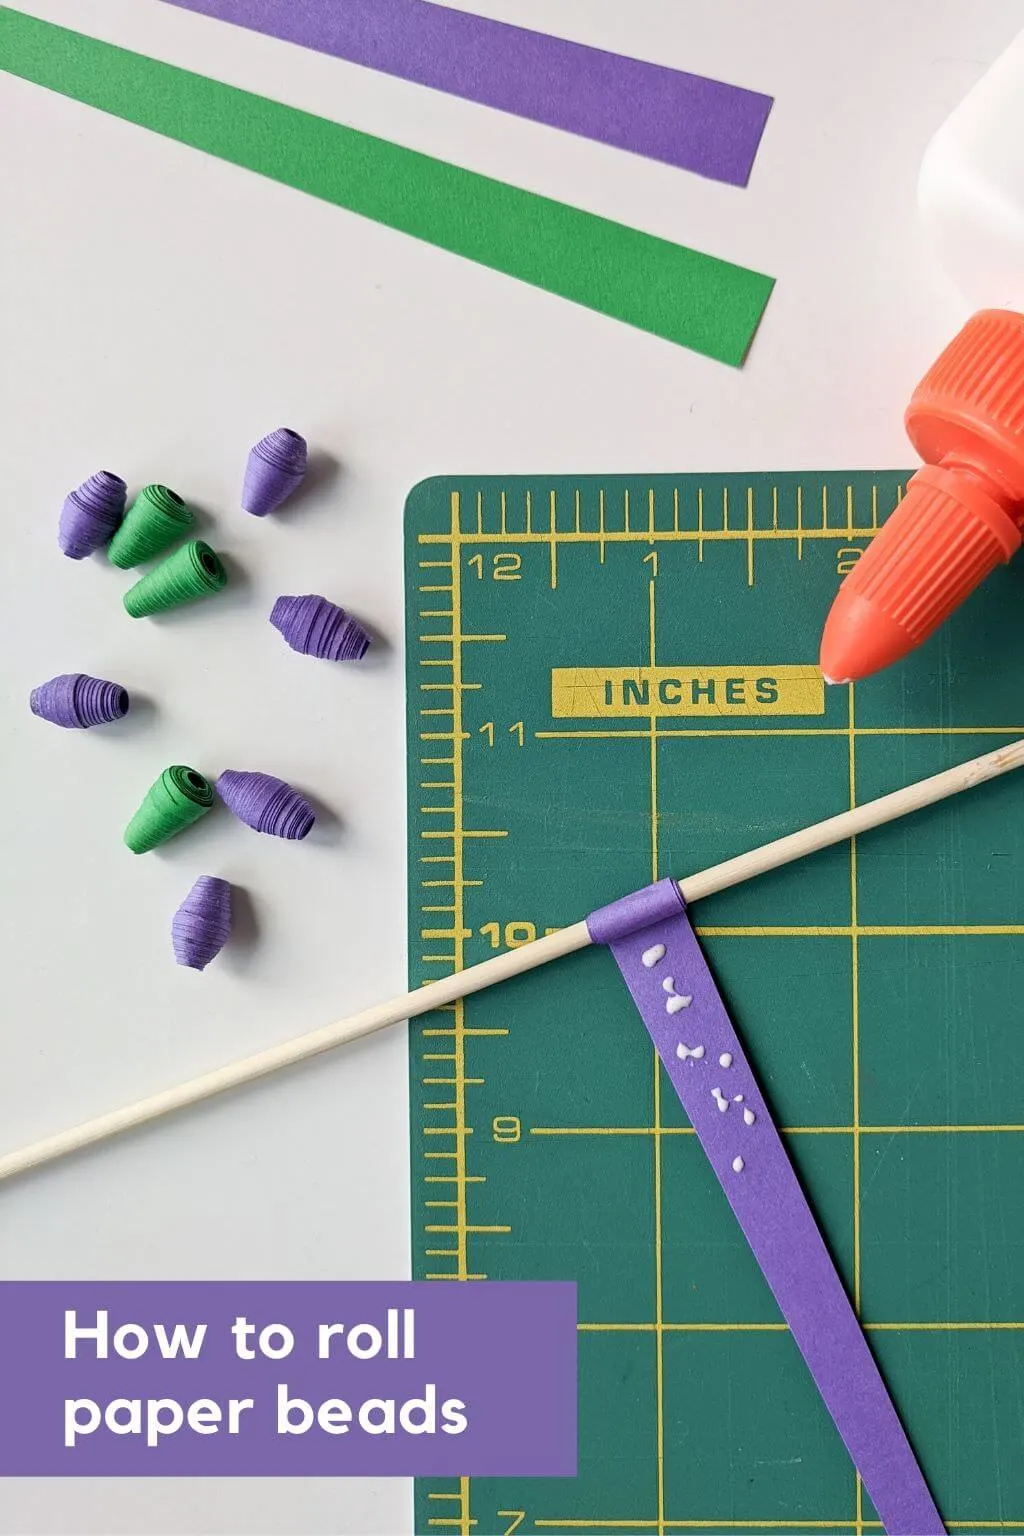
I hope you enjoy making your own DIY paper bead necklaces, bracelets, and earrings inspired by my favorite spring flowers. I love the creative potential in this project — you can totally make paper bead jewelry any way that you like. Paper bead jewelry makes a great DIY gift idea for Mother’s Day, so be sure to download my paper bead templates and start rolling your favorite colors of Astrobrights Papers. Welcome, spring!
++++
And be sure to see more paper crafts, DIY accessories ideas, and DIY ideas for spring.
—
Like it? Share it!
The nicest way to say you like it is to pin it on Pinterest, post a comment, follow Merriment Design on Facebook, Pinterest, Instagram or sign up for monthly emails. Enjoy! 🙂
Copyright stuff: You’re more than welcome to use this free project and tutorial for personal use. Contact me for commercial use and Etsy sales.
