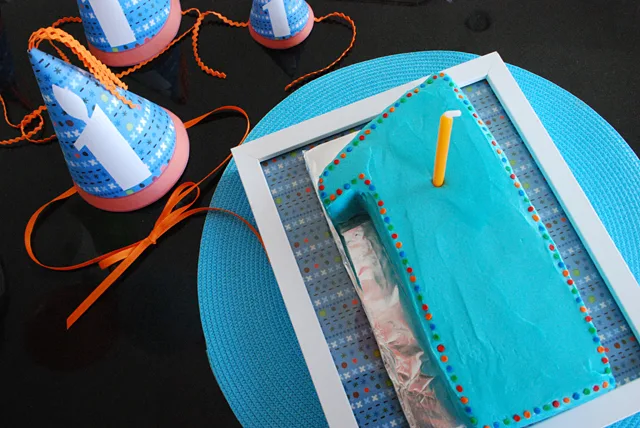
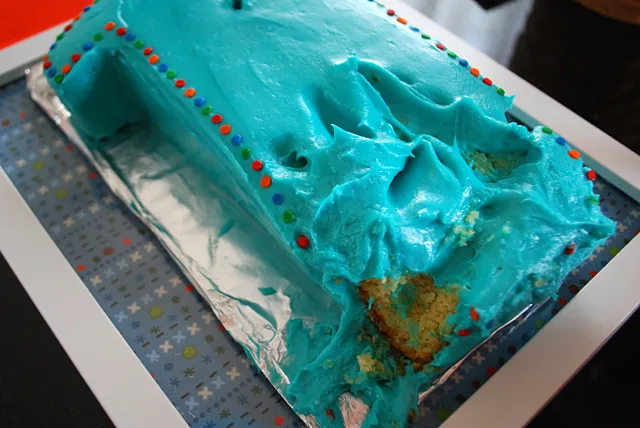
This number one 1st birthday cake is so easy that you won’t need to buy a #1 shaped cake pan. In fact, you won’t need a cake pan at all!
You may remember that I made a pact with myself to start making my kids’ birthday cakes, come hell or high water. And I resisted the urge to order Liam’s number one 1st birthday cake from my favorite neighborhood bakery and I’m happy to report that my number one 1st birthday cake turned out pretty darn good.
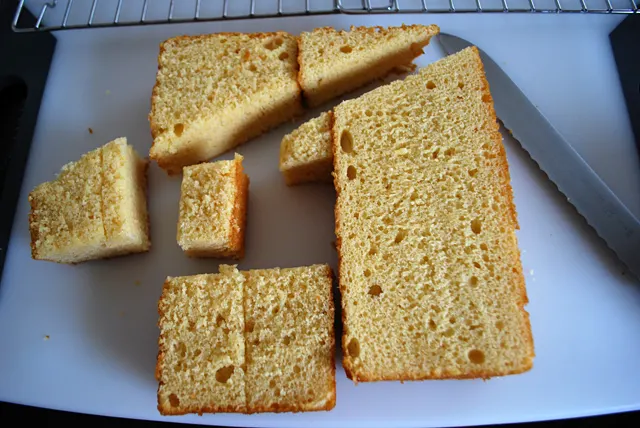
I used a store-bought pound cake and cut it into pieces, using the leftover bits to make letter L-shaped mini birthday cakes and cake balls for party guests.
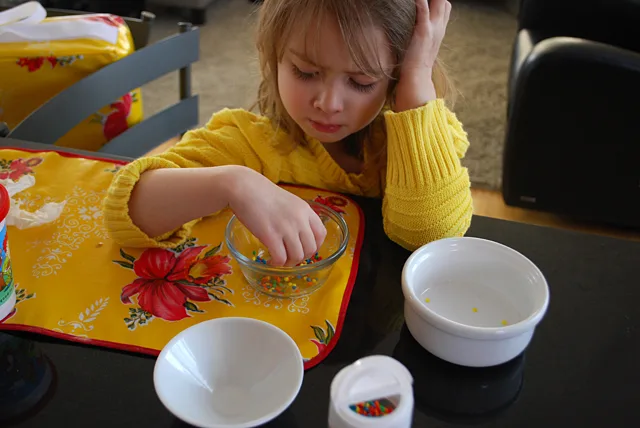
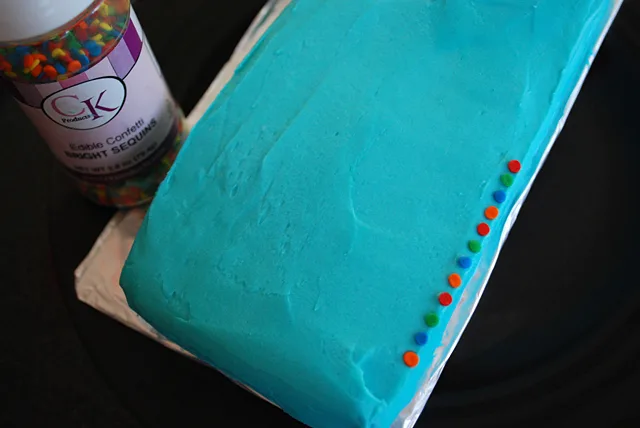
I used a little child labor to help sort out orange, red, blue and green sprinkles while I was whipping up the icing so we could add some polka dots to match the fabric in Liam’s DIY 1st birthday bib.
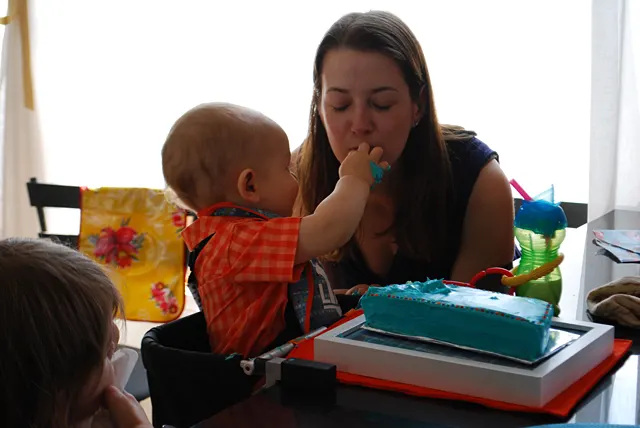
Later at his 1st birthday party, Liam dove right into his number one birthday cake with both of his little hands.
But he also remembered to share a bit of his smash cake with his adoring mommy …yum!
This post contain affiliate links which means that products I recommend may give me a nominal commission at no extra cost to you. Thanks – your clicks help me make more free DIYs!
++++++
Supplies for making a Number One 1st Birthday Cake:
Pound cake
Icing recipe
Food coloring
Serrated knife
Offset spatula
Confetti sprinkles
—
How to make a Number One 1st Birthday Cake:
Buy 1-2 pound cakes depending on the size cake you want to make. After using both fresh and frozen, I’d say frozen is best because it’s easier to cut and ice.
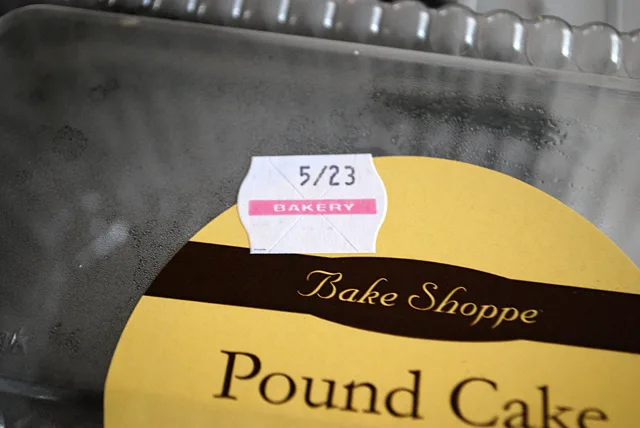
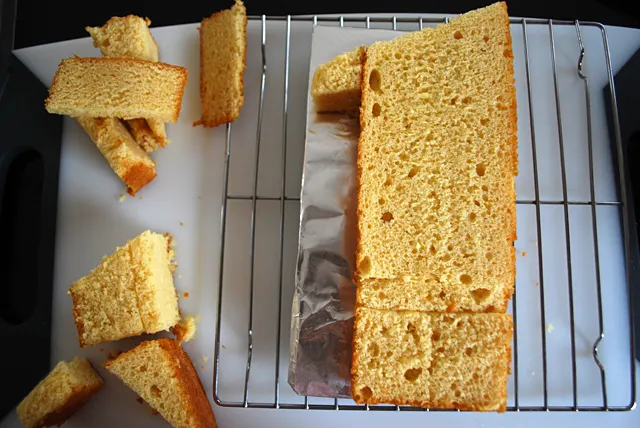
Using a serrated knife, slice off the very top of the pound cake to make it level. Cut off a shallow triangle from the top and add a little piece for the end of the 1.

Add a piece on the bottom to elongate the shape of the one. I put it onto an aluminum foil-covered piece of cardboard; in hindsight I should have made it bigger to center the cake but I’ll remember that next time.
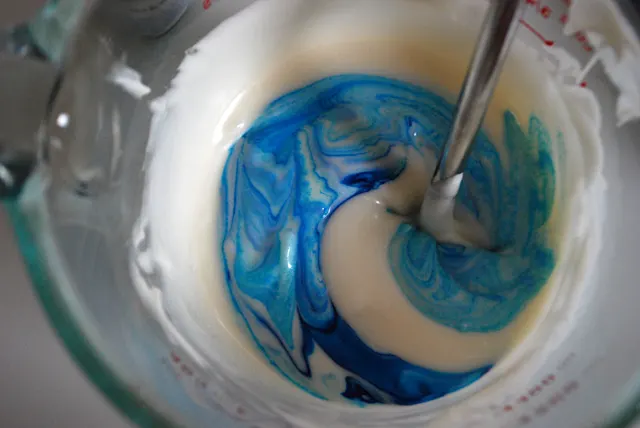
Make your icing. I like the Cakegirls buttercream icing recipe because it tastes so good. Color it up using food coloring.
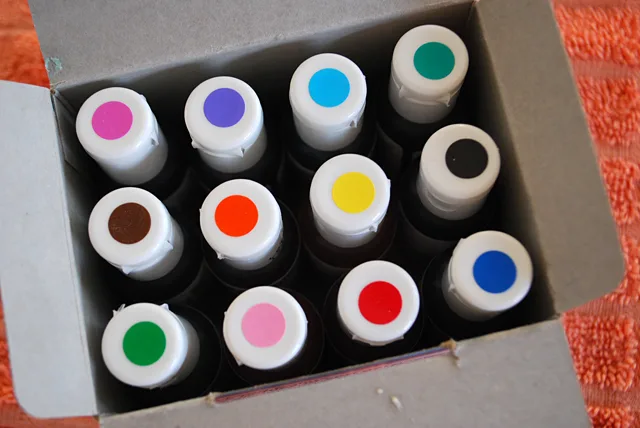
I mixed up some light blue to match Liam’s xoxo Hugs and Kisses birthday theme.
Take I had Elise sort out the colors for me from primary color confetti, what a good big sister.

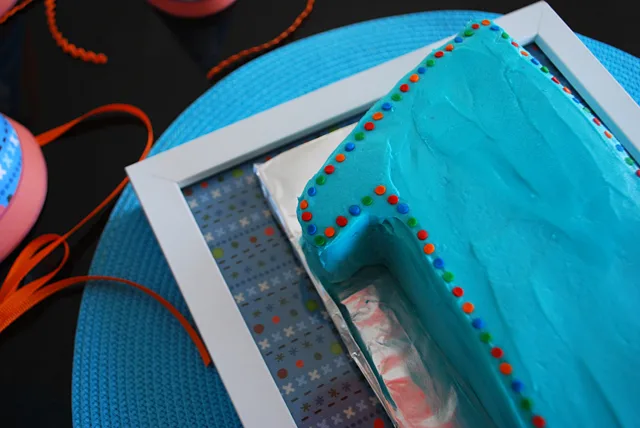
Then I put the confetti around the edge to define the shape a bit more and try to hide my amateur (but yummy!) icing job.
—
Like it? Share it!
The nicest way to say you like it is to pin it on pinterest, post a comment, follow Merriment Design on Facebook, twitter, pinterest, Google+ or sign up for monthly emails. Enjoy! 🙂
Copyright stuff: You’re more than welcome to use this free project and tutorial for personal use. Contact me for commercial use and etsy sales.

Sadaf's Kitchen
Saturday 19th of October 2013
Love this project. I'm planning to make one for my sons first birthday next month!!! Thanks!