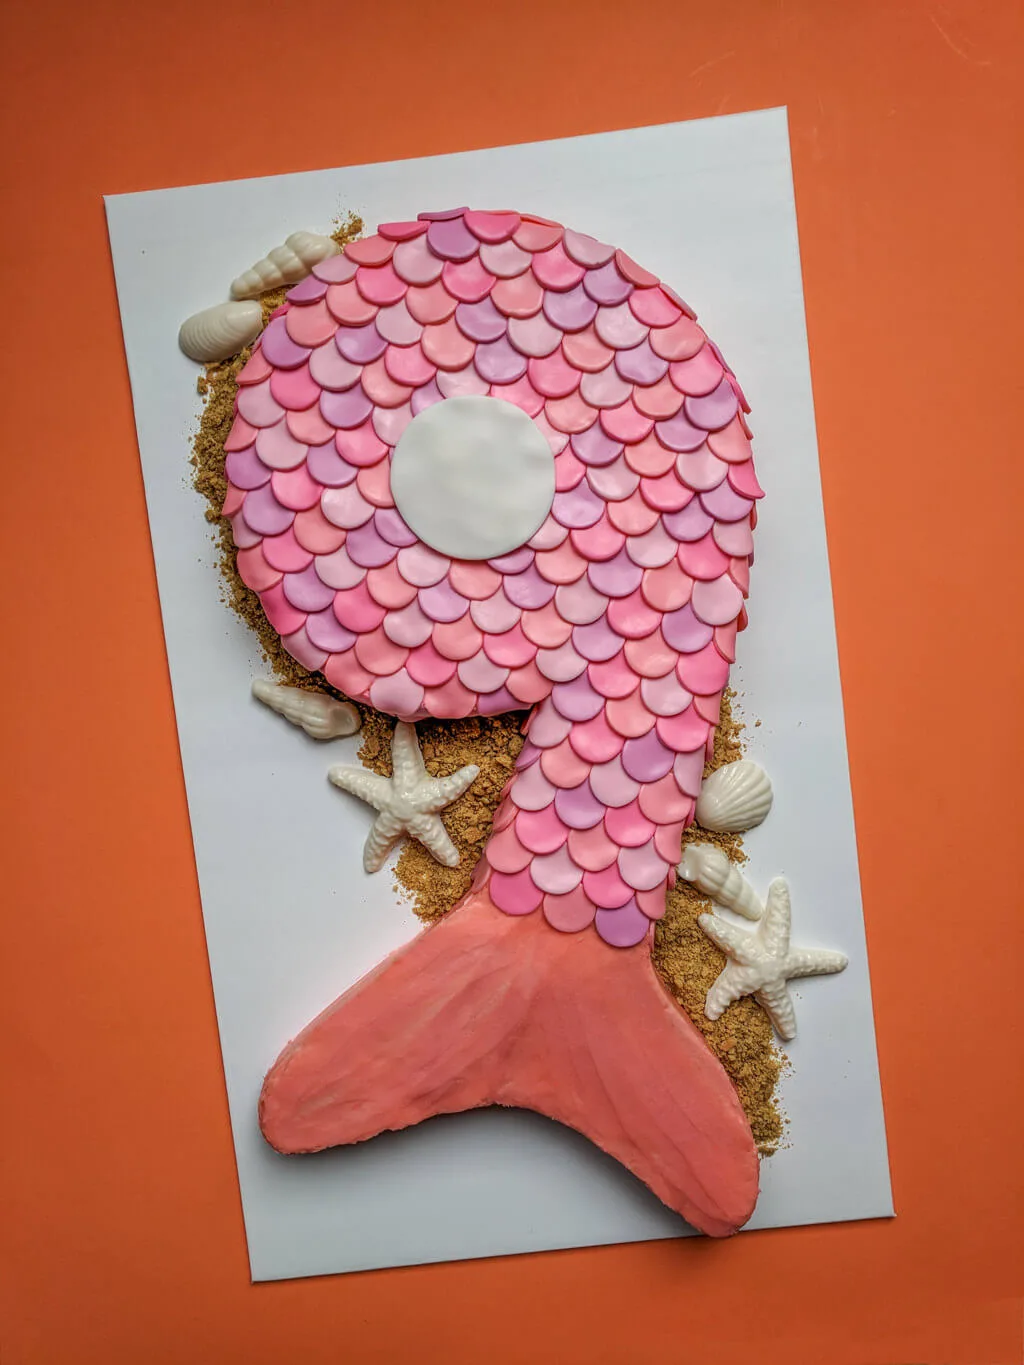
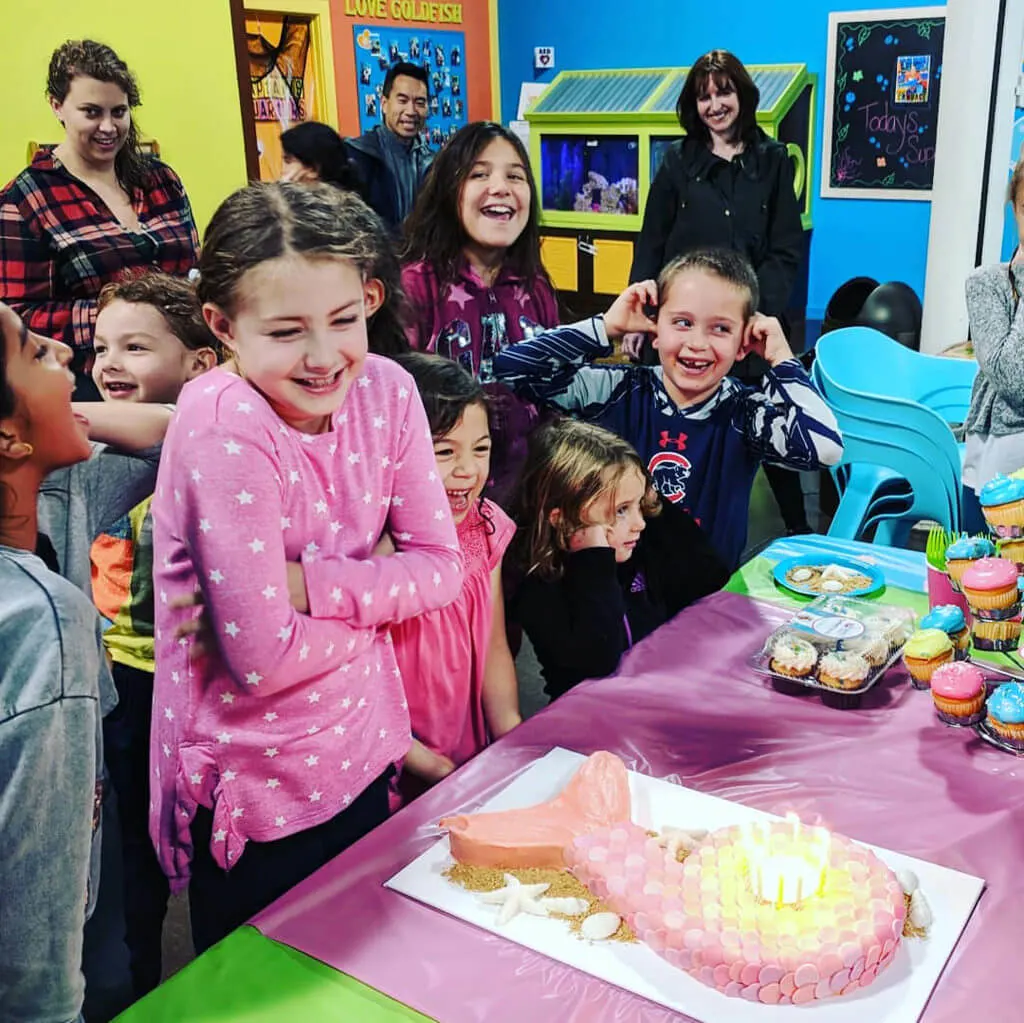
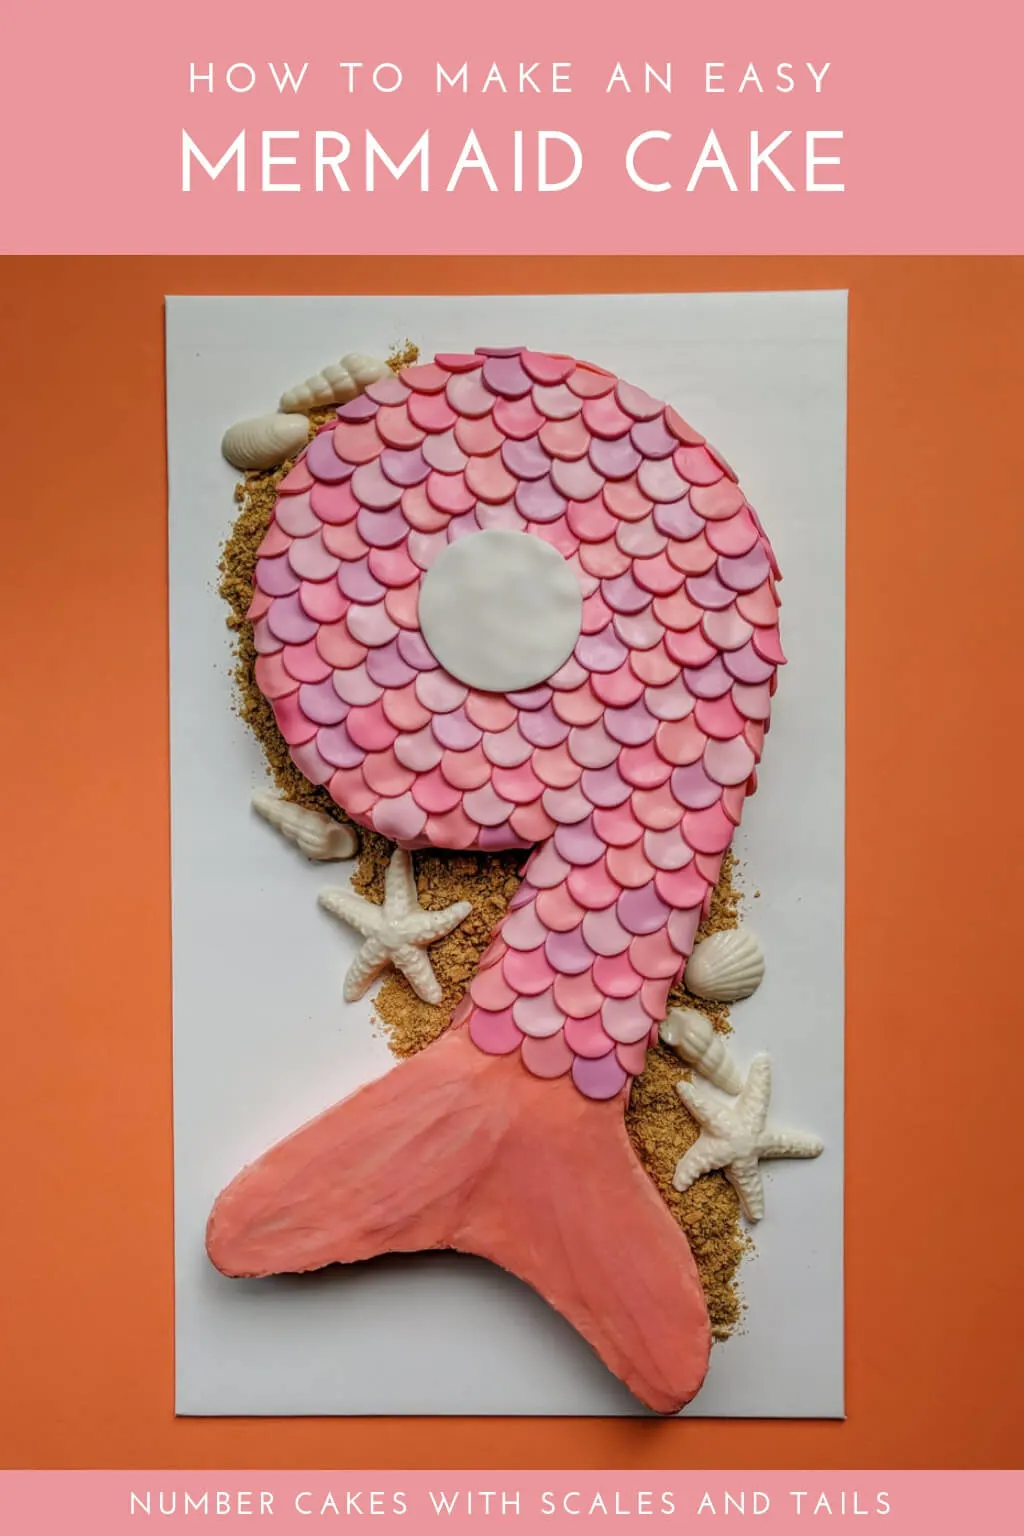
Make my easy mermaid cake with scales and tails, no special cake pan needed! This simple DIY mermaid cake for a birthday is shaped into a number 9 cake with a cute little mermaid tail. Add white chocolate shells and seashells on edible ‘sand’ to complete the beach-y look. Get my free number 9 mermaid cake template below, or make your own number for your own little mermaid.
Easy mermaid cake idea for beginners
I originally planned to sketch several mermaid cake ideas for Elise’s 9th birthday party; this number-plus-tail mermaid cake was my first idea and I loved it so much that I stopped after the first sketch. Two years ago I made Elise a number 7 Magic Tree House birthday cake and last year I made her a number 8 LEGO Friends birthday cake so in hindsight I guess that I’m a little fixated on trying to come up with clever number cake ideas.
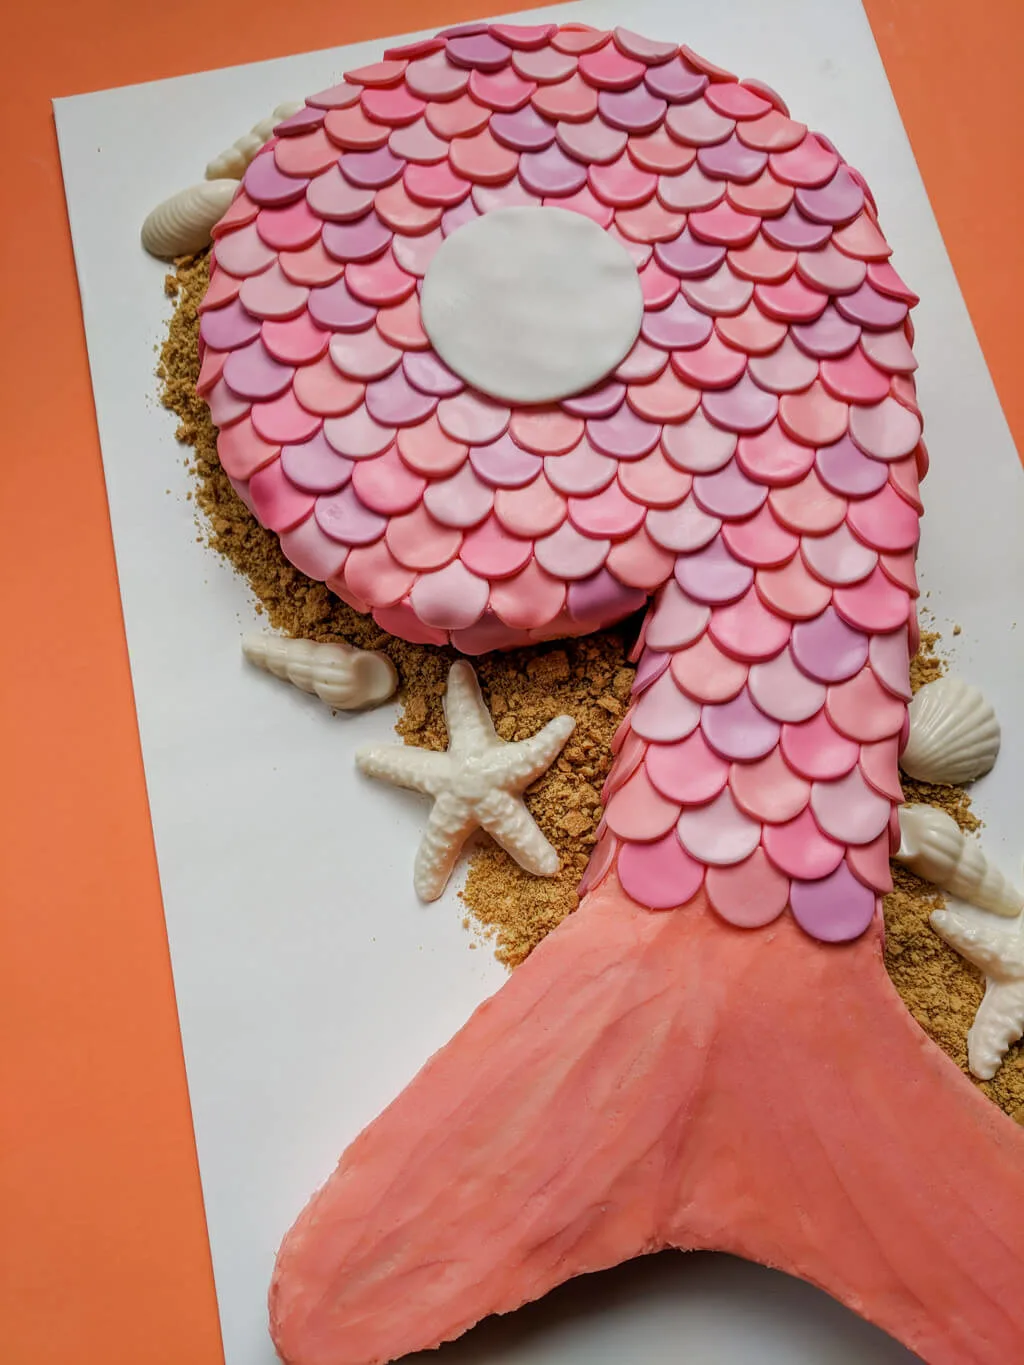
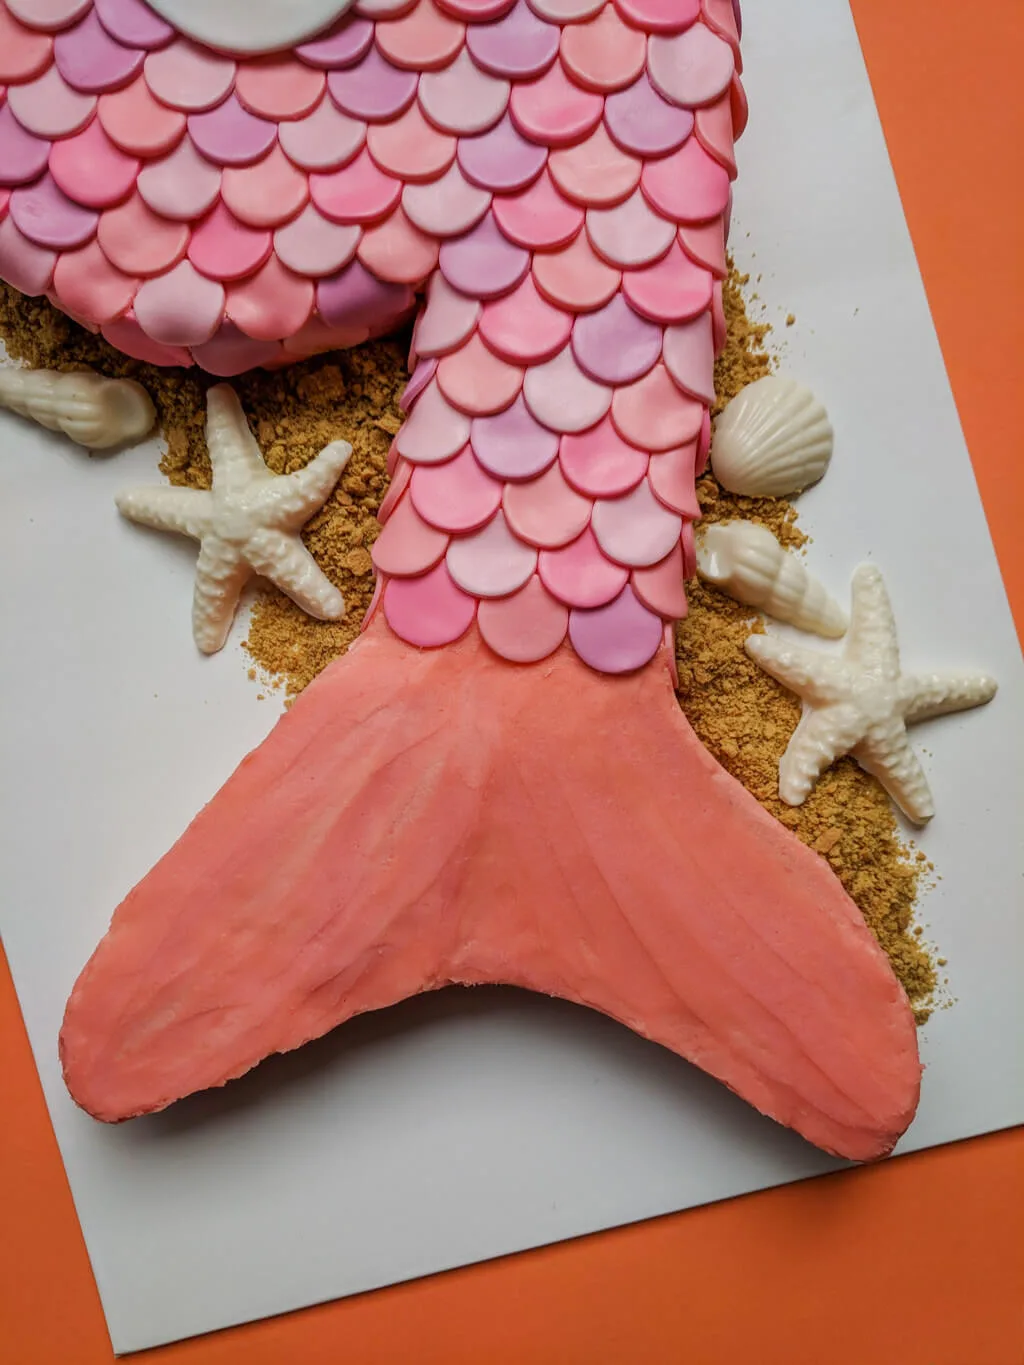
I iced this simple mermaid cake with buttercream icing and topped with fondant scales. The fondant scales really hide any buttercream icing mistakes so that’s another bonus of making this easy mermaid cake. I left the tail with just buttercream icing and tried to ice it to look like a tail.
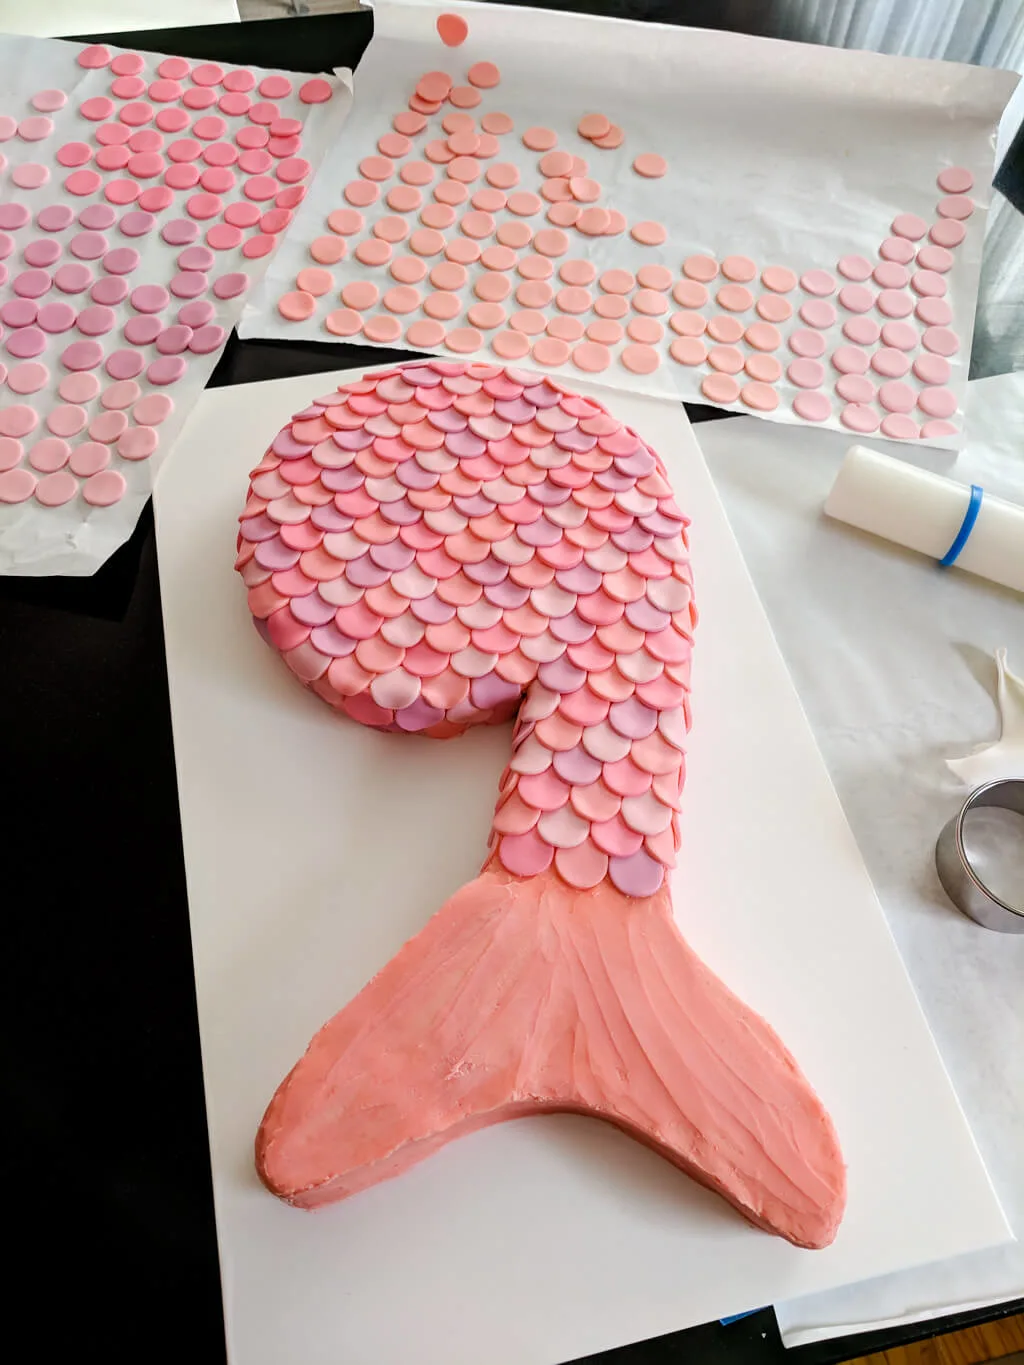
File this DIY project into “I can’t believe I actually made this mermaid cake by myself. YAY!!!” Years ago I vowed to make my children’s birthday cakes no matter how they turned out. The first birthday cake that I ever made — Elise’s Toy Story birthday cake — looked pretty good to me. But man, this mermaid cake! YOU GUYS, I CANNOT BELIEVE I MADE THIS CAKE. And it was super easy!! I like to come up with unique ideas for easy cakes that amateur bakers like me can make, and I think this is my best cake ever. You gotta make one.
See also: ‘How to make edible fondant LEGO bricks – no mold needed’ »
A unique mermaid cake inspired by a starfish
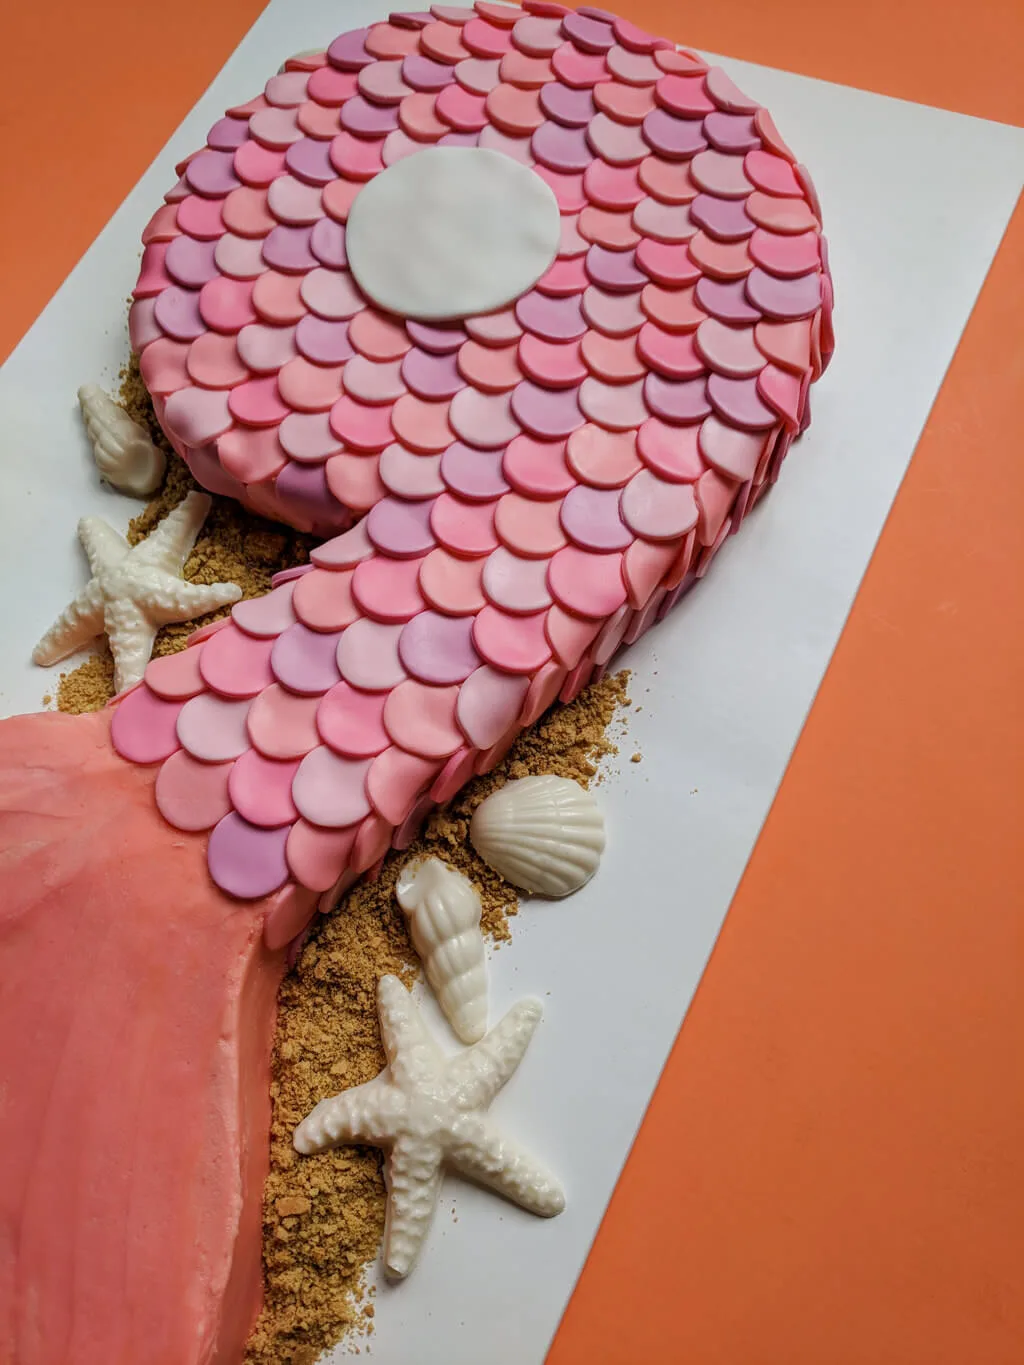
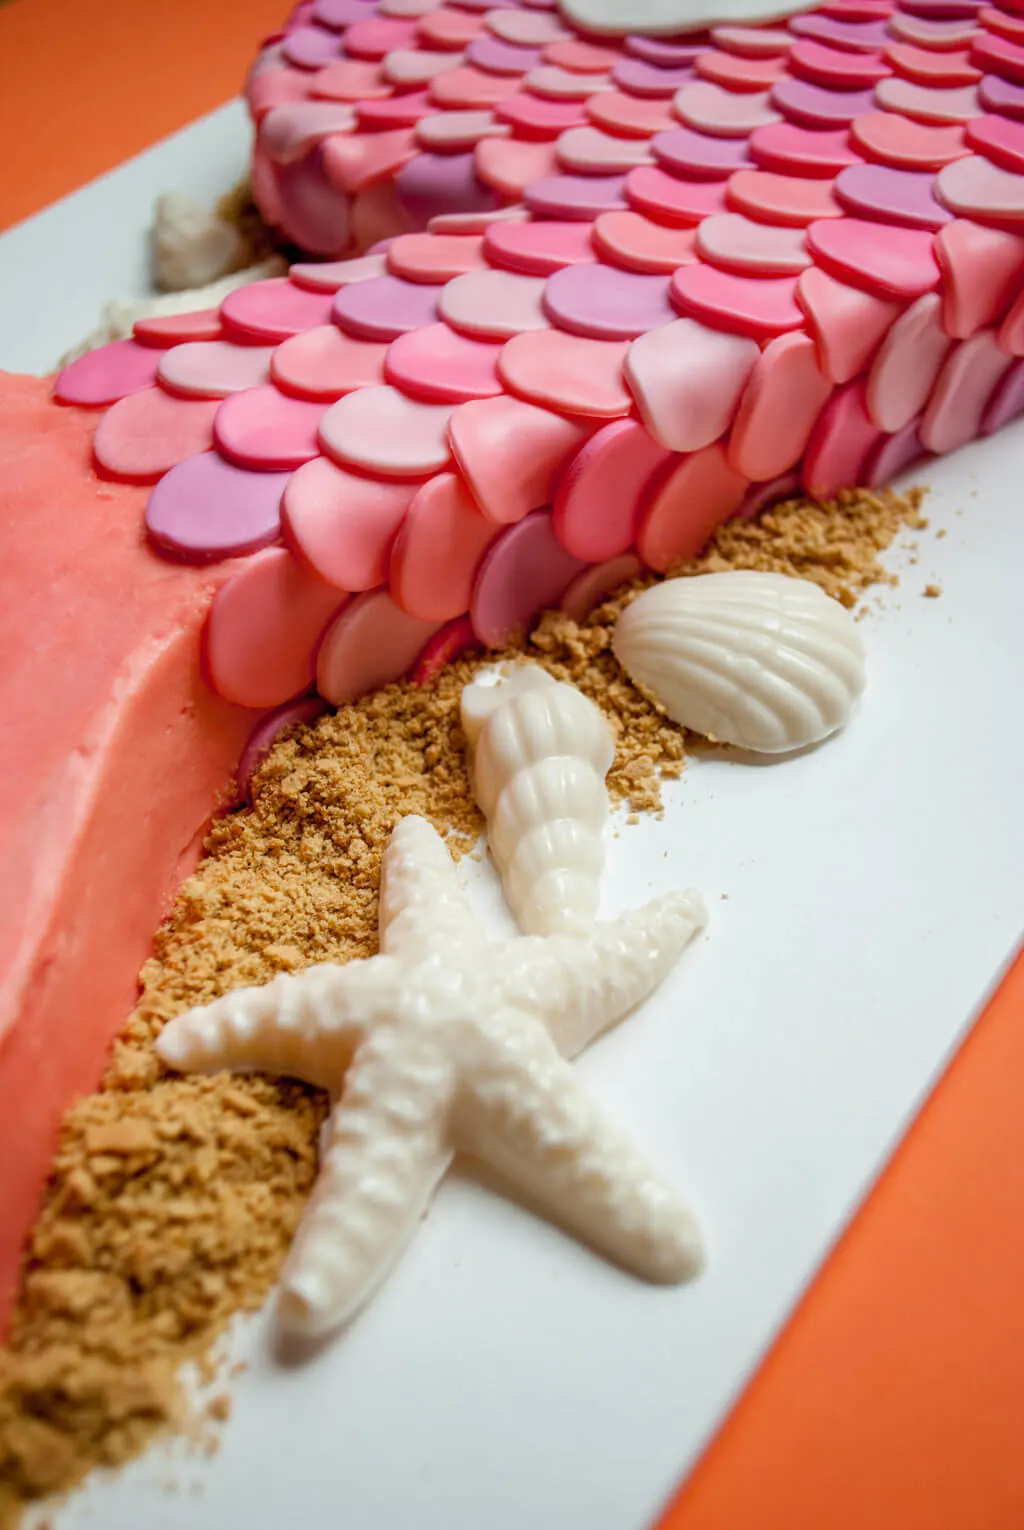
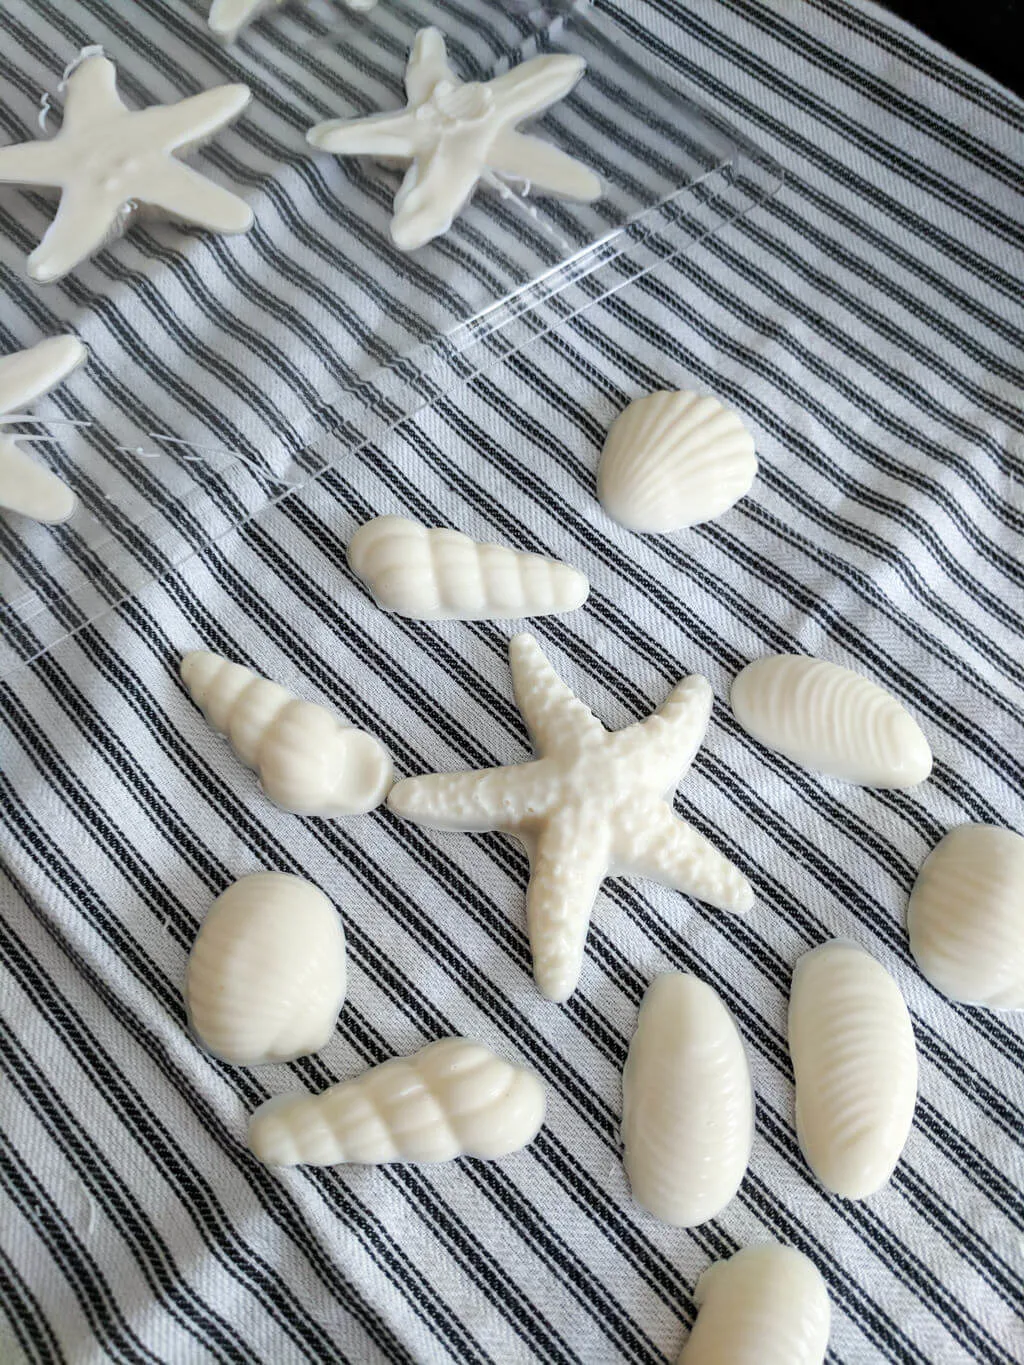
My friend Mary’s amazing buttercream starfish cake inspired the white chocolate shells, edible sand, and the colors for Elise’s mermaid cake. I bought the Cakegirls’ starfish chocolate mold, 3d seashell chocolate mold and white chocolate candy coating discs and the shells were fast and easy easy to make using Mary’s instructions. Mary used brown sugar for her sand; I chose instead to crunch up graham crackers to look like sand sort of like I did with Oreos for Liam’s easy construction cake.
Perfect cake idea for a pool party
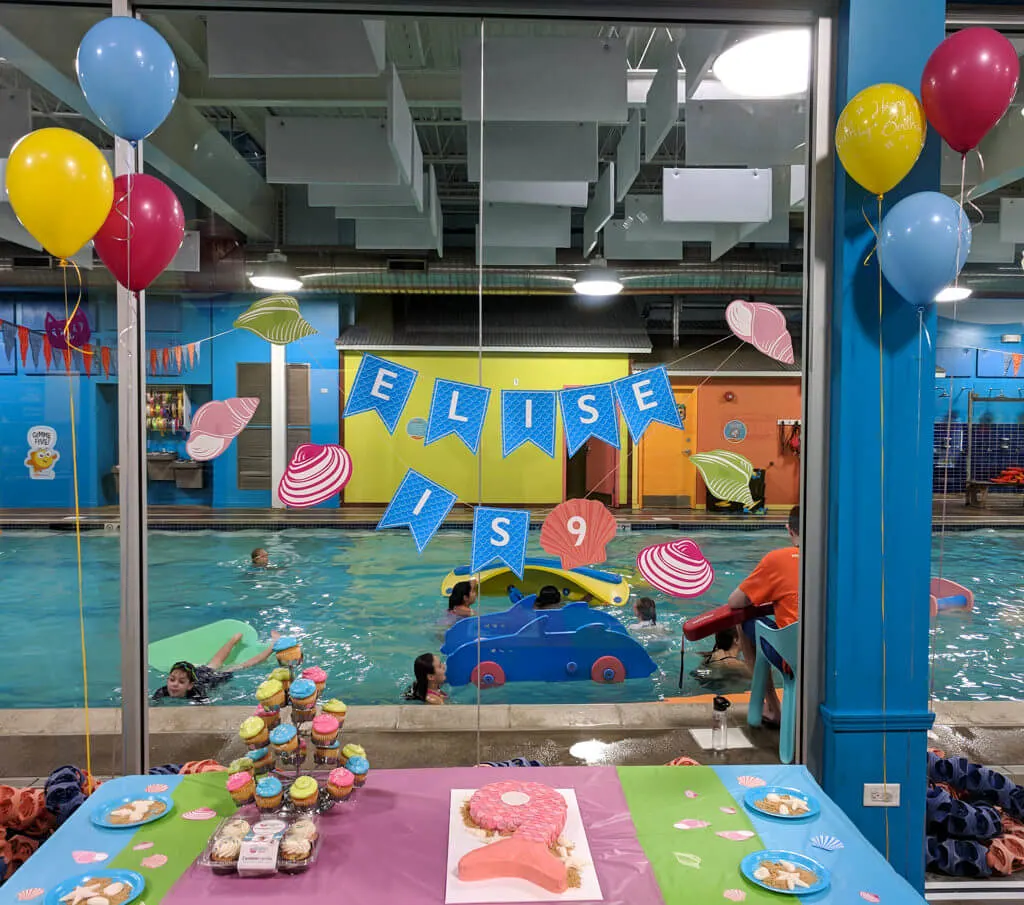
Elise had a pool party for her 9th birthday, and I also made her a mermaid birthday banner with scales. I think this mermaid cake fit right into the pool party theme.
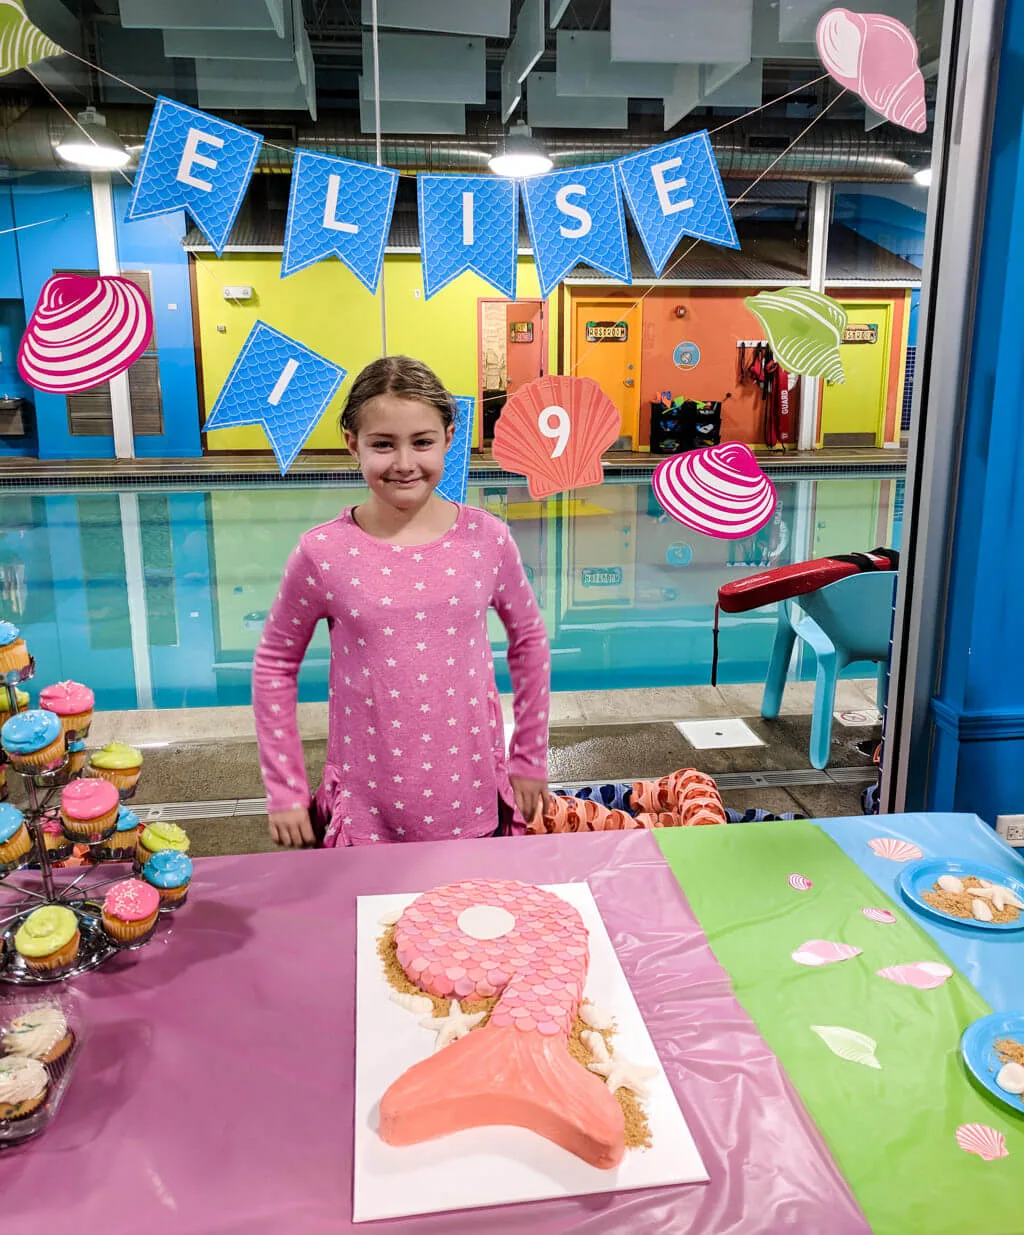
I put the 9 candles around the white center of the number 9 and it looked nice when it was lighted. Happy 9th birthday, Elise!
This post contain affiliate links which means that products I recommend may give me a nominal commission at no extra cost to you. Thanks – your clicks help me make more free DIYs!
++++++
Supplies for making my easy mermaid cake for a birthday party:
- Kathy’s free number 9 mermaid cake template (PDF)
- Two 9″ round cake pans
- White fondant (this brand tastes the best)
- Set of 12 icing colors, gel-based food color
- Circle cookie cutters – set of 12 (this set is so versatile for cookies, scones, biscuits, more)
- Fondant rolling pin with guide rings, freezer paper, and painter’s tape
- 3d seashell chocolate mold
- 3D starfish chocolate mold
- Creamy white chocolate candy melts coating discs
—
How to make a DIY mermaid birthday cake (number 9 cake or choose another age):
Step 1: Bake two round vanilla cakes
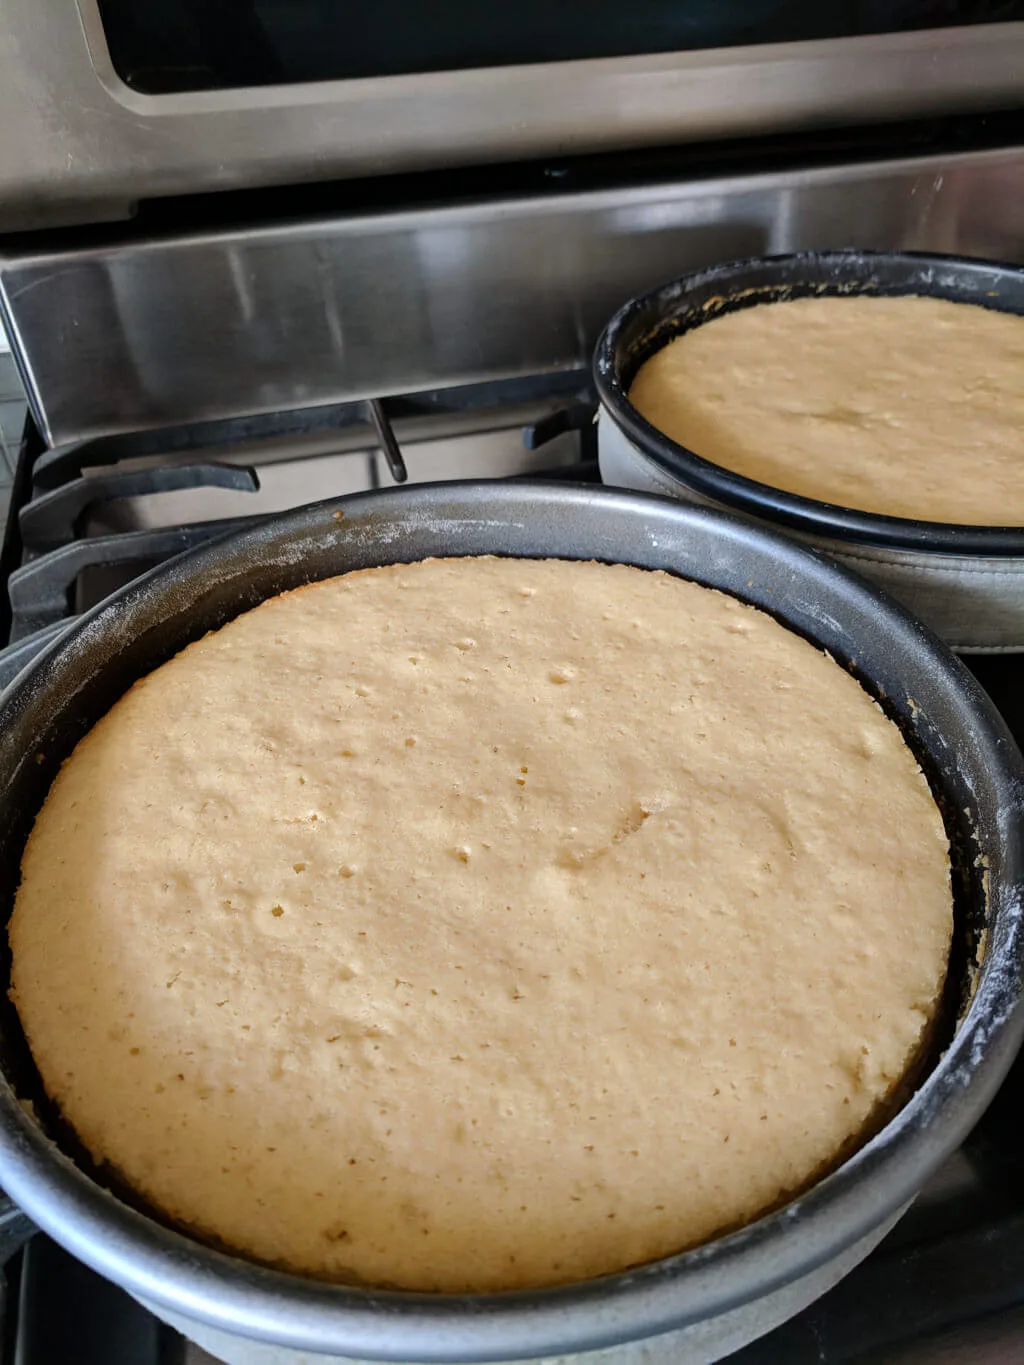
Bake two 9″ round vanilla cakes using the Cakegirls vanilla cake recipe and these 9″ round cake pans. This bakery cake recipe tastes the best of any that I’ve made. I line the pan bottoms with parchment paper and use the baking strips that Mary suggests in her recipe. I like to bake the round cakes a week in advance and wrap and freeze per Mary’s instructions until I’m ready to decorate.
Step 2: Make fondant mermaid scales for the cake
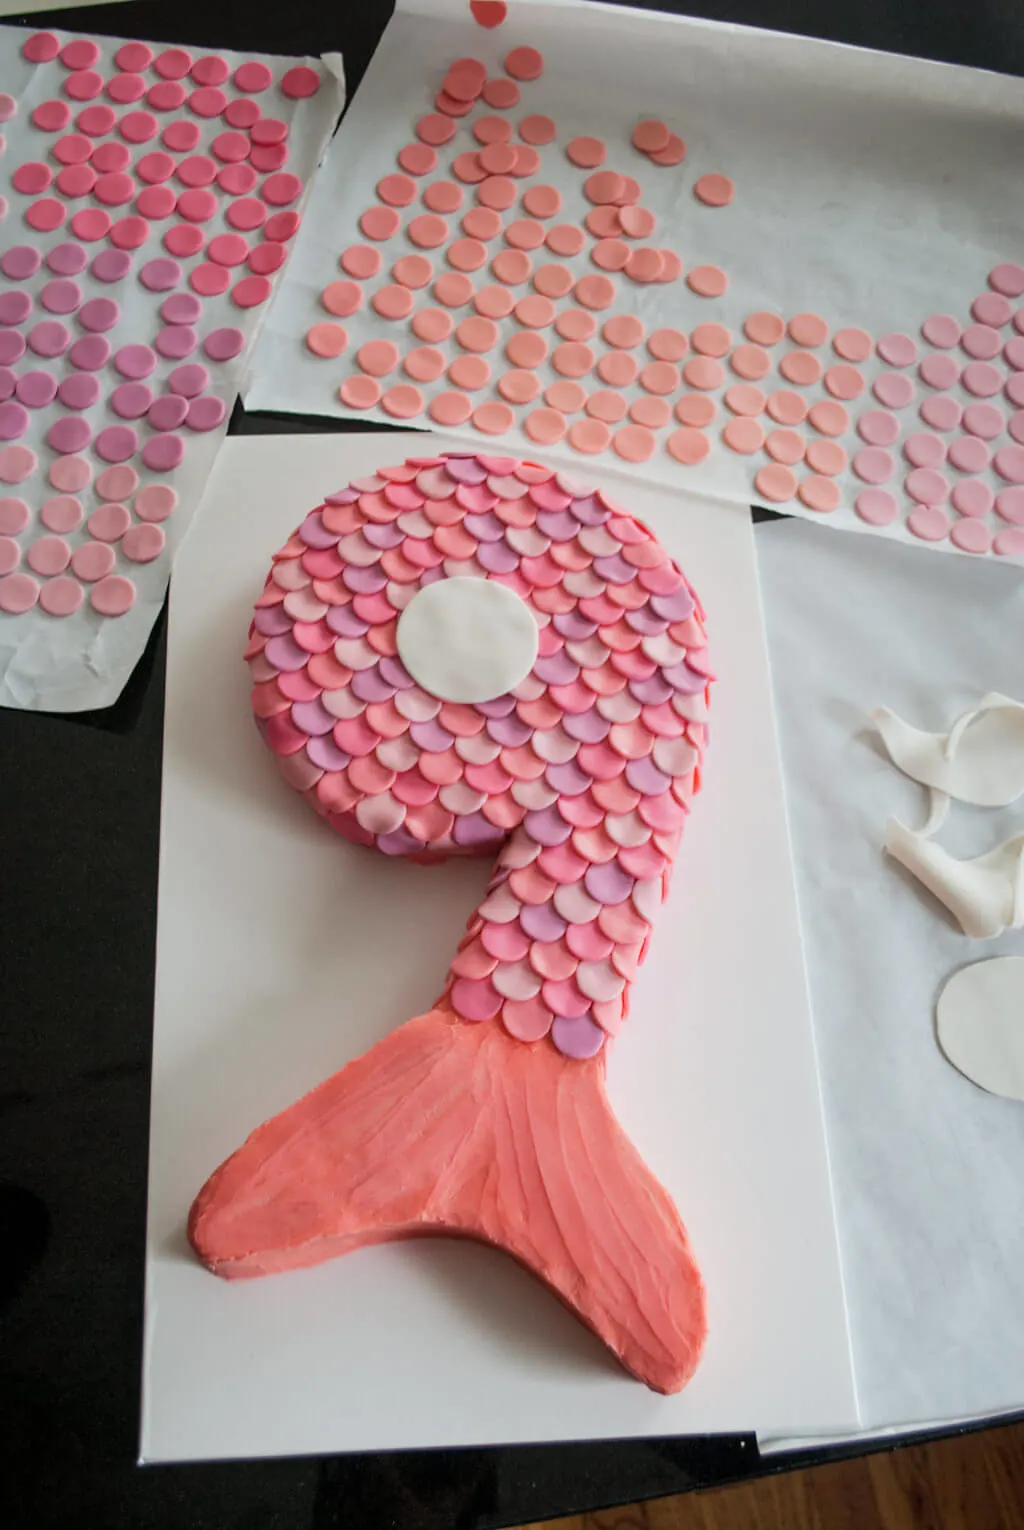
First, color your fondant using gel food coloring. See how to color fondant the easy way using my taffy-pull method. The details are about half-way down this post; look for the fondant taffy photo for the details. I made four shades of coral and pink for my fondant mermaid scales.
Now you’re ready to make fondant mermaid scales. I googled how to make fondant scales and there are ton of tutorials out there; this one was my favorite.
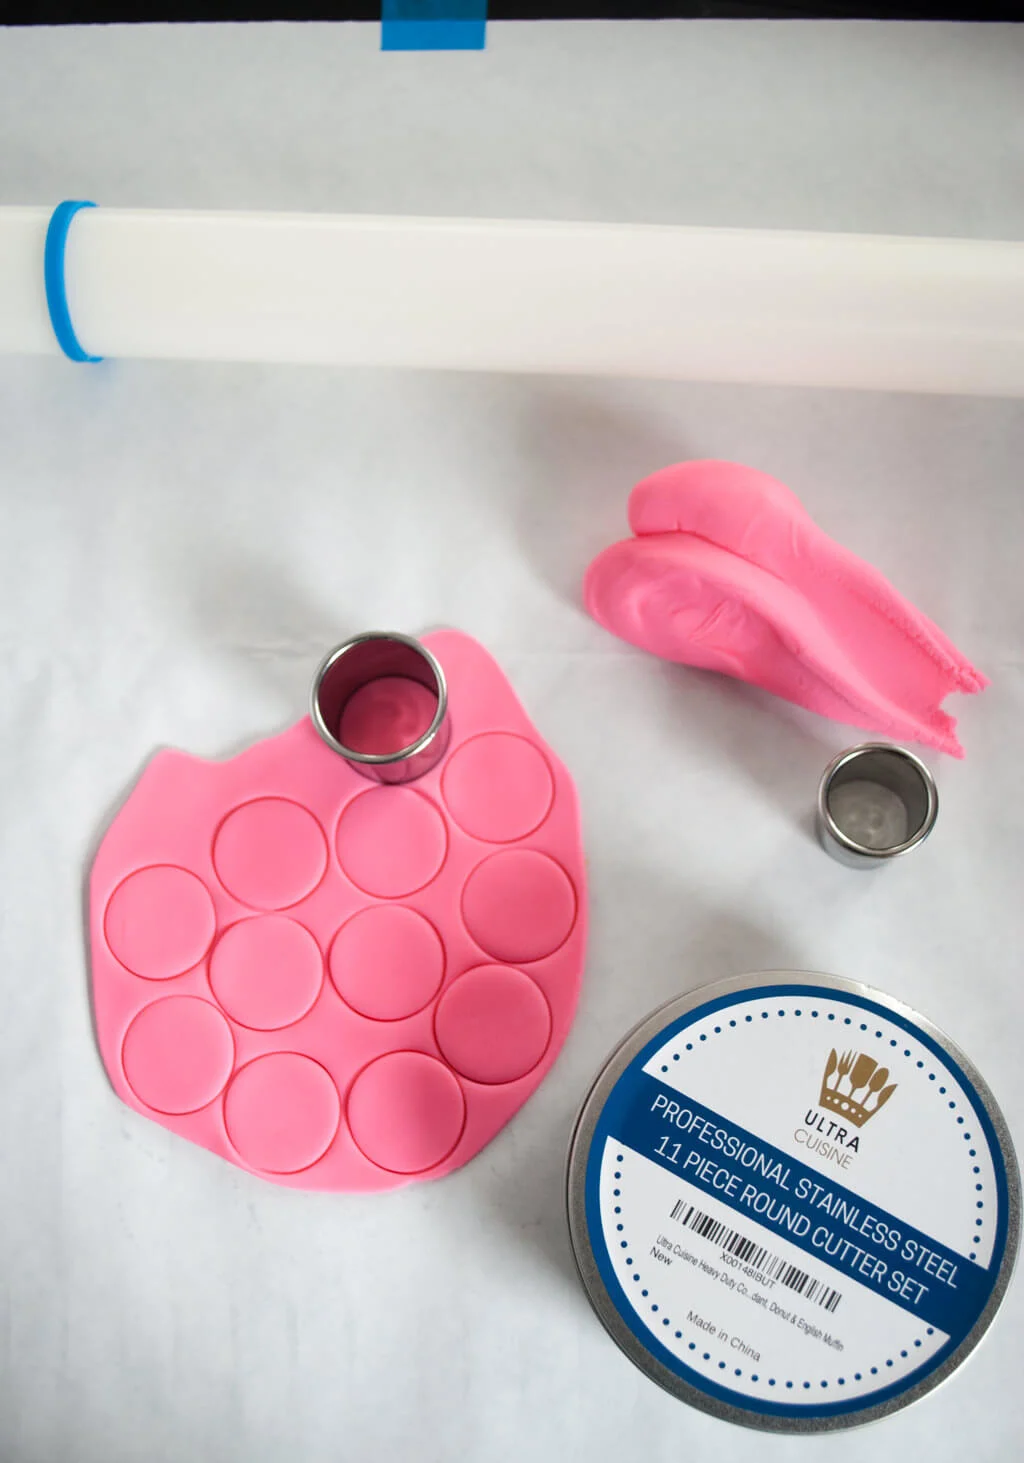
A few helpful tips: First, your surface needs to be super clean because fondant picks up absolutely everything. I pull my hair back and use a clothing lint roller on my clothes and apron before I begin. And super clean hands, of course. Tape down a piece of freezer paper onto your table using painter’s tape. Now you can roll your fondant – I like this fondant rolling pin because it has rubber bands on it to help you roll an even thickness. Then cut out 1″ circles from the fondant using this 1″ circle cutter.
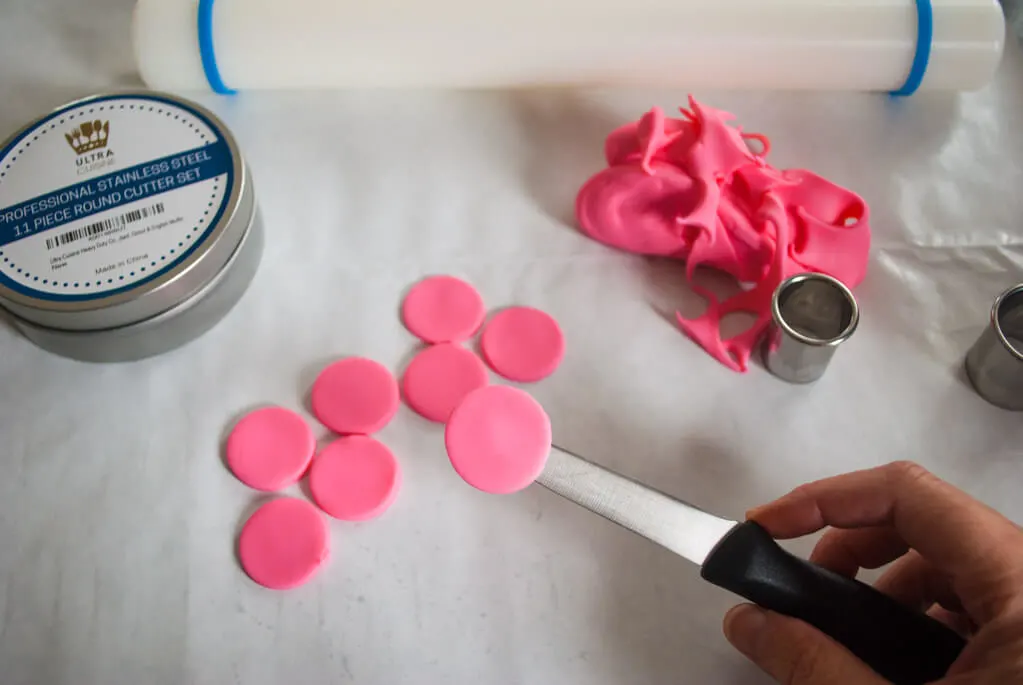
Use the backside of a clean knife to life the fondant mermaid scales onto a cookie sheet lined with freezer paper. This back-of-the-knife method will keep your circles from getting distorted. Cover fondant scales with plastic wrap to keep them from drying out.
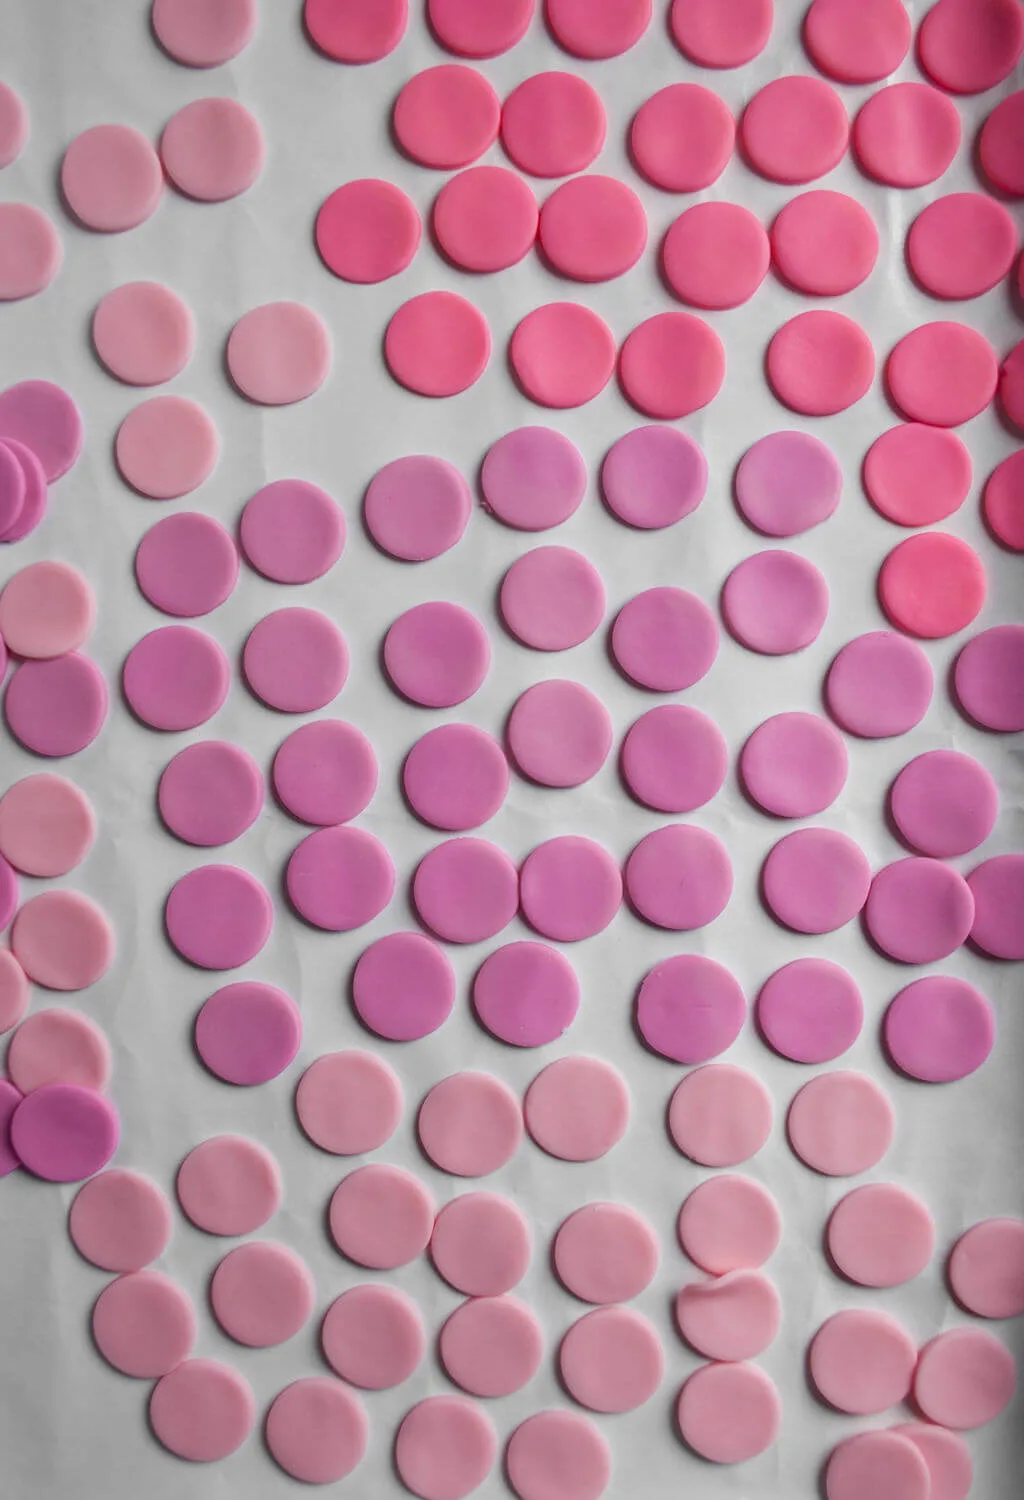
Step 3: Assemble mermaid cake into the number 9 with mermaid tail
Print my free mermaid cake number 9 template (PDF), tape together, and lay on top of the cake. Cut out the circle of the number 9 cake first on a wooden cutting board using a serrated knife.
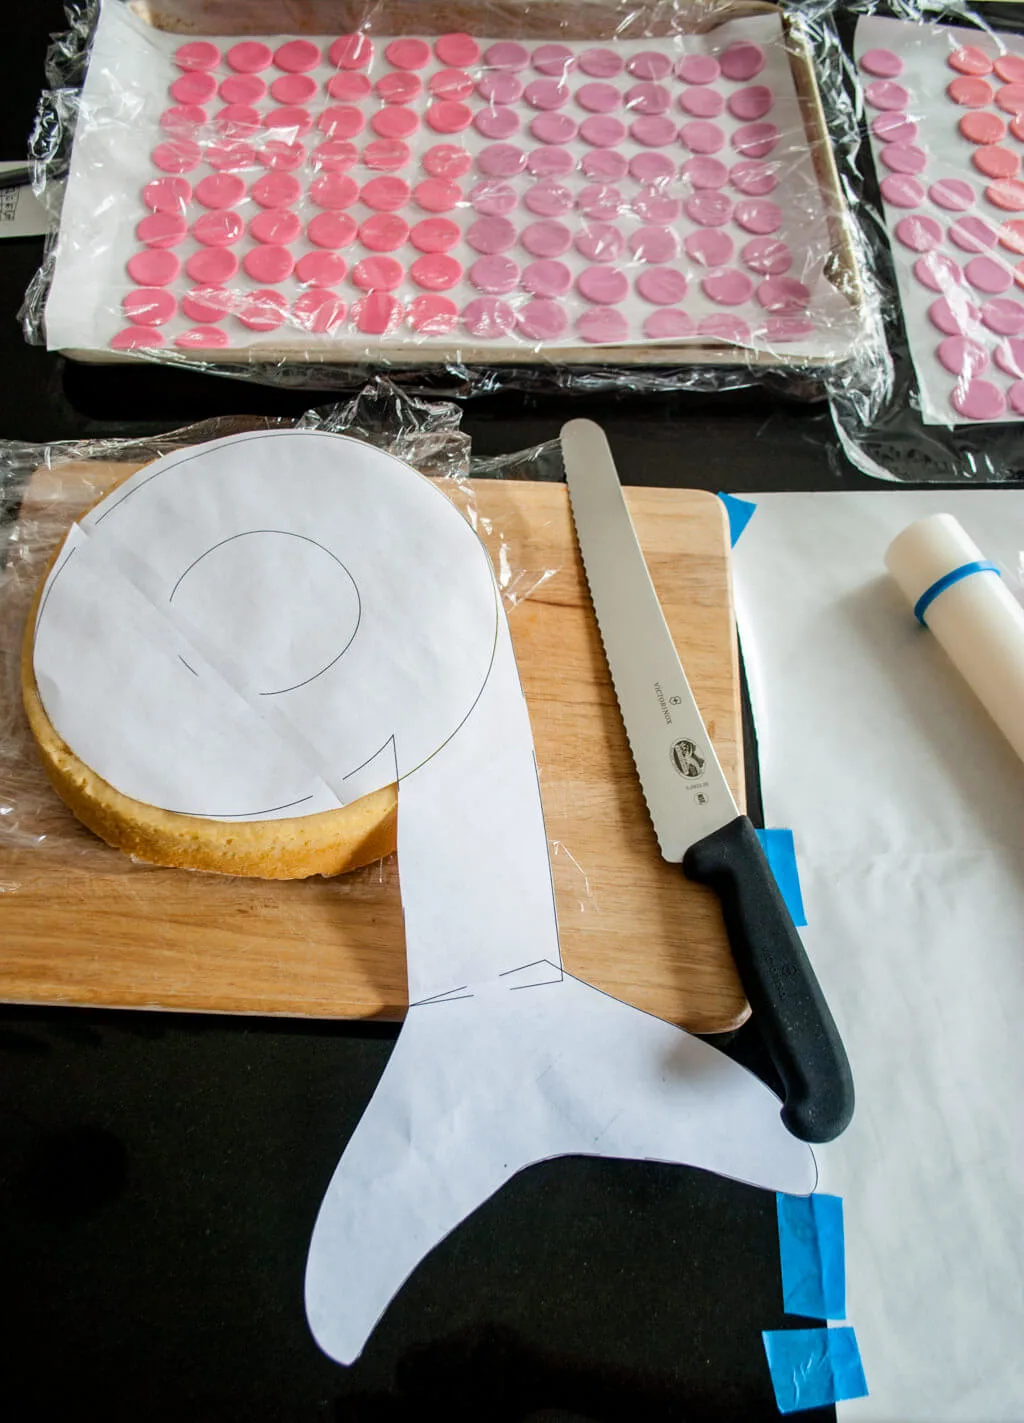
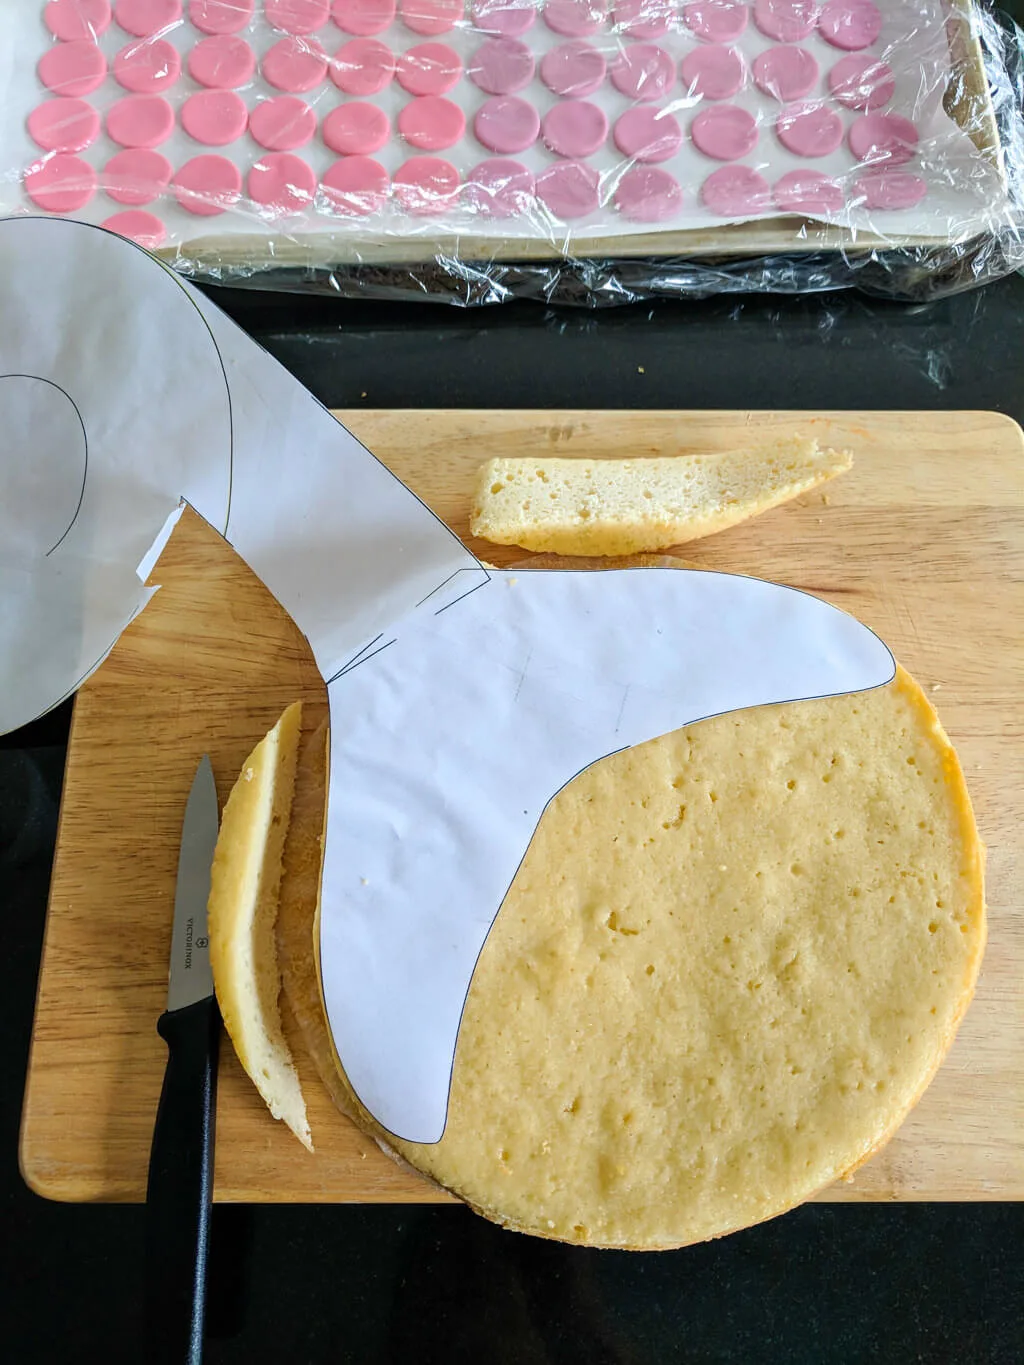
Then cut out the two tail pieces from the other circle. Start with the end of the mermaid tail, then cut the middle tail piece. Keep the extra cake bits to eat or pop them back into the freezer to make cake pops for the next party.
Assemble the cake pieces together onto a cake board. I also made my own cake board and carrying box …tutorial coming soon so in the meantime if you want to know how I made my own cake board and carrying box just comment below.
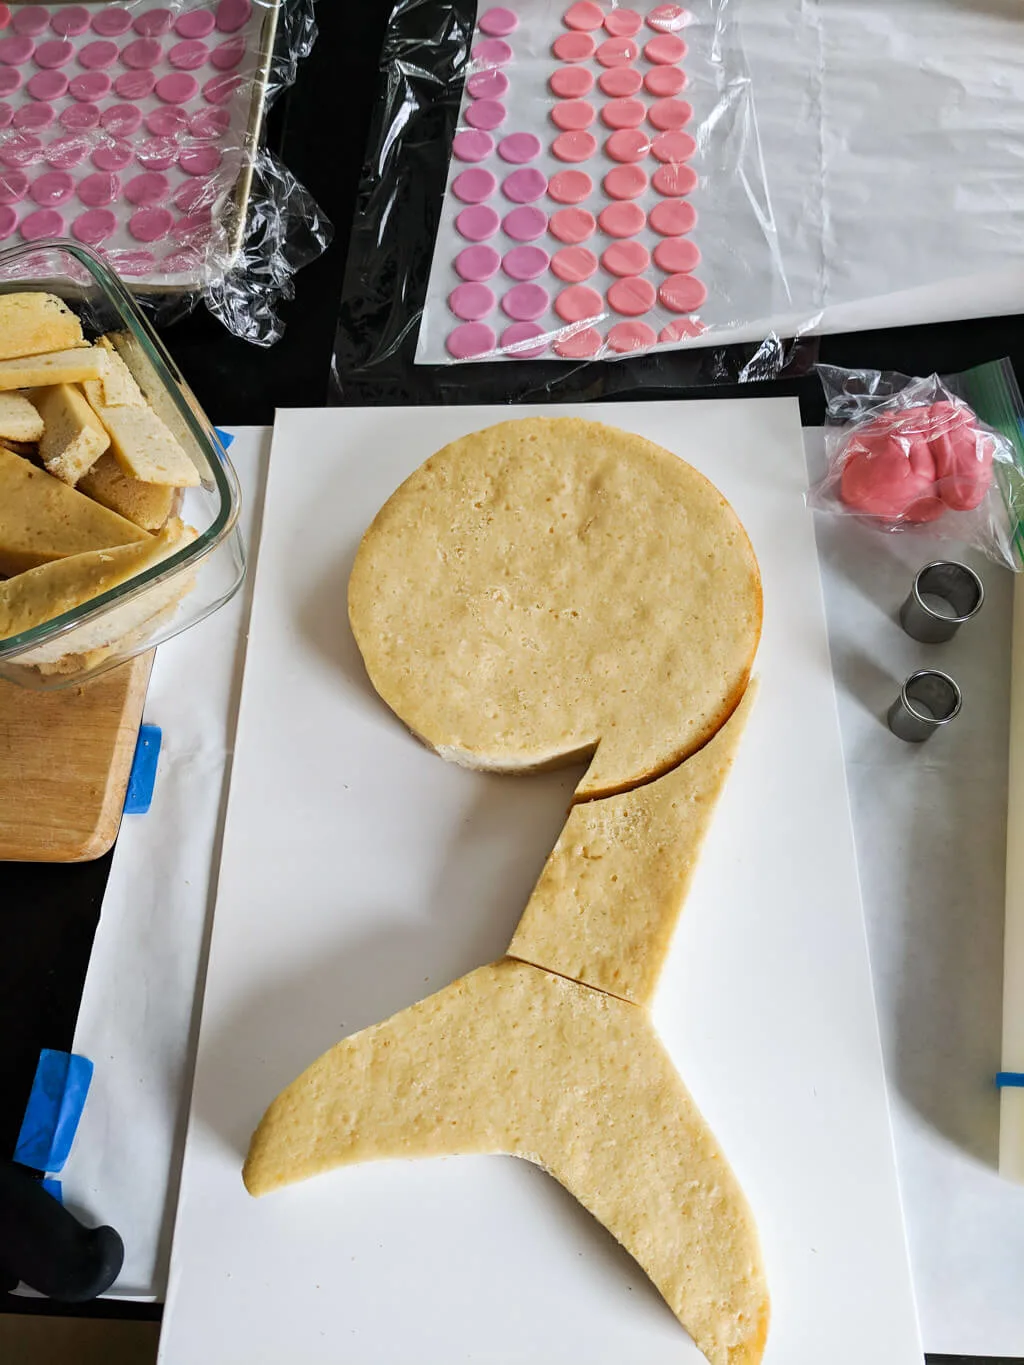
Step 4: Ice mermaid cake with buttercream icing and add fondant mermaid scales
Make the Cakegirls’ bakery buttercream icing recipe; this icing recipe pairs really well with their vanilla cake recipe. Color it coral using gel food coloring (I have this set of 12 gel icing colors). Ice the mermaid cake – it’s going to get covered up so it doesn’t need to be perfect. Wipe any extra buttercream icing off of the cake board before the next step.
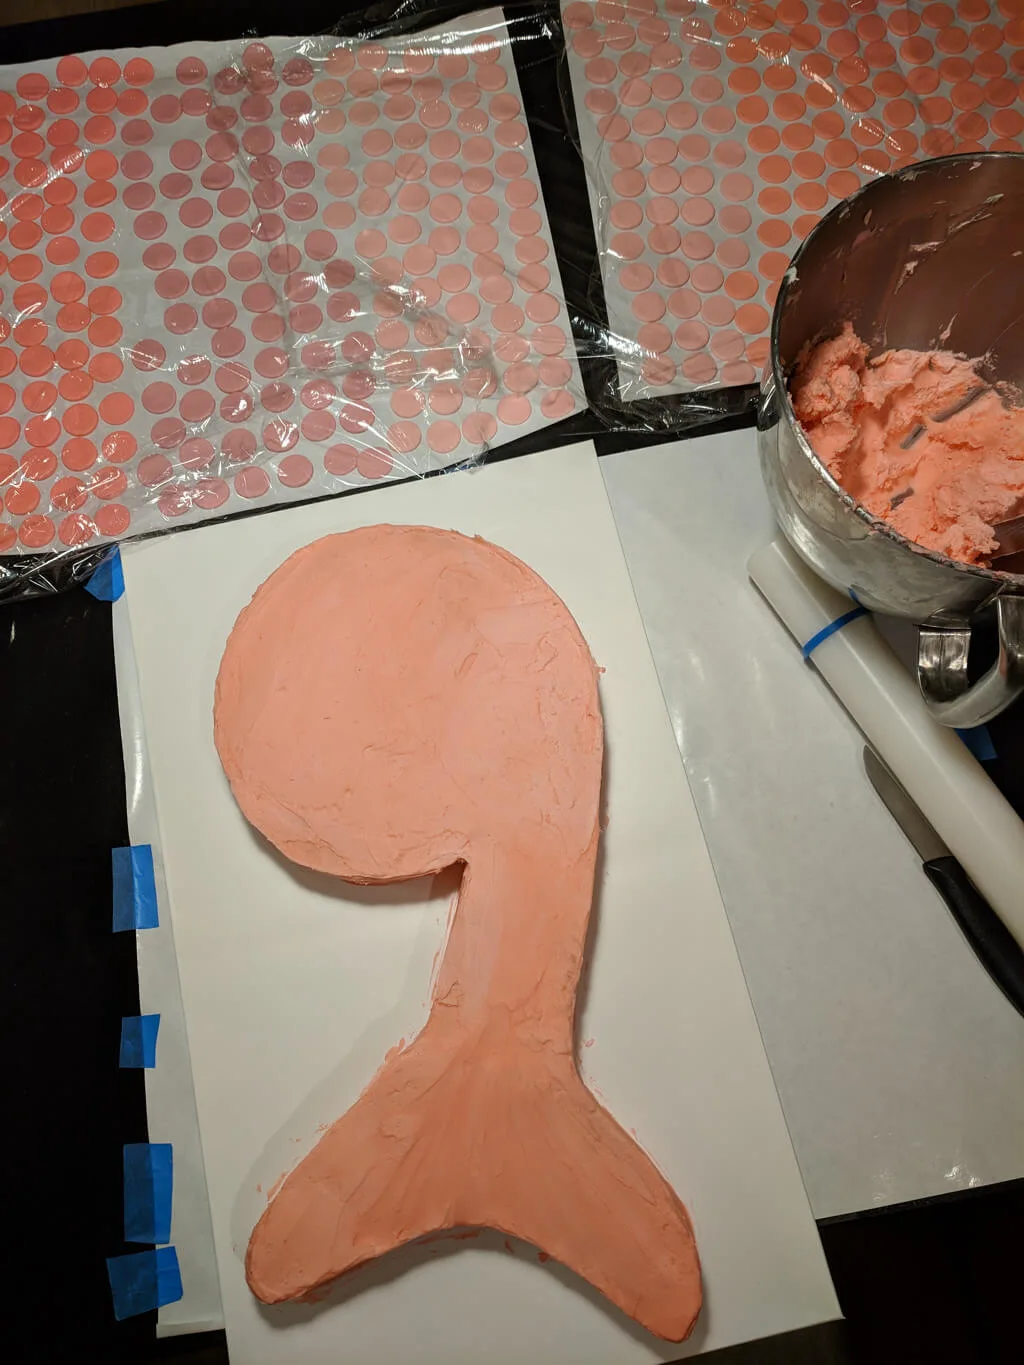
Add fondant scales starting at the bottom of the mermaid tail. Overlap a little bit and alternate colors. I did these steps at night while the kids were watching The Descendants for movie night, so these mermaid cake photos are a little bit dark. FYI – I made way too many scales and had a ton left over. You don’t have to make as many fondant scales as I made!
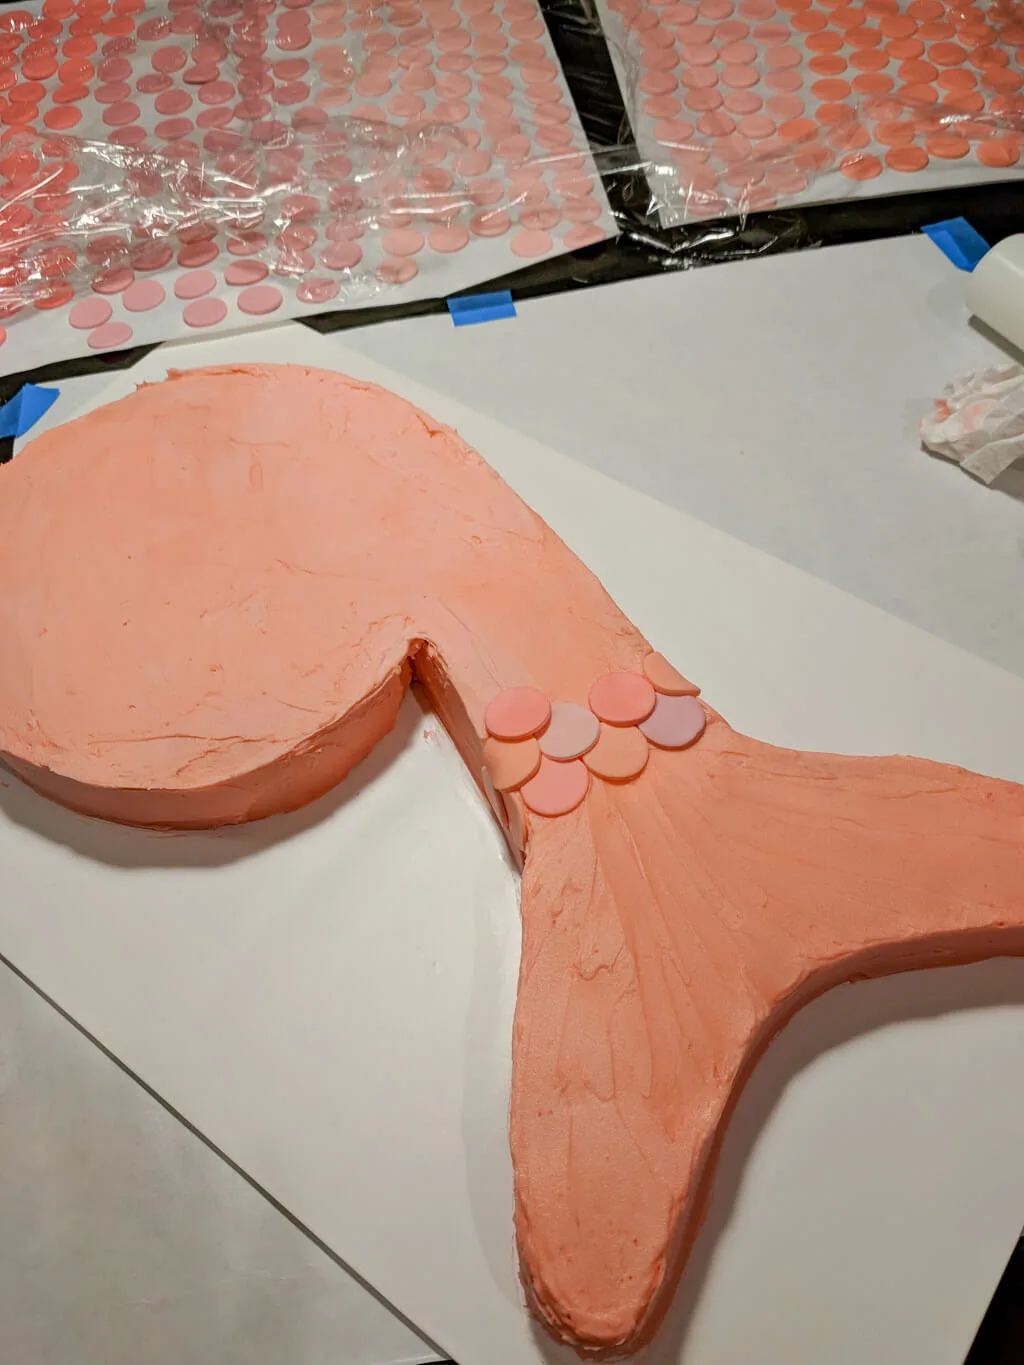
Overlap the sides and cut any scales in half that won’t totally fit. See how the rows are starting to look like scales? Yay! This is the point when I realized this cake was actually going to turn out the way that I had imagined. Whew.
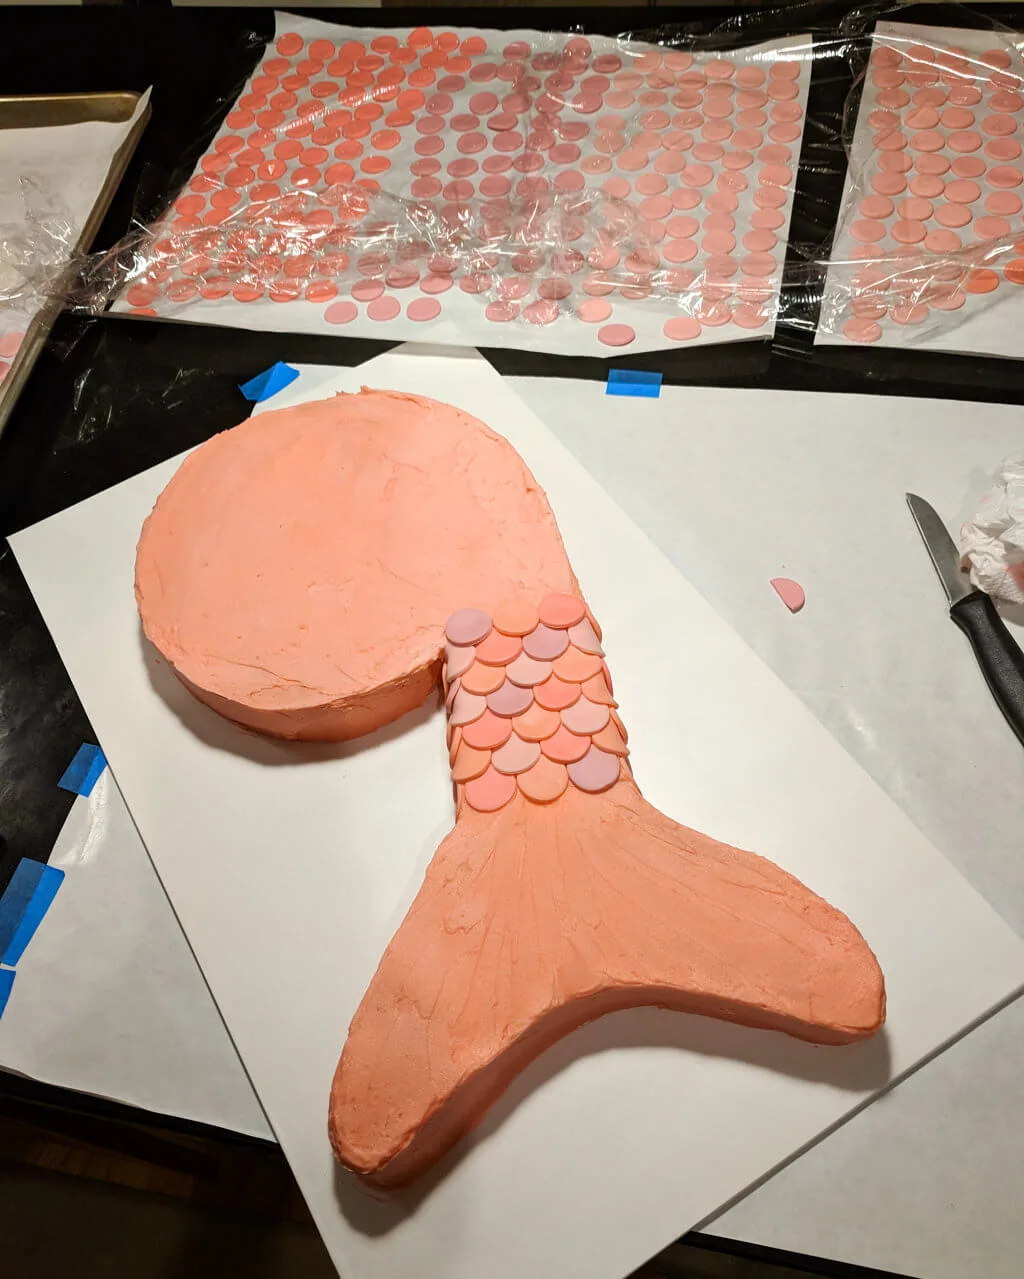
We put the movie on pause and the kids popped over to see how the mermaid cake was coming along. Now there’s a very happy birthday girl!
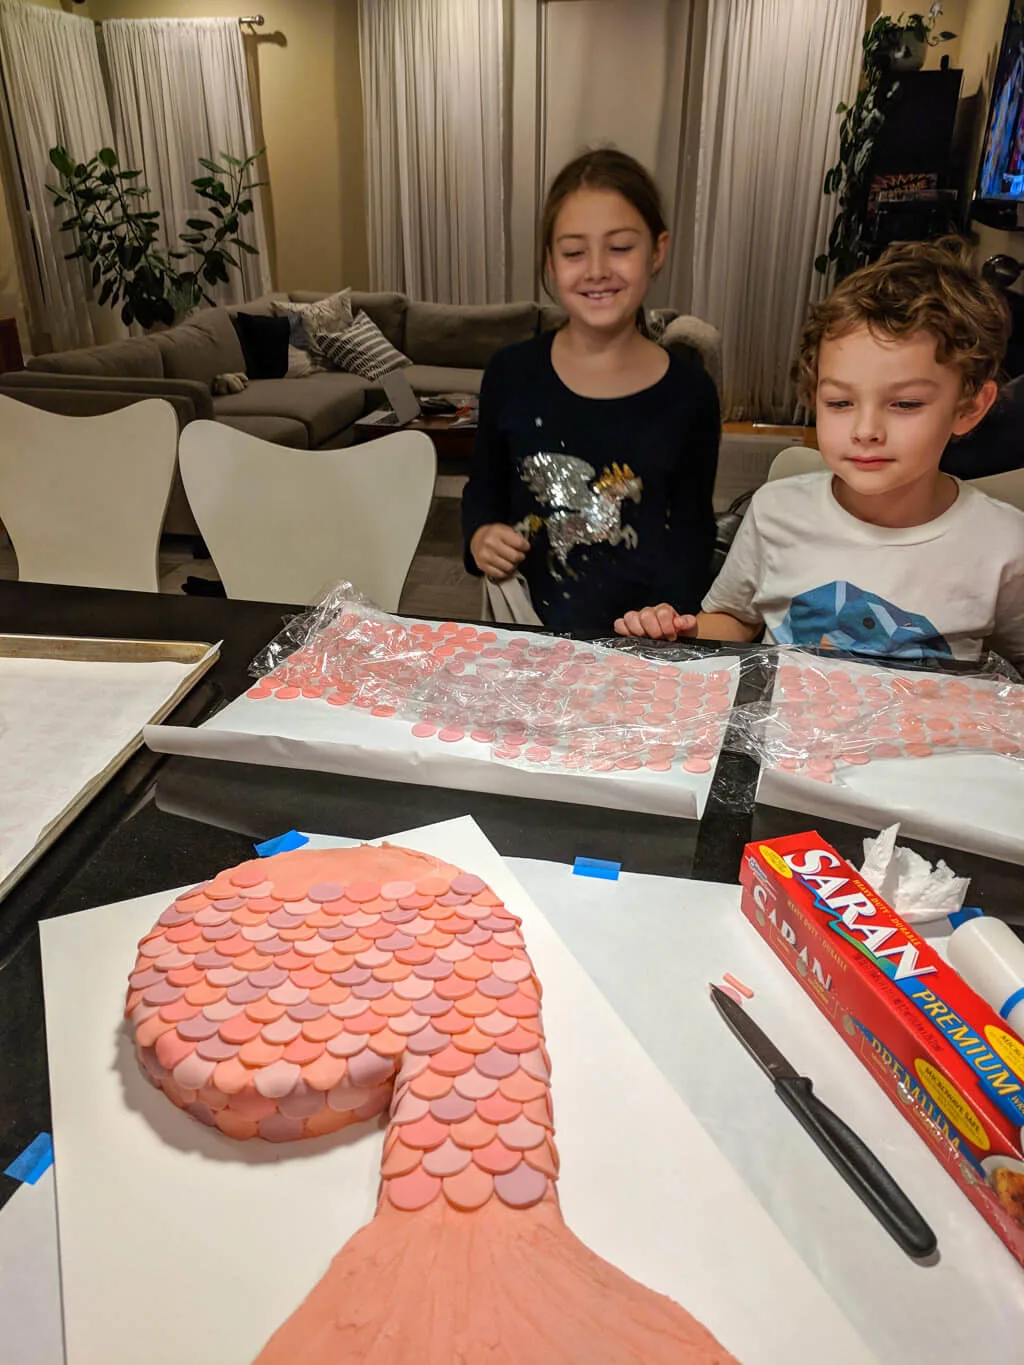
There was a little bit of a debate in our family about whether I should add the white circle in the middle of the 9 or leave it empty. In the end, I went with my gut and added the white circle and I like that it defines the number 9 cake more. Curious what you think — white circle, or no circle?
Step 5: Make white chocolate shells and starfish, plus edible ‘sand’
I bought the Cakegirls shell and starfish chocolate molds and filled them with white chocolate. See the Cakegirls starfish cake tutorial for full instructions. I’ve never used chocolate molds before and I was a little bit sloppy and they turned out great anyway.
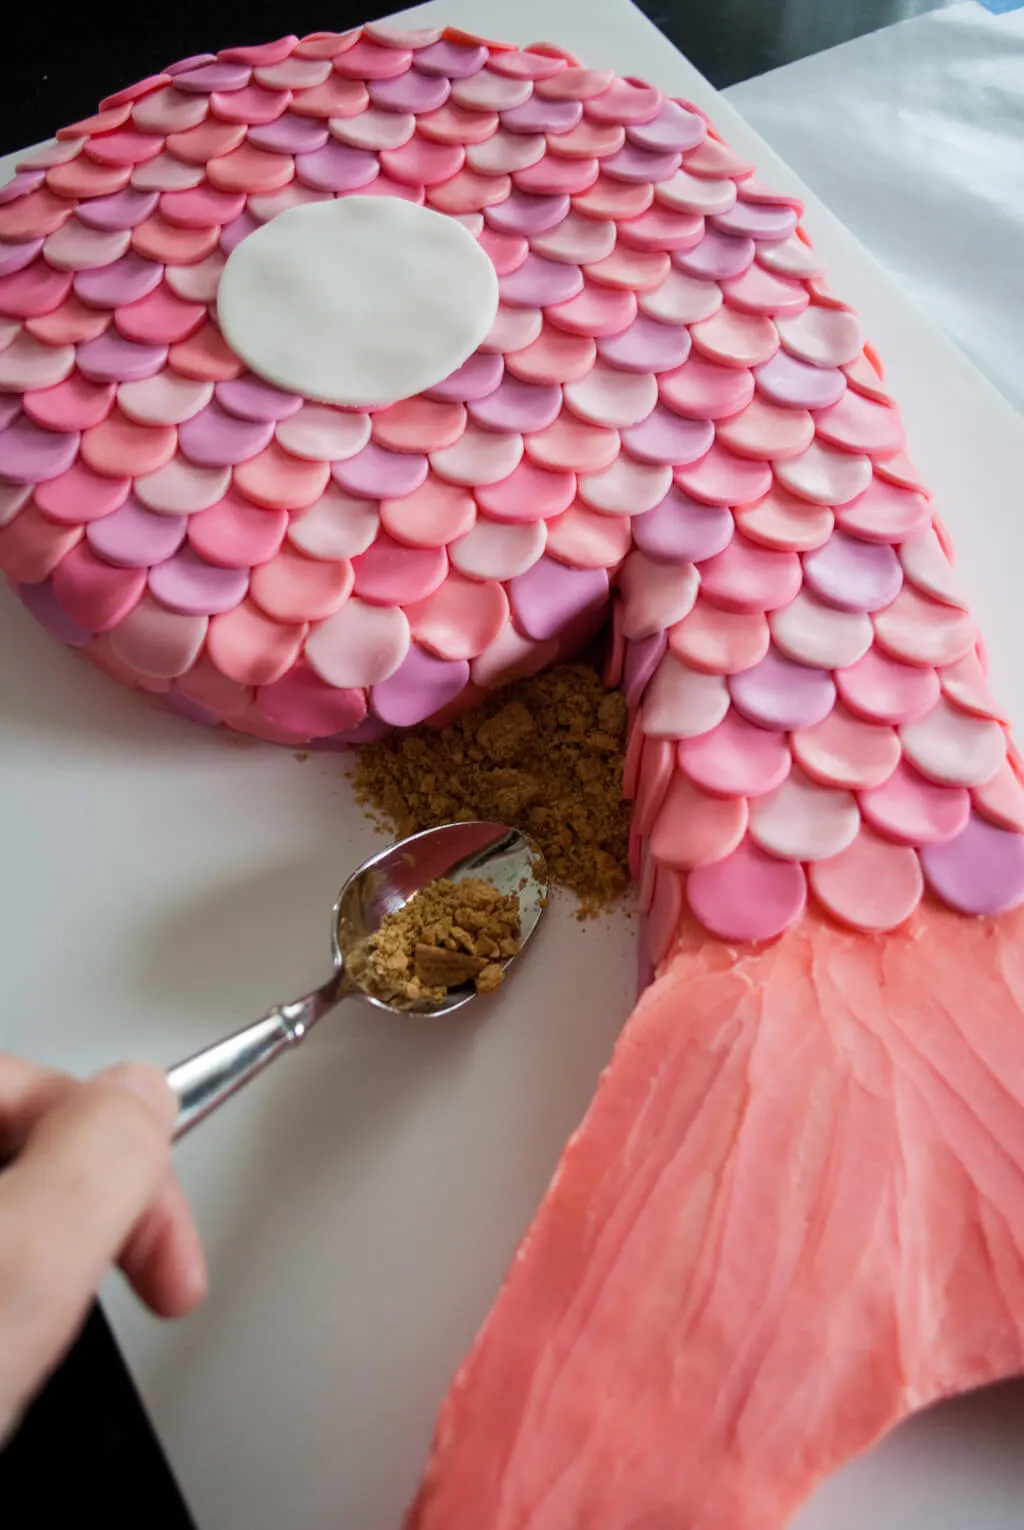
Crunch up graham crackers in a plastic baggie using a rolling pin. Sprinkle the edible sand onto the sides of the mermaid cake.
Add white chocolate shells and chocolate starfish on top of the sand.
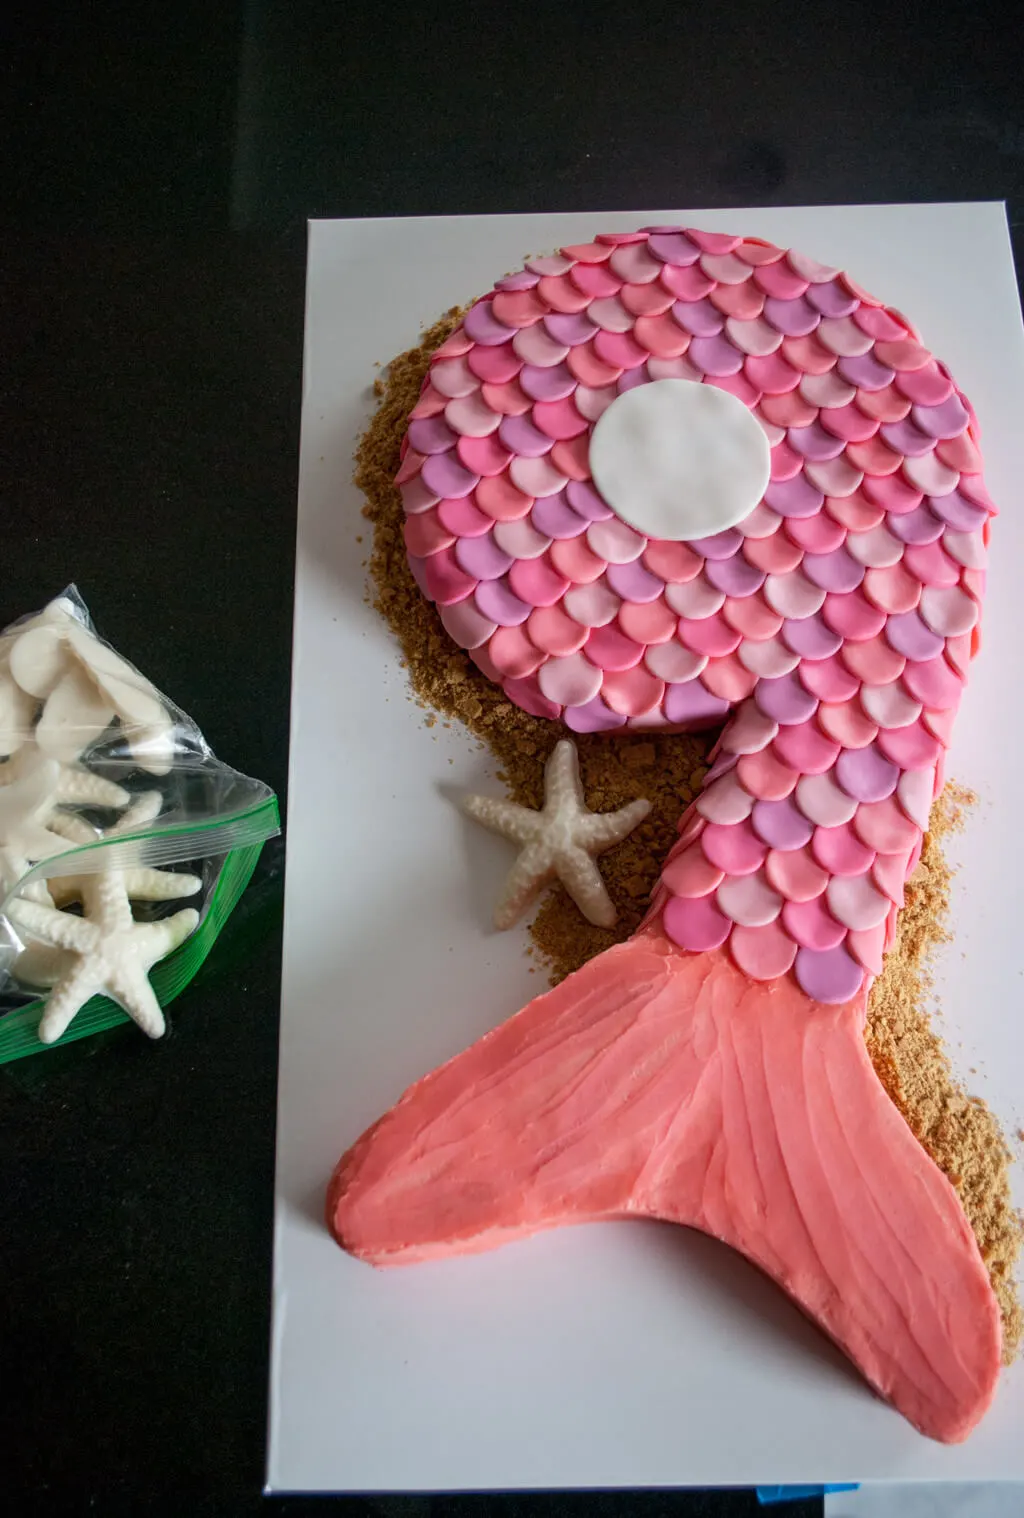
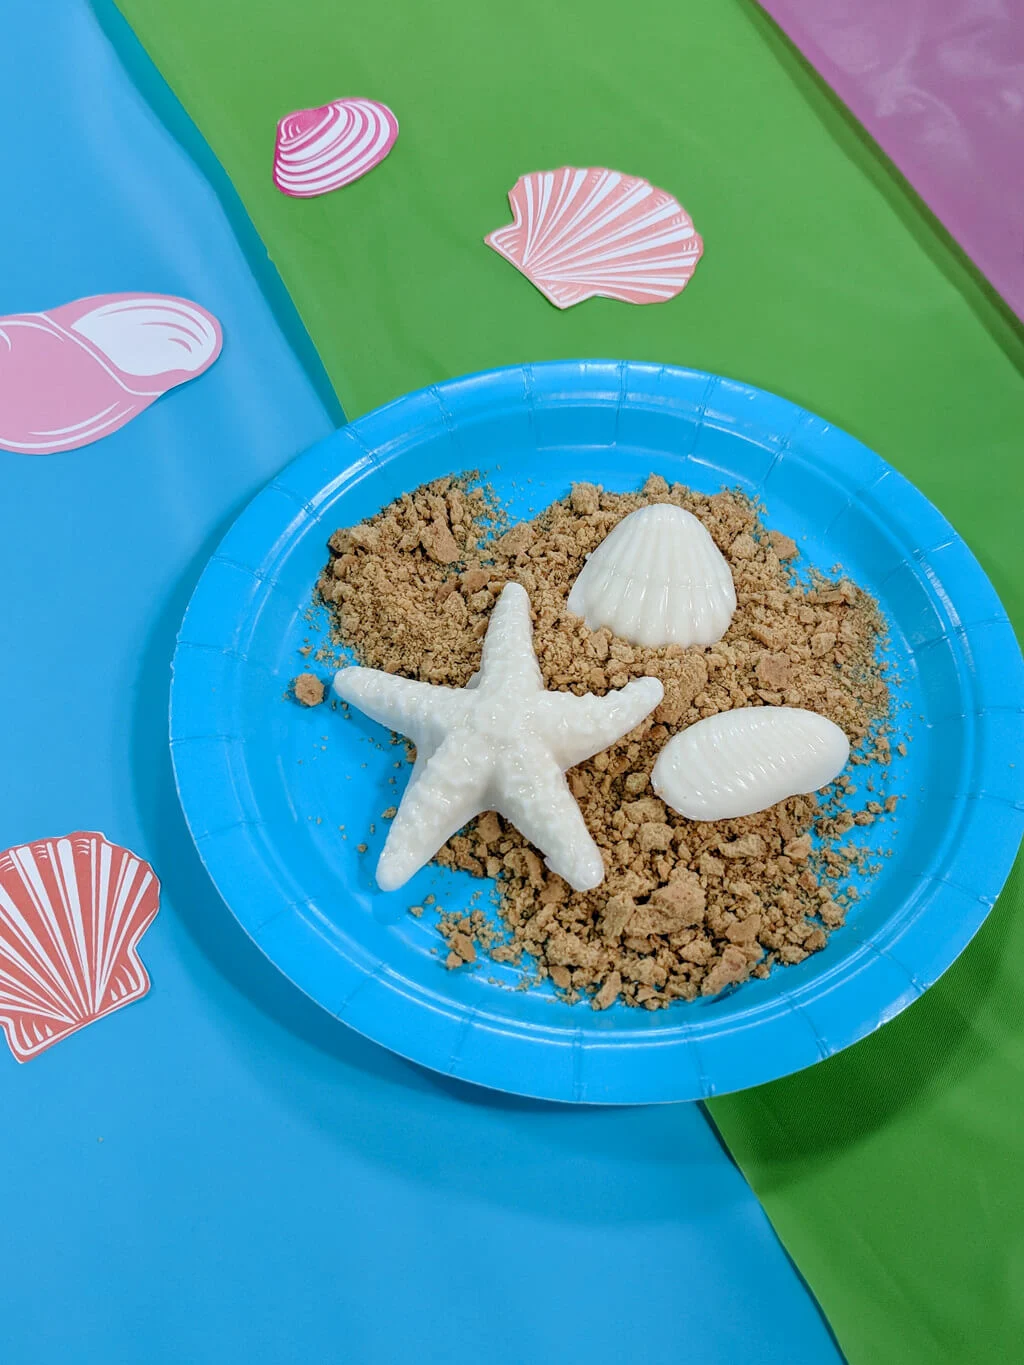
I had some white chocolate shells and starfish left over, so I displayed some on paper plates next to the mermaid birthday cake. I intended the chocolate shells to just be decorations but the kids ate them all!
++++++
Be sure to pin my easy mermaid cake for a birthday:
++++++
And see more easy birthday cakes for beginners that you can make at home.
—
Like it? Share it!
The nicest way to say you like it is to pin it on Pinterest, post a comment, follow Merriment Design on Facebook, Pinterest, Instagram or sign up for monthly emails. Enjoy! 🙂
Copyright stuff: You’re more than welcome to use this free project and tutorial for personal use. Contact me for commercial use and Etsy sales.

Julie
Monday 8th of January 2024
Hello! This mermaid cake is adorable and I am going to TRY my best to make it for our granddaughter's 9th birthday party this weekend. I am interested in knowing how you made the cake board and your carrying case. Thanks SO much for this cake inspiration and any help you can offer. Sincerely, Julie
Kathy
Saturday 20th of January 2024
Hi Julie! Thanks so much for reaching out. I'm honestly trying to remember specifically what I did for this particular cake. Sometimes, I do make my own cake boards by cutting white foam core board (you can find it at Walmart or dollar stores), often stacking and gluing two pieces together to add strength, covering with pretty paper, and then covering that with clear contact paper to make it grease-proof for the buttercream. Here's an example of the silver glitter cake board that I made for my daughter's unicorn cake: https://www.merrimentdesign.com/easy-unicorn-cake-diy-for-a-unicorn-birthday-party.php
Looking back at my mermaid cake, I either covered white foam core or I bought the board at Party City. For transporting cakes, I have purchased cake boxes at Party City and I've also re-purposed Amazon boxes. Sometimes with Amazon boxes, I'll cut the two tall ends of one of the short sides of the box so that I can slide the cake in and out of the box rather than lifting it in and out. I hope that makes sense. I'd love to see your cake when you're finished! Feel free to email me at kathy@merrimentdesign.com or tag me on Instagram at kathybeymer. Happy 9th birthday to your granddaughter!