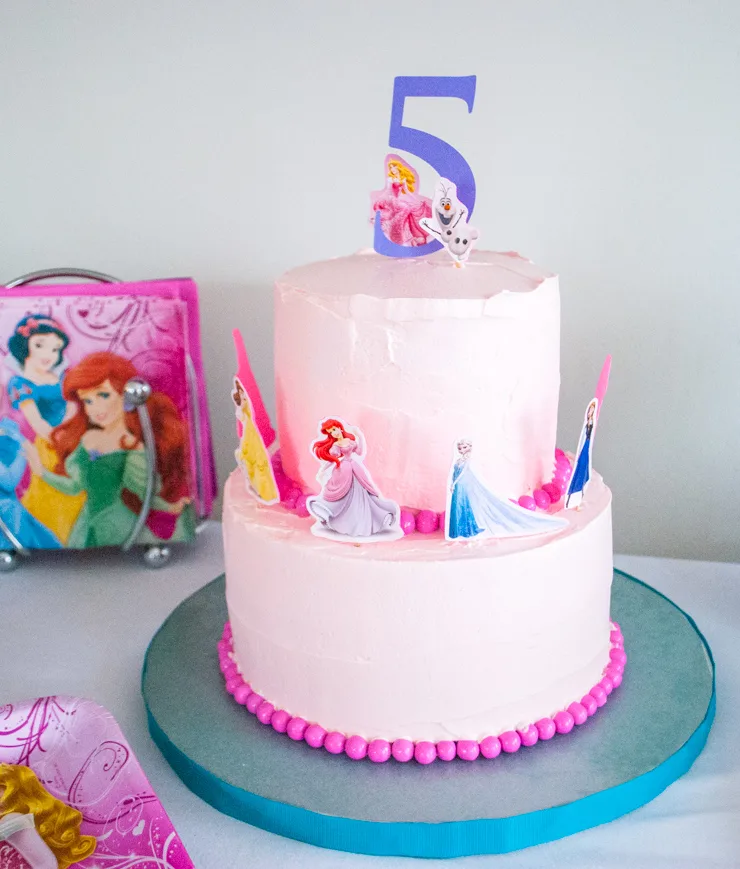
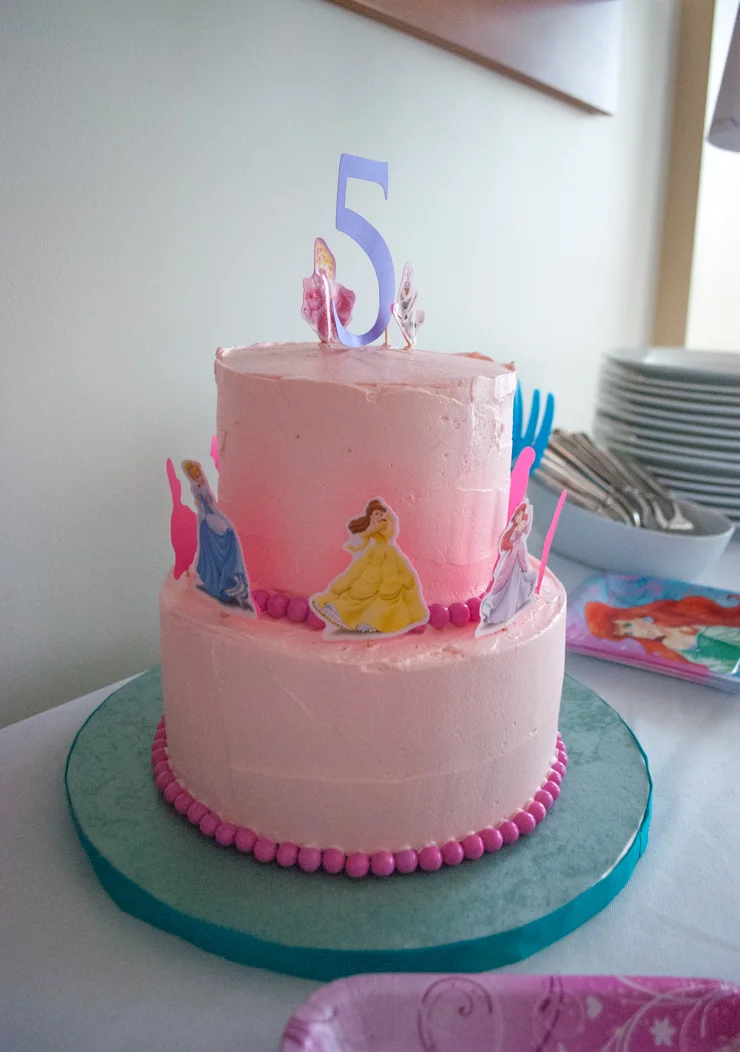
Want to make an easy DIY princess birthday cake? Use princess stickers!
Call it a cop-out or a moment of pure genius, using princess stickers is hands-down the easiest way to decorate a DIY Disney princess birthday cake …and really any other character cake too.
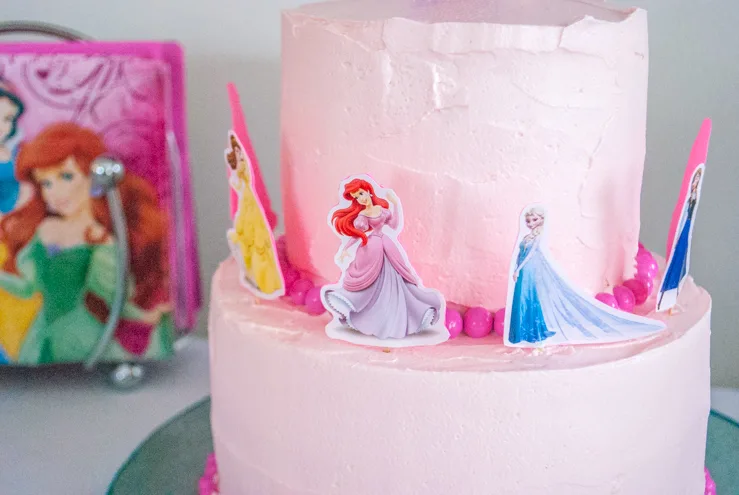
Elise wanted an “All The Disney Princesses” birthday cake including Elsa/Anna/Olaf from Frozen, Rapunzel from Tangled, Ariel from The Little Mermaid, Belle from Beauty and The Beast, Aurora from Sleeping Beauty, and the other Disney princess ladies.
Using stickers made it possible to pull all these different princesses into one cohesive super cute princess party look.
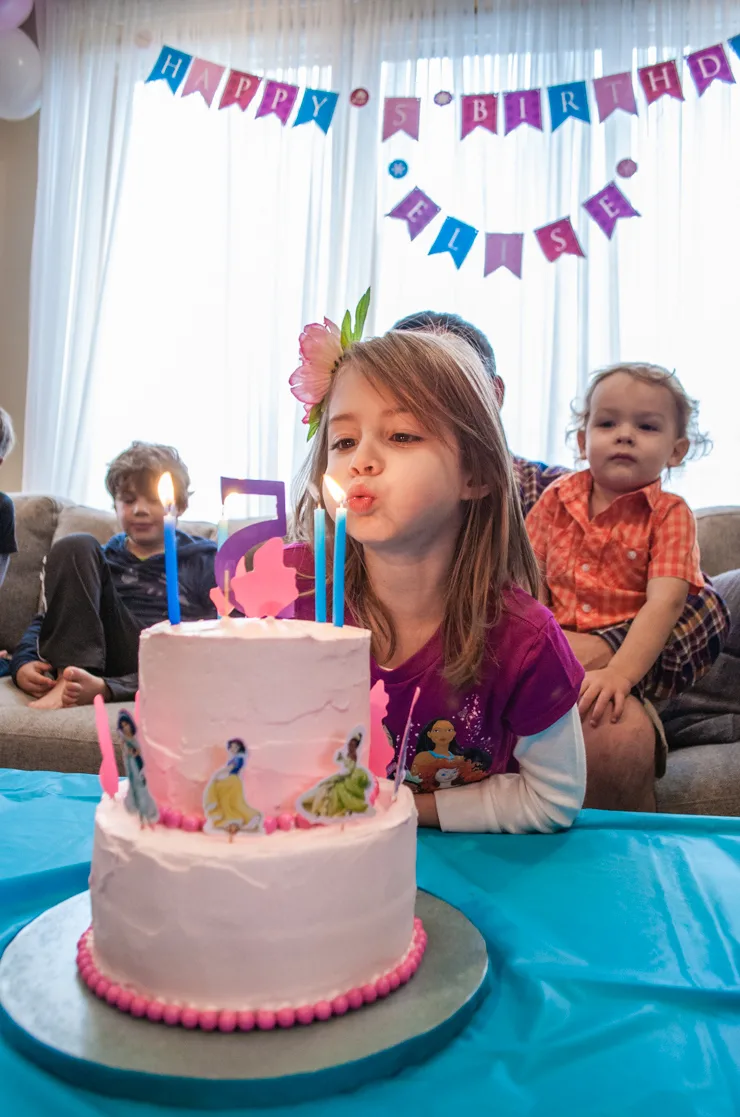
Years ago I naively vowed to make my kids’ birthday cakes every year. And even I’m an amateur baker I think I did a pretty good job on my Buzz Lightyear birthday cake, my Super Heroes birthday cake and my construction birthday cake …but “all the Disney Princesses” had me pretty intimidated. I mean, there was no way that I could make a princess cake like this. So how was I going to pull off a DIY Disney princess cake WITH ALL OF THE PRINCESSES?
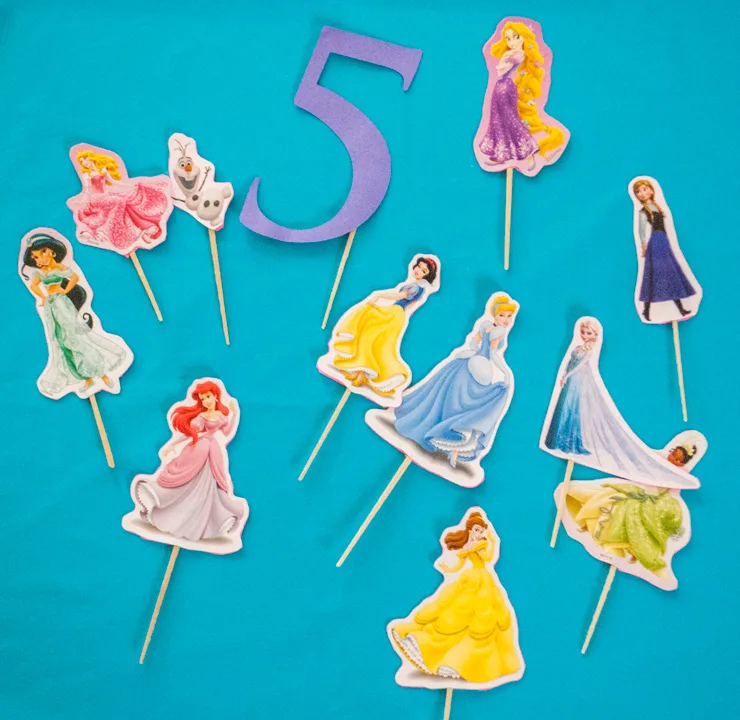
The answer is stickers! Glorious stickers!! The idea came to me when Elise and I were coloring in her coloring book that had pages of stickers in it. Just sandwich a toothpick between the sticker and some pretty colored cardstock paper.
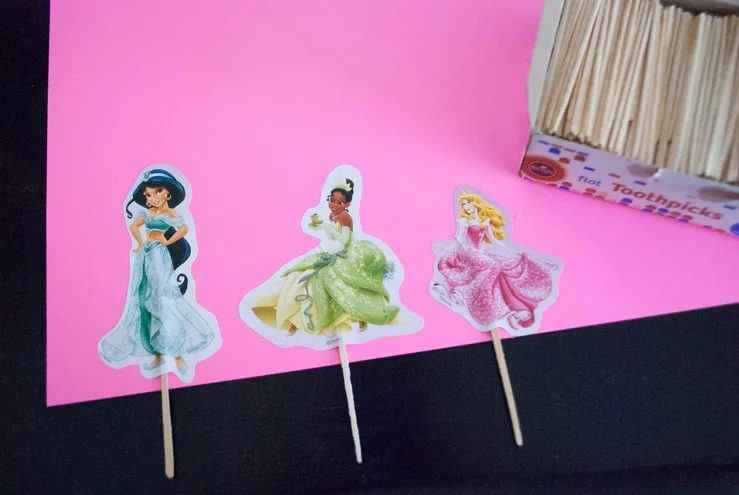
Then cut them out and stick the toothpick into the baked cake. That’s it! This was such an easy way to make a cake that included Elsa, Rapunzel, Aurora, Ariel, Anna and the rest of the Disney princesses across different movies.
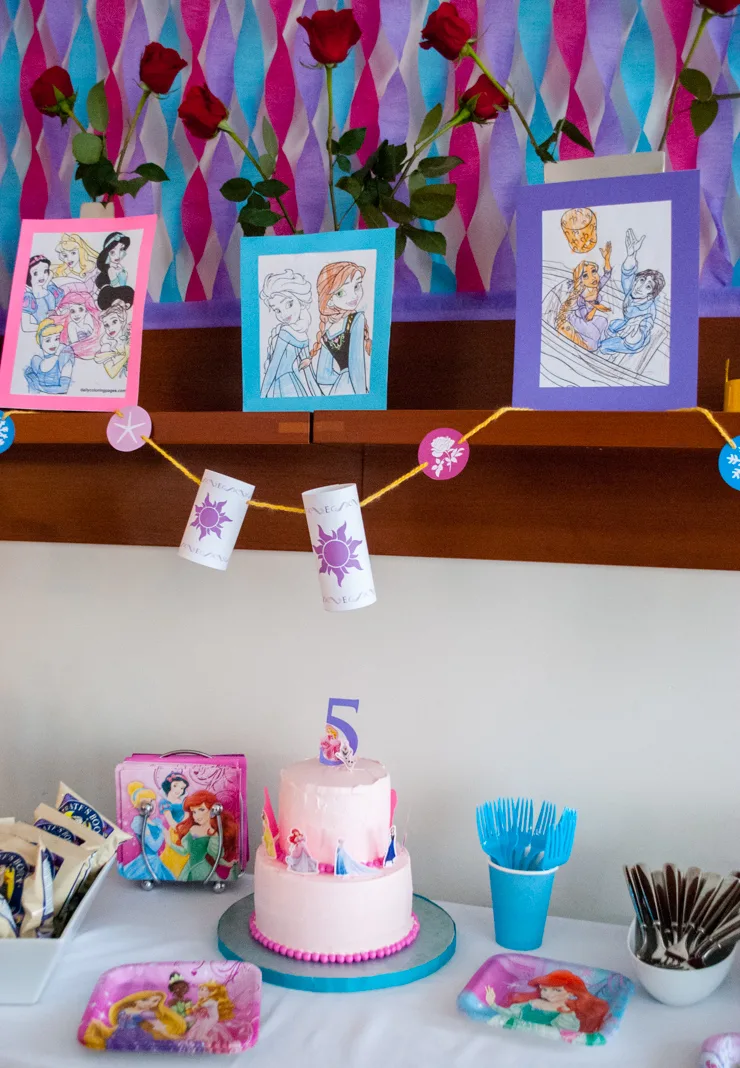
Add some crepe paper, princess plates and napkins, Rapunzel lantern garland, printable princess happy birthday banner, and “framed” coloring pages by the birthday girl and you’ve got an easy and cute “All the Princesses” birthday party decor.
Supplies for making a DIY Disney princess birthday cake using stickers:
—
How to make a DIY Disney princess birthday cake using stickers:
Here’s an easy way to do a two-tier cake: First, bake and ice your cakes. See my Buzz Lightyear birthday cake post for the recipe that I like to use and baking how-tos.
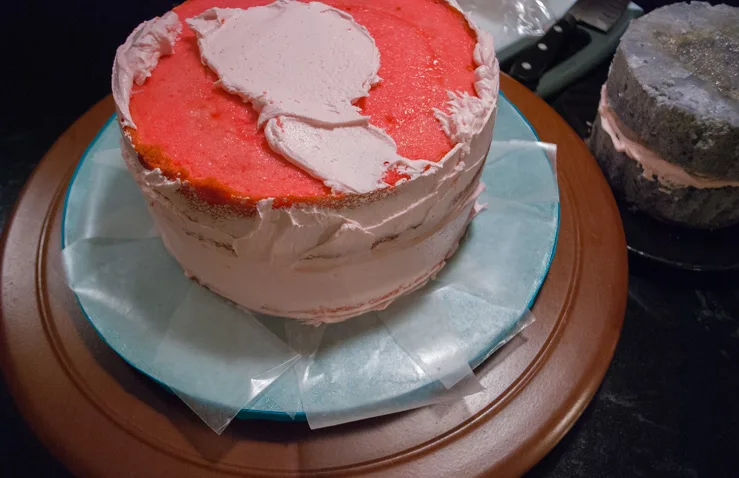
Using wax paper pieces on your cake board really helps keep the cake board neat and clean.
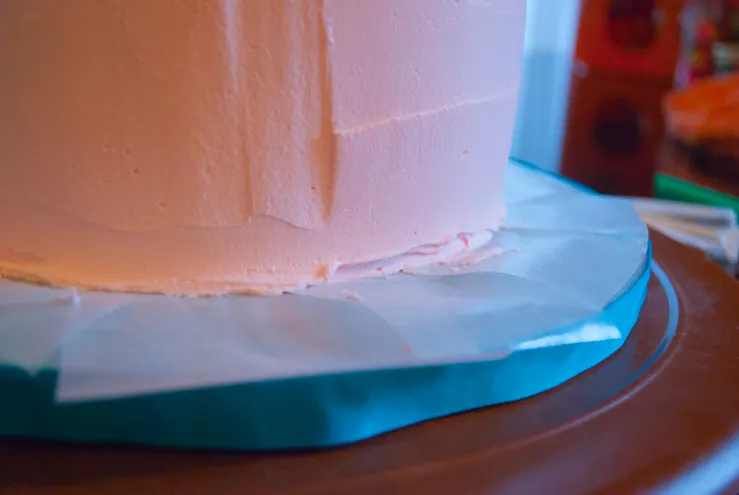
Now you’re going to want to add a bit of structure to your bottom tier. I grabbed a couple plastic straws from a Starbucks run, slipped them down into the cake, and cut them to be the same height as my first tier.
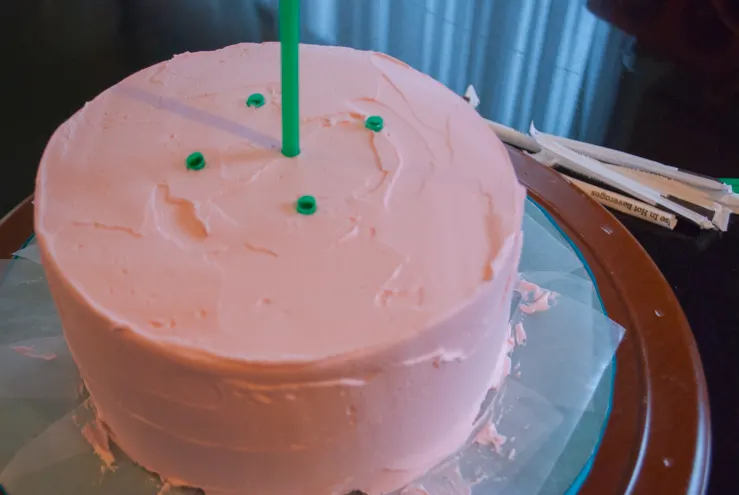
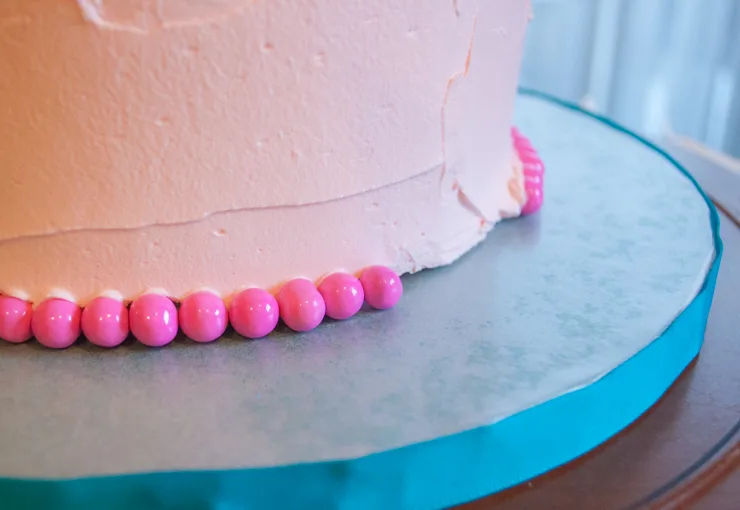
Then pull out the wax paper pieces and cover up the bottom with round chocolates.
Now for the scary part! Slip a turner underneath your second tier…
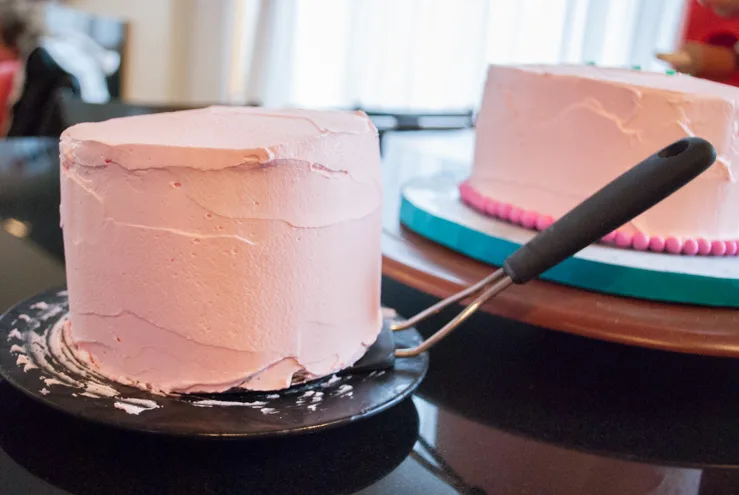
…and put it on top of the straws like so and tidy up your icing job.
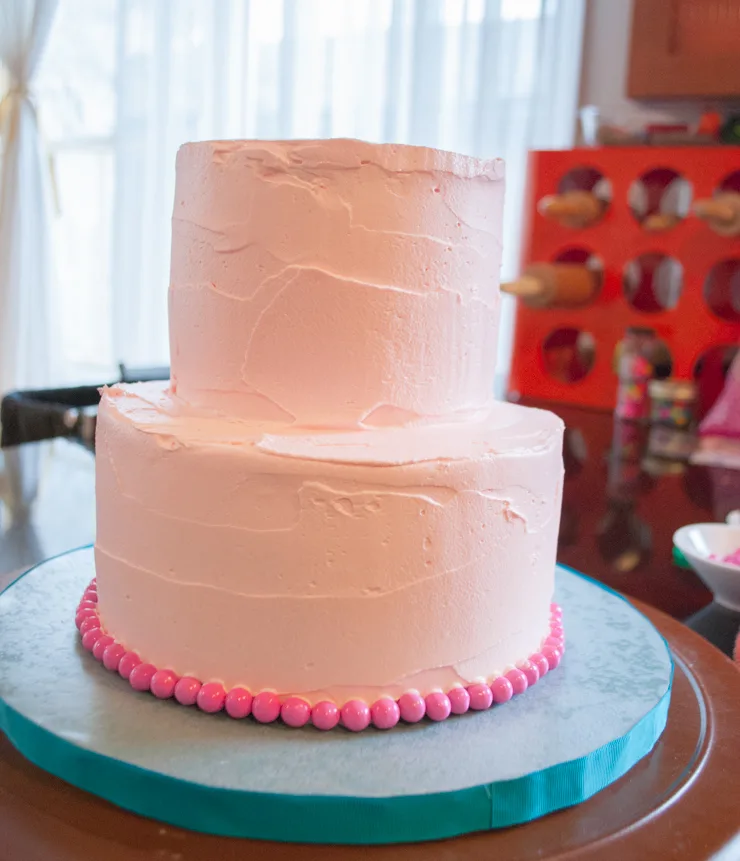
Then add more round chocolates around the second tier, add your princess toothpicks, and you’re done!
******
For more royally cute princess birthday DIYs:
See my ‘All The Princesses’ personalized printable happy birthday birthday princess banner. There are snowflakes for Anna and Elsa, starfish for Ariel, Roses for Belle and Aurora, and suns for Rapunzel. Print one color or mix and match like I did.
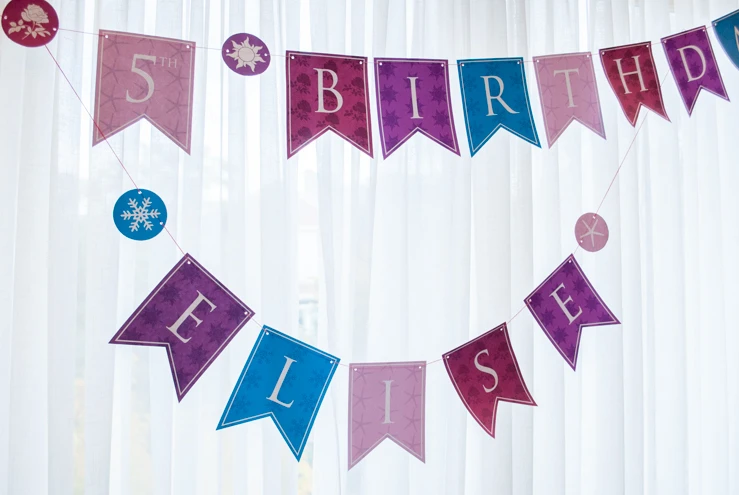
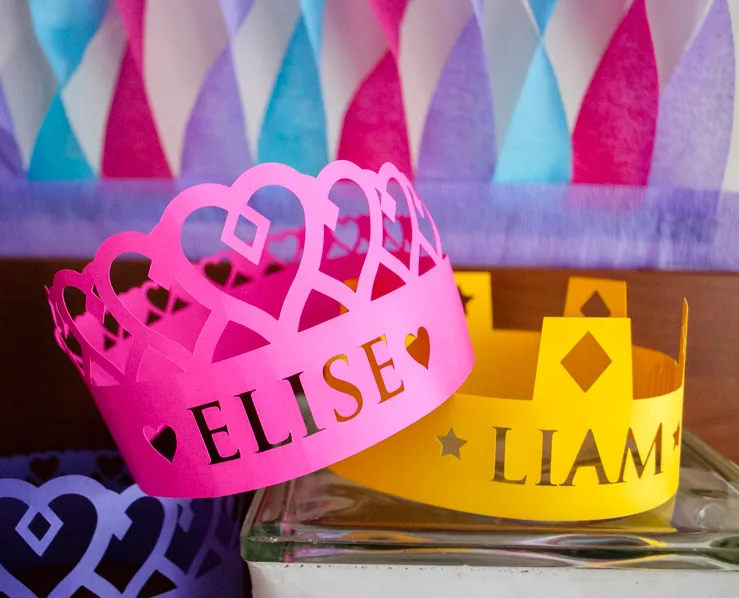
And see my DIY personalized crowns:
—
Like it? Share it!
The nicest way to say you like it is to pin it on pinterest, post a comment, follow Merriment Design on Facebook, twitter, pinterest, Google+, instagram or sign up for monthly emails. Enjoy! 🙂
Copyright stuff: You’re more than welcome to use this free project and tutorial for personal use. Contact me for commercial use and etsy sales.

Emilia
Sunday 5th of July 2015
I just wanted to say that I am loving you cake style!!! Also, what size are the cakes in the layered cake? What about superhero cake?