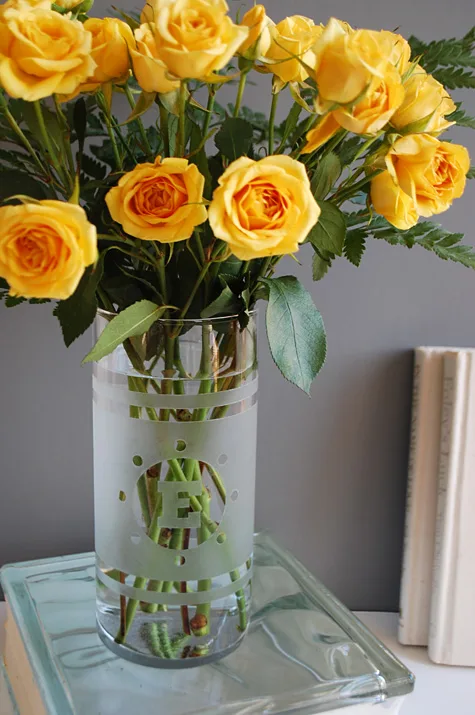
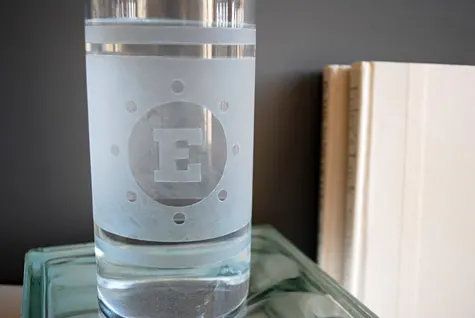
Etching glass. What a cool DIY way to recycle those generic glass vases from floral deliveries into something that ends up looking pretty darn elegant. And I’m sharing my free monogrammed printable glass etching template (PDF) template with you so you can make your own.
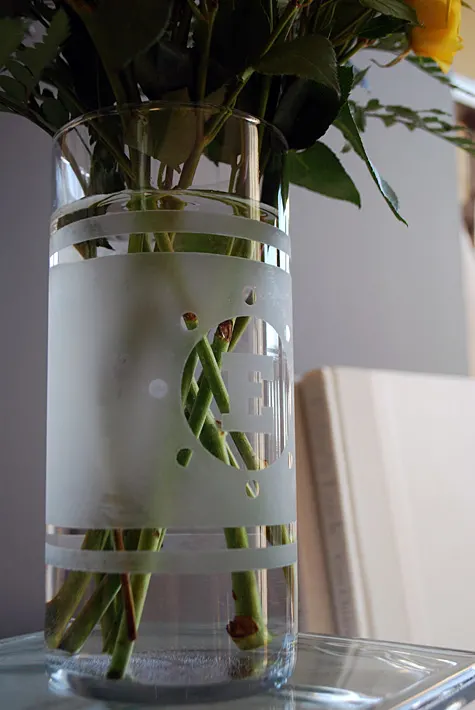
This free glass etching template is a monogram inside a circle surrounded by little circles that suggest the sun.
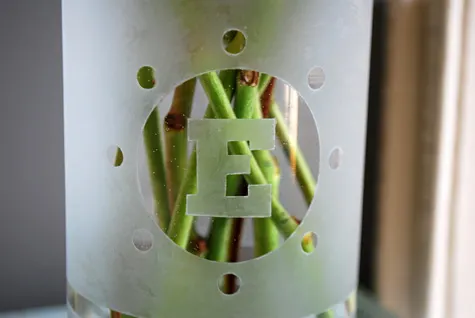
I liked the idea of etching it all in reverse so the glass etching wraps around the vase from the front to the back with stripes on top and bottom to add a little more charm.
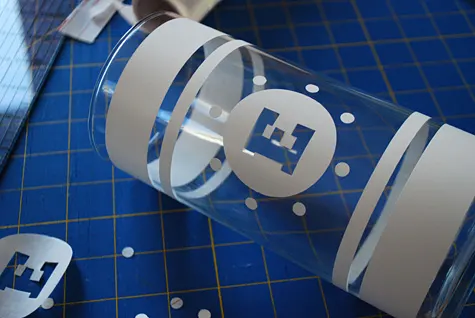
While I’ve seen how to etch glass before this was my first time doing it DIY. I followed Marie’s etched glass pans tutorial at Makes and Takes and with the exception of a few missed spots that I had to re-do (and apparently large areas can be tricky to do by hand) it was pretty easy all around.
This monogrammed etched glass is a great DIY gift idea – Valentine’s Day, Mother’s Day, wedding engagements, birthdays…
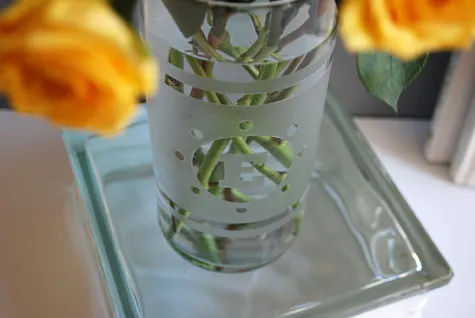
I had almost tossed my old glass vases in the Goodwill pile but I’m glad the packrat in me paused. Now I’m eyeing other Plain Jane glass around my house to see what I can etch up next.
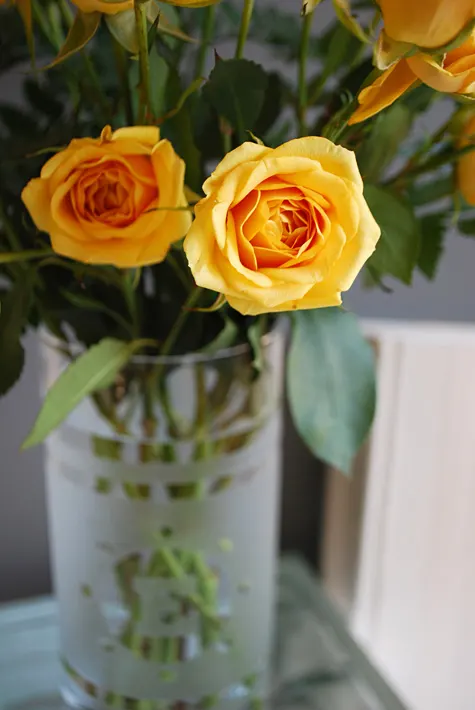
WANNA MAKE IT? Free monogram template, step-by-step tutorial instructions and supply list for making my etched glass monogrammed vase craft idea –>

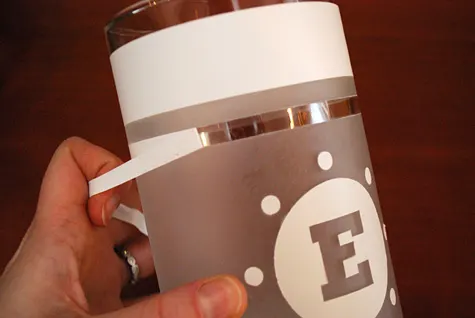
Supplies for etching your own glass monogrammed vase:
- Kathy’s Free Glass Etching Monogrammed Template (PDF, fits a vase sized 7-1/2″ tall x 11″ around) – thank you to the League of Moveable Type for their Chunk font
- Glass vase – mine was the standard 7-1/2″ tall x 11″ around free vase from floral deliveries
- Armour Etch Glass Etching Cream
- Foam brush and/or paint brushes
- Contact paper shelf liner (I used white)
- X-Acto knife, metal ruler, and small self-healing cutting mat
- 1/4″ round hole punch
- 2″ circle craft punch
- Rubber gloves
- Water (do not use a ceramic sink)
- Rags
- Patio paint in white – weatherproof paint for ceramics, concrete, etc. (optional)
- Rubbing alcohol pad (optional)
—
Like it? Share it!
The nicest way to say you like it is to pin it on pinterest, post a comment, follow Merriment Design on Facebook, twitter, pinterest, Google+ or sign up for monthly emails. Enjoy! 🙂
—
How to etch a glass vase:
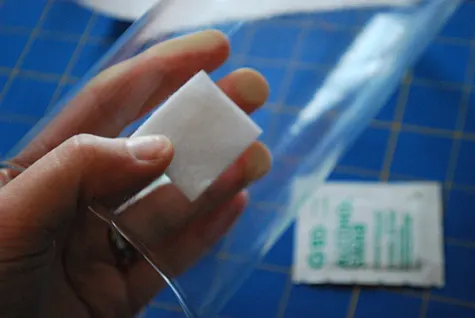
First I cleaned my vase inside and out and ran over it with an alcohol pad – all optional but it did get all the little bits of film off before I started to etch the glass.

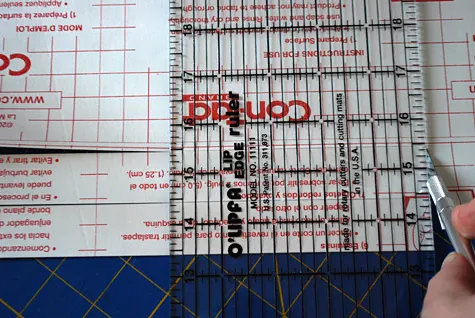
Cut 2 strips of contact paper 1″ x 12″ and 2 strips of contact paper 0.25″ x 12″ using a self-healing mat, X-Acto knife
and clear plastic ruler.

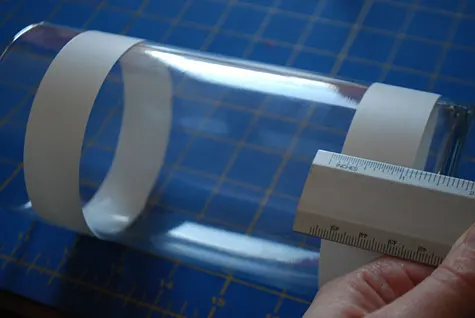
Peel off the backing of one of the 1″ x 12″ strips of contact paper. Stick the top edges so it’s 1-1/2″ from the top of the vase. Repeat on the bottom. Make sure the contact paper is smooth and totally stuck to the glass without any bubbles or ripples.
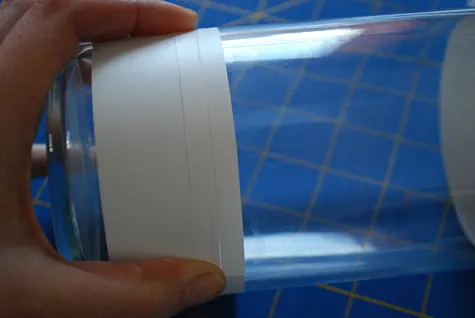
Peel off the backing of one of the 0.25″ x 12″ strips of contact paper. Now here’s a little trick: line up the peeling next to the 1″ x 12″ stencil to act as a spacer. Then stick the contact to the glass vase next to the spacer.
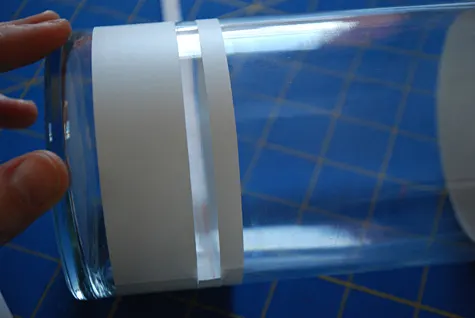
Lift off the backing spacer and voila! Perfectly spaced stripes.
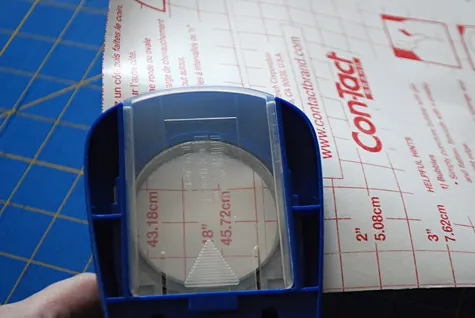
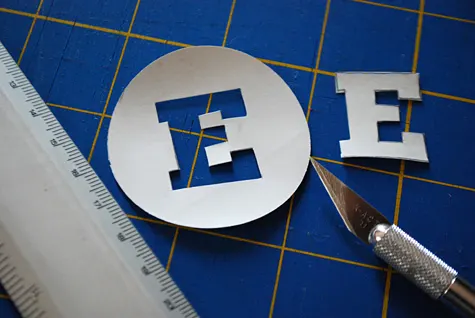
Using a 2-inch craft hole punch, punch a contact paper circle.
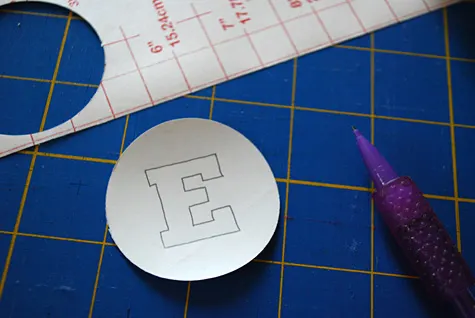
Print my free glass etching monogrammed template (PDF). Cut out a letter and trace it in the middle of the punched circle of contact paper.

Carefully cut out the monogrammed letter out of the circle using an Xacto knife.
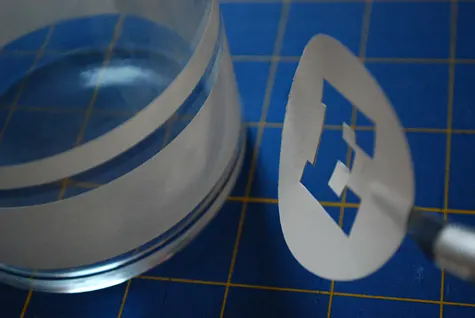
Now here’s another trick: Use your Xacto knife to help you peel the circle without mangling it all up. Slip the blade tip between the contact paper and its backing.
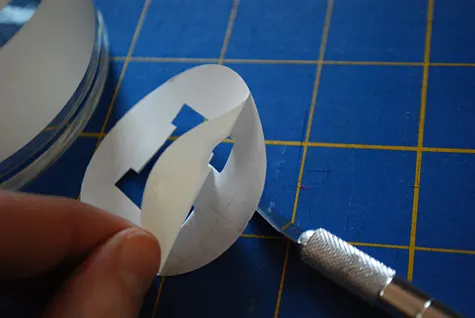
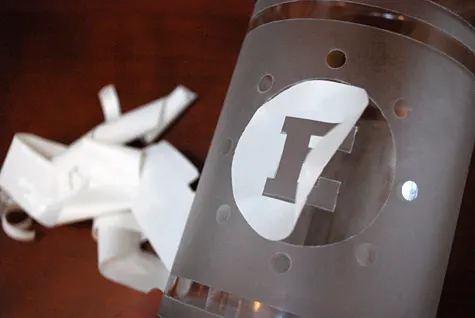
Now it will easily peel off without messing up the template.
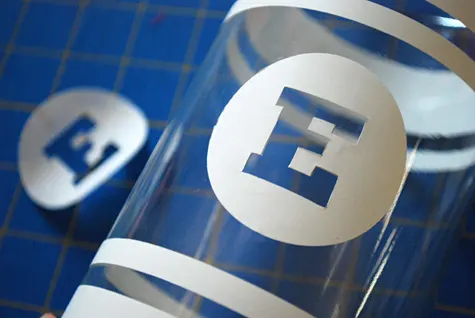
Center the circle between the stripes and stick to the glass vase. Smooth it down so it’s totally stuck to the glass, no wrinkles, no bubbles.
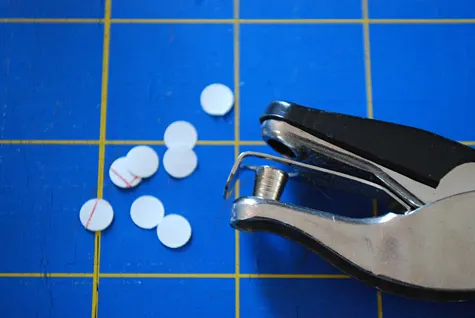
Punch out eight circles using a 1/4″ round hole punch.
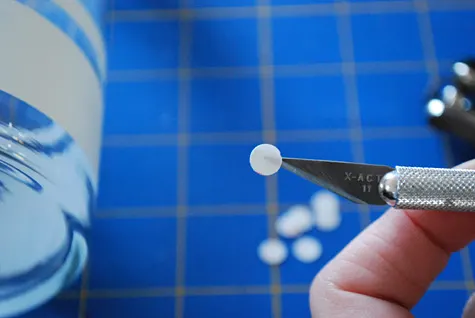
Now use that Xacto knife trick again to peel the backing off of the contact paper and stick them around the monogram.

If you want a little guide for placing all of the pieces, you can print out my template, curl it up, and slip it inside the vase to help you stick everything down in the right place. Do a quick smooth check to make sure all your contact paper is adhered to the glass with no bubbles or edges popping up. OK now you’re finally ready to etch.
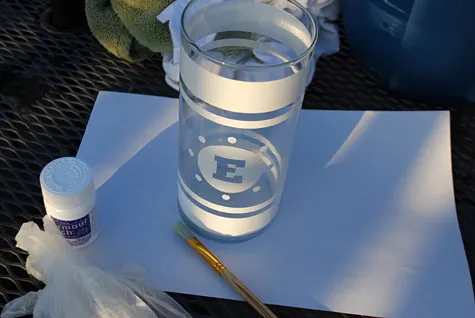
The instructions on the glass etching cream are pretty scary I have to say, so I put on my vinyl gloves and least favorite jacket to go out on our cold deck to do this project outside.

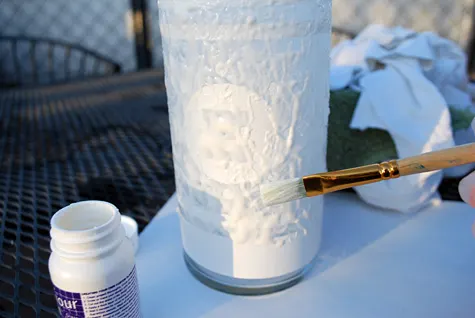
Paint the Armor Etch on using a paint brush or sponge. I had to use a paint brush because I bought such a small can that could only fit a paintbrush. I waited 10 minutes. And I rinsed it off and let it dry. And oof! I missed a few spots. Dang. So I repeated the process again the next day, making sure I hit those extra couple bits. Next time I’ll use a foam brush and layer the etching cream on a little thicker.

Once it’s all dry you can gently peel away the contact paper.
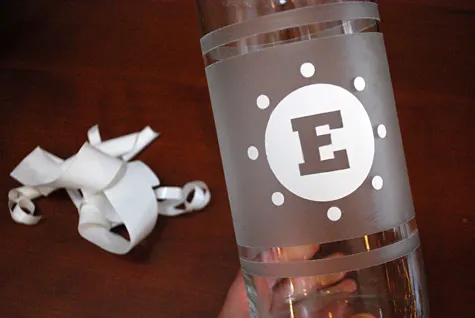
It’s pretty cool to reveal the glass etch. It’s subtle but
Did you make it? Please post a comment and let me know how this craft idea works for you. And share your own photos at the MerrimentDesign.com Facebook page, “I made it!” flickr photo gallery or tweet a picture to @merrimentdesign.
COPYRIGHT NOTE:You’re more than welcome to use free pattern and how to step-by-step tutorial for your own personal use. Contact me for any commercial use – this includes etsy sellers.

Angela Downer
Monday 16th of March 2015
I've always loved the look of the cloudy glass, and I never realized that it was so easy to make myself. My boyfriend got me a really cool glass vase, this Valentines Day that I can use for my project, now all I need to get is the paint. If you don't mind me asking, what was so scary about the cream was scary? Are there bad side effects if you get it on your skin? I would love to do this project with my little sister, but if it's a dangerous project I should probably just do it on my own.
Kathy Beymer
Monday 16th of March 2015
Hi Angela, you definitely want to keep glass etching cream away from skin and children. Your sister could help with the design and putting on the template but it's best to have an adult put on the cream and wash it off. Happy crafting!
Deanna R. Jones
Wednesday 11th of February 2015
Etching designs on glass vases seems like a great way to customize them. I like glass vases to hold my flowers, but sometimes it would be nice to have a vase with a cool image of my own design. Using etching cream and an etching template of your choosing seems like a fairly simple way to custom etch your vases. I'll be sure to try this out. Thanks for these instructions! http://www.GlassVaseWholesale.com