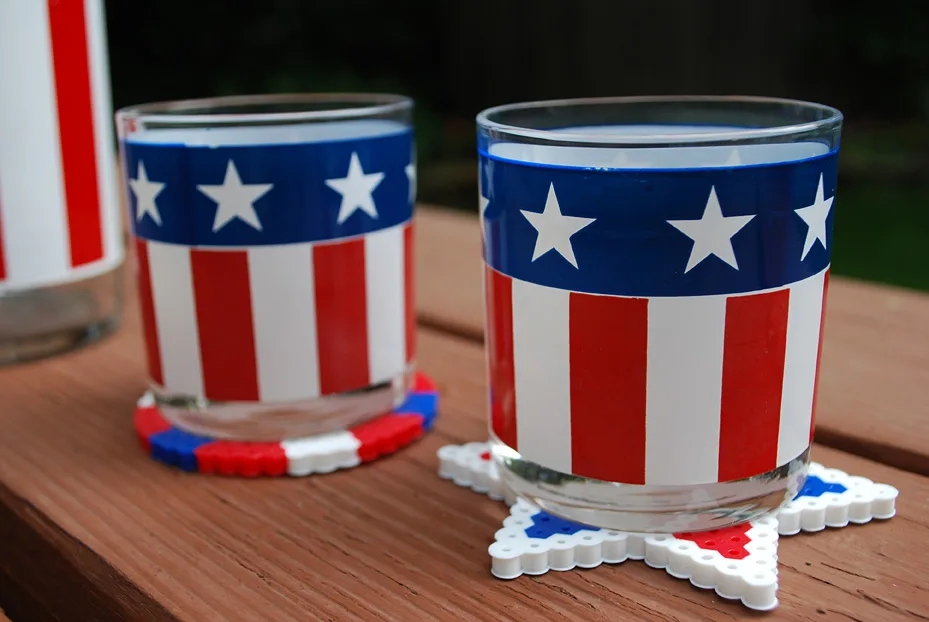
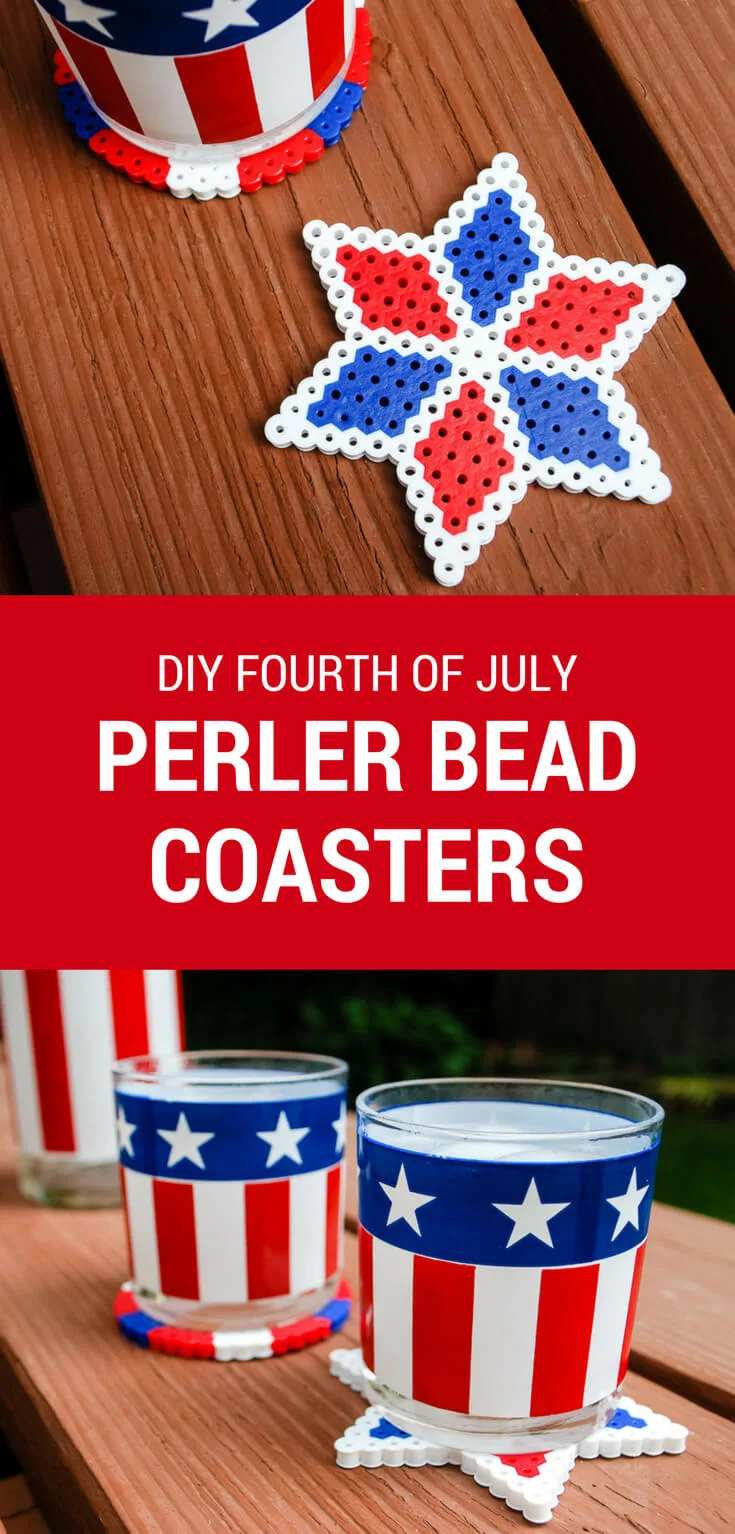
My Perler Beads drink coasters kids craft idea for the Fourth of July is so fun to make that the adults will want to join in, too. You can make my quick and easy Perler Bead coasters for your Fourth of July cookout in less than 30 minutes!
This easy 4th of July craft project for kids is sponsored by JOANN Fabric and Craft Stores. All craft ideas and opinions are mine. Thanks for supporting the craft brands who support Merriment Design!
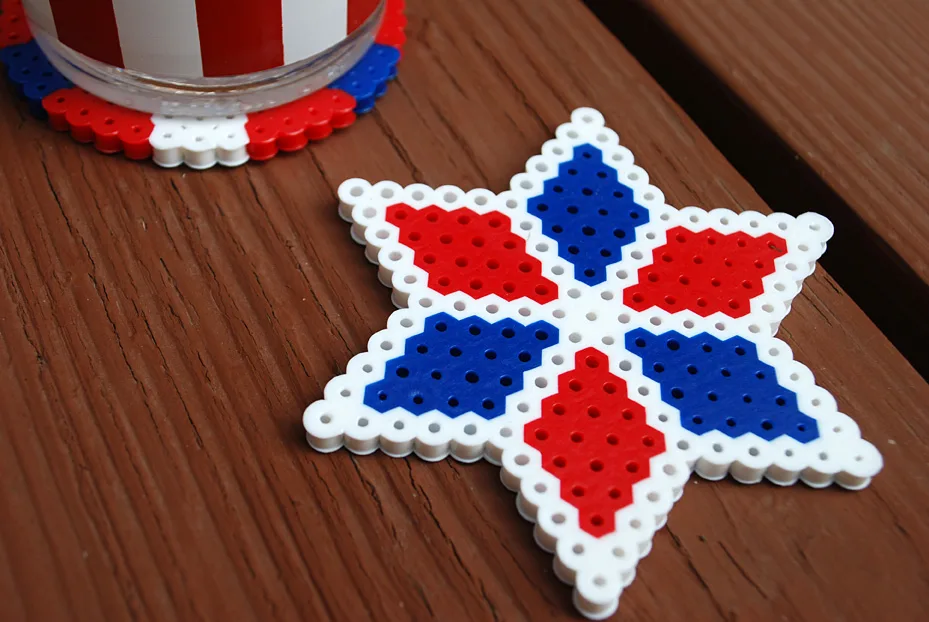
Perler Beads craft idea for the 4th of July
While flipping through summer craft projects in the JOANN Cape Discovery catalog, I saw this Perler Beads Starfish Necklace. Now it may be hard to believe but I had never seen Perler Beads before, and they looked like a fun kids summer crafts idea for Elise and me.
Quick and easy Perler beads drink coasters
We sat down and made a monkey first. Then a heart. And an “E”. And then a bee. And because I’m always looking to make functional, usable things, we made a set of DIY drink coasters for the Fourth of July. The Fourth also happens to be my husband Shane’s birthday so we tend to decorate it up in red, white and blue.
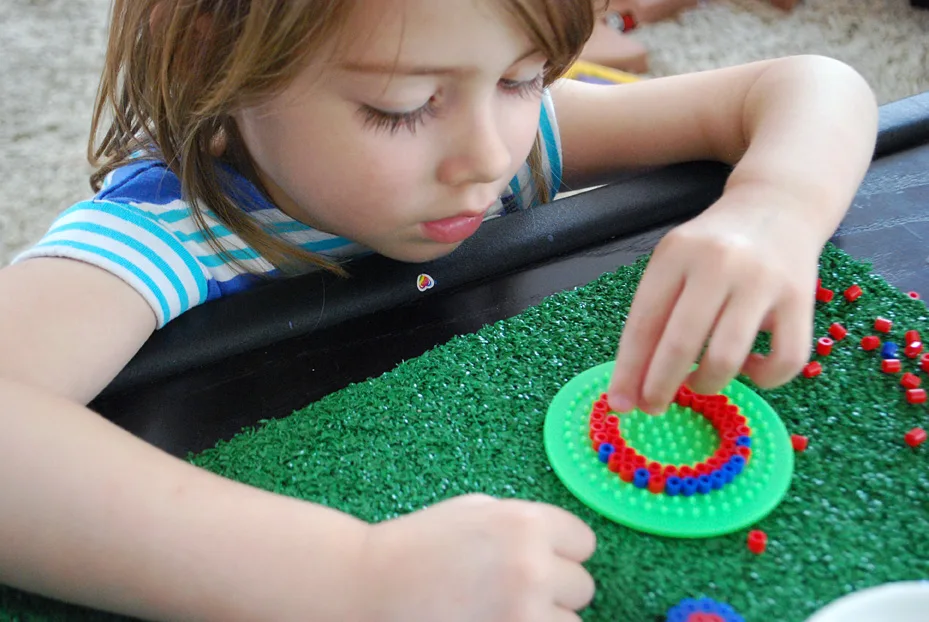
Perler Beads are recommended for 5 and up. Elise is only 3-1/2 but she did really well with them, especially with the smaller boards. And I loved them too and made a star. Happy summer crafting!
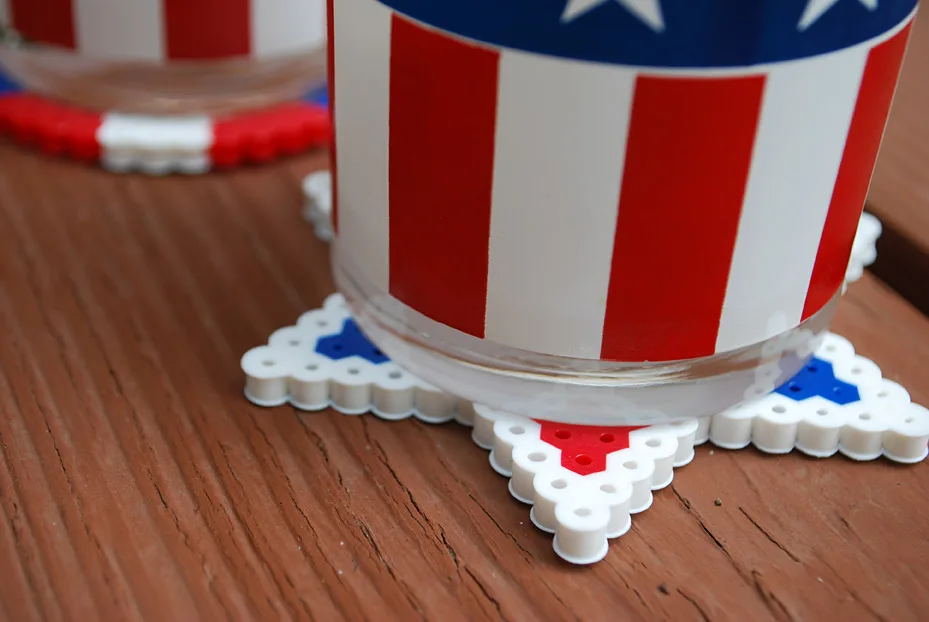

Supplies for making Fourth of July Perler bead coasters:
- Perler beads
- Circle and star boards for Perler beads
- Ironing paper that comes in with Perler bead boards (I use kitchen parchment paper in a pinch)
- Iron and ironing board
—
How to make Perler bead coasters for your Fourth of July BBQ
Step 1: Choose your drink coaster shape
Choose the circle or star Perler Bead board and start laying out your white borders.
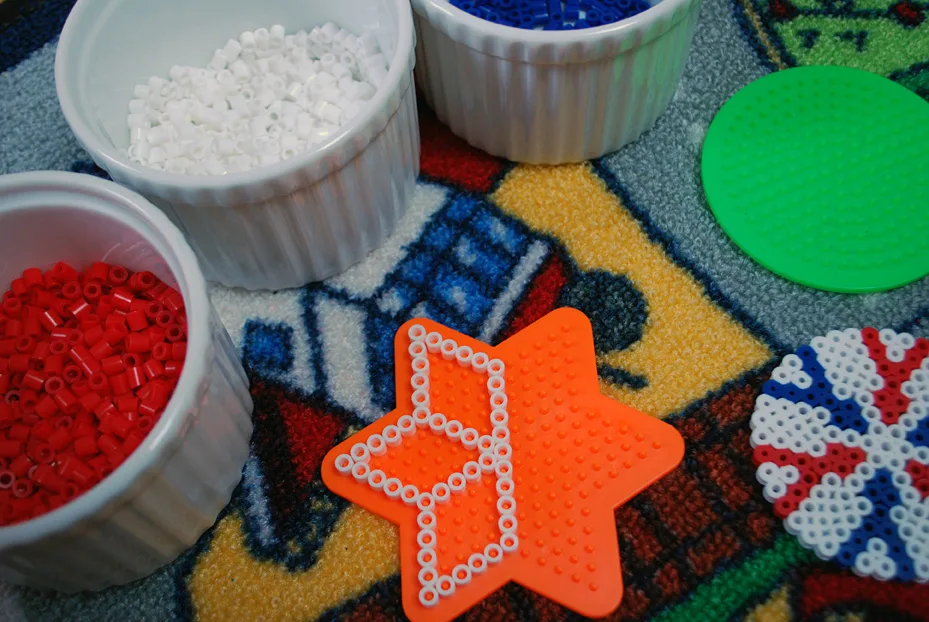
Step 2: Add Perler Beads to your board
Continue with the white outlines.
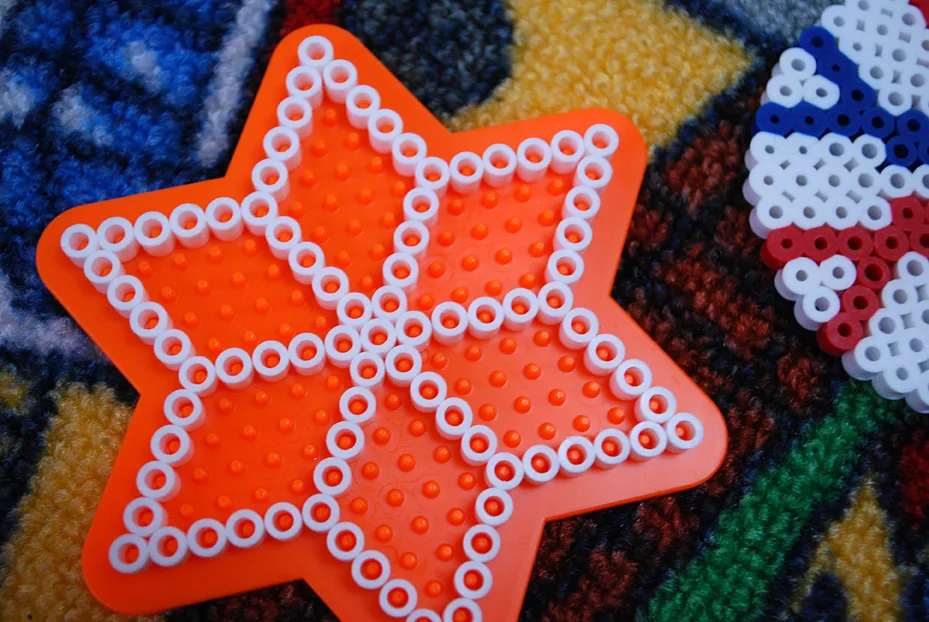
Step 3: Add more Perler Beads into your drink coaster
Start filing in with red and blue, alternating colors.
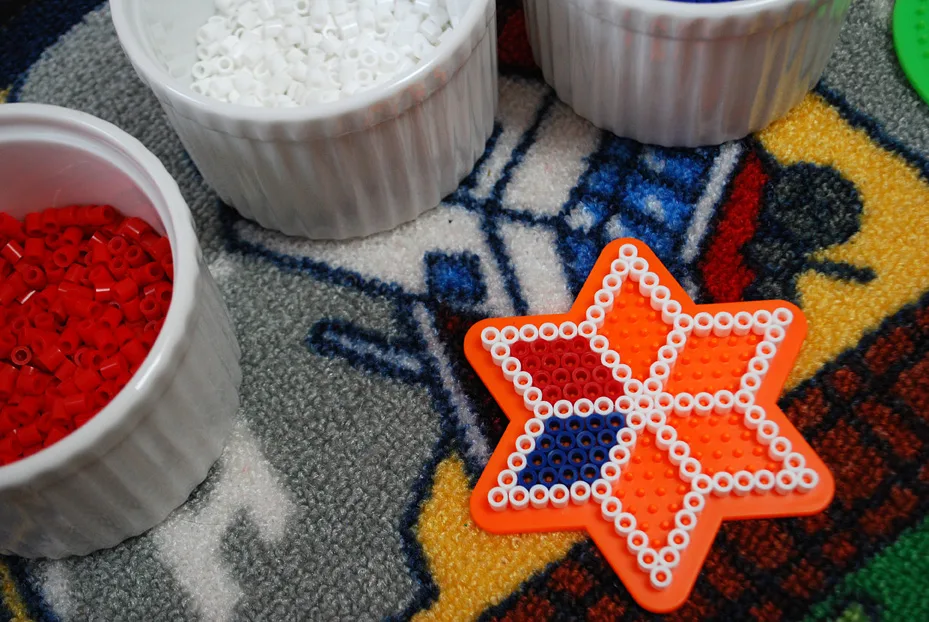
When it’s finished, it will look like this:
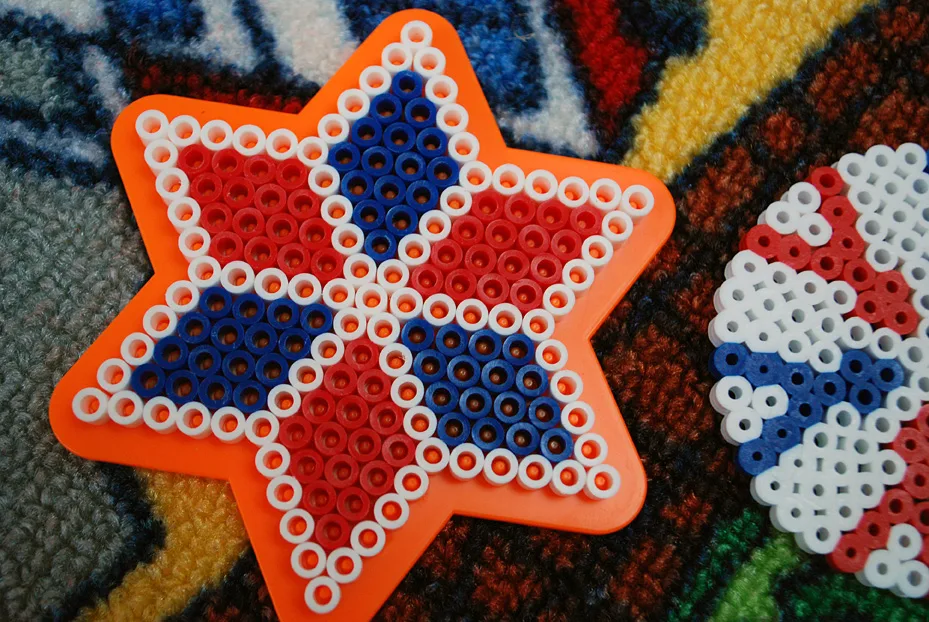
Step 4: Iron the Perler Beads to fuse them together
Now this step is just for adults. Carefully place ironing paper or parchment paper over top the beads. Heat your iron on dry (no steam!!) on medium setting. Iron till melted together, about 10 seconds, moving the iron in circles to make sure to get everything. I liked to turn the beads while ironing so they melted more evenly.
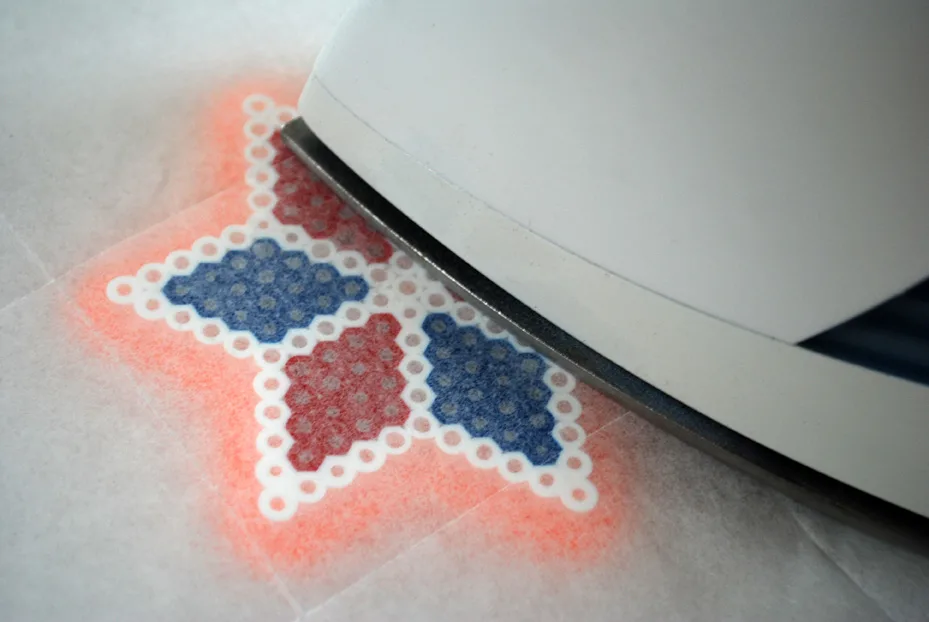
Step 5: Let your Perler Beads coasters cool
Remove the paper and let beads cool. Now you can iron until the beads completely melt together and we did that on a few, but Elise and I kind of like the holes.
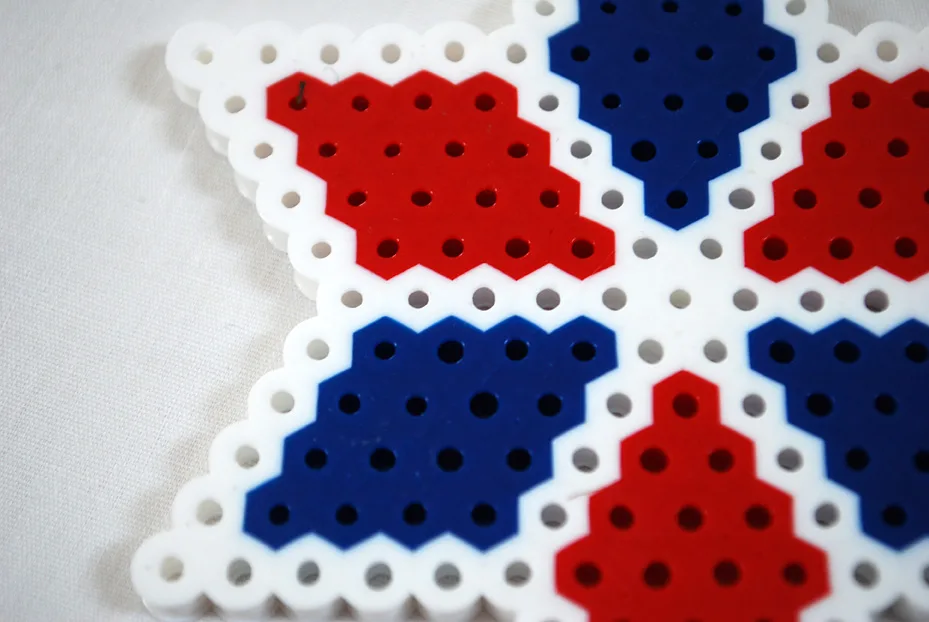
Step 6: Iron the other side of your Perler Beads coasters
Flip over and iron the other side of your Perler Beads coaster.
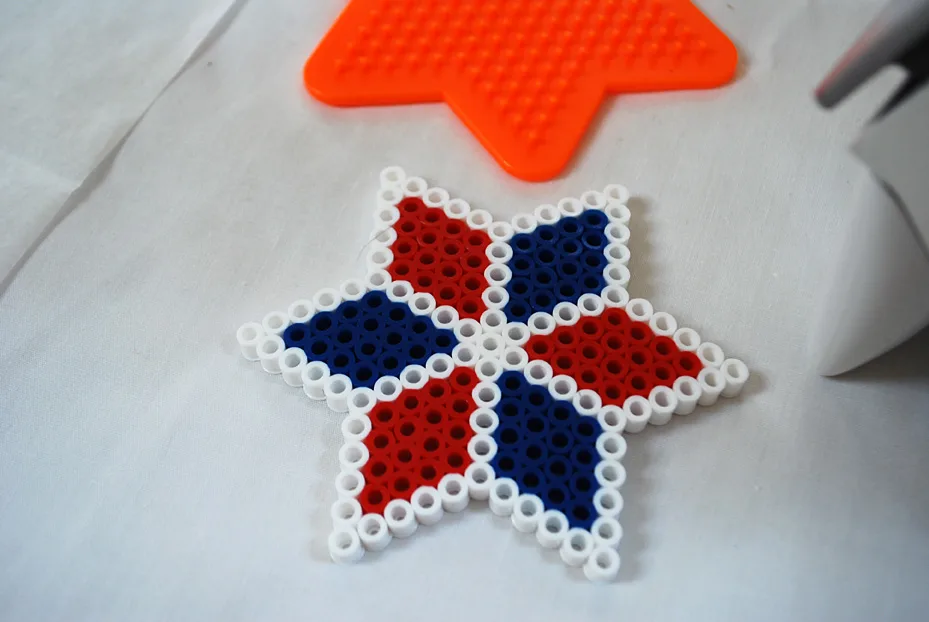
Be sure to pin my easy Perler Beadsd drink coasters craft:
—
Like it? Share it!
The nicest way to say you like it is to pin it on pinterest, post a comment, follow Merriment Design on Facebook, pinterest, or sign up for monthly emails. Enjoy! 🙂
Copyright stuff: You’re more than welcome to use this free project and tutorial for personal use. Contact me for commercial use and etsy sales.

Ewenique
Saturday 22nd of June 2013
When the were young, my children loved making coasters and Christmas ornaments with these beads. When I use a coaster today, sweet memories come back. It's a fun and easy craft to do with a group of kids, too. I especially like your red, white, and blue stars for 4th of July!