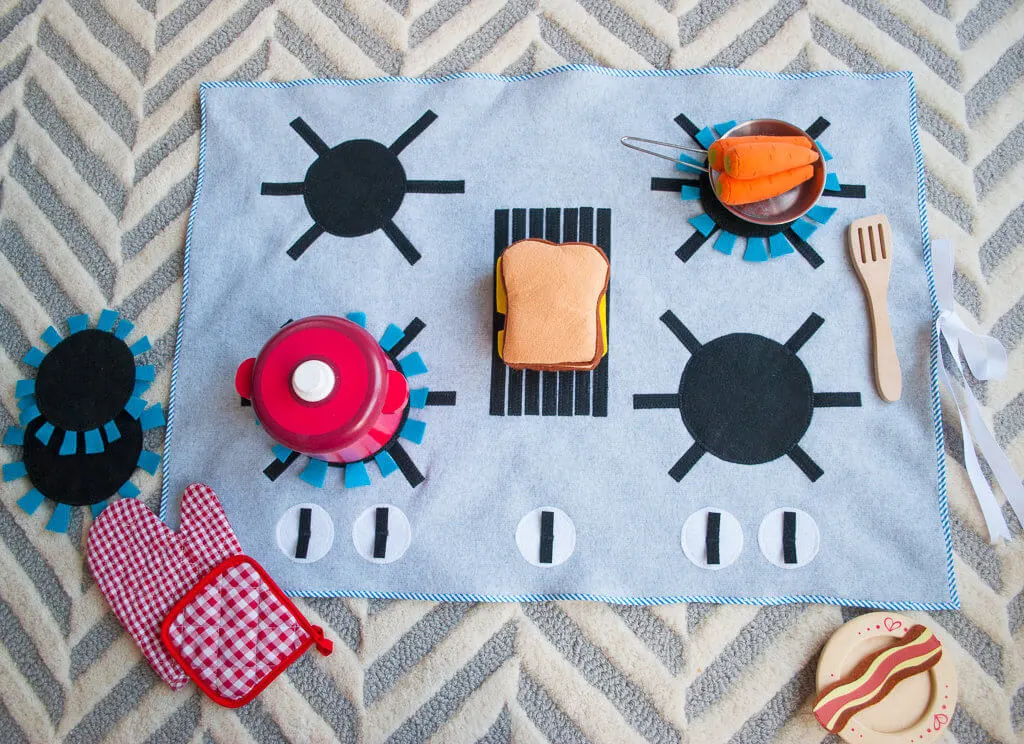
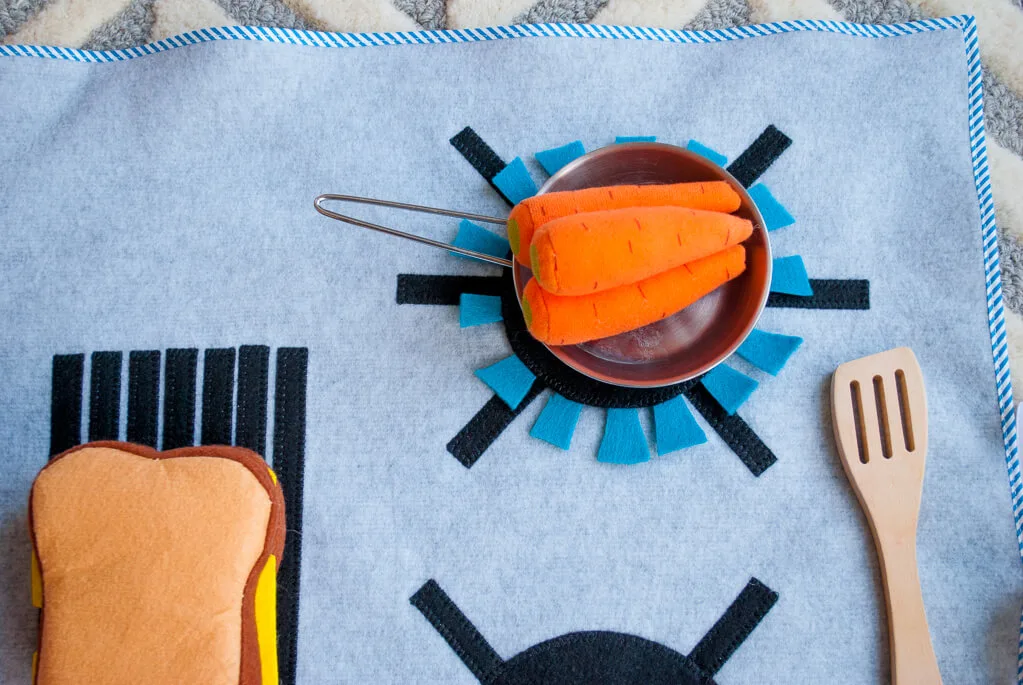
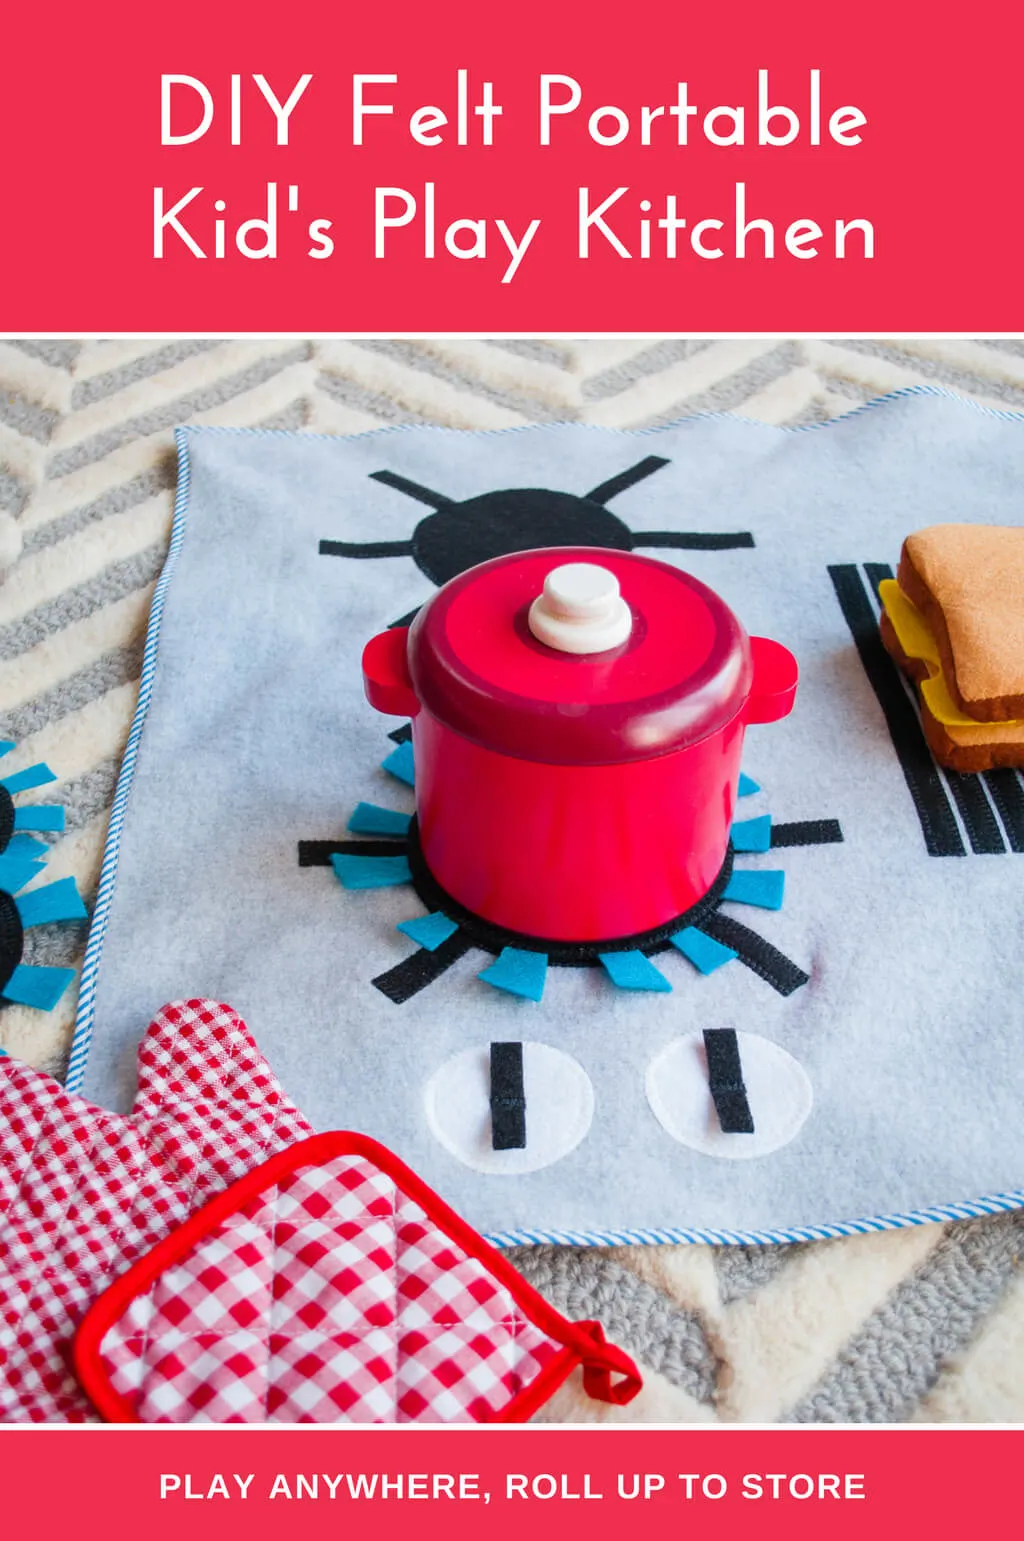
DIY kids play kitchens don’t have to take up a lot of space. Make this flat felt portable DIY kids play kitchen that you can play with anywhere — on the rug, on a coffee table, wherever. Then just roll it up to store away until the next time that the ‘restaurant’ is open.
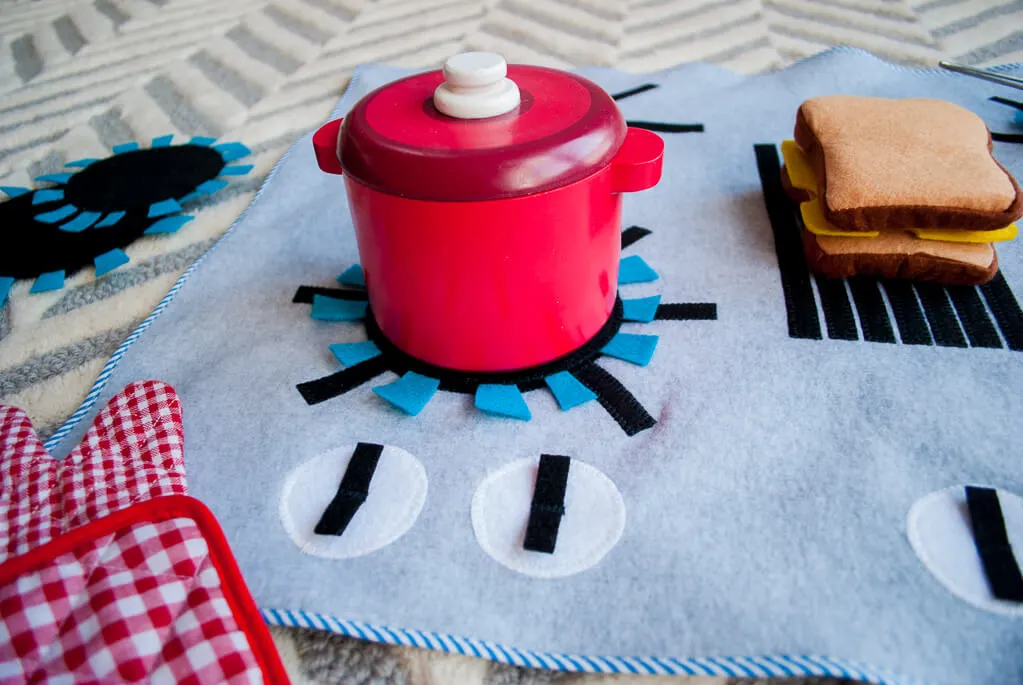
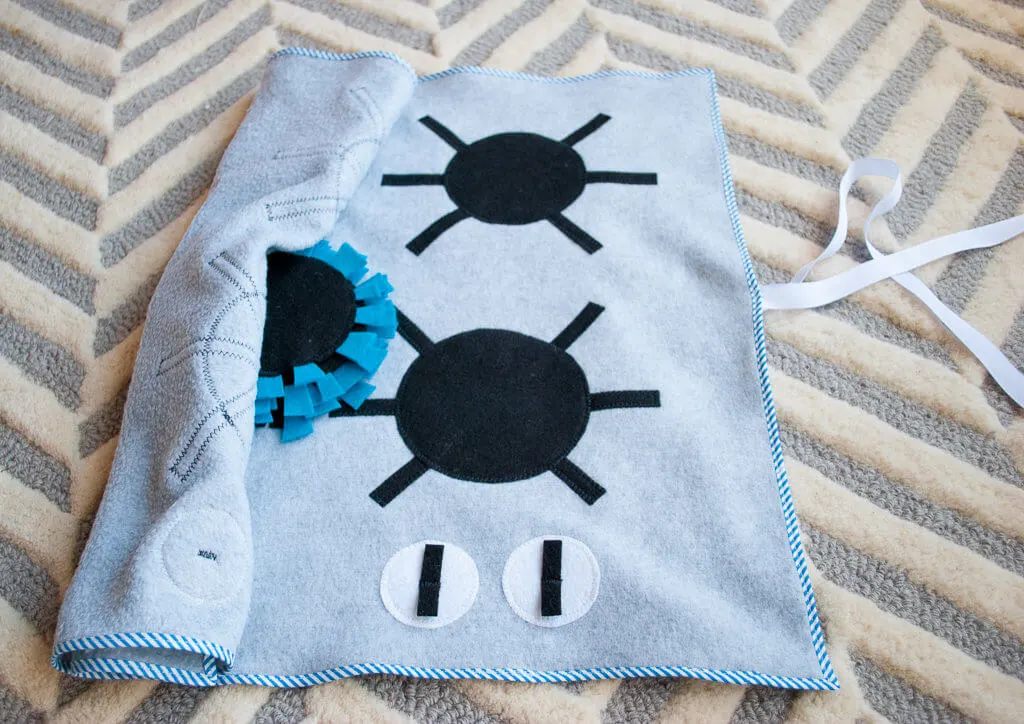
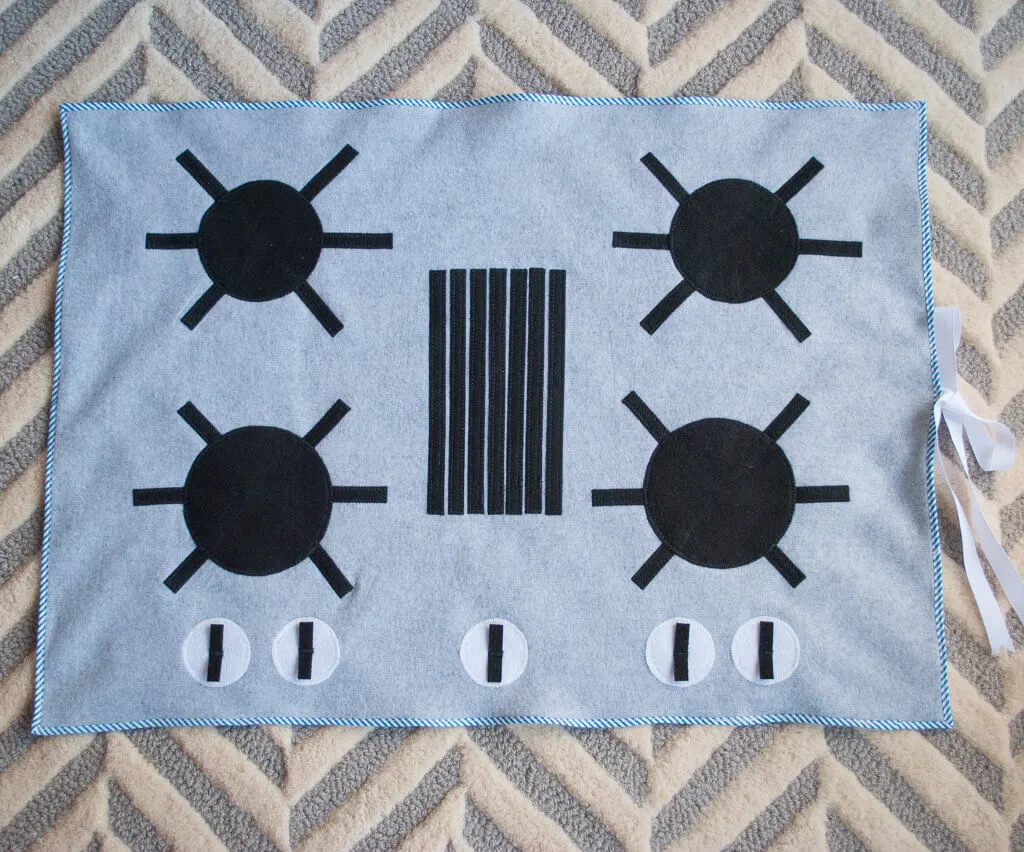
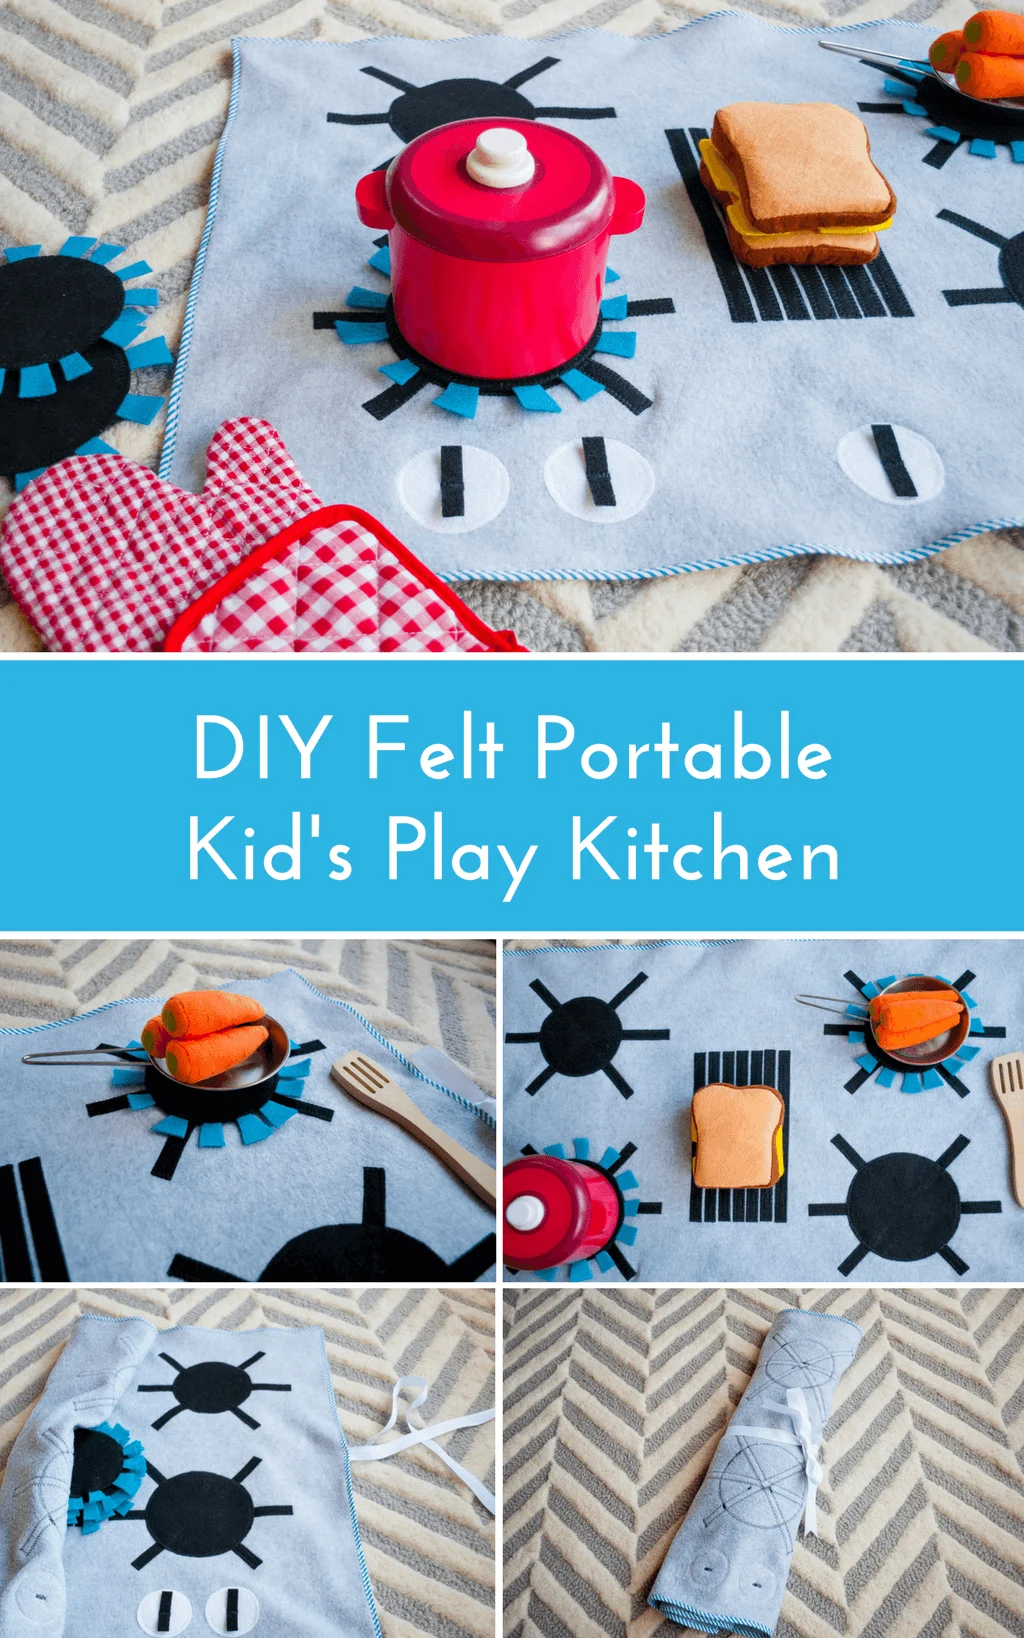
This handmade play kitchen has four burners, four removable ‘gas burners’, a griddle in the middle for panini sandwiches and pancakes, and five dials to turn them on and off.
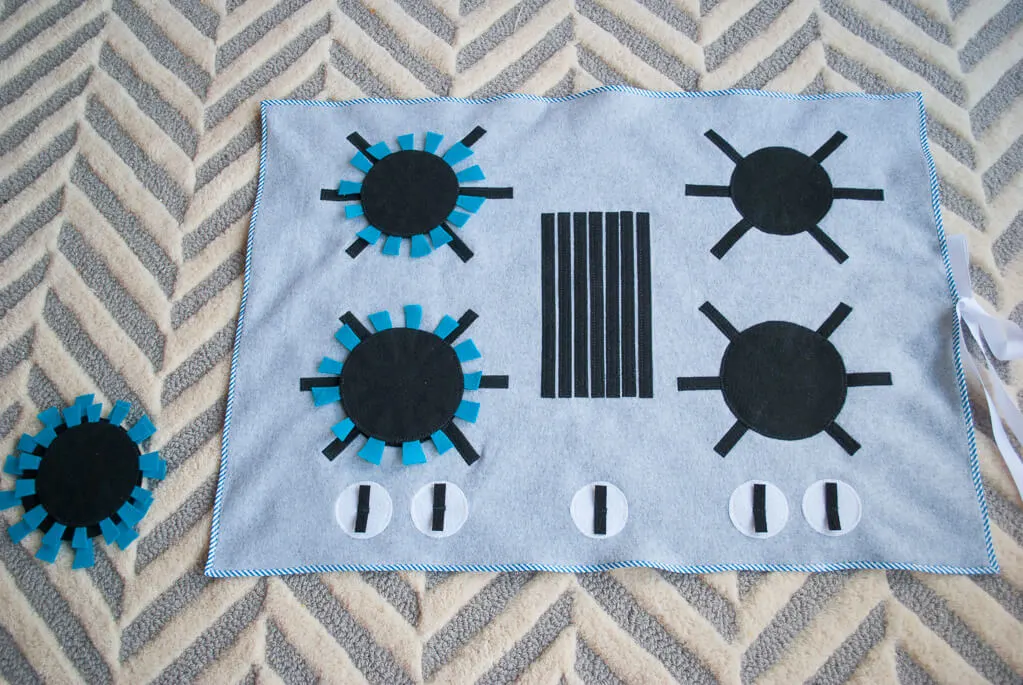
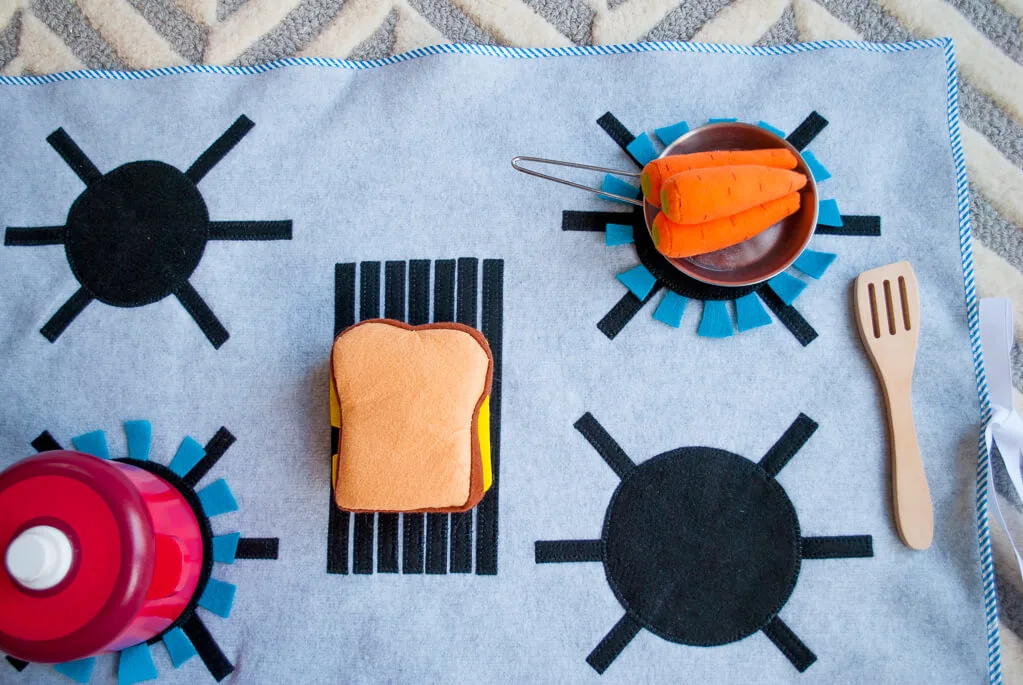
This kids use the stove with their pots and pans and felt and wooden food. It’s just perfect for pretending, and it’s easy to move around from room to room.
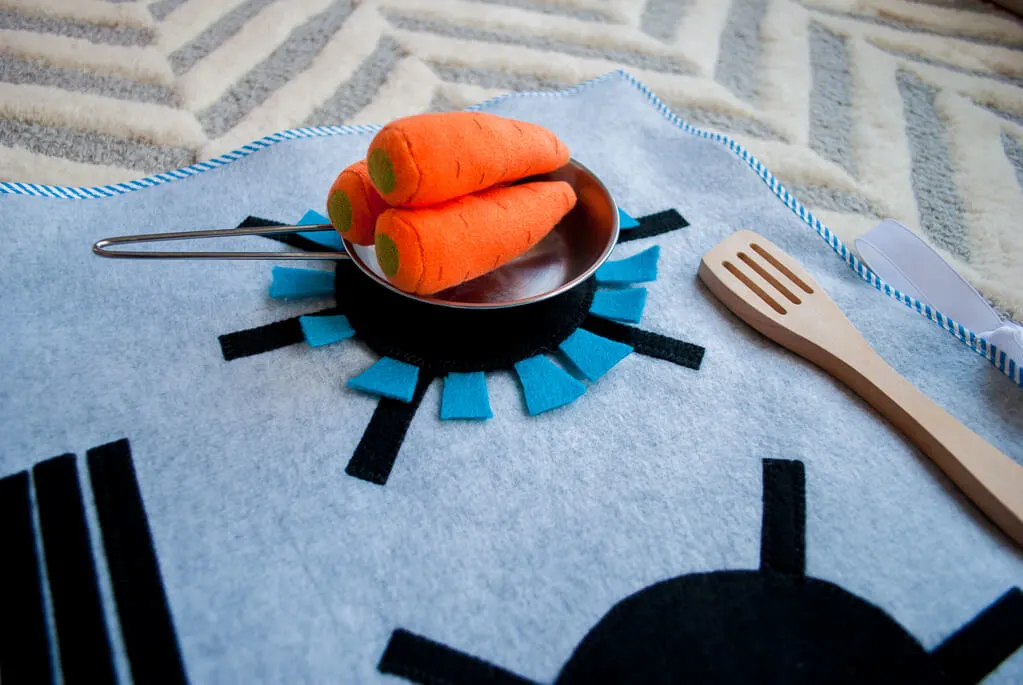
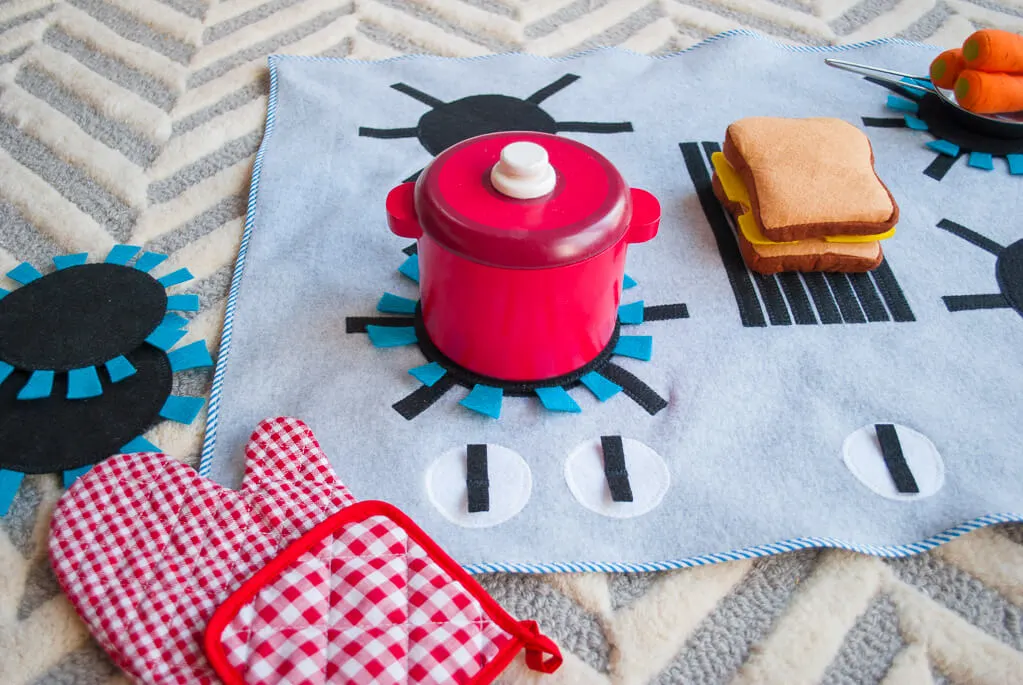
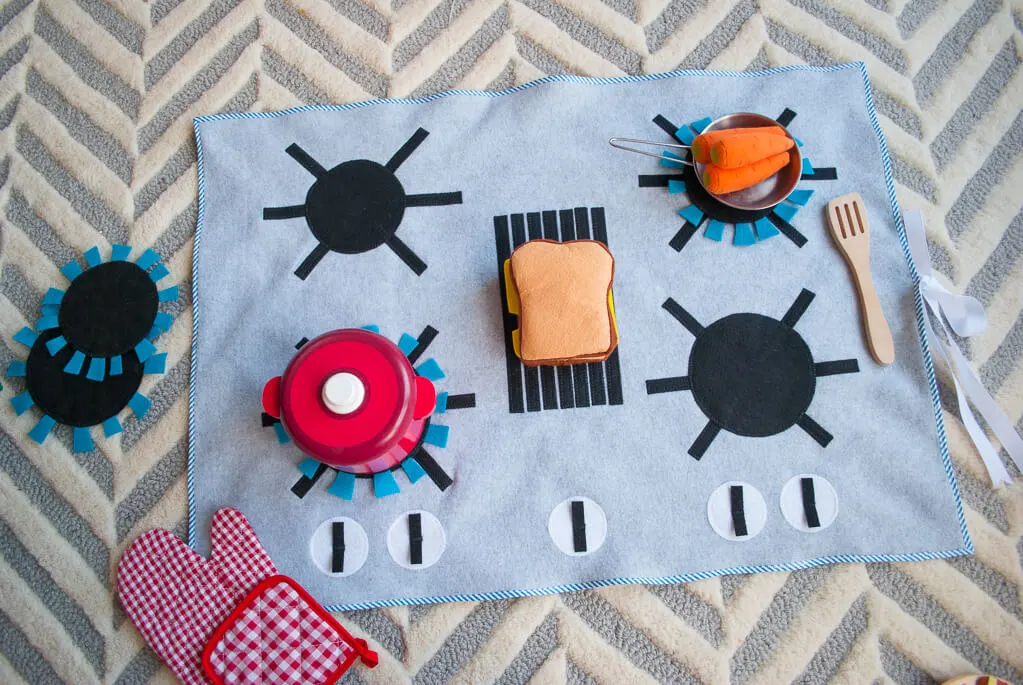
This project was inspired by the Felt Gourmet Plush Cooking Set that I saw at Land of Nod. I thought the idea to make a flat portable felt play stove as a DIY kids play kitchen was so smart and clever!! We’re tight on space in our three-bedroom Chicago condo so I decided to make my own version of this flat felt portable DIY kids play kitchen.
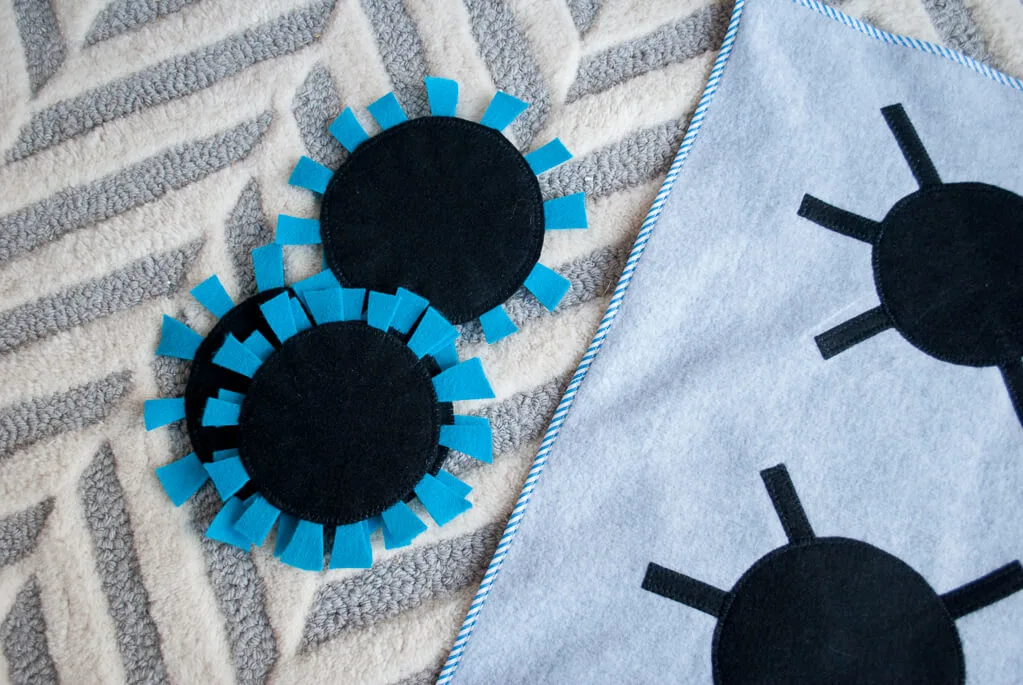
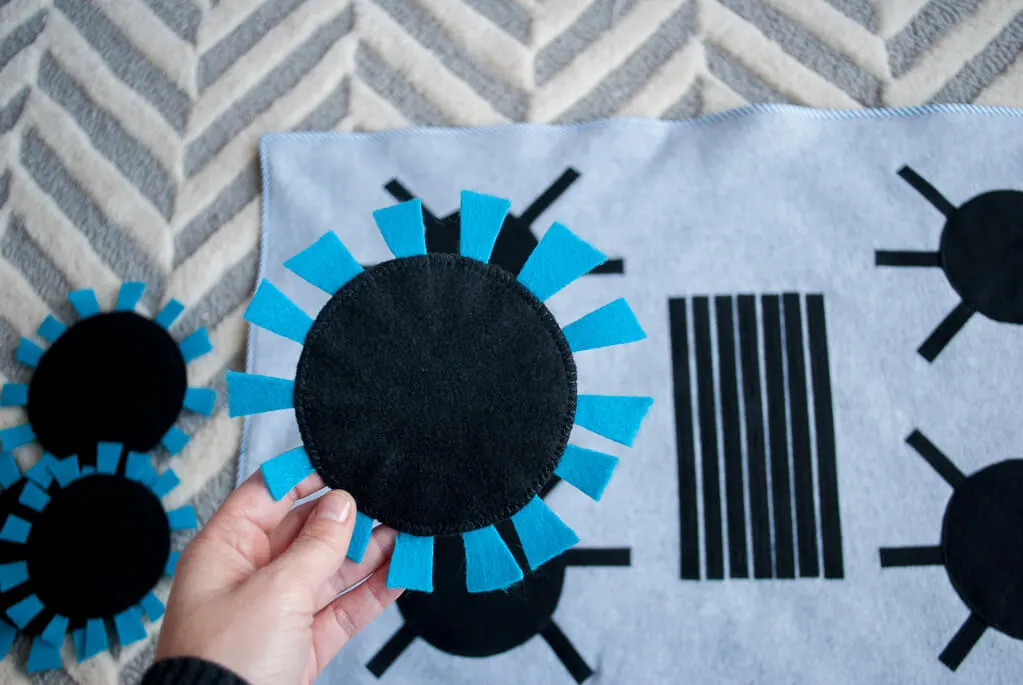
I made pretend removable ‘gas burners’ for my version of the DIY kids play kitchen that look like the gas burners on our new stove. This was my original idea and I’m pretty proud of it – I thought my kids would like to turn the burners on and off, so they could be using one burner or all four or whatever. You could skip this step if you like, but it’s really cute to see them play with them.
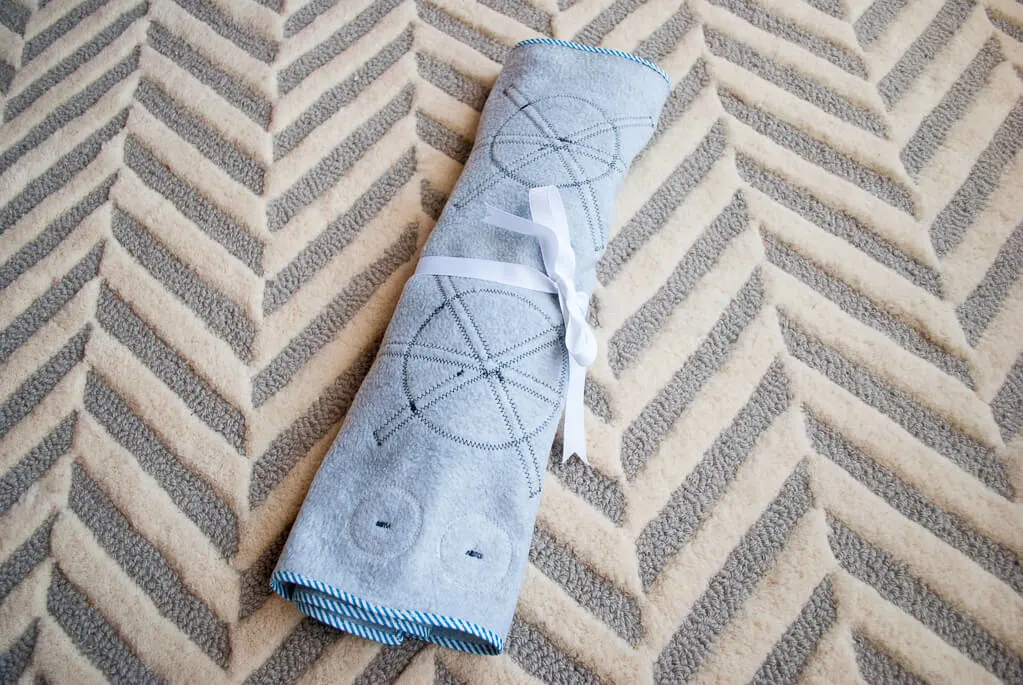
Having a portable DIY kids play kitchen that can easily roll up and store away is awesome. You can take this DIY kids play kitchen anywhere and put it in any room or on any table. And then you just roll it up and tie the white grosgrain ribbon to store until the “restaurant” is open again.
Don’t feel like sewing? You can easily convert this DIY kids play kitchen beginner sewing project into a no-sew project by using HeatnBond UltraHold instead of HeatnBond Light, and then skip the bias tape step which honestly is purely decorative and cute.
++++++
Supplies for making my felt and fleece DIY kids play kitchen (with links and images from affiliates):
- Black felt
- White felt (for dials) and Blue felt (for burners)
- Gray felt (I used fleece but recommend felt, see my reasons below)
- HeatnBond Lite (if sewing) or HeatnBond UltraHold (if not sewing – this makes it a no-sew project)
- 1/2″ striped bias tape (optional) – I used Blue striped bias tape
- Thread
- Good fabric scissors
- Rotary cutter, clear ruler and self-healing mat (optional)
- Good iron and ironing board
- Sewing machine
- Fabric glue – for optional burners
- Grosgrain ribbon – to roll up and close
- Play food – wooden fruit, felt sandwich play set, red wooden pots and pans
—
How to make a felt DIY play kitchen stove (take it anywhere, roll it up to store):
Step 1: Choose your stove and burner sizes and cut your pieces
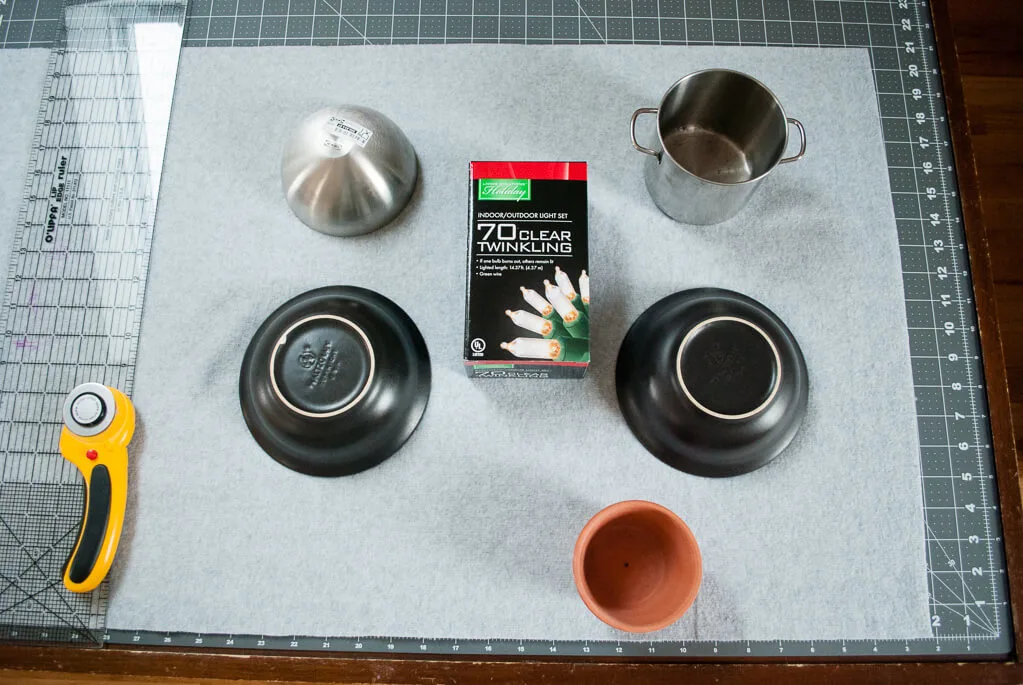
Cut a large rectangle from gray felt to use as the stove base. I had a piece of gray fleece in my stash so I used it and cut mine to be roughly 21″ tall x 26″ wide. If you are buying your supplies, I recommend choosing felt instead because fleece stretches a bit which makes it a little more difficult to sew. Stick with felt across the board, I say. Then place household objects to plan out your burner and griddle sizes. I decided to make the back two burners smaller than the front two burners (black bowls), and I also made a griddle in the middle (lights box) for panini sandwiches and pancakes.
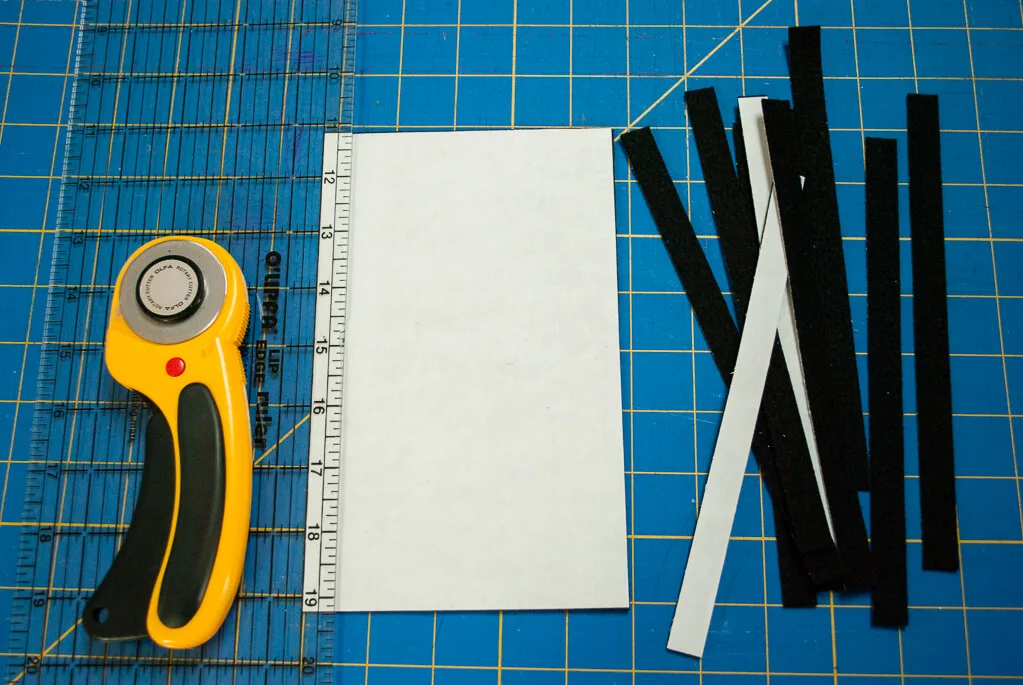
Iron HeatnBond onto the back of your black felt and then cut strips to make the burners. Mine were roughly 1/2″ wide x 8″ tall. I like to use a rotary cutter, clear ruler and self-healing mat so that the strips are really super straight.
A helpful note about HeatnBond: I used the HeatnBond Lite version because I knew that I wanted to zigzag the edges for a more polished sewn look. But if you prefer a no-sew project then I would recommend instead using the HeatnBond Ultrahold product.
Trace your circles onto the HeatnBond back, making them as close as you can together to save the HeatnBond.
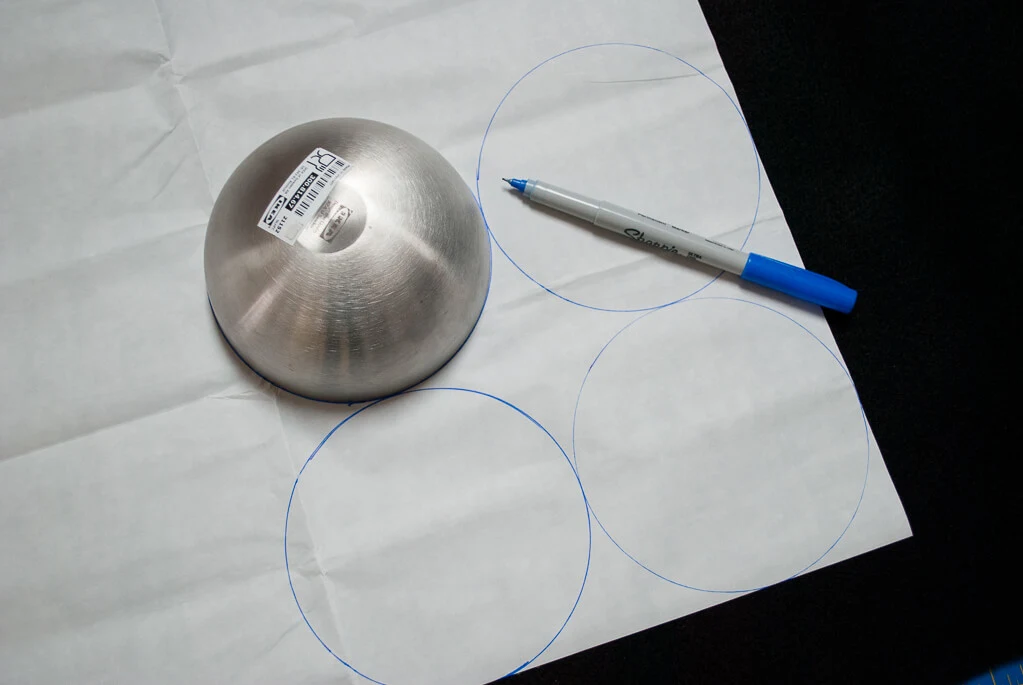
Iron the HeatnBond onto the felt following the package directions.
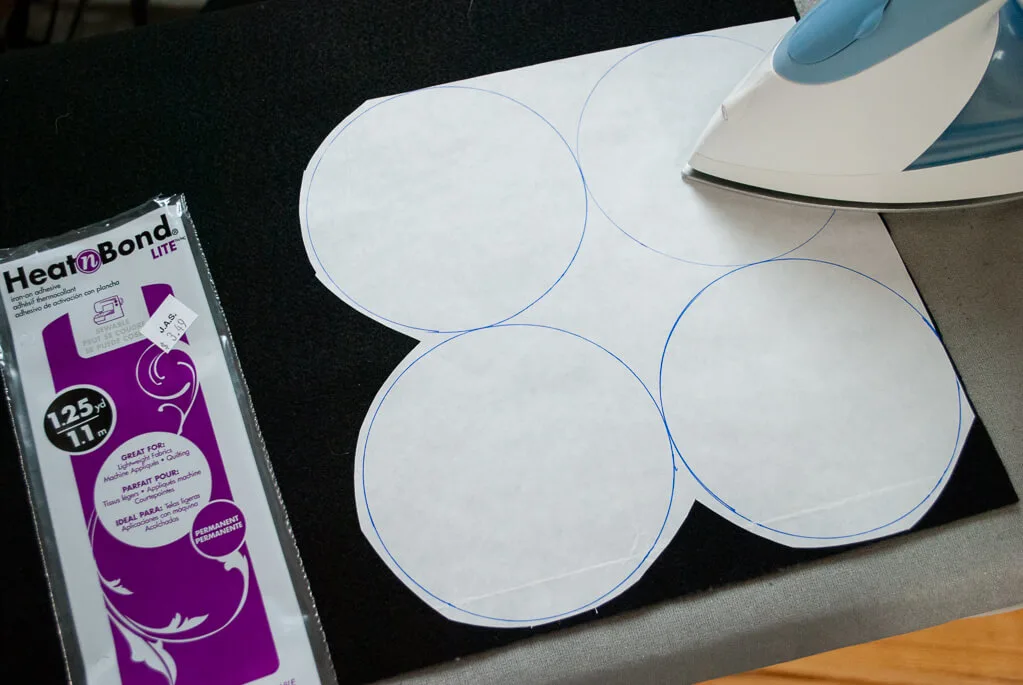
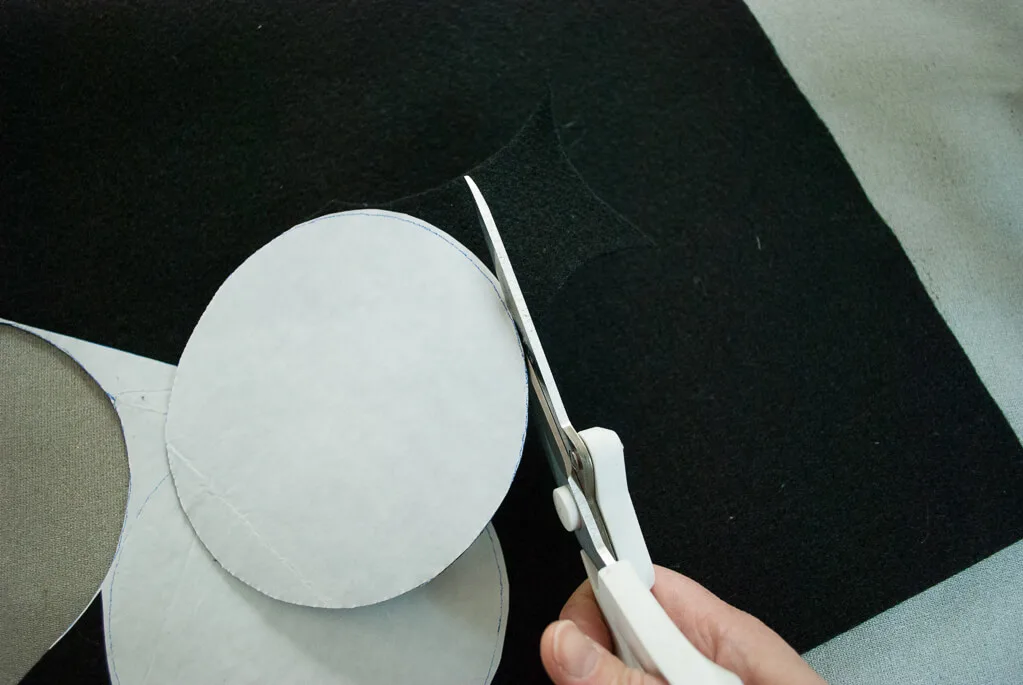
And cut out using good fabric scissors.
Step 2: Iron the burners onto the kids play stove.
Peel the HeatnBond from the felt following the package directions and then iron it to the stove.
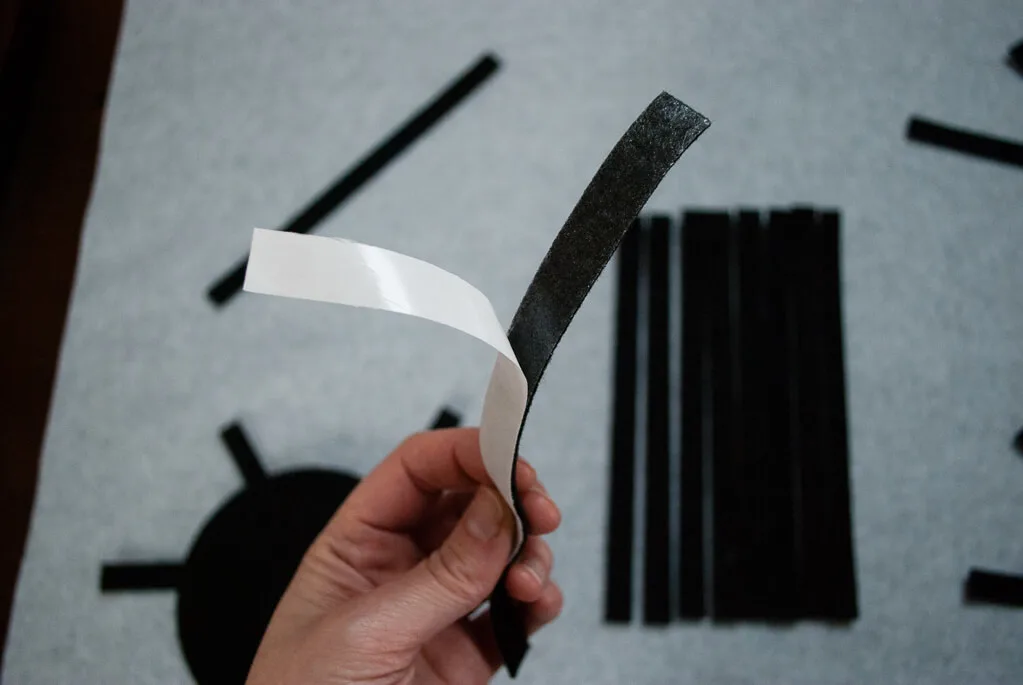
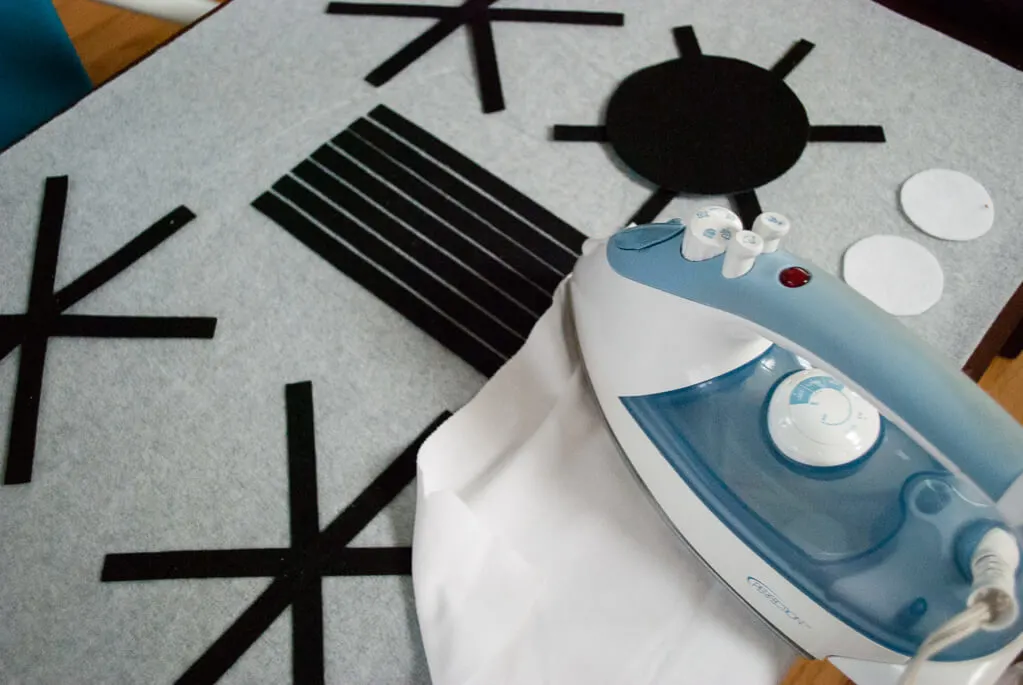
If you’re using HeatnBond Lite like I did, zigzag the edges. I chose this method because I liked the look of it. If you’re using HeatnBond Ultrahold then you can skip this step.
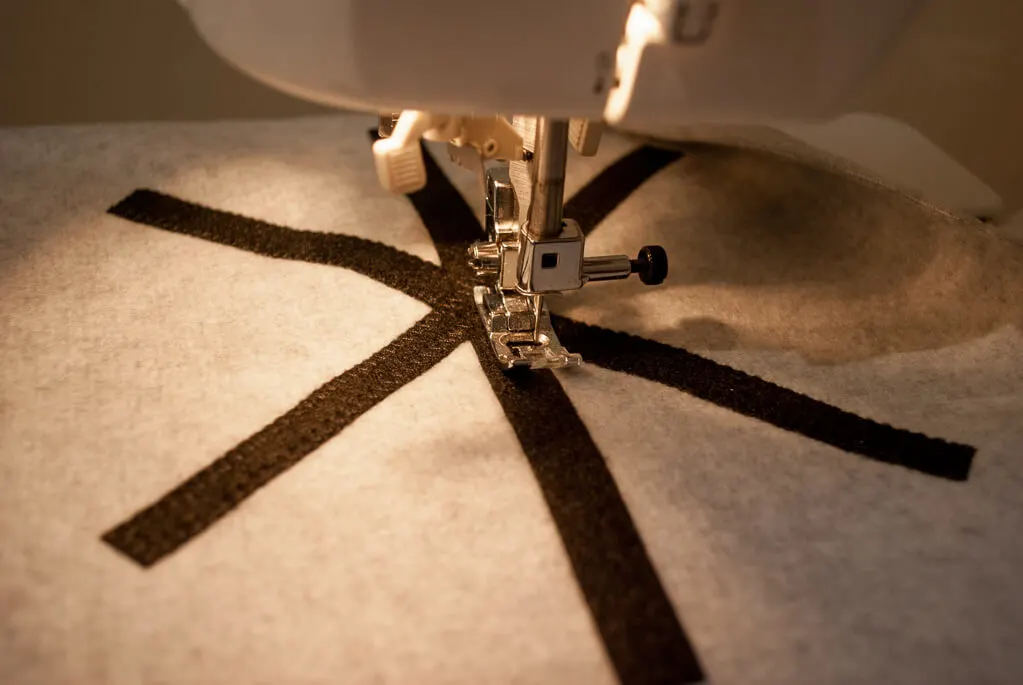
Iron on the circle burners and middle griddle. Then zigzag sew (or not) depending on the HeatnBond product that you chose.

Step 3: Attach the play stove dials
Just like before, iron the HeatnBond onto the back of the white felt following package directions. Trace five circles, cut, and iron in place.
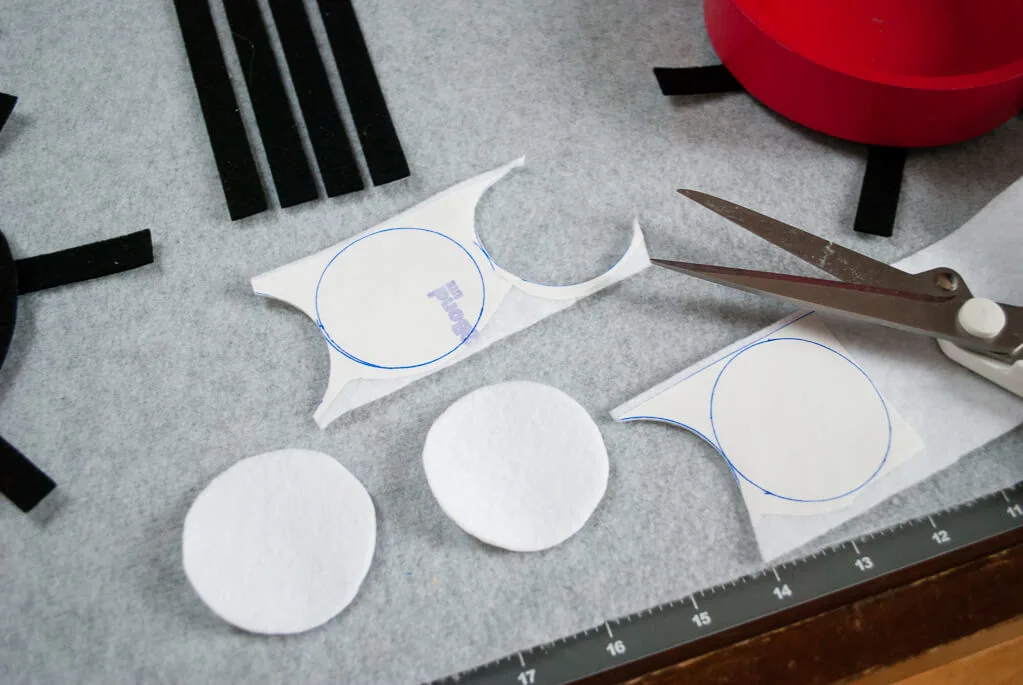
Zigzag sew the edges only if using the HeatnBond Lite like I did. I chose this method because I liked the look of it. If you’re using HeatnBond Ultrahold then you can skip this step.
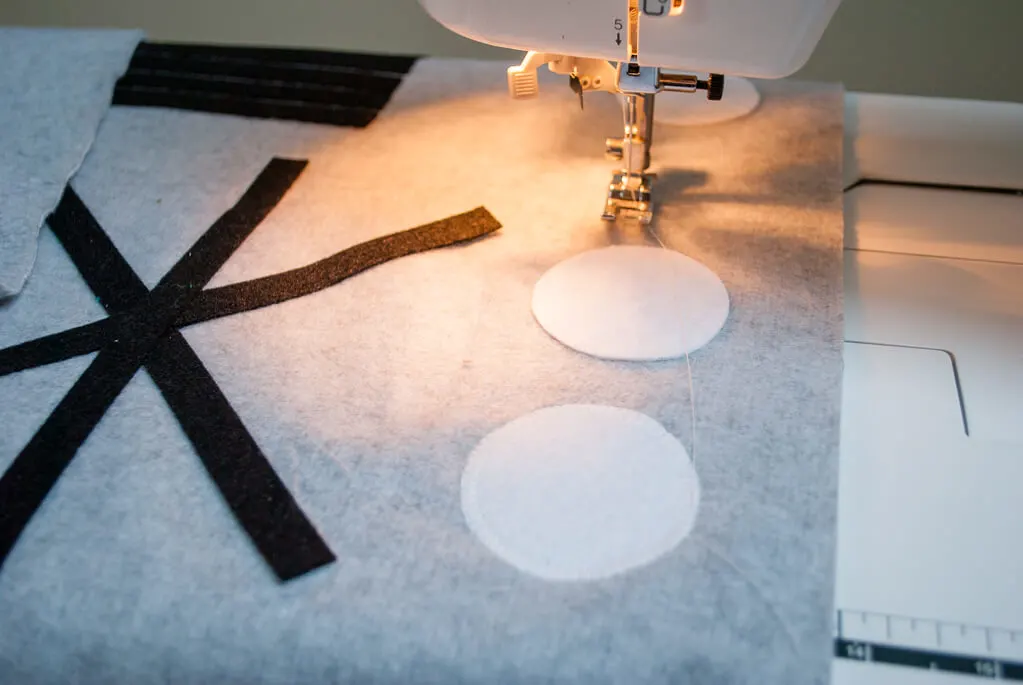
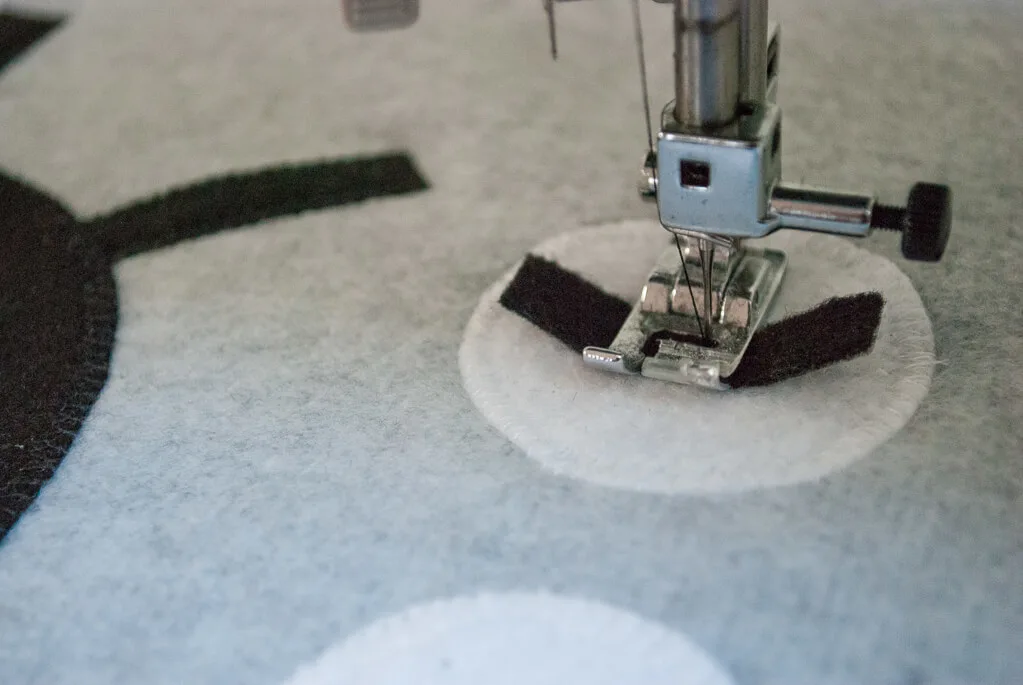
Cut small black felt rectangles and sew the middle only — kids can “flip” the unsewn ends to turn the burners on and off.
Step 4: Make the burners – so kids can pretend to turn the DIY play kitchen stove burners on and off (optional)
This was my original idea – I thought my kids would like to turn the burners on and off, so they could be using one burner or all four or whatever. You could skip this step if you like, but it’s really cute to see them play with it so I recommend sewing the removable felt burners. We have a gas stove so I made our ‘flames’ blue. Cut two black felt circles for each burner – one with HeatnBond on it, the other without.

Cut random triangles using blue felt.
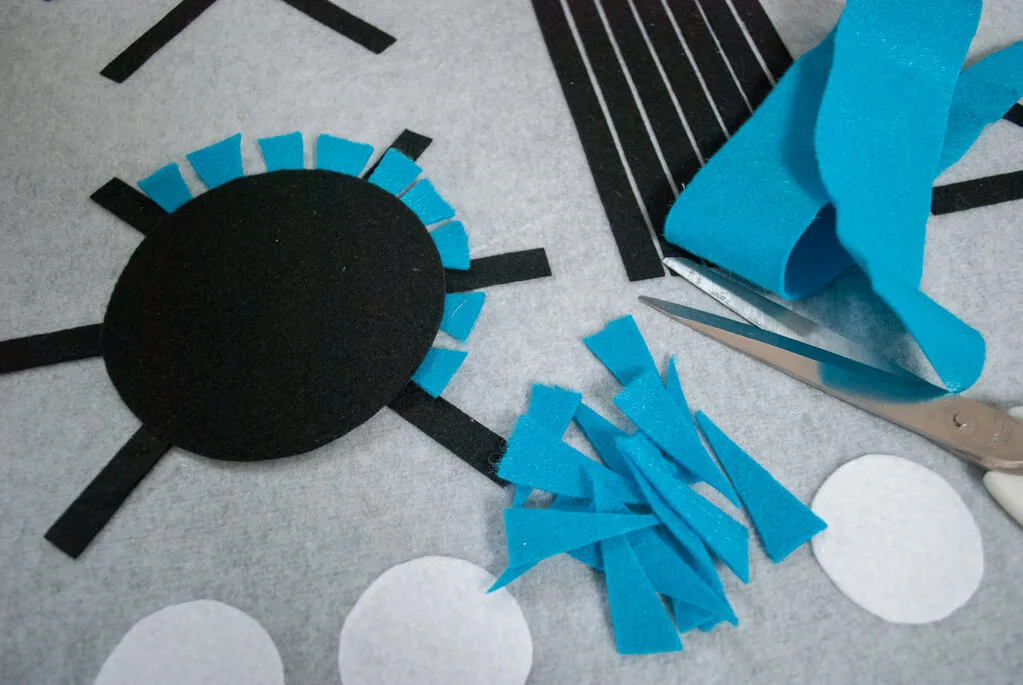
Glue the blue felt triangles to the back of the black circle (the one without the HeatnBond) using fabric glue. You may be able to skip the fabric glue step but I wanted my flames to stay put for the next ironing step so I used it.
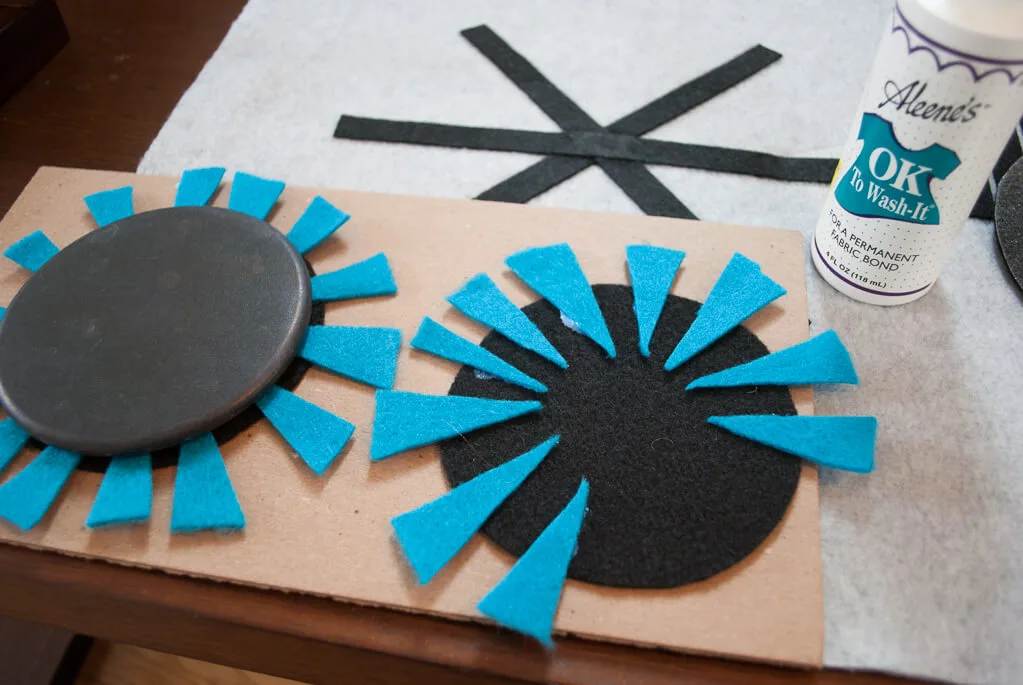
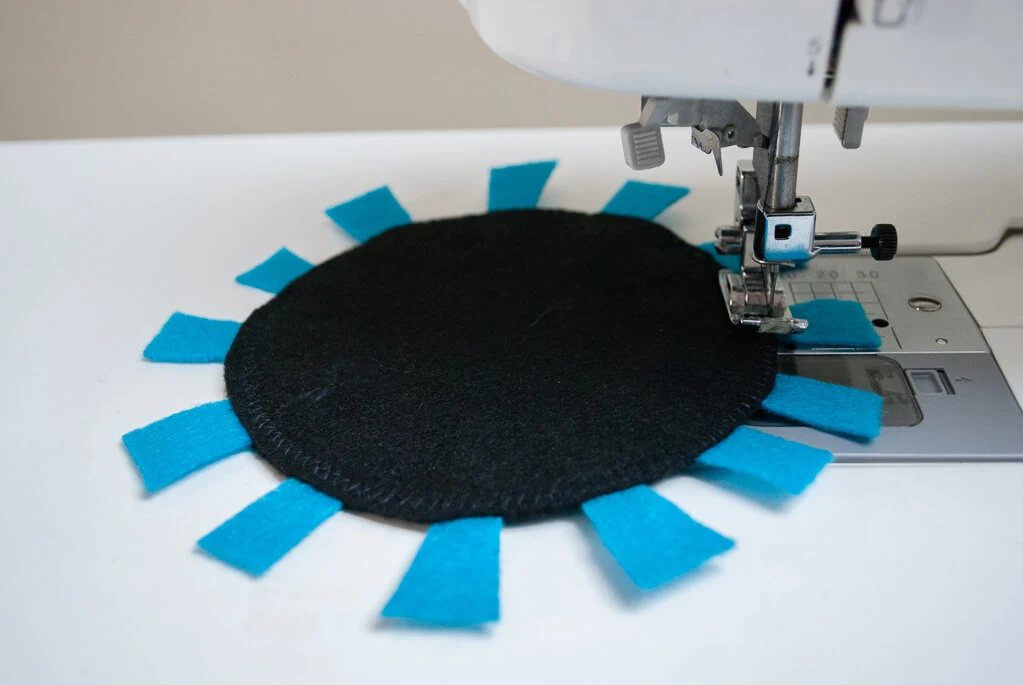
Peel off the HeatnBond from the other black circle and sandwich the flames between. Iron following package directions, then zigzag sew around the outside (again, you can skip this if you’re using HeatnBond Ultra Hold.
Step 5: Add the bias tape (optional) and ribbon to roll up, tie, and store
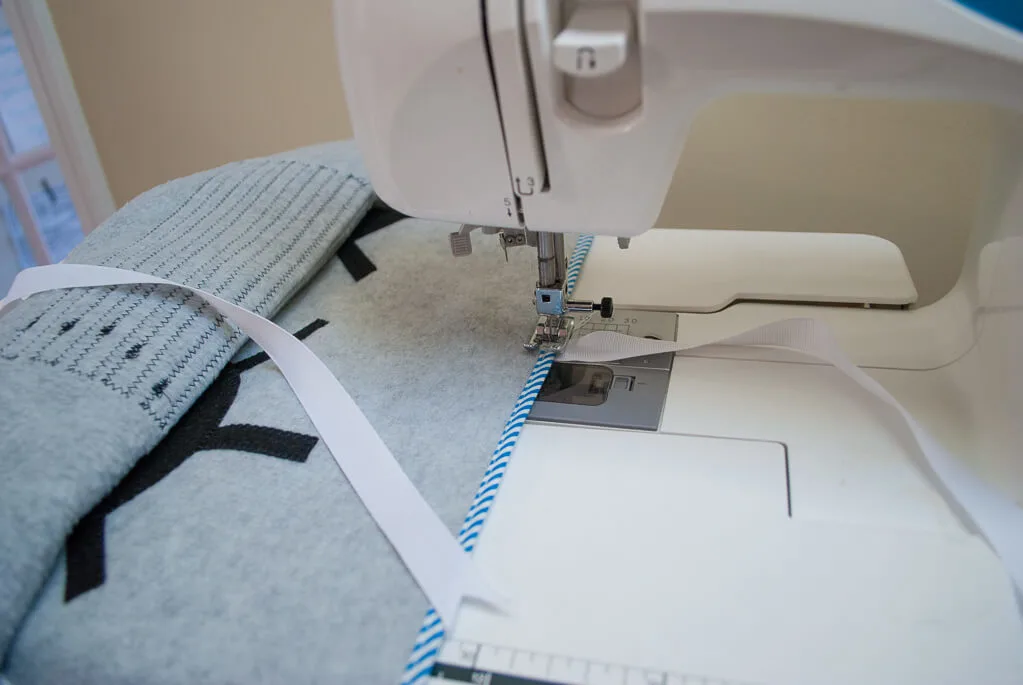
The blue striped bias tape is really an extra design detail. I mean, the fleece/felt isn’t going to fray, so it’s not really necessary. I just like the look of it and you know me, I spent the time to put it on. And you can follow my super easy best way to sew on bias tape tutorial. There’s even a video for you to watch and trust me, you’ll love bias tape from now on.
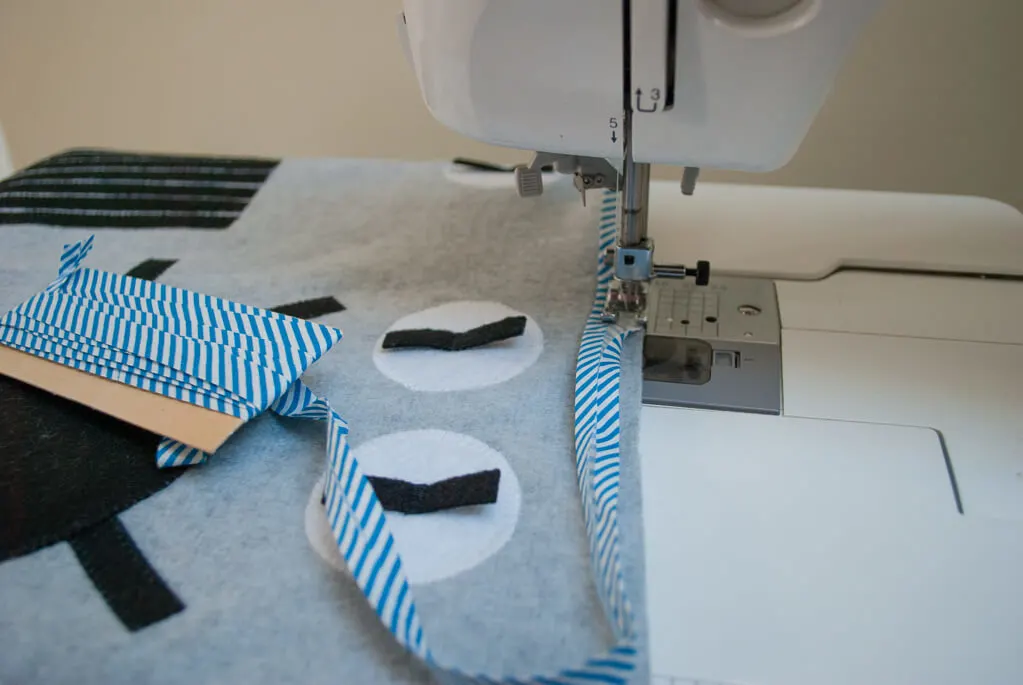
Now it’s time to put on the tie closure. Sew two grosgrain ribbons onto one side of the stove. Then when you roll it up, you can tie the ribbon to hold it shut with the burners inside.
Here’s your finished DIY felt portable play stove for a kids play kitchen!
Step 6: Add play food
You could make DIY food if you wanted, but we bought ours. Here are some cute food sets including our cute red wooden pots and pans:
++++++
Be sure to pin my portable felt DIY kids play kitchen sewing pattern
++++++
And check out more of my free sewing projects including these favorites…
++++++
—
Like it? Share it!
The nicest way to say you like it is to pin it on pinterest, post a comment, follow Merriment Design on Facebook, twitter, pinterest, Google+, instagram or sign up for monthly emails. Enjoy! 🙂
Copyright stuff: You’re more than welcome to use this free project and tutorial for personal use. Contact me for commercial use and etsy sales.

