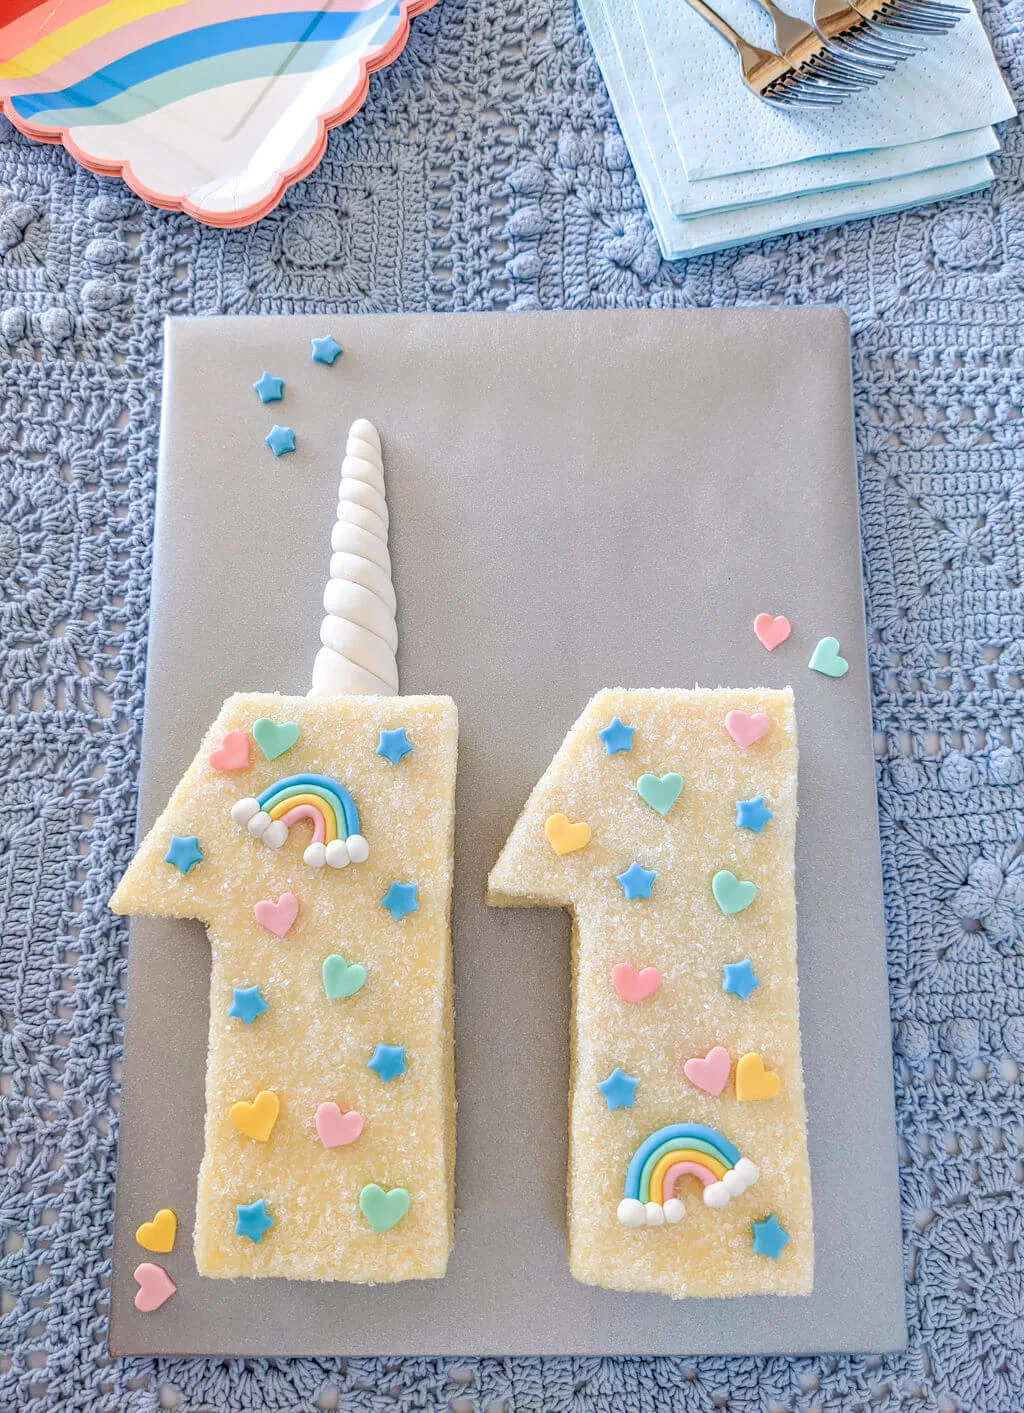
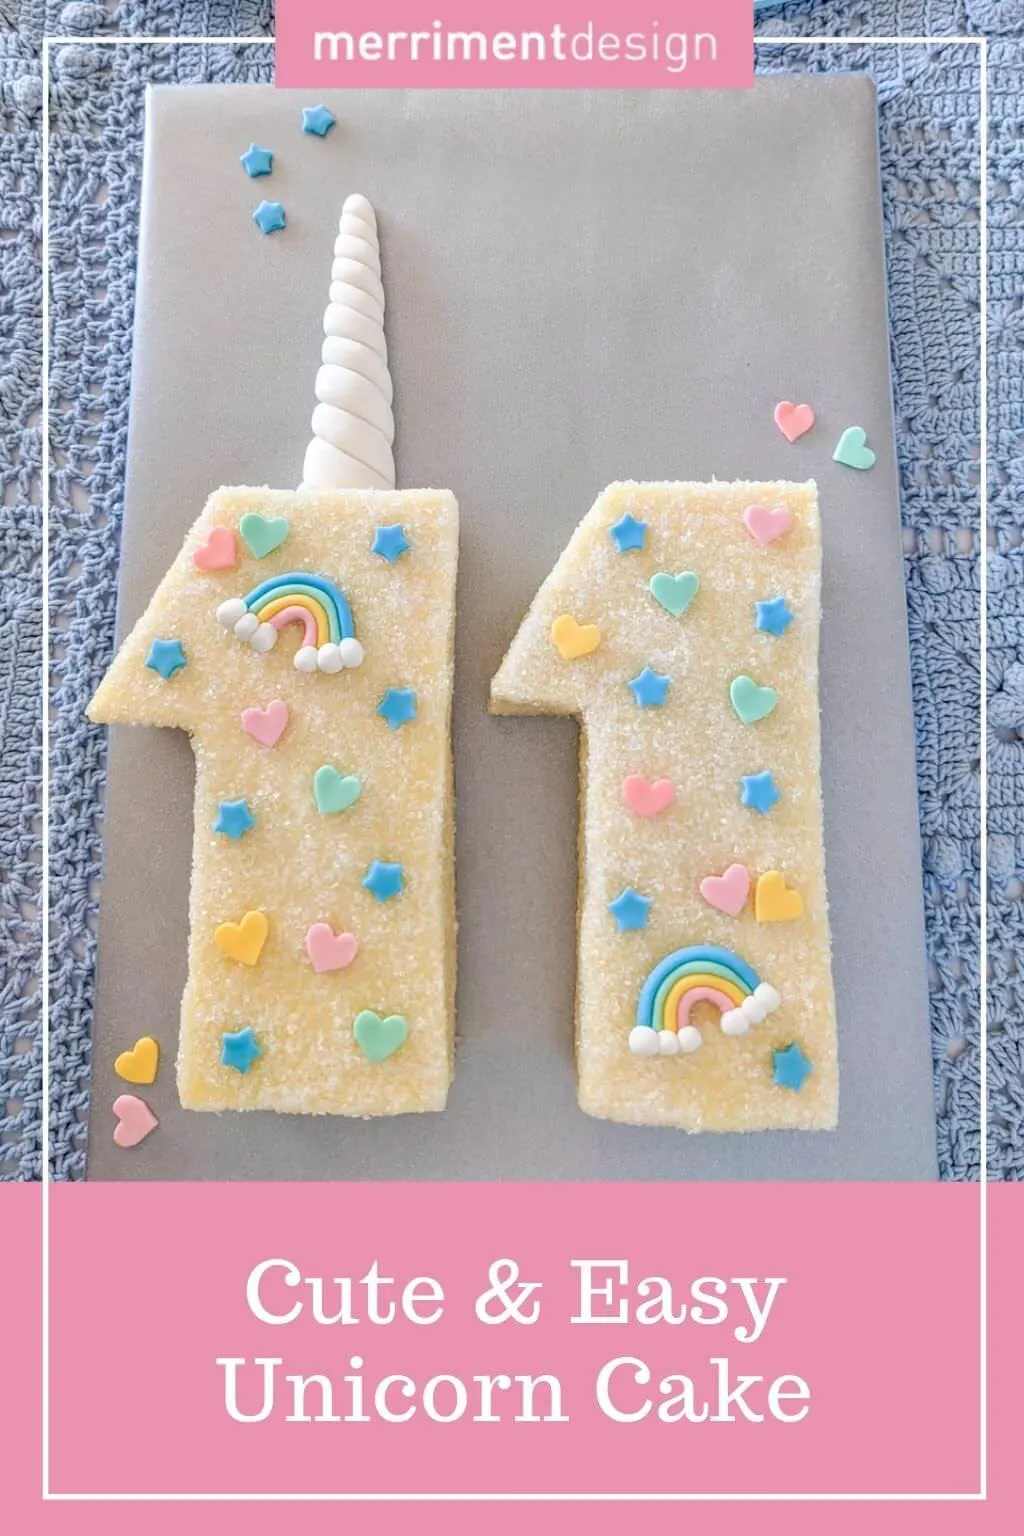
Here’s a cute and easy unicorn birthday cake to make for a unicorn birthday party! My unicorn cake features a fondant horn cake topper that lays flat which means that my tutorial is easy for beginners to make. And there are plenty of cute fondant rainbows, teeny hearts, and sparkly stars for a festive birthday. I’ll show you how to DIY this cute and easy unicorn cake, step-by-step.
See also: ‘How to make a unicorn mane balloon garland’ »
I made this unicorn birthday cake for Elise’s 11th birthday. I was super glad when she chose unicorns and rainbows for her birthday theme. It’s such a cute and happy way to celebrate a new trip around the sun.
Cute unicorn birthday party cake
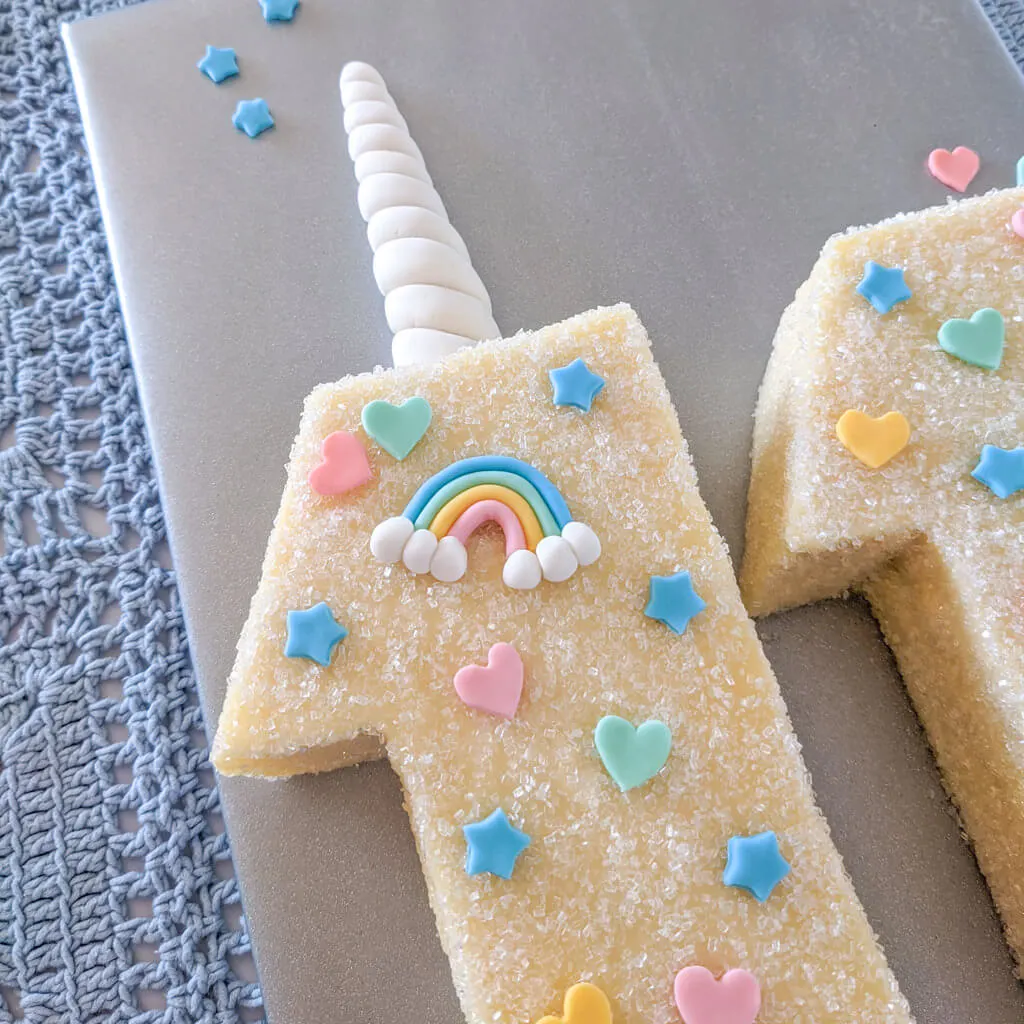
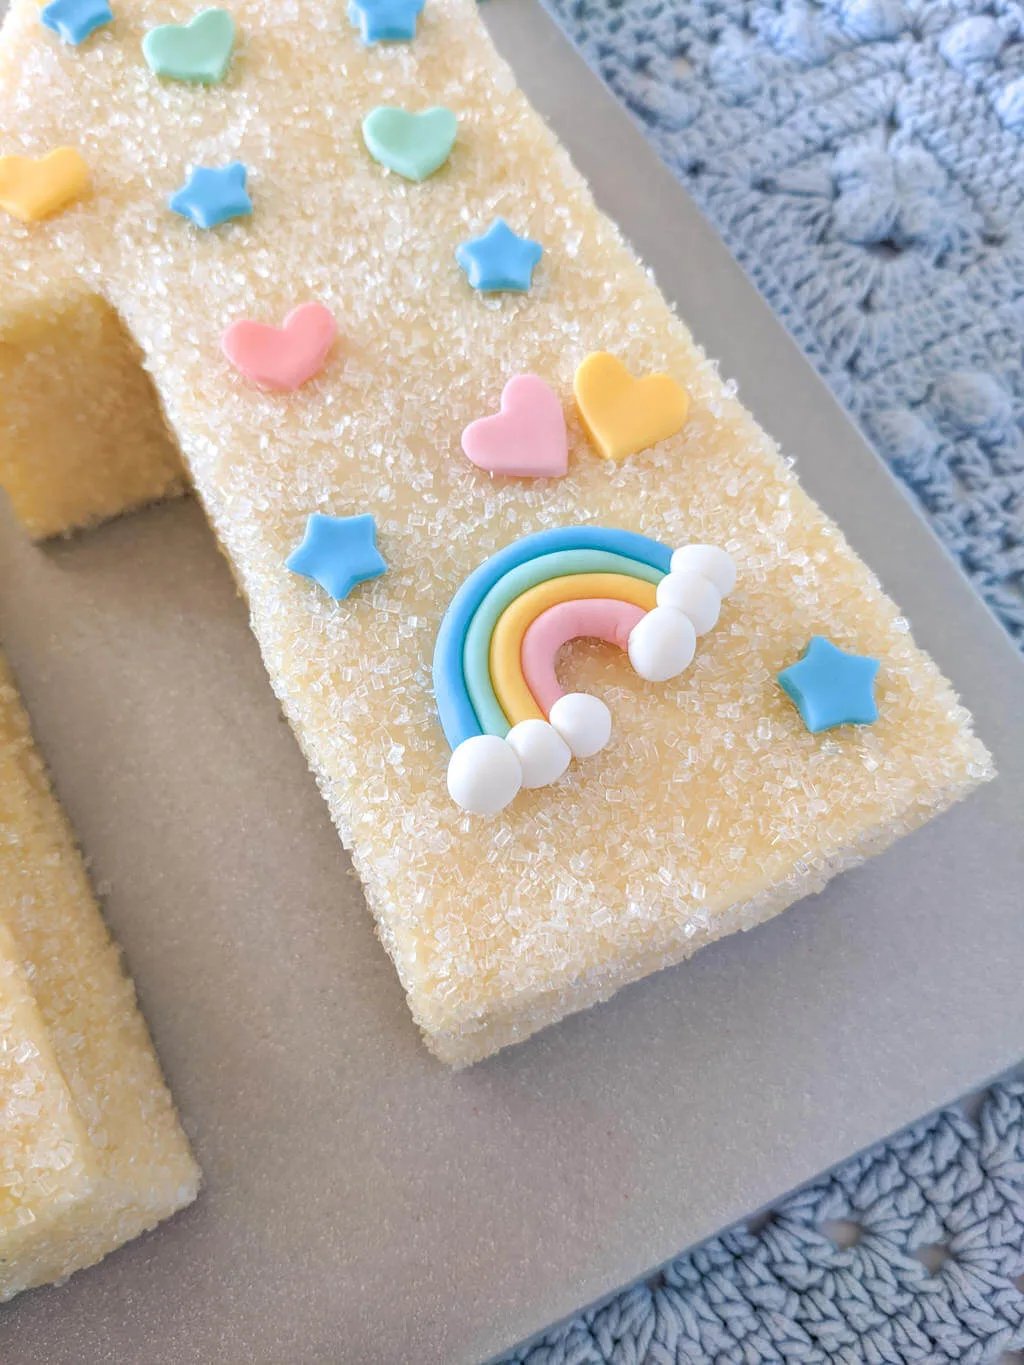
The teeny tiny stars and hearts and pastel fondant rainbows give this super cute unicorn cake a charming Japanese kawaii aesthetic. You can make much of the cake including the unicorn horn, fondant cake toppers, and even the cake itself in advance and assemble it before the birthday party.
An easy age 11 birthday cake for tweens
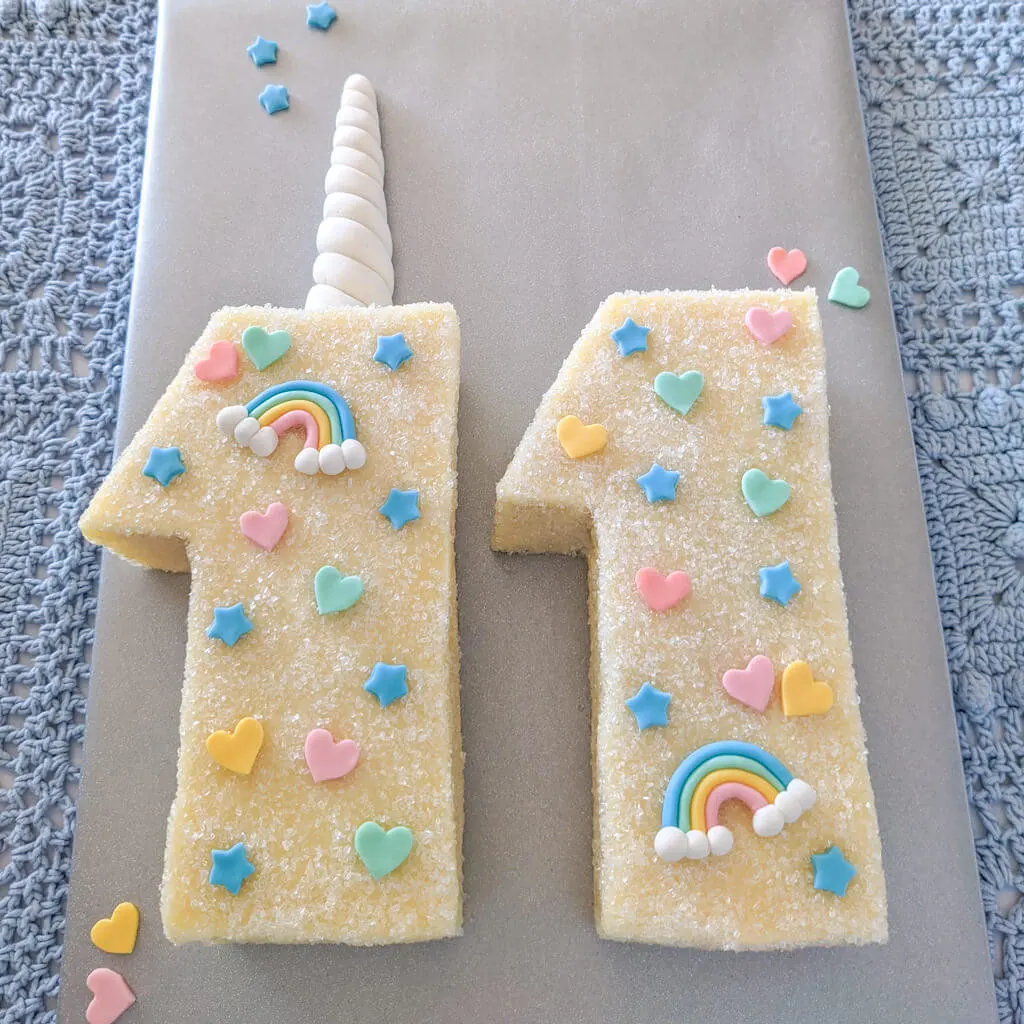
My age 11 unicorn birthday cake has a VSCO-feel to it that’s perfect for tweens. Elise has vinyl stickers on her laptop – cute hearts, stars, unicorns, stuff like that. I mean, really, this age 11 birthday cake would also work well for younger ages. I think it would be a super cute 1st birthday cake idea or any age between.
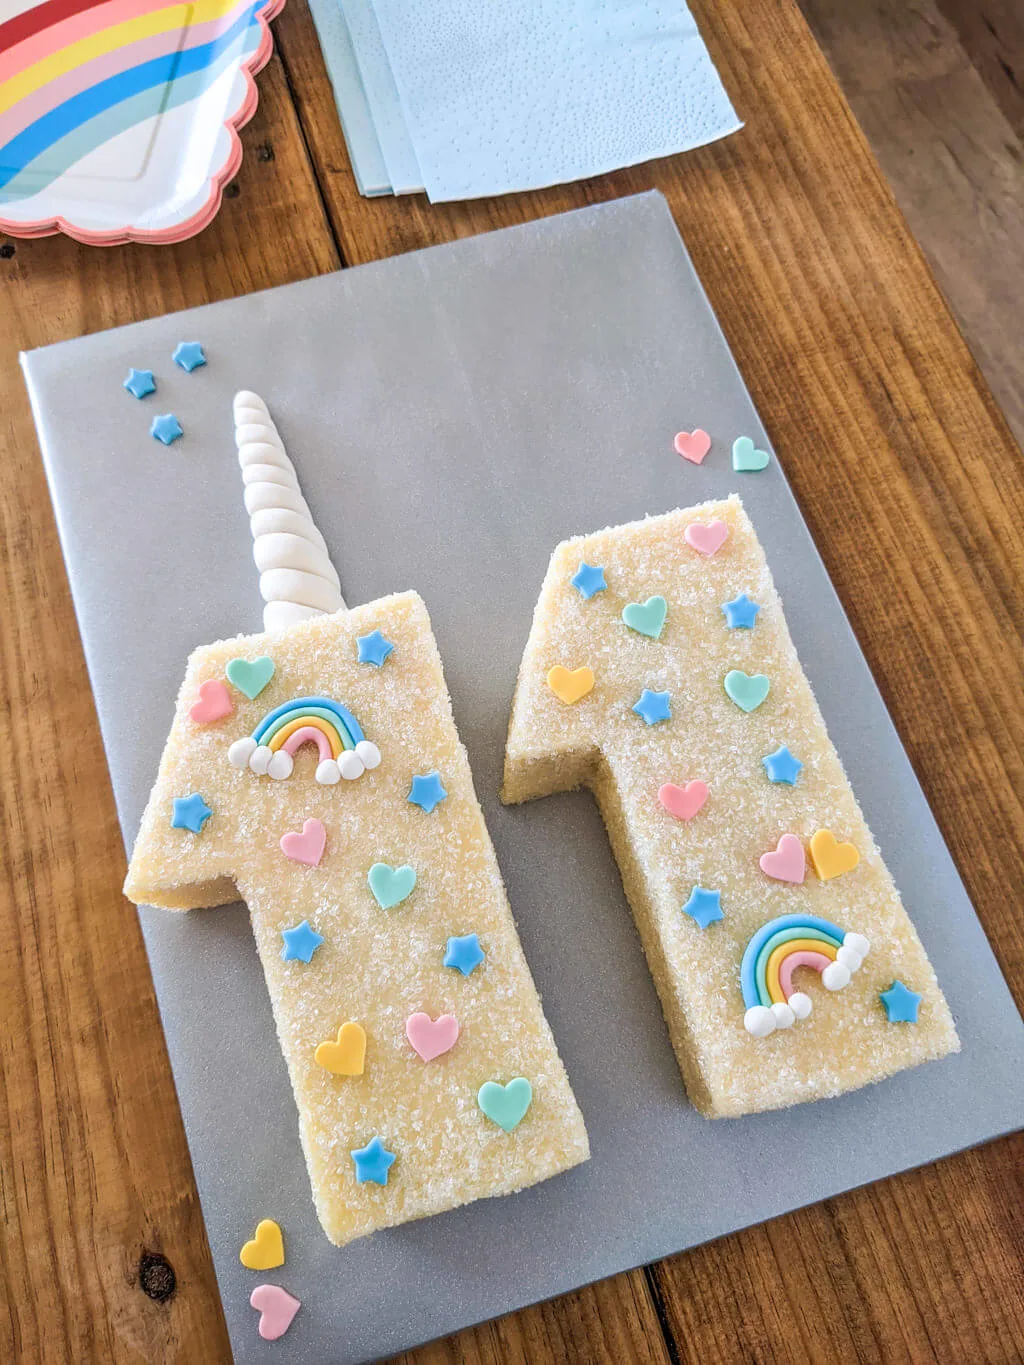
Age cakes are fun to create and make memorable birthday photos, too. I’ve been on a age cake kick since Elise turned 7. I made her an age 7 Magic Tree House birthday cake, and age 8 LEGO Friends birthday cake, an age 9 Mermaid birthday cake (one of my all-time favorites), an age 10 ice skating birthday cake, and now this age 11 unicorn birthday cake.
Merriment Design is supported by readers like you. If you buy products that I recommend, I may earn an affiliate commission at no additional cost to you. Thanks – your clicks help me make more free DIYs!
++++++
Supplies for making an easy unicorn cake:
- Kathy’s age 11 unicorn cake template (PDF)
- White fondant – or save some time and buy each fondant color
- Food coloring
- Plastic baggies
- Rolling pin with rings – this is such a great invention
- Teeny star and heart cookie cutters
- White sparkling sugar sprinkles
- Freezer paper, blue painter’s tape, plastic wrap, and a cookie sheet
++++++
How to make an easy unicorn cake for a unicorn birthday party:
Step 1: Bake the vanilla birthday cake recipe
I used my same cake recipes and baking process that I used for Elise’s 10th birthday ice skating cake. Go ahead and check out that post for the bakery-tested vanilla cake recipe, icing recipe, and instructions. I recommend baking your cakes in advance and freezing them until you’re ready to decorate. I like to bake my cakes a week in advance and it makes the decorating process a lot less hectic. And I like to have the kids help me bake the cakes so that’s a fun thing to do together.
Step 2: Make the fondant unicorn horn
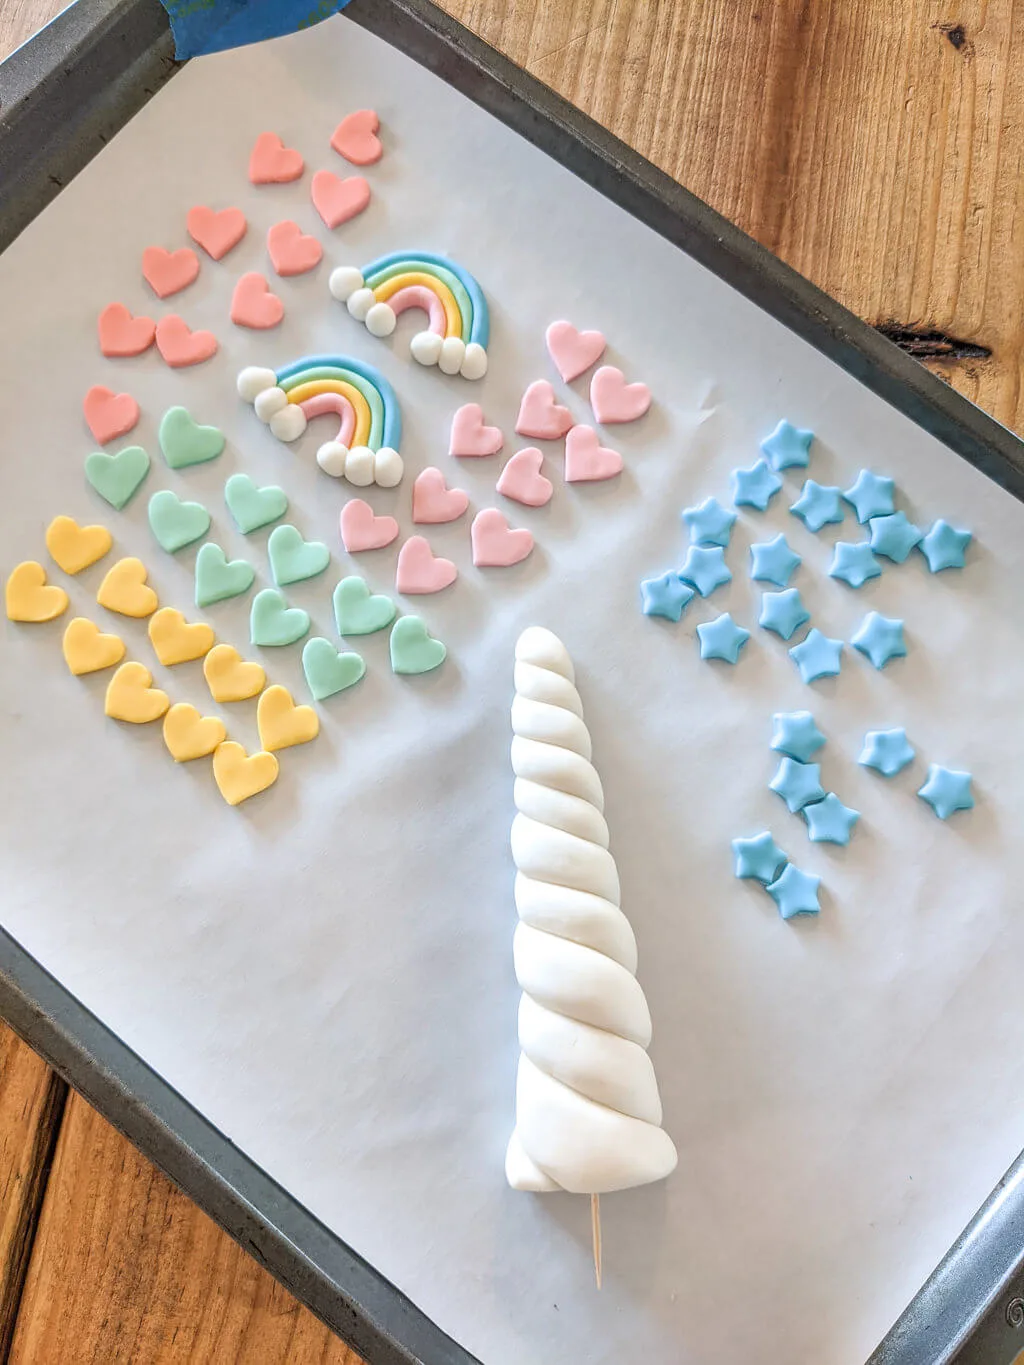
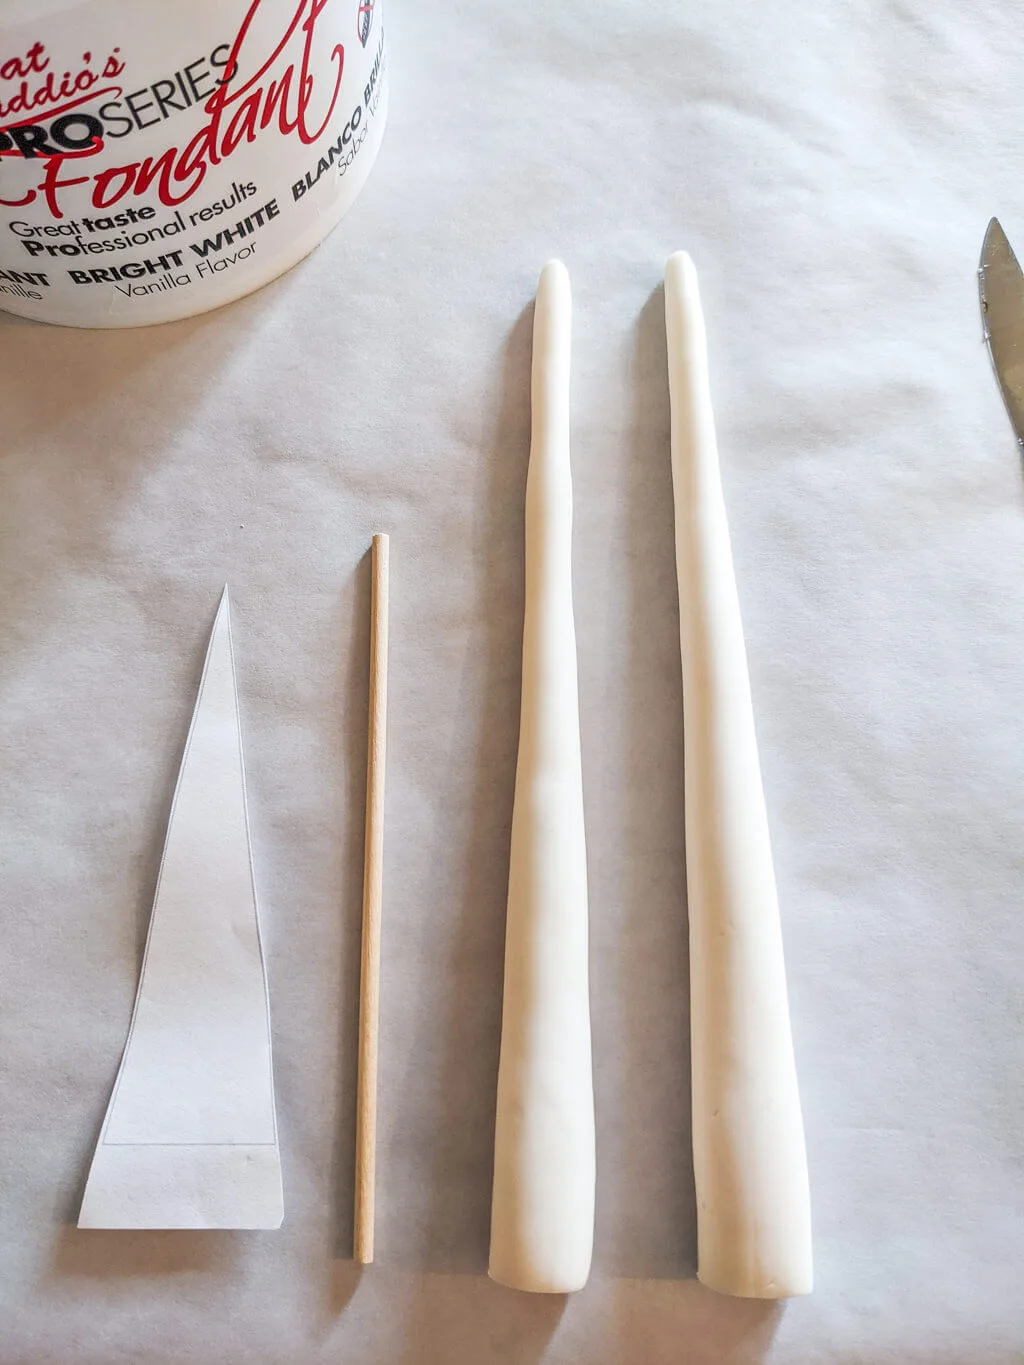
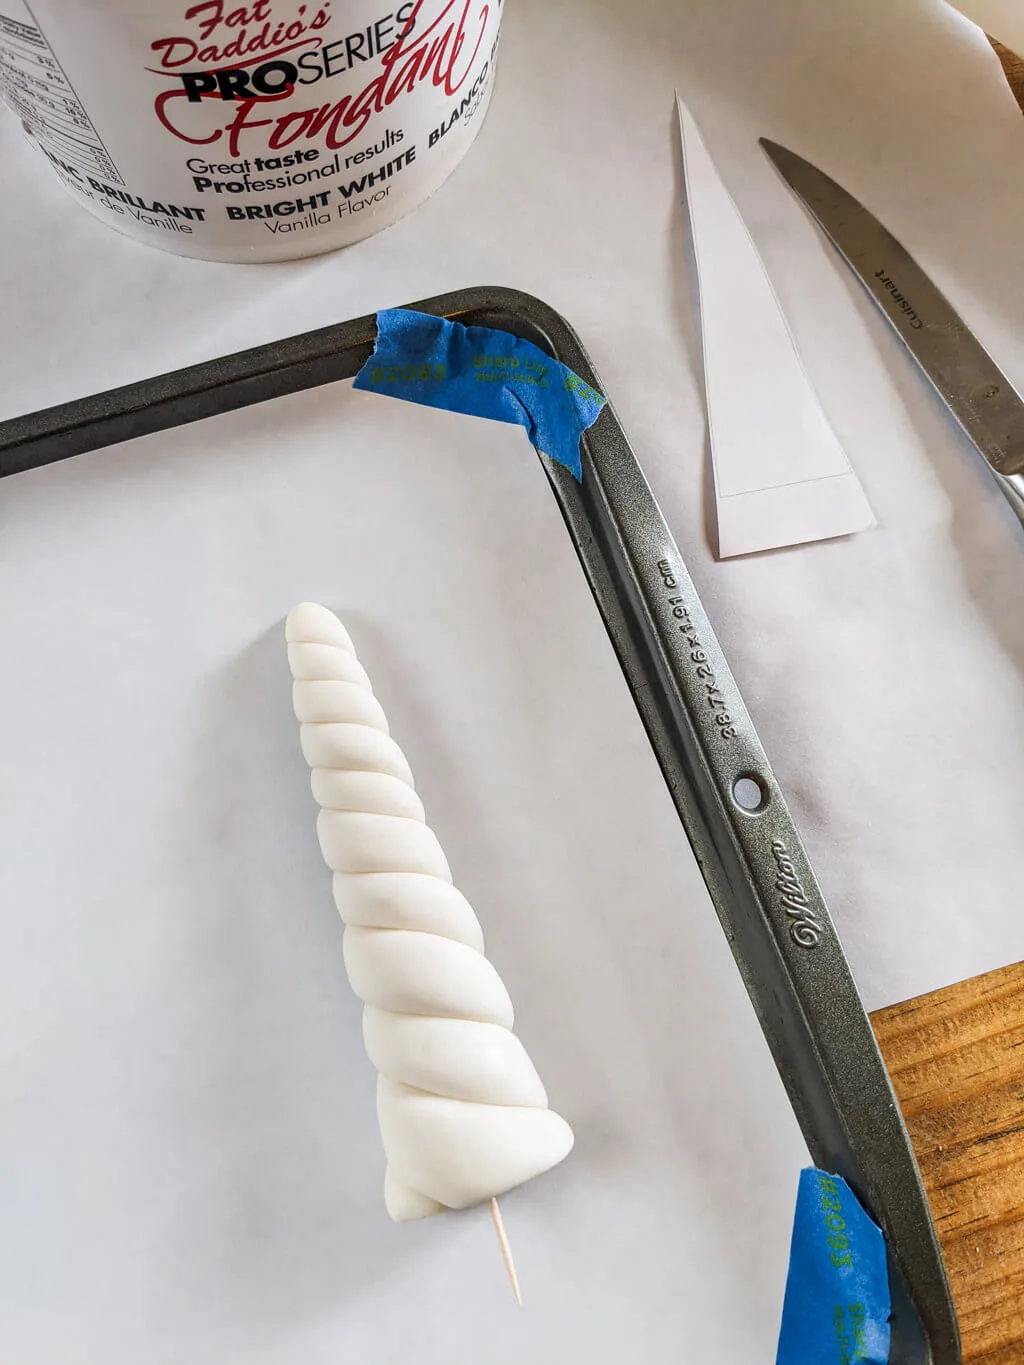
This is another step you can do in advance. Make the fondant unicorn horn a day or two before your party and cover it with plastic wrap. so that it doesn’t dry out. Create a clean working surface by putting down a piece of freezer paper and tape with painter’s tape. To make the horn, roll two ropes of fondant into long cone shapes with a thinner rounded top and a fatter base at the bottom. As you can see below, they should be almost twice as long as my unicorn horn printable pattern.
Now just twist the two fondant ropes together. Tap the bottom of the unicorn horn with a knife to flatten the bottom.
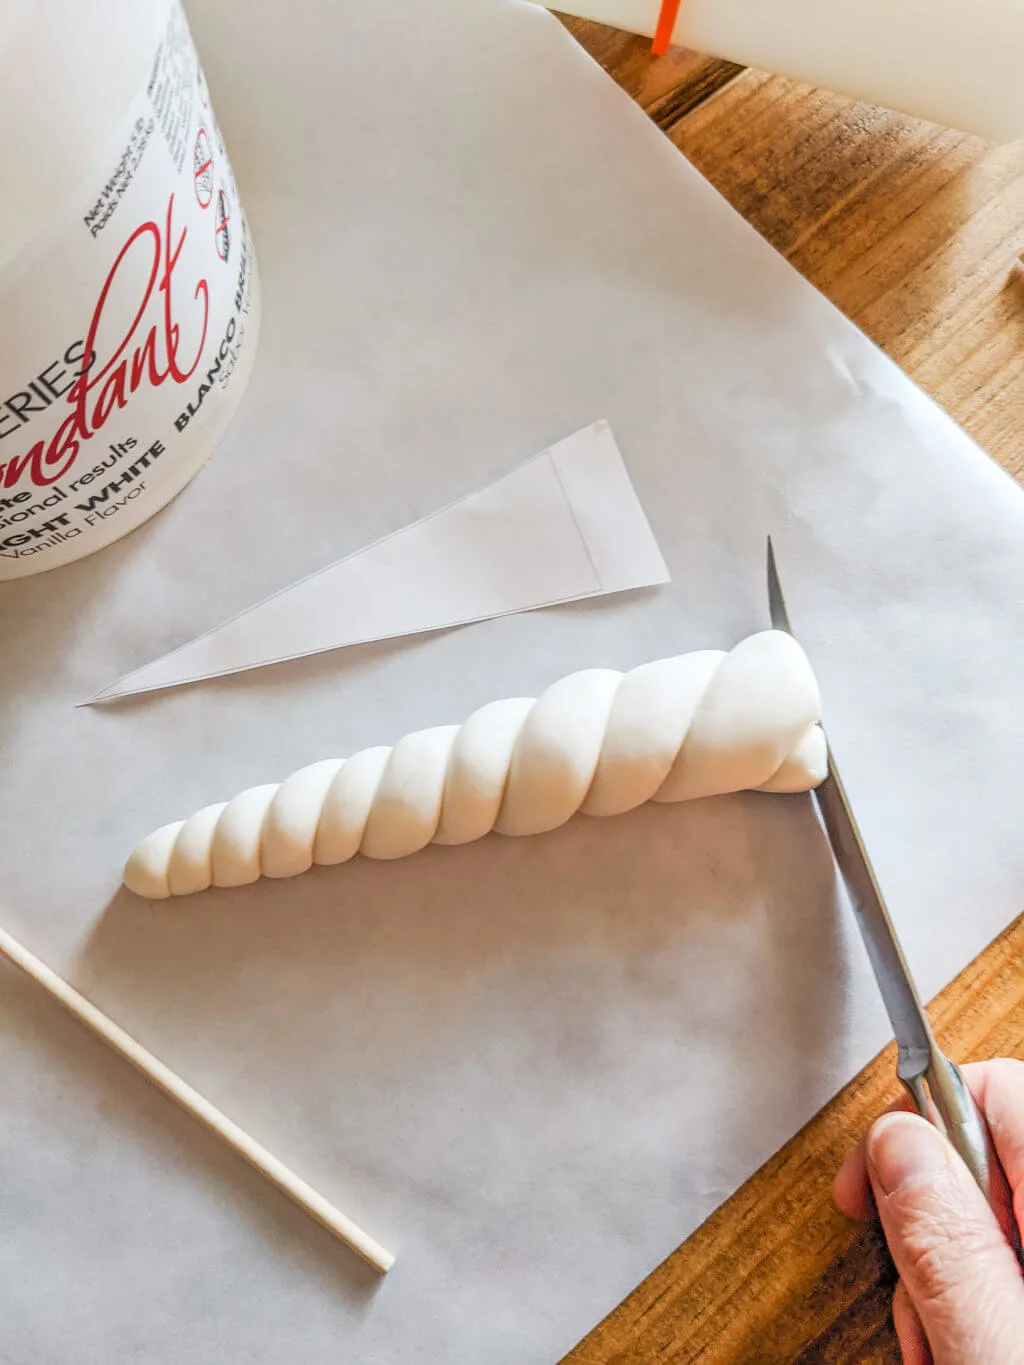
You’ll notice that I have a wooden dowel rod in the photo above. I realized that because my unicorn horn cake topper lays down on the cake board rather than sticks up in the air that I actually don’t need a dowel rod, so I didn’t use it. Instead, I just put in a toothpick so that it wouldn’t shift once it’s added to the cake. However, if you DO want your horn to stick up in the air then you’d want to roll the unicorn horn around a wooden dowel for strength and stick it upright into a styrofoam block to dry. Again, there’s no need to make a standing unicorn topper for my unicorn cake idea. Much easier. Yay!
I thought about adding luster dust to the unicorn horn but because I’m adding sparkling sugar to the birthday cake I thought a matte white horn would be best. If you do want to add a little luster dust to your unicorn horn then add that now, then cover with plastic wrap.
Step 3: Make the fondant hearts and stars
This is another step you can do a couple of days in advance and cover with plastic wrap. Use food coloring to color the fondant. I like to use the taffy-pull method that I described in my how to make fondant LEGO Bricks post so be sure to check that out if you’re new to coloring fondant, and I’ll show you the best way to color fondant without dying your hands. You can save time by purchasing colored fondant instead of white fondant.
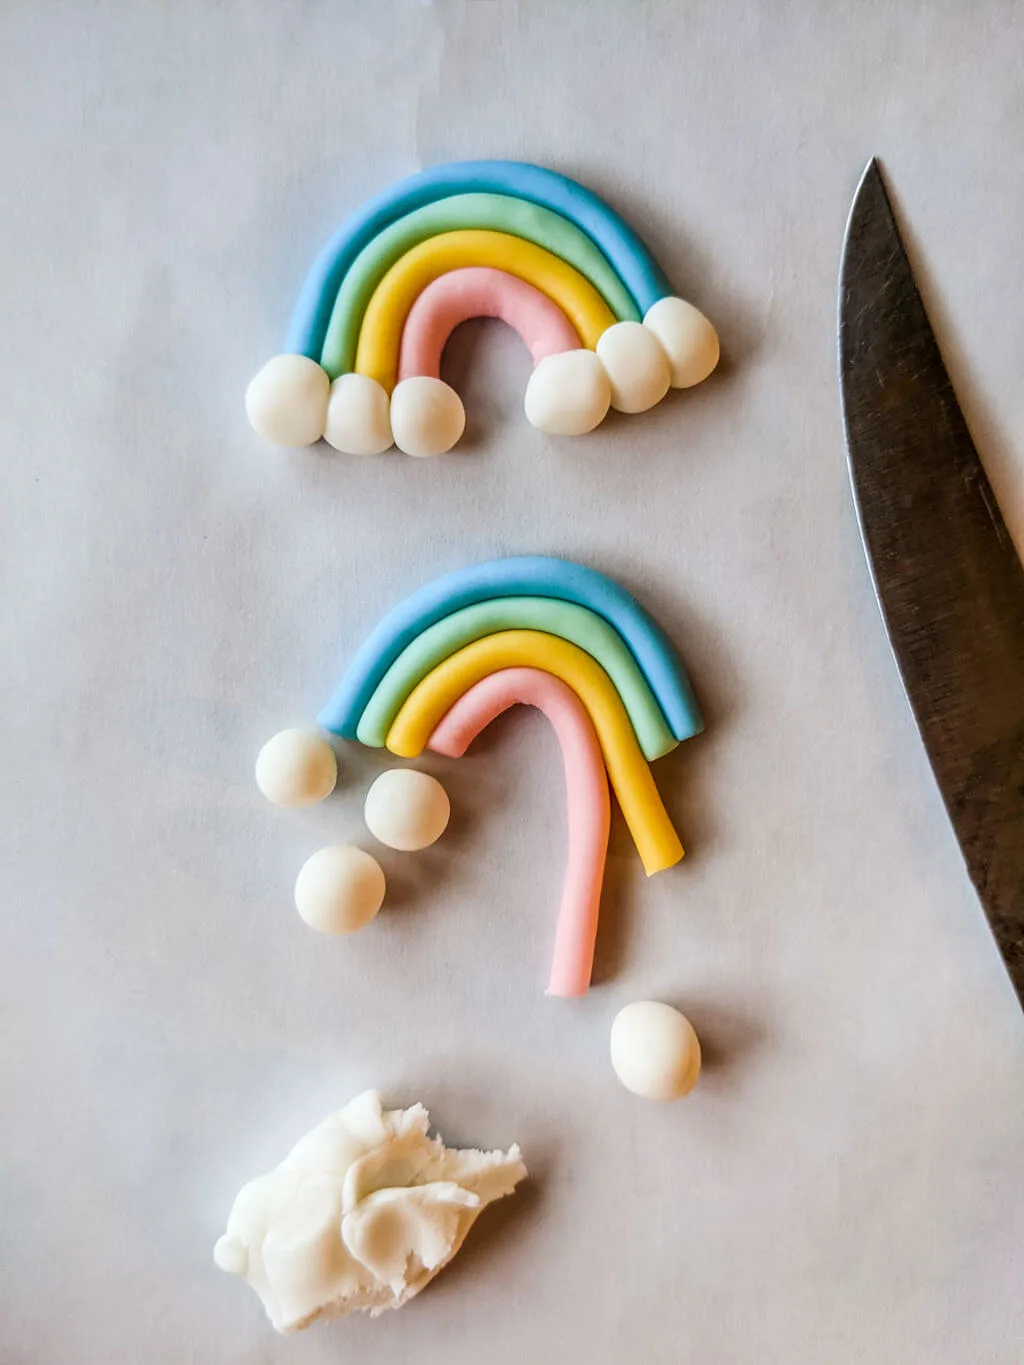
First, make two rainbows by rolling thin strips of colors for the rainbow and tiny white balls for clouds.
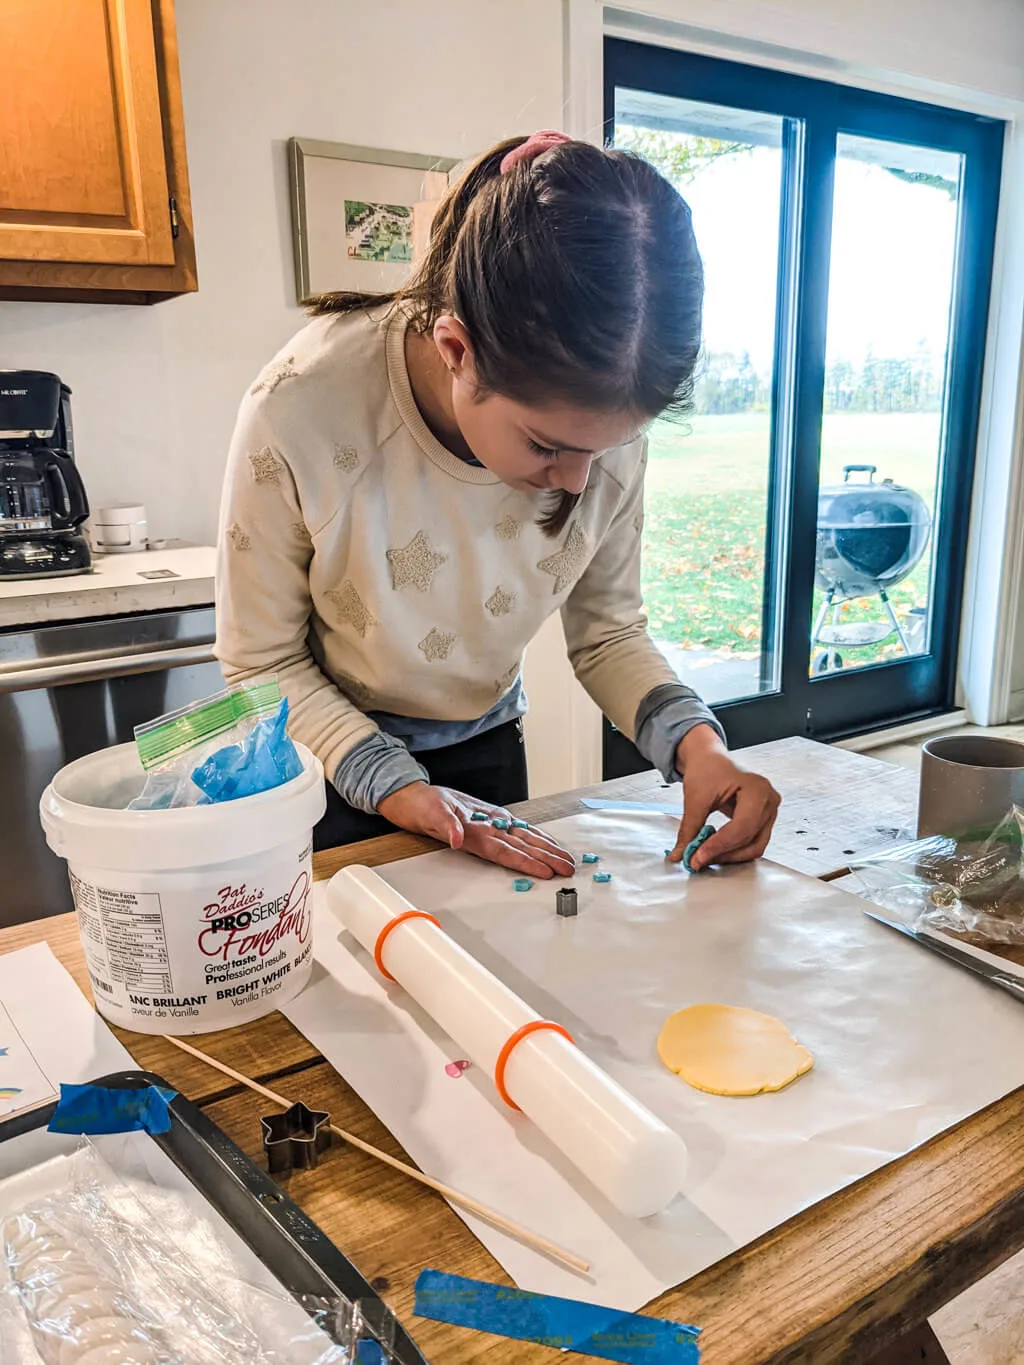
Next, roll out the fondant using a rolling pin with rings (such a lifesaver – get one if you don’t already have one). Then cut it out using teeny star and heart cookie cutters. Elise helped with this step.
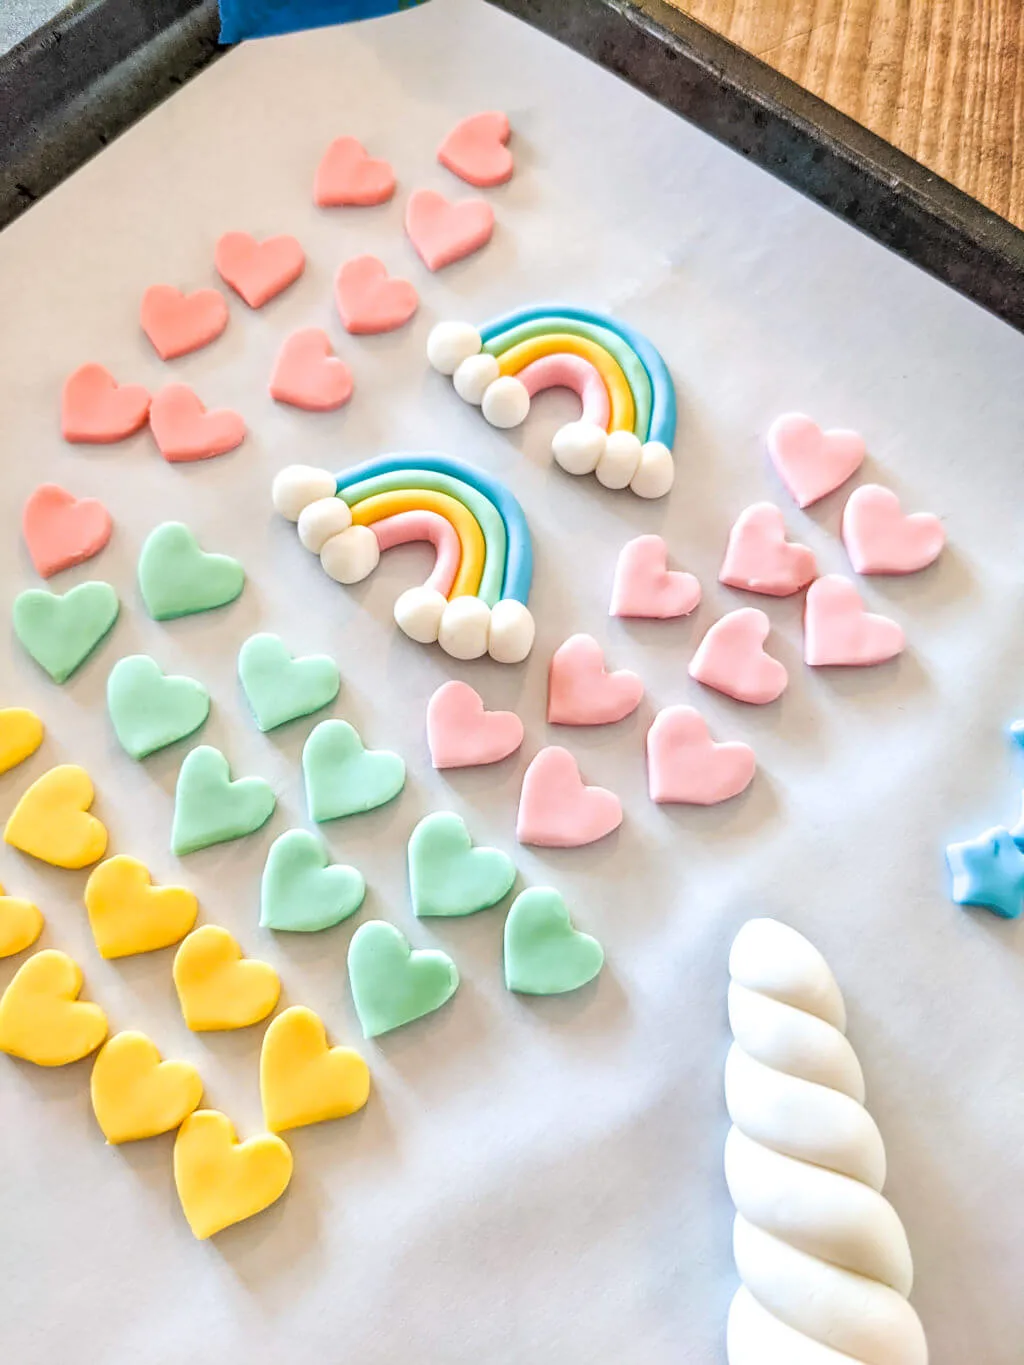
Keep cutting out teeny stars and hearts using different fondant colors. Aren’t they cute? Then cover with plastic wrap.
Step 4: Cut out the age 1 numbers from the cake
Print out my free printable age 11 unicorn cake template and lay it on top of the cake. It’ll stick to the cake. Using a serrated knife, carve out the numbers. I like to do this step using cakes right out of the freezer because it’s easier to cut them. Peel off the cake template when you’re finished.
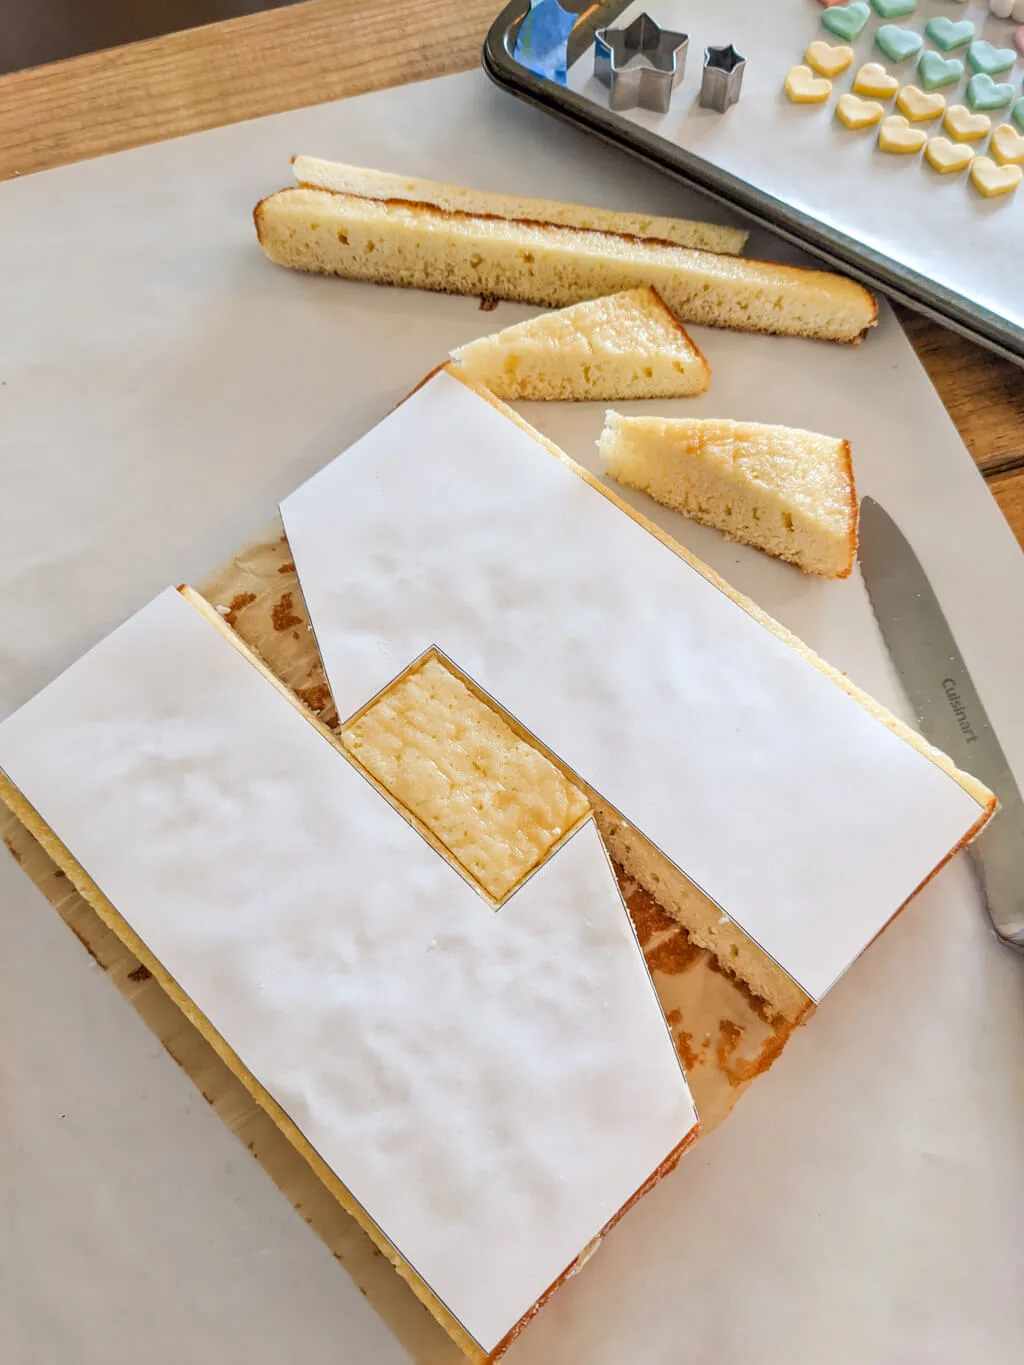
Put the cakes onto your cake board. I made my own cake board (ask me how!) but you can buy yours if you like. Be sure to leave enough room on the cake board to add your unicorn horn. I decided to make a two-layer birthday cake so I repeated this step for the other cake square.
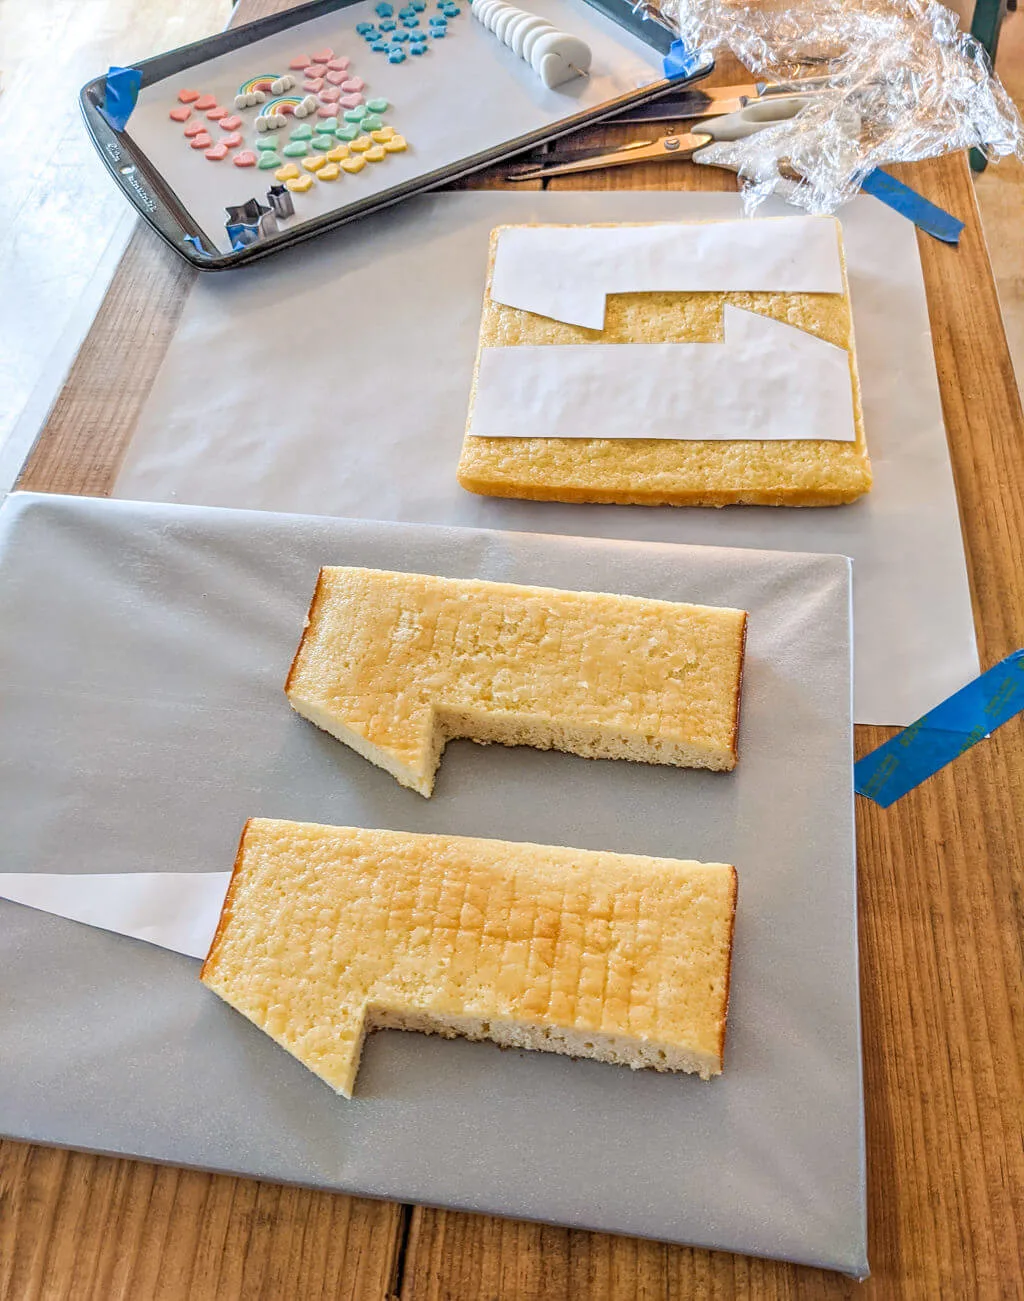
Step 5: Make the icing and ice the age 11 cake
I used the same less-sweet buttercream icing recipe that I used for Elise’s 10th birthday ice skating cake. I used the less-sweet icing because I was adding white decorating sugar to the top of my cake, and so I had to choose a recipe that wasn’t as sweet to balance the sparkling sugar. Go ahead and check out my ice skating cake post for the icing recipe if you’re adding sparkling sugar like I am. I used an icing spatula, and I like to use a frozen cake to help me get crisp edges.
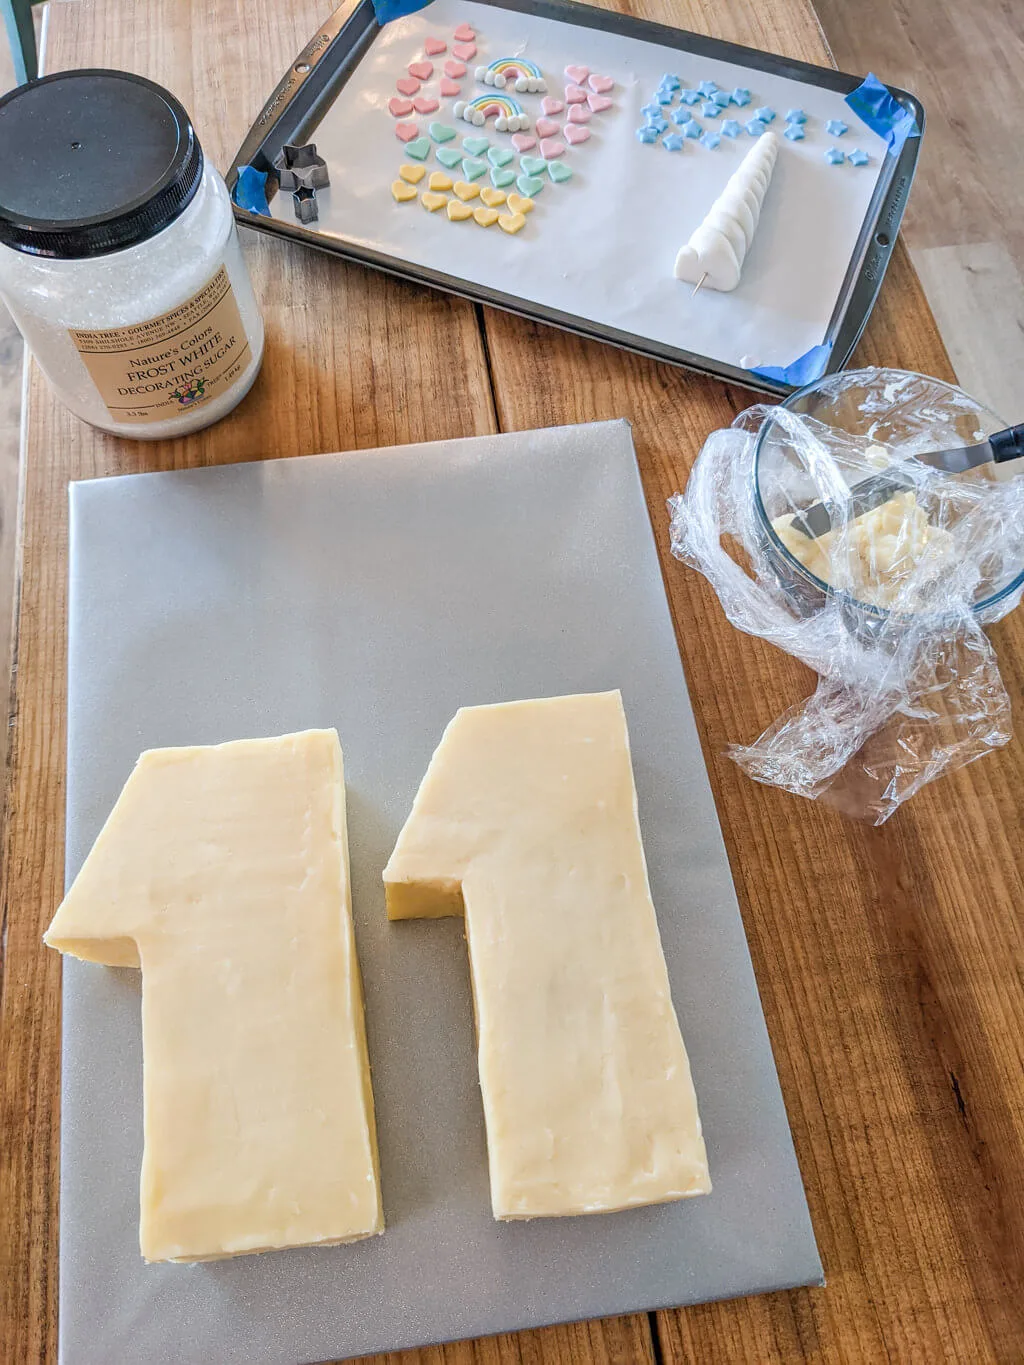
Step 6: Add sparkling sugar to the birthday cake
I used the same technique as Elise’s ice skating birthday cake to add sparkling sugar to the icing. Sprinkle decorating sugar and tap very lightly to just adhere.
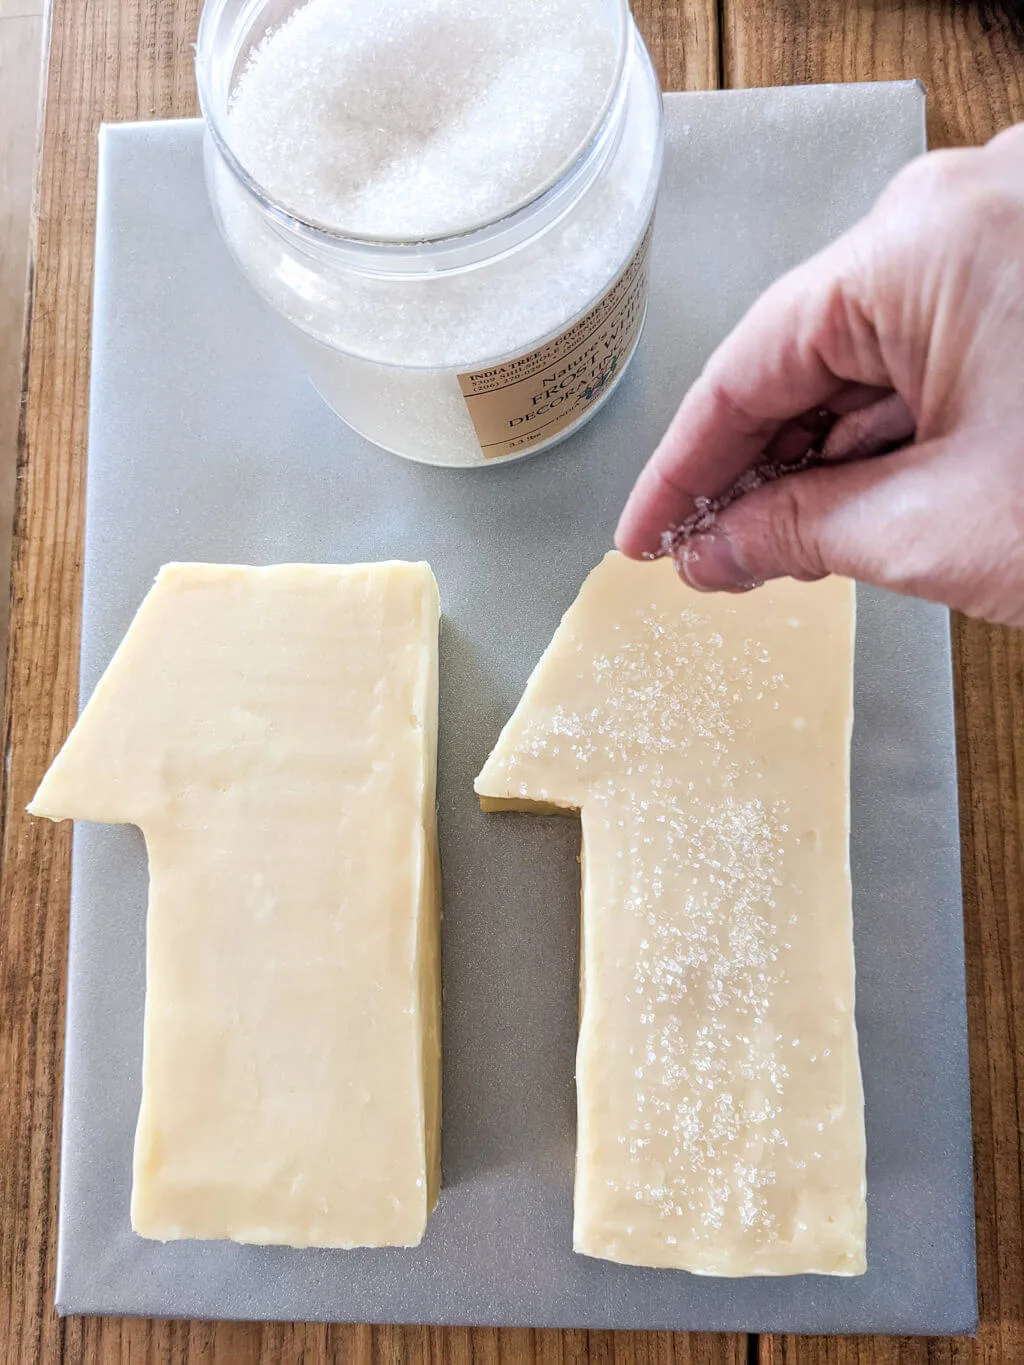
Use a small silicone spatula to tap sanding sugar into corners and clean off sanding sugar off of the cake board.
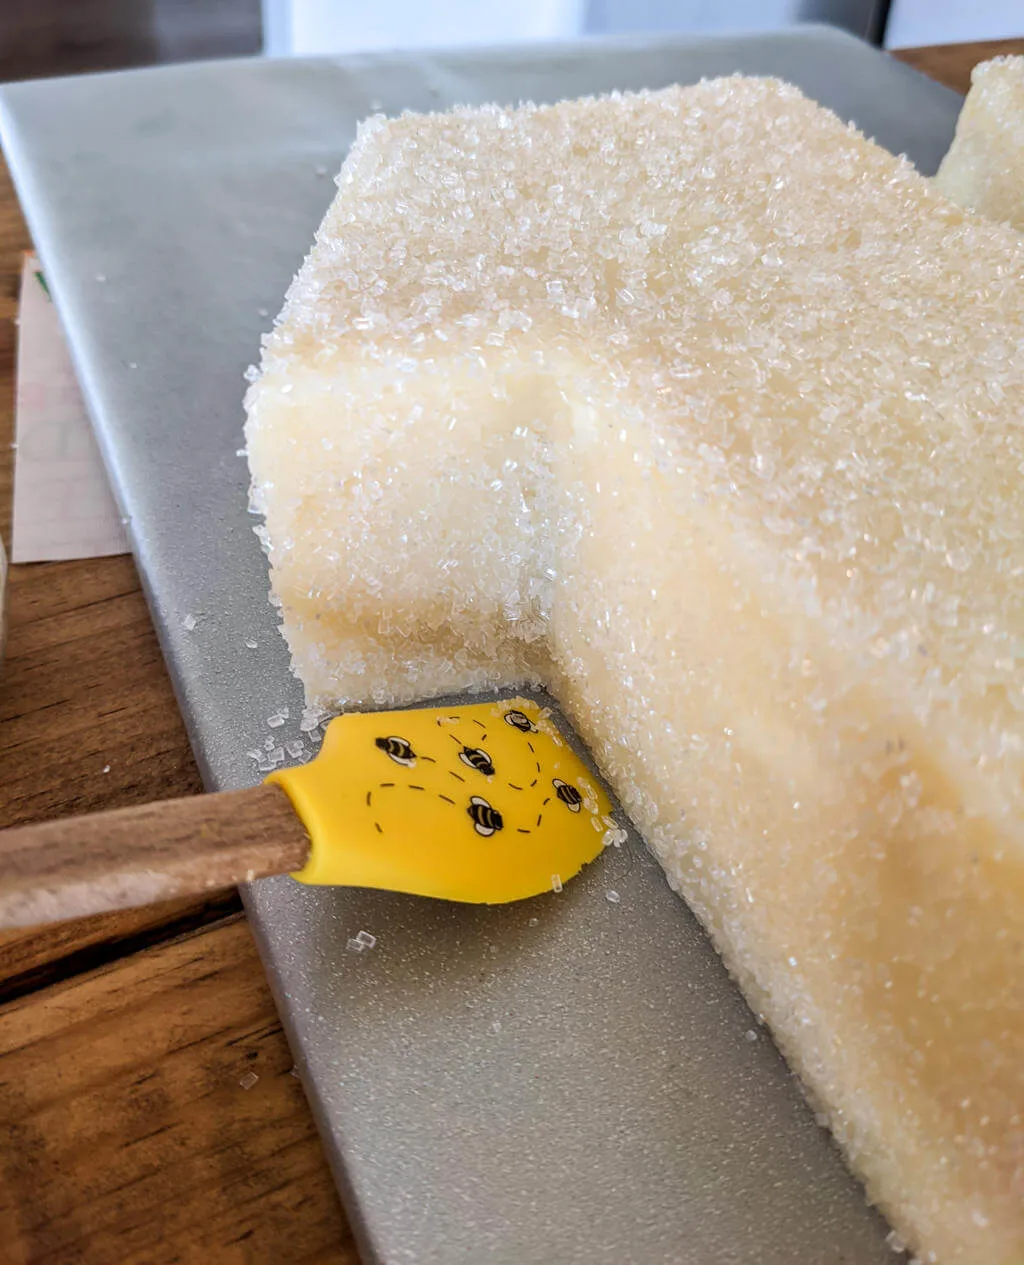
Keep going until your cake is covered in sparking sugar.
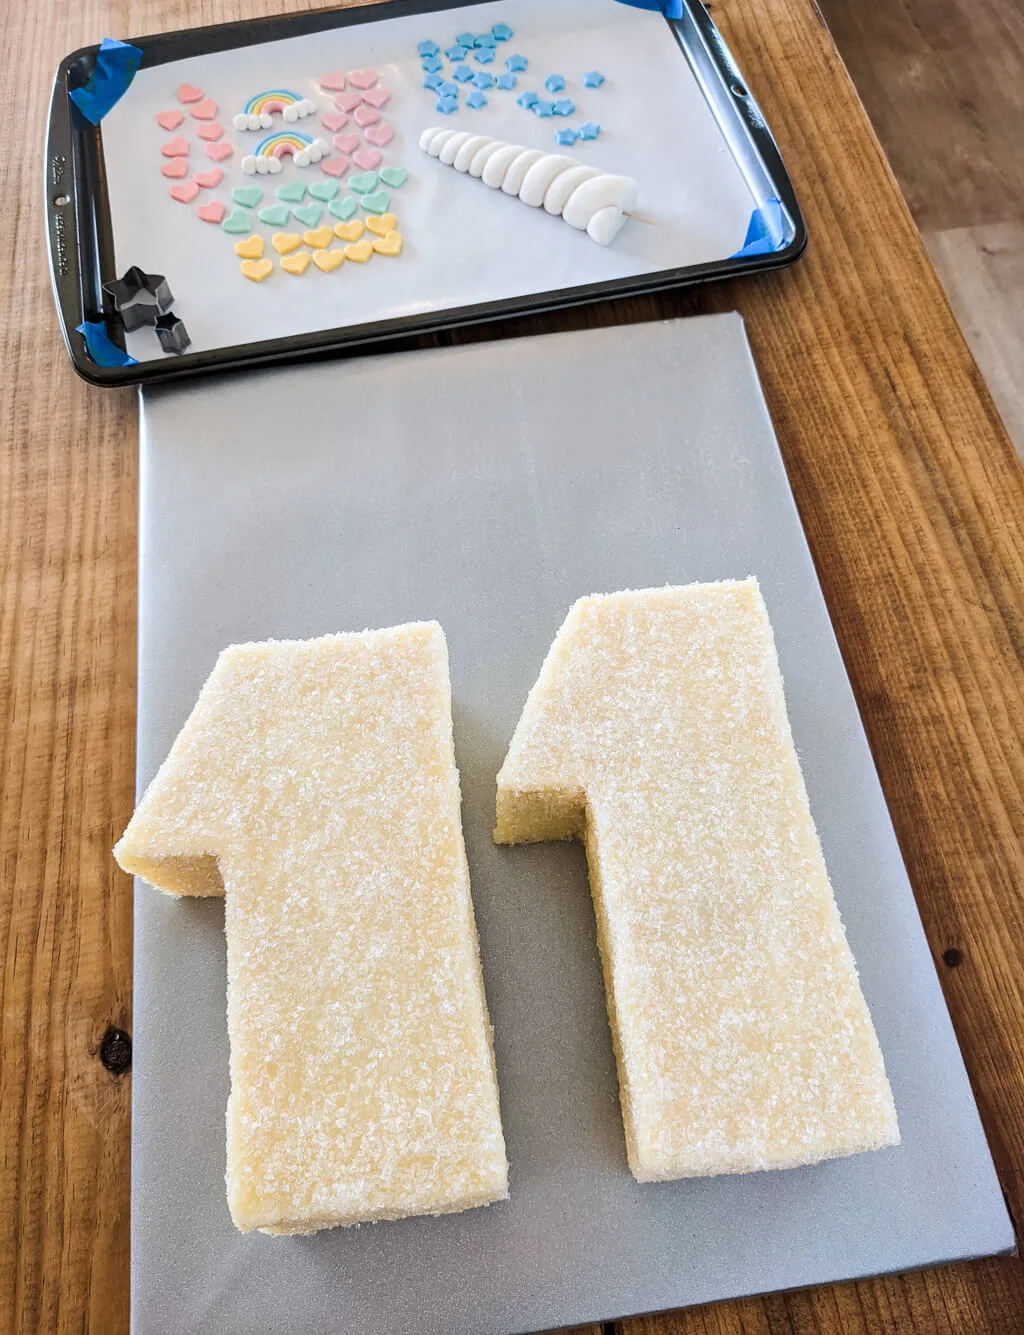
Step 7: Decorate the birthday cake with rainbows, hearts, and stars
Lay out your fondant rainbows first. Then start adding fondant hearts and stars around the tiny rainbows.
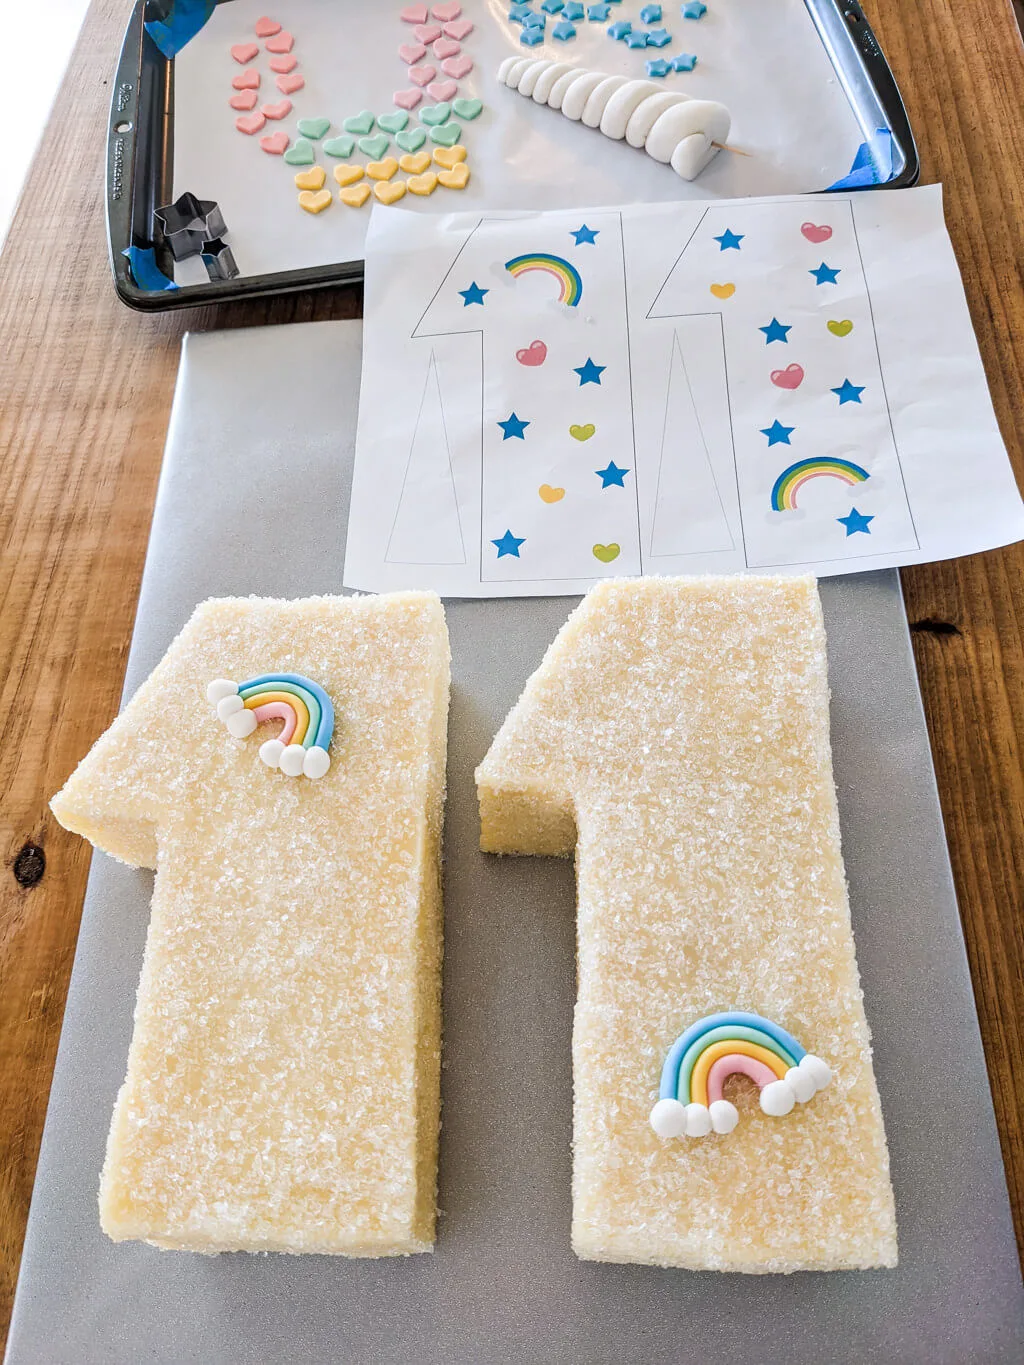
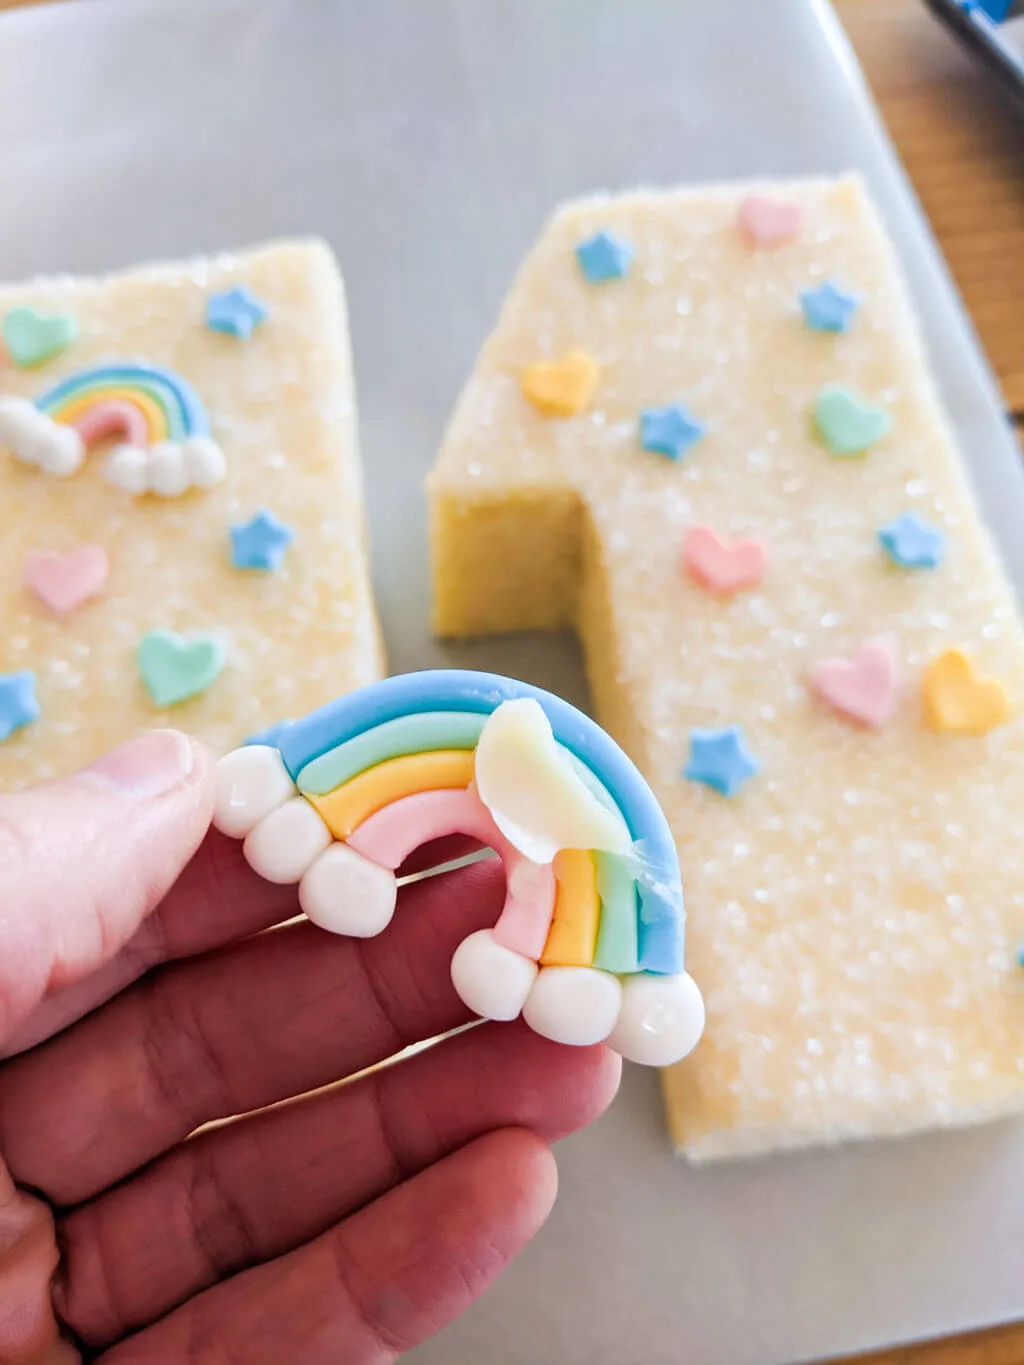
If you decorated using sparking decorating sugar like I did, then add a little bit of icing to the back side of your fondant decorations to adhere them to the birthday cake.
Step 8: Add the fondant unicorn horn to the cake
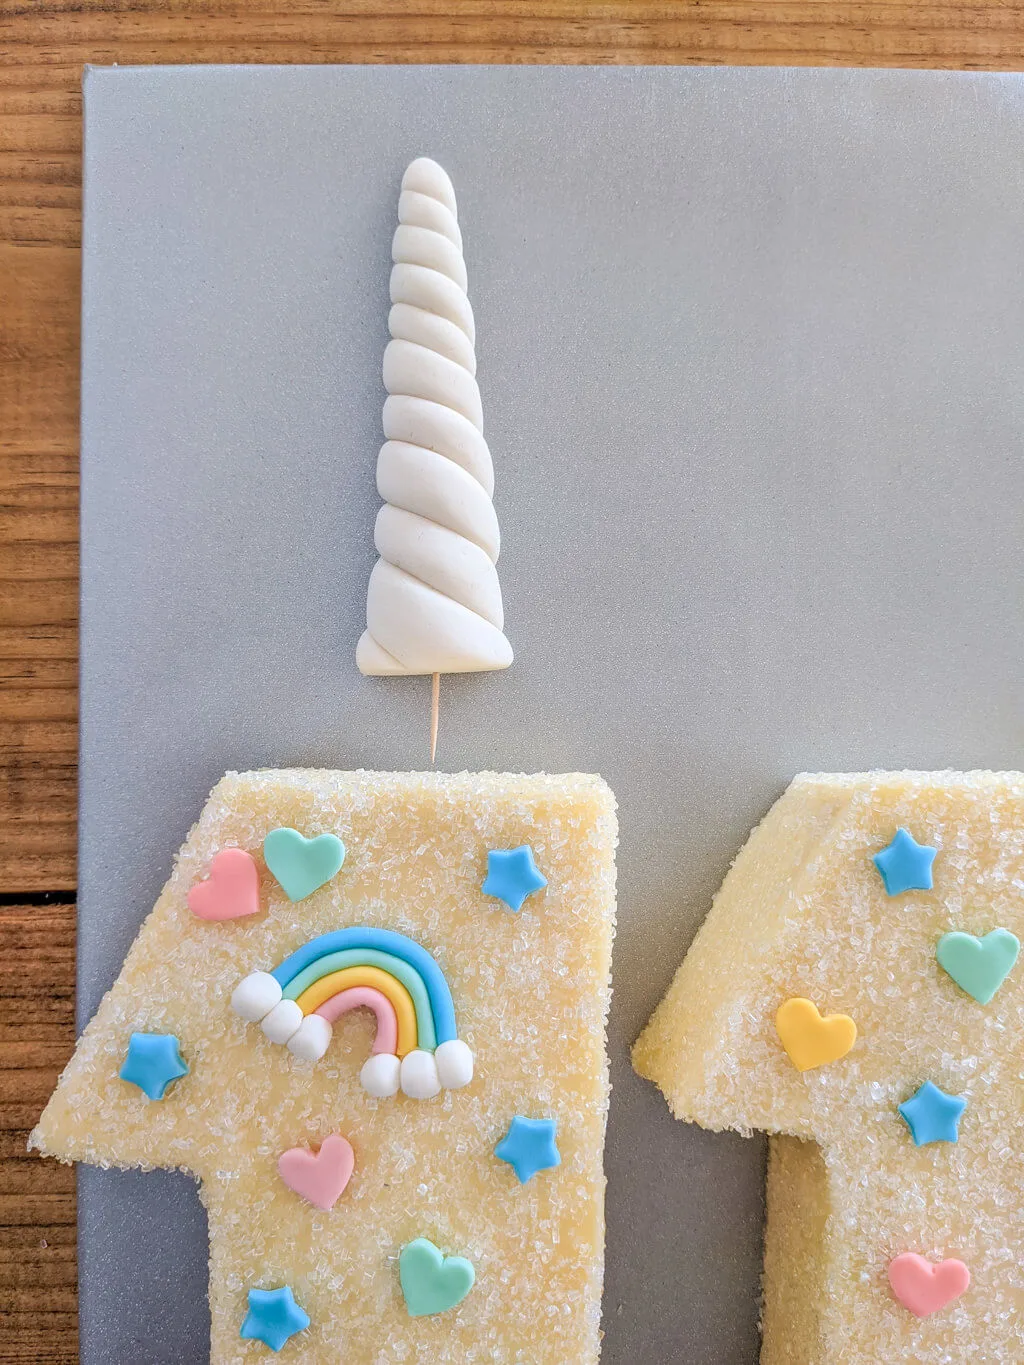
The last step for this magical cake? Adding the fondant unicorn horn. Just slip it down into place. The toothpick is enough to keep it from shifting.
++++++
Be sure to pin this easy unicorn cake DIY tutorial:
++++++
And see more of my tutorials for easy birthday cakes:
- Mermaid cake tutorial
- LEGO Friends cake tutorial
- Baby Yoda birthday cake tutorial
- Magic Tree House cake DIY
- Easy princess birthday cake using stickers (yes, stickers)
- Easy Super Hero birthday cake
- Star Wars BB-8 birthday cake
- Construction birthday cake
- Planes Fire and Rescue birthday cake
- Airplane birthday cake
- Toy Story birthday cake
—
Like it? Share it!
The nicest way to say you like it is to pin it on Pinterest, post a comment, follow Merriment Design on Facebook, Pinterest, Instagram or sign up for monthly emails. Enjoy! 🙂
Copyright stuff: You’re more than welcome to use this free project and tutorial for personal use. Contact me for commercial use and Etsy sales.

Swanthana
Thursday 23rd of May 2024
How did you make the cake board? I wanted to do the same for my daughter’s 10th bday and looking for ideas to have the cake on the same board. Thanks.
Kathy
Thursday 13th of June 2024
Hi Swanthana! So sorry for the delay in replying ...I didn't see your comment until now for some reason. Anyway, I made my cake board using foam core from the dollar store cut to size. And just to be sure it was strong enough to hold a heavy cake, I cut two rectangles for strength and glued those two rectangles together with school glue. Then I wrapped the cake board in glitter wrapping paper. Finally, I used clear contact paper to cover the wrapping paper to make it waterproof. Technically, clear contact paper is not considered food safe, so I like to put a piece of food safe parchment paper between the cake and the board (cut the parchment to the size of the cake). You can spread a little bit of icing onto the contact paper first so the parchment paper will stick and not shift around. Then I ice and decorate the cake. I hope that helps!