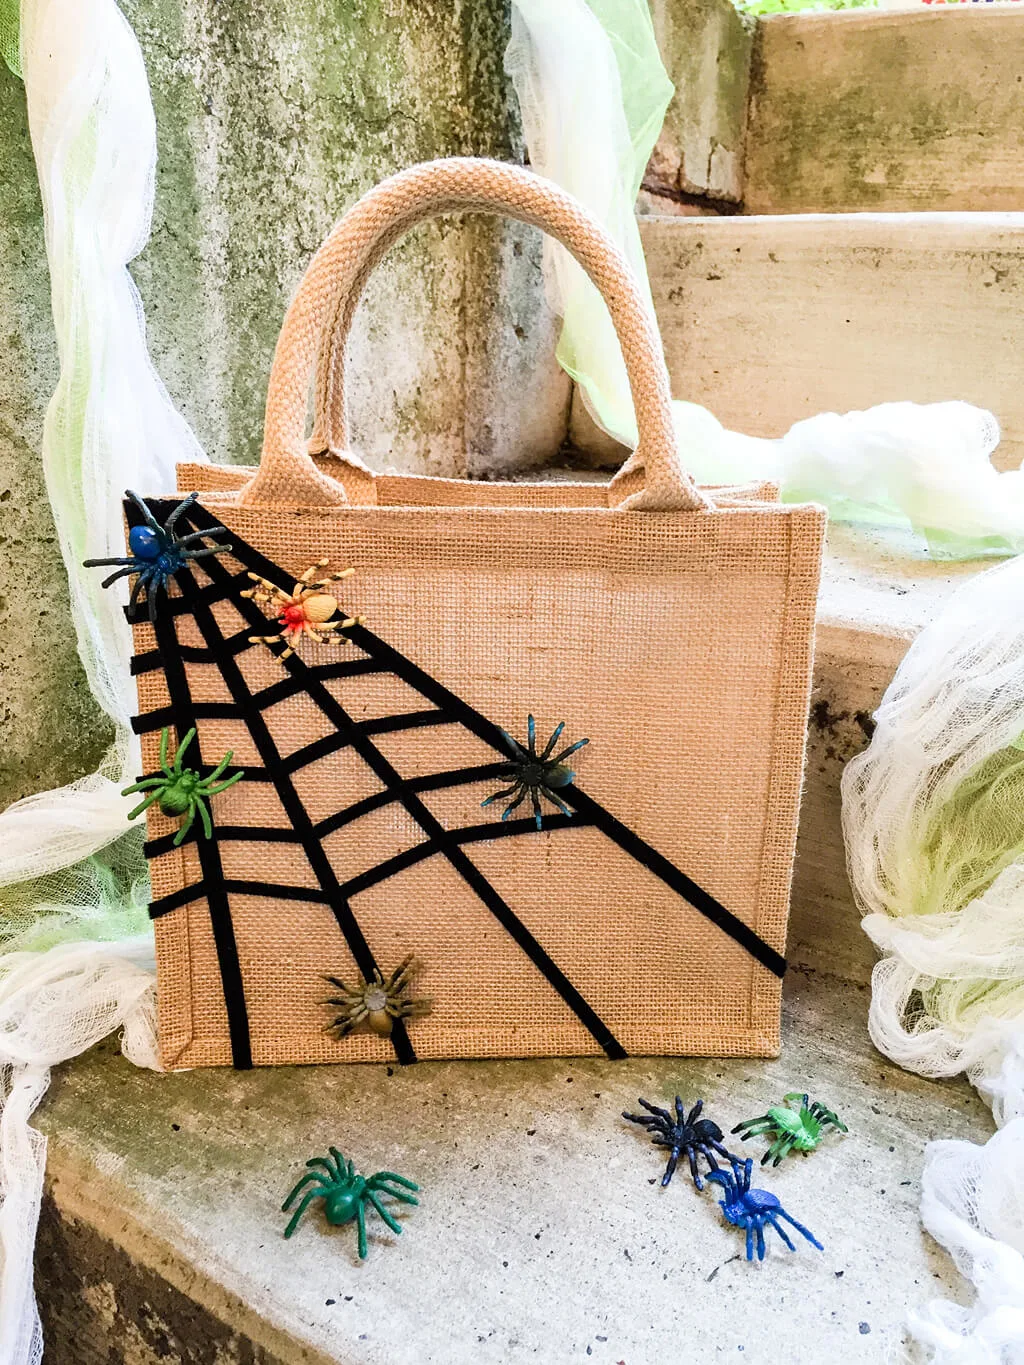
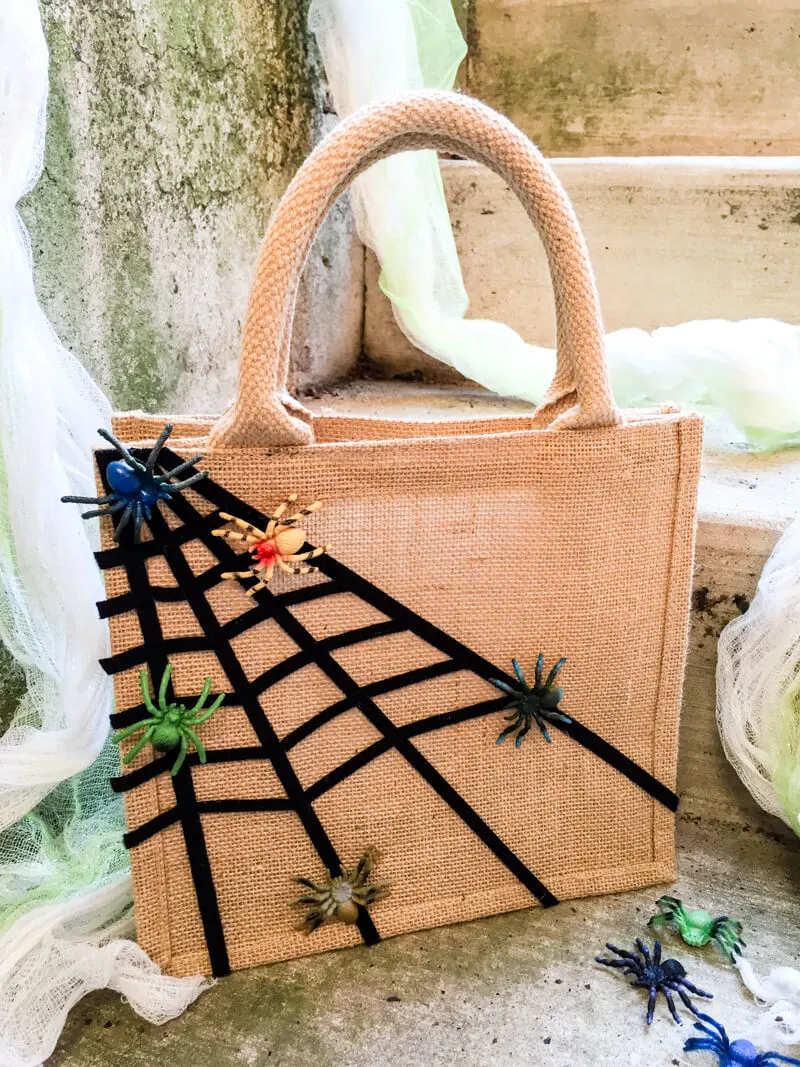
Make an easy no-sew DIY Halloween Treat Bag to haul your kid’s Halloween loot. It takes just a handful of supplies, there’s no sewing, and you can make it in about an hour. How’s that for a treat?
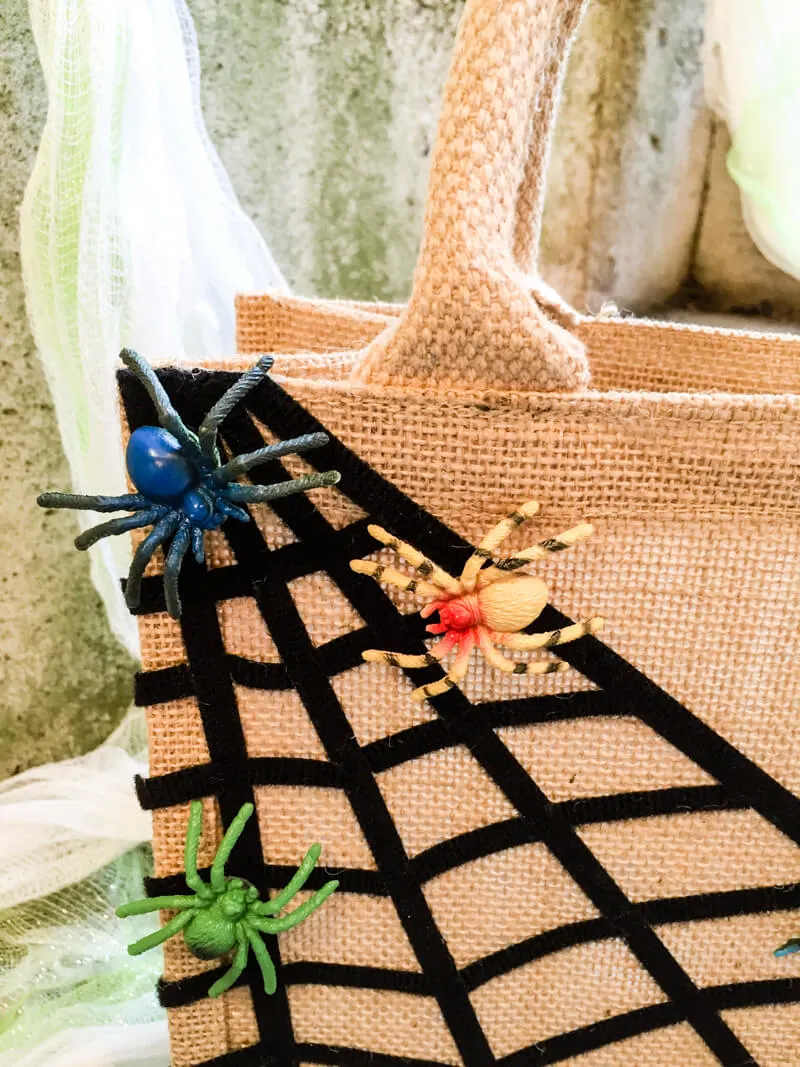
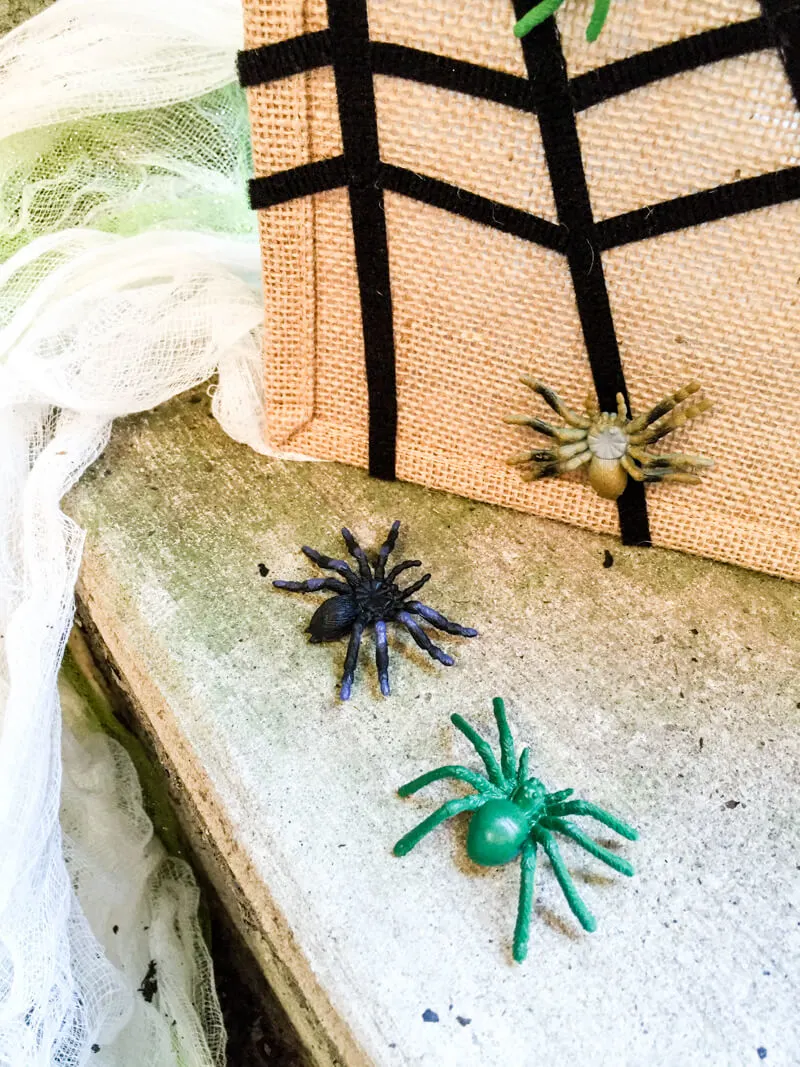
This no-sew DIY Halloween Treat Bag is an easy, no-sew version of my popular DIY Trick or Treat Bag Pattern with Sticky Spiderwebs and Moving Spiders that was featured this week on Cool Mom Picks. The “sticky” spiderwebs are thin strips of black VELCRO brand fasteners, and kids can move the spiders around the web and play with them as they canvas the neighborhood.
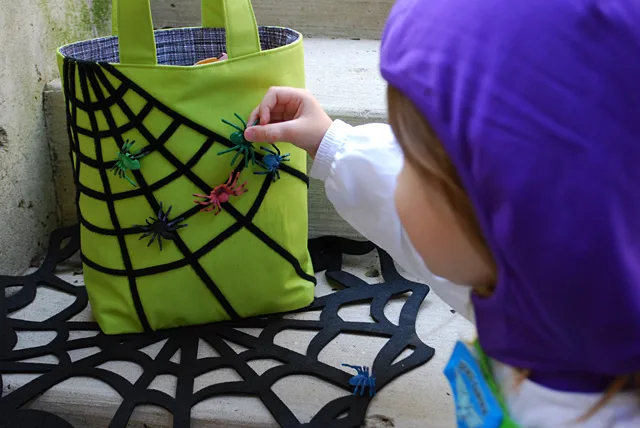
Here’s what Cool Mom Picks says, and I totally agree: “Plastic pumpkin-shaped pumpkins and spare pillowcases from the linen closet are fine, but if you’re putting in all that effort to make creative costumes for your kids, I think it’s kind of nice to make their bags just as special.”
Ironically, Cool Mom Picks suggested using a pre-made canvas bag rather than sewing one from scratch and wouldn’t you know it? Totally by coincidence I had already just done that with this jute bag. And I also used the new VELCRO® Brand Sticky Back for Fabrics fasteners which are even easier and faster to use than the iron-on version that I used for my original bag.
I really like this no-sew Halloween Treat Bag. It’s a classy update and easier to make too. Sorry kids, I just may keep this bag for myself to use as a Halloween handbag!
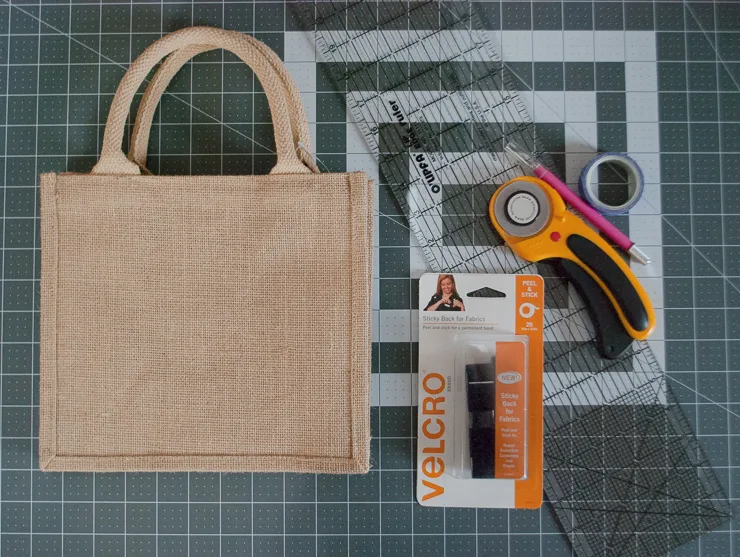
Supplies for making an Easy no-sew DIY Halloween Treat Bag:
- Pre-made jute bag – available in several sizes
- VELCRO® Brand Sticky Back for Fabrics fasteners in black
- Rotary cutter, clear plastic ruler, self-healing mat
- Washi tape or painter’s tape
- Good scissors
- A metal spoon (yep, one from your kitchen)
- Plastic spiders (buy ones with bodies close to the legs)
- VELCRO® Brand Sticky Dots in Clear (optional)
—
How to make an easy no-sew DIY Halloween Treat Bag:
Step 1: Gather your craft supplies
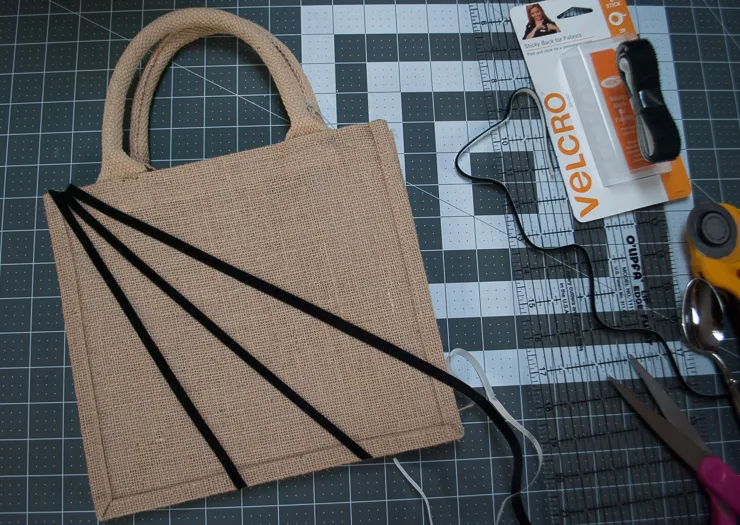
Gather your supplies. I forgot to include my scissors and the spoon in this picture but be sure to grab those too.
Step 2: Cut strips of VELCRO® Brand fasteners
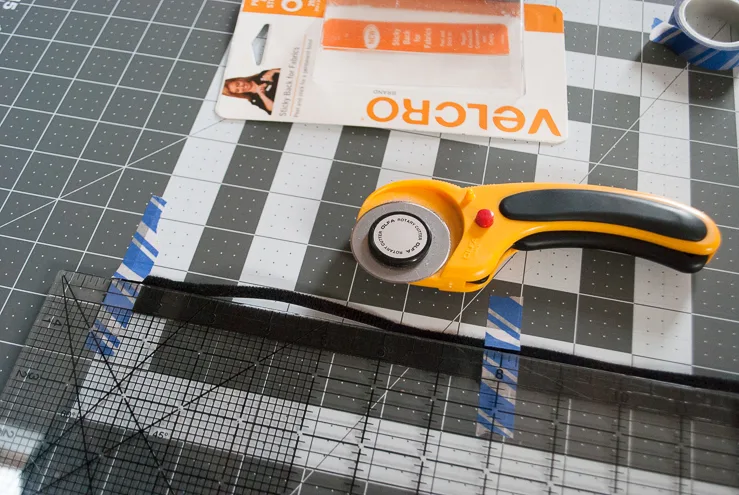
Tape the loop (soft) side of VELCRO® Brand Sticky Back for Fabrics onto your self-healing mat using washi tape to help keep your fasteners from shifting while you cut. Measure three even 1/4-inch thin strips with your clear plastic ruler, and carefully cut strips using your rotary cutter. You can just cut through the washi tape.
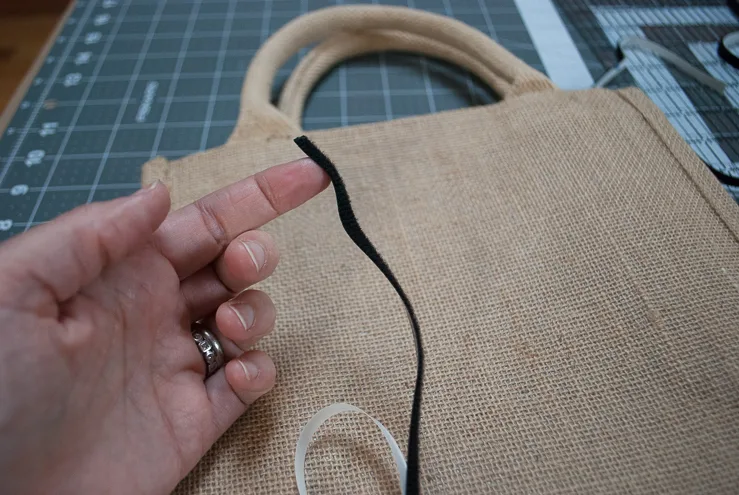
Step 3: Stick VELCRO® Brand fasteners onto your bag
Peel the loop piece and stick onto your bag.
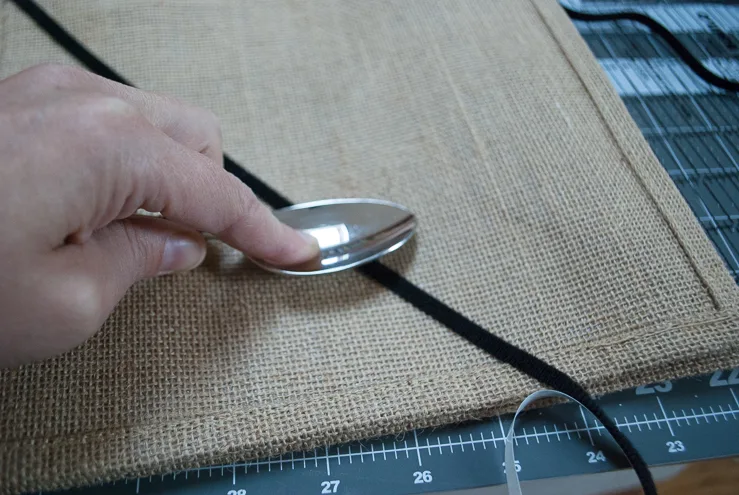
Step 4: Rub with a spoon to secure
Rub a spoon over it to securely fasten the VELCRO® Brand Sticky Back for Fabrics. Hooray, no ironing required!
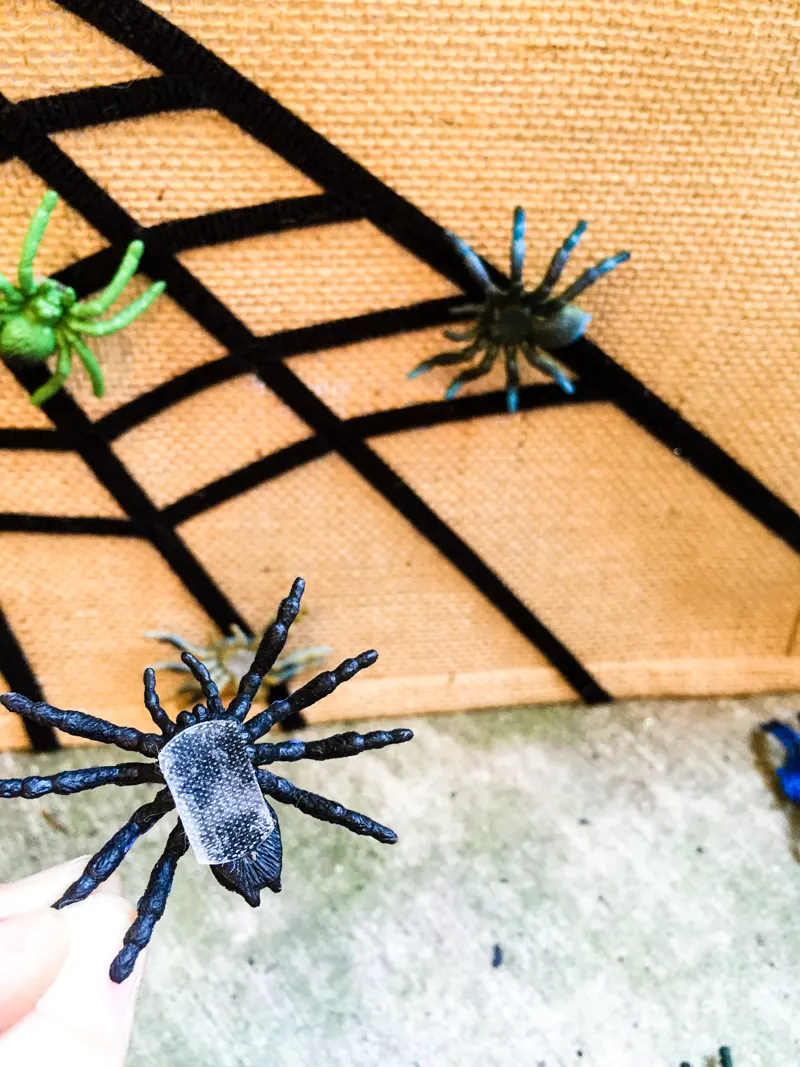
Step 5: Make your spiders “sticky”
Put some VELCRO® Brand Sticky Dots in Clear on your plastic spiders.
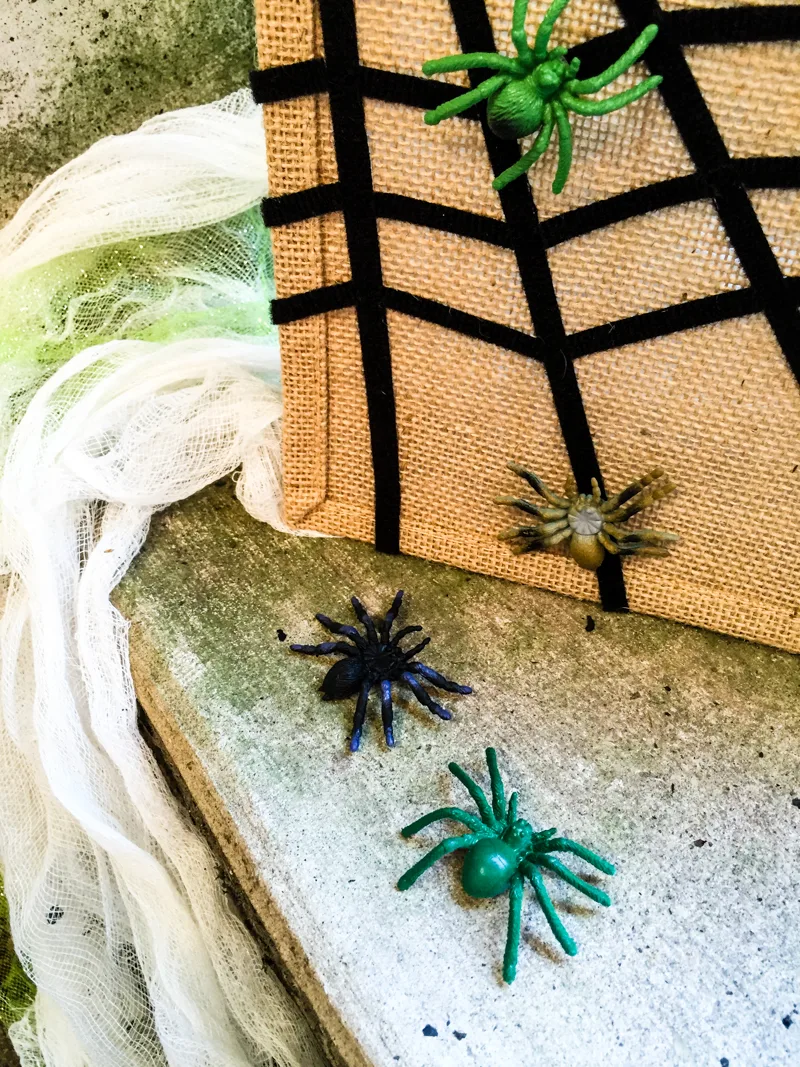
Step 6: Stick spiders onto your web
Move around as you wish. Eek! The spiders are crawling up the bag!!
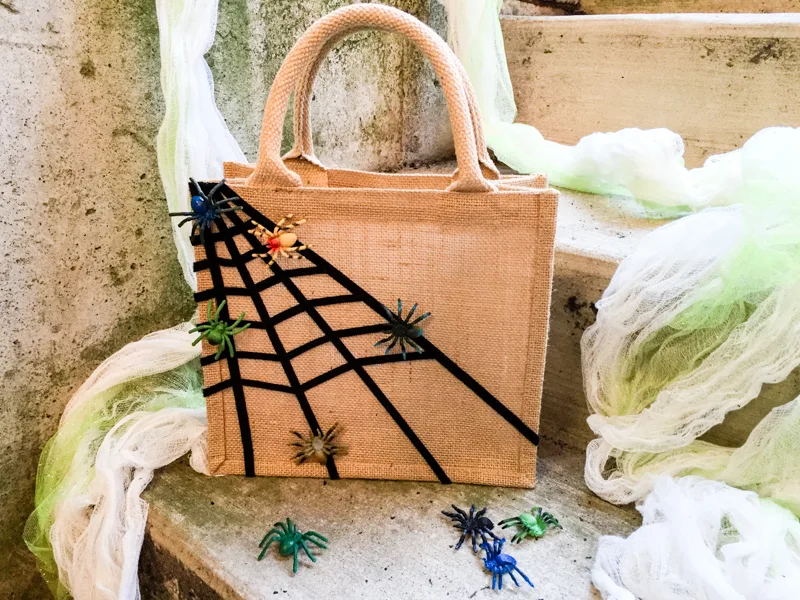
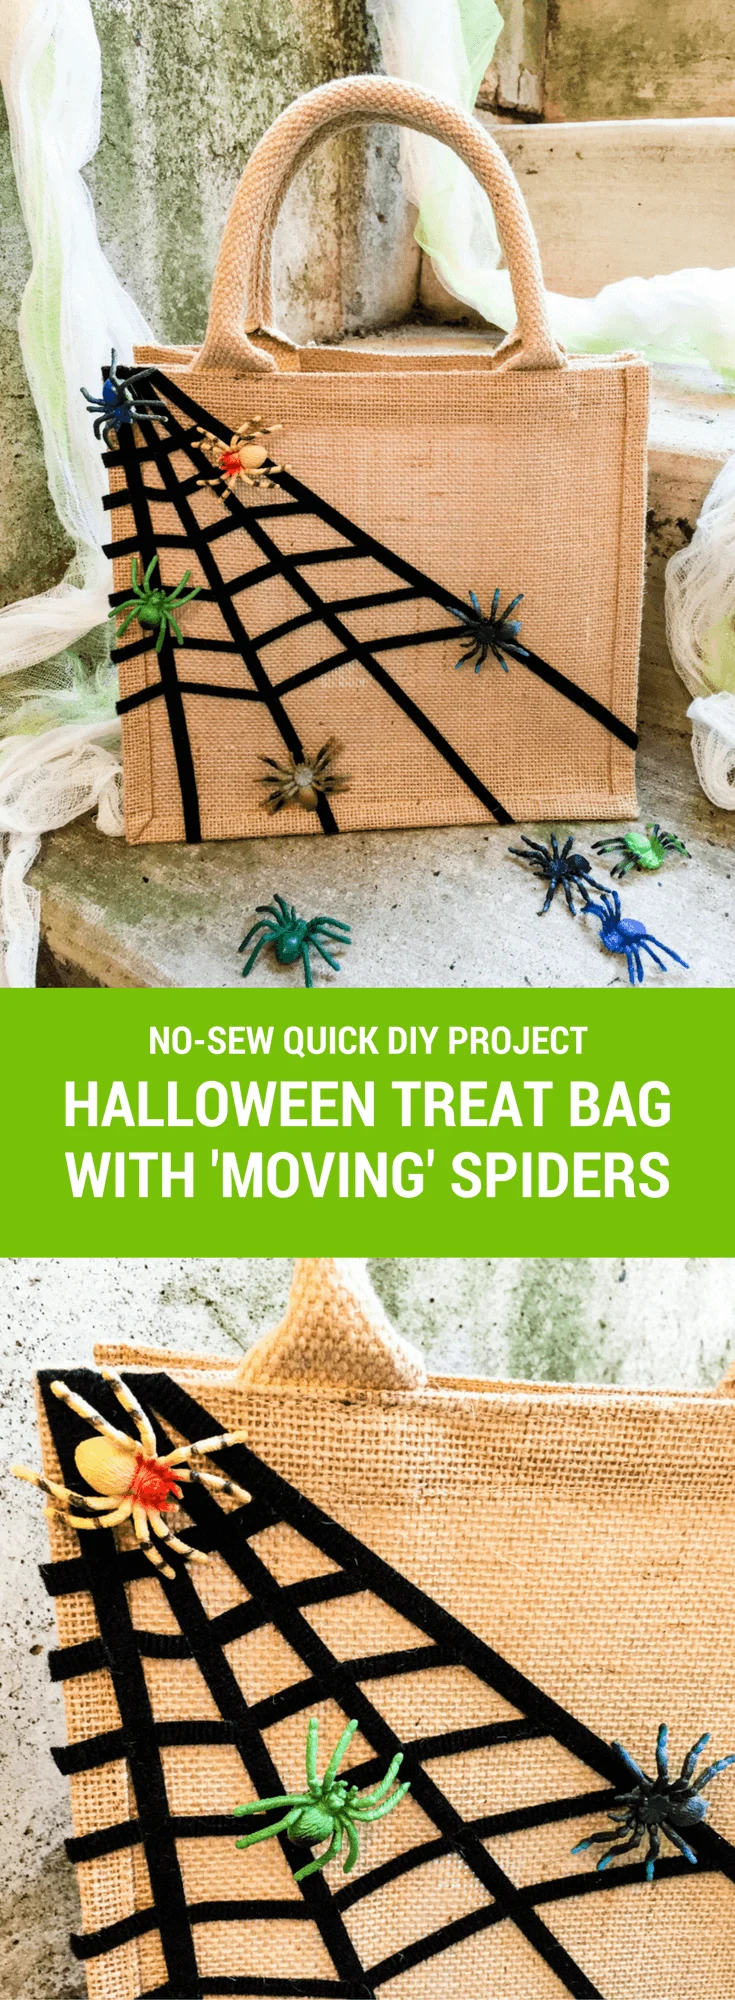
Be sure to pin my cute no-sew DIY Halloween Treat Bag:
Now play some festive, kid-friendly Halloween music like my 30+ Best Halloween Songs For Kids (That Parents Will Like Too) and get dressed and ready to bring home some candy!
Like this Halloween project? Please also see more of my favorite DIY Halloween crafts:
—
Like it? Share it!
The nicest way to say you like it is to pin it on pinterest, post a comment, follow Merriment Design on Facebook, twitter, pinterest, Google+, instagram or sign up for monthly emails. Enjoy! 🙂
Copyright stuff: You’re more than welcome to use this free project and tutorial for personal use. Contact me for commercial use and etsy sales.








Joyería online
Thursday 26th of November 2015
Me encantan las manualidades que haces, además de lo bien que quedan, cuanta imaginación! Felicidades