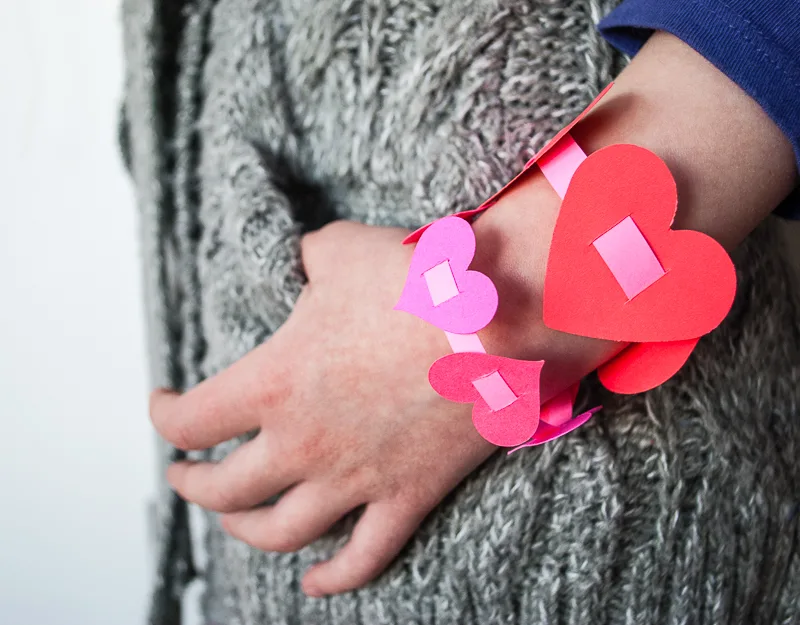
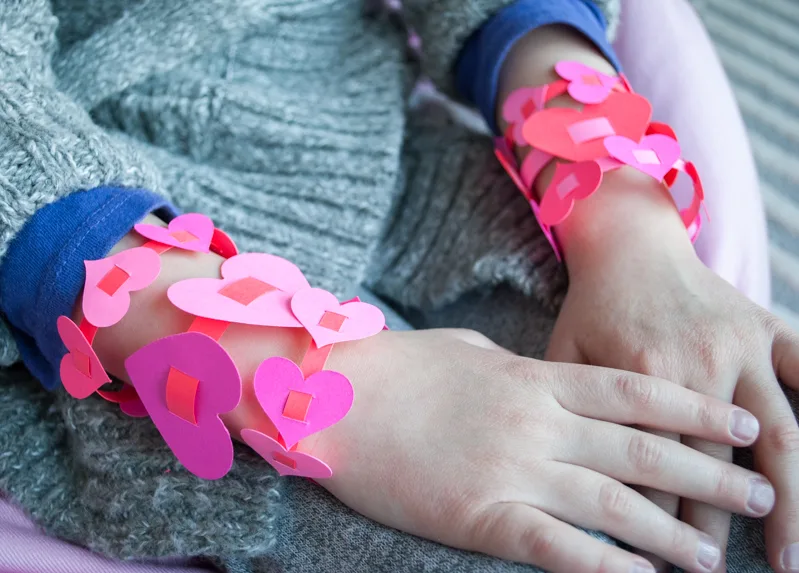
Here’s a sweet and easy kid’s craft activity for Valentine’s Day: DIY Paper Heart Bracelets. They’re super cute, really easy to make, and fun to add a burst of February color.
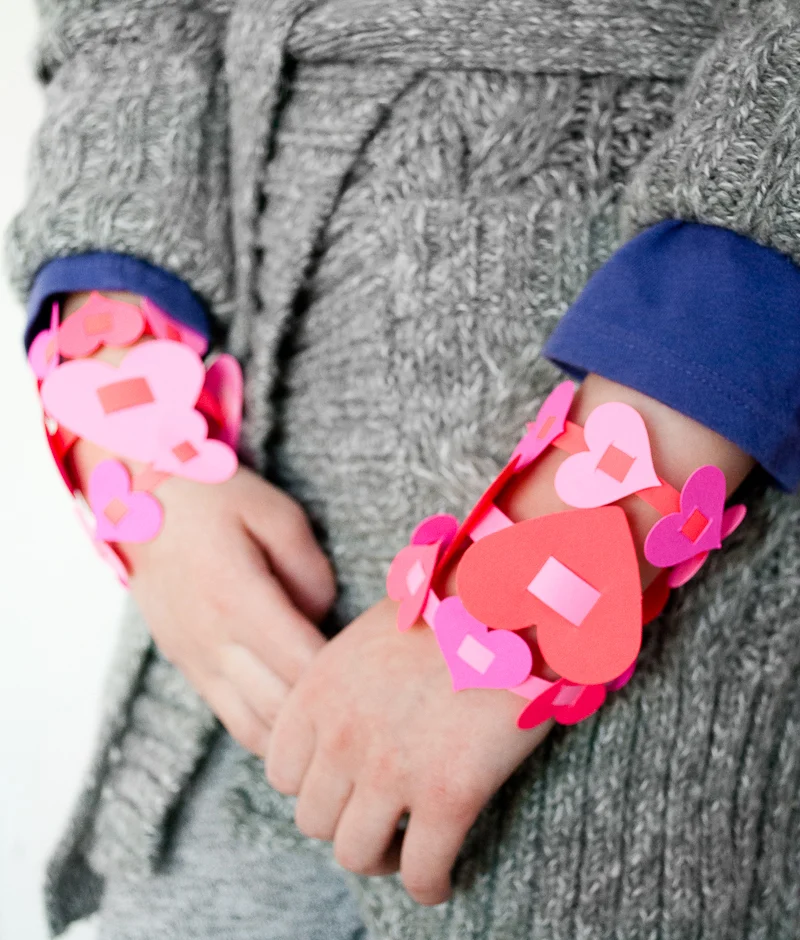
Making these DIY paper heart bracelets for Valentine’s Day is a special way to celebrate Valentine’s Day with your favorite girl.

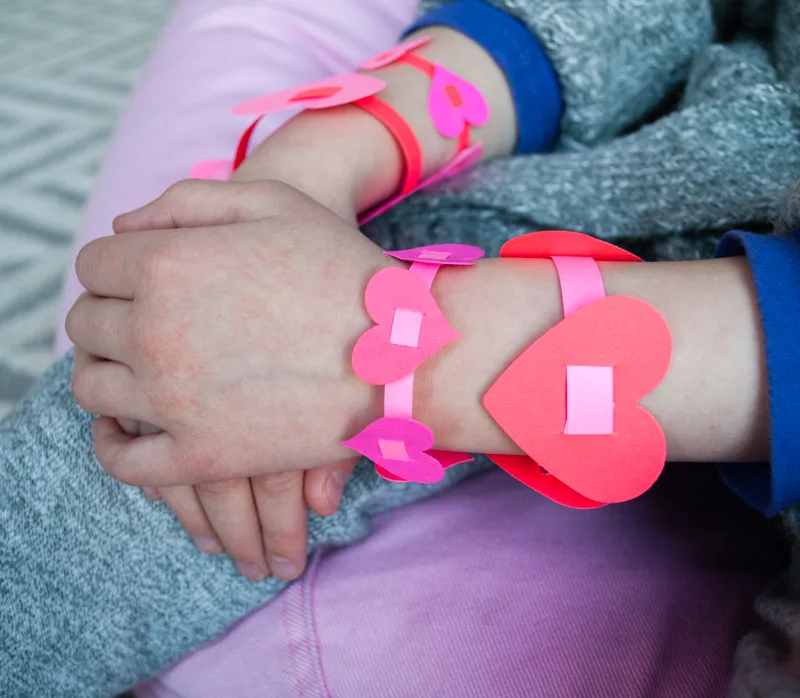

I love simple kids craft activities like these that are easy and require just a few supplies. The paper heart bracelets are quick to make so you can make some extras for friends.
They’re kind of addicting to make so we made some for friends. Of course, we decided to try them all on first….
This post is sponsored by ASTROBRIGHTS® Papers. All opinions here are mine. ASTROBRIGHTS® Papers is a line of vibrant color paper that my kids and I are just crazy about (remember and my paper Easter Baskets and Father’s Day Tie Bunting and Napkin Rights?) Their bright colors make me so happy.
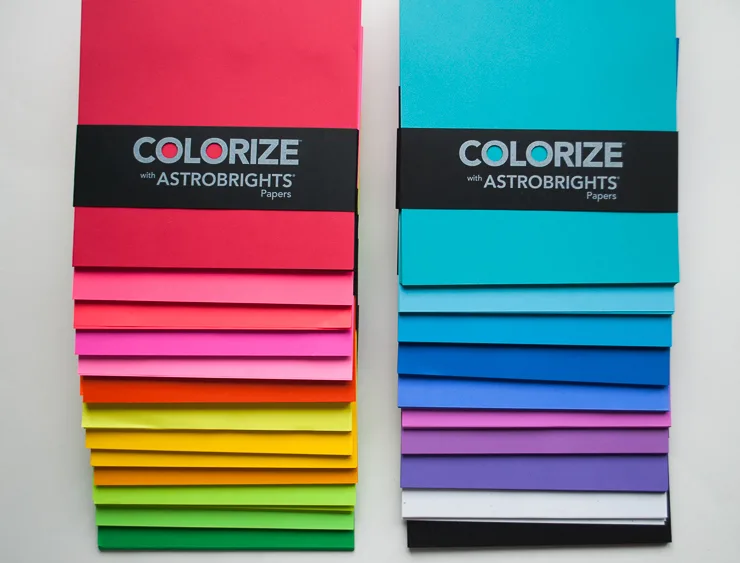
Here are the ASTROBRIGHTS® Papers that I used for my Valentine’s Day Paper Heart Bracelets, from left to right: Rocket Red™, Pulsar Pink™, Fireball Fuchsia™ and Plasma Pink™.
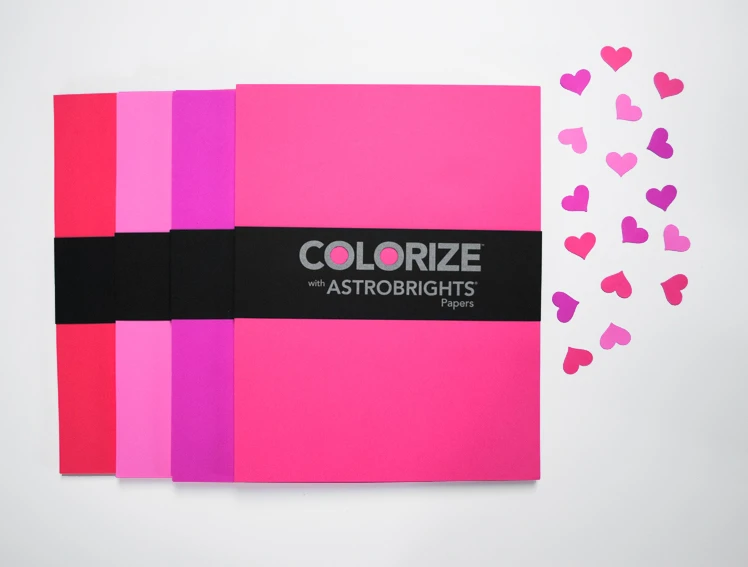
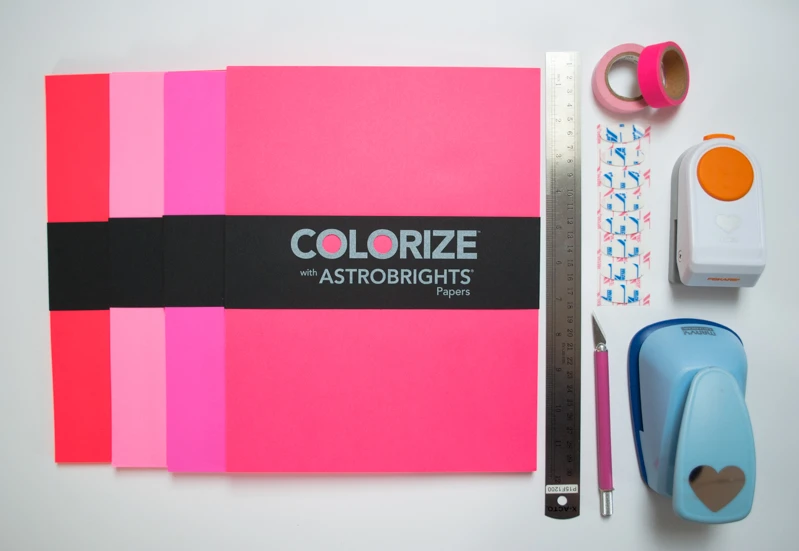
Supplies for making Easy DIY Valentine’s Day Paper Bracelets for Kids:
- ASTROBRIGHTS® Papers – I used card stock weight
- 1″ Heart craft punch for small hearts and a 2″ Heart craft punch for large hearts
- Craft knife, metal ruler and self-healing cutting mat (or a cutting machine like my Silhouette Portrait machine)
- Good paper scissors
- VELCRO® Brand Thin Oval fasteners (optional)
- Teeny bit of Washi tape
—
How to make Easy DIY Valentine’s Day Paper Bracelets for Kids:
Gather your supplies. I made two heart sizes – large and small.
Punch out hearts from ASTROBRIGHTS® Papers – I used card stock weight. Measure your wearer’s wrist and cut a strip of paper about 2″ -3″ longer to give yourself a bit of extra room to work. Make the strip 1/4″ wide for the 1″ hearts and 3/8″ wide for the 2″ hearts (mine were 8″ long).
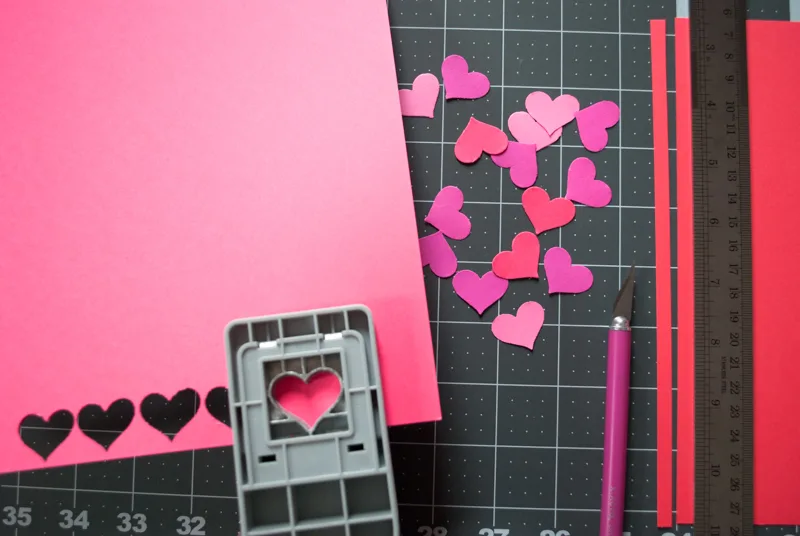
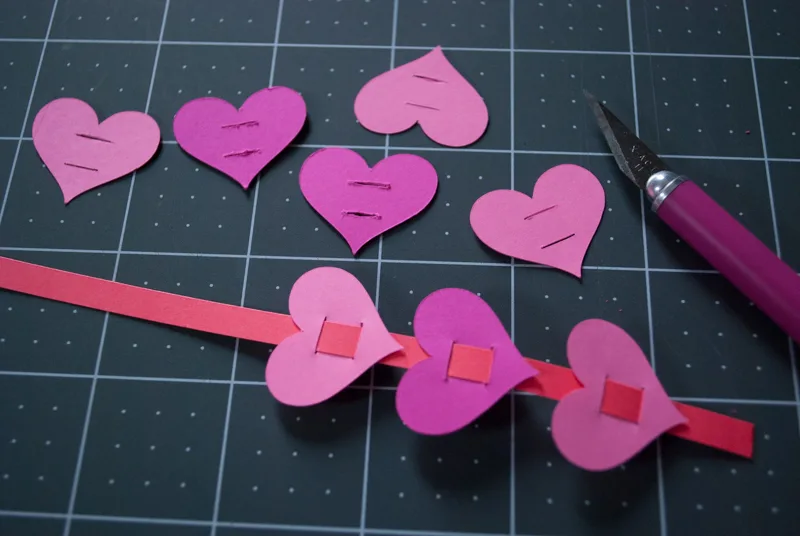
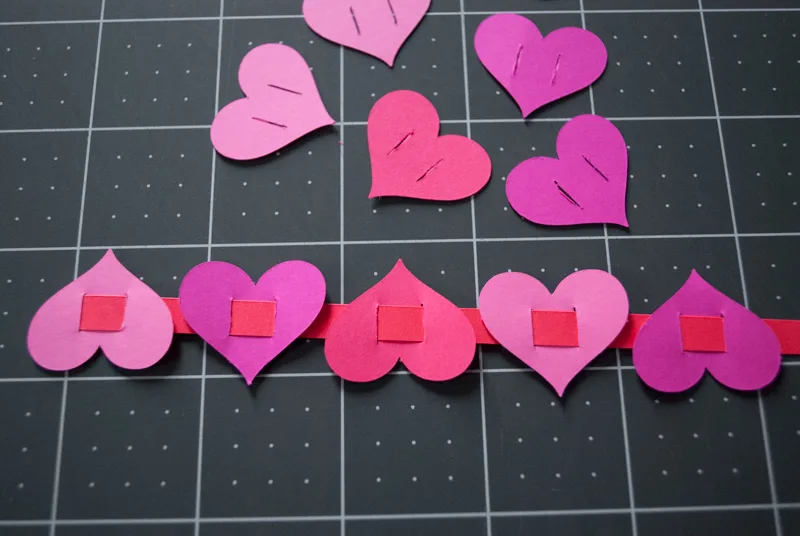
Create two slits in each heart using your craft knife that are just slightly larger than the strip of paper (so slightly more than 1/4″ or 3/8″). You can stack hearts into a pile and do two or three at a time, and cut wide slits like mine.
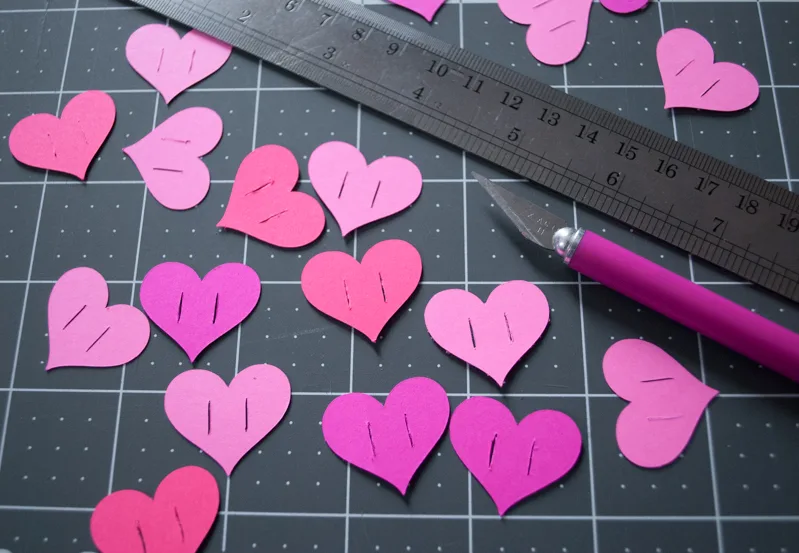
And then cut horizontal slits for some sideways hearts bracelets.

Slip the strip of paper through the heart into the slit from behind.
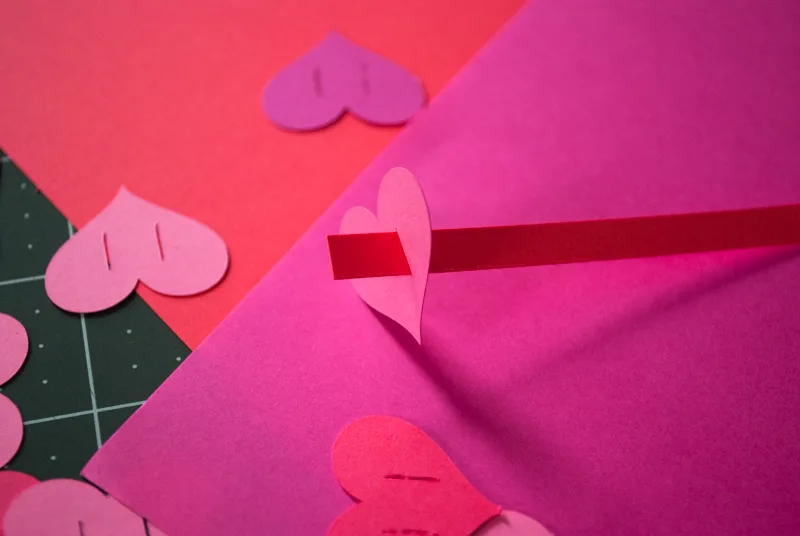
Then slip the strip into the other slit and slide on the heart. It’s OK to fold the end of the strip a bit to get it through – you’ll be cutting that piece off anyway.
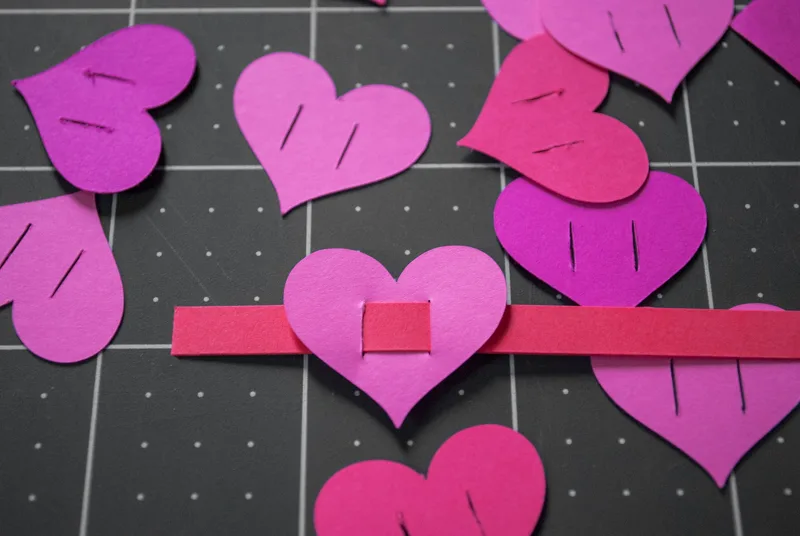
Slide your first heart to the end and cut a teeny little piece of Washi Tape to secure the end.
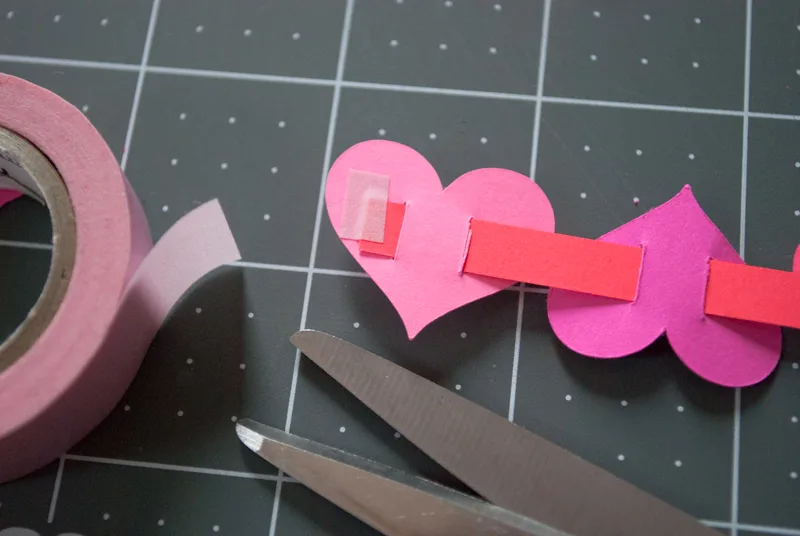
Continue stringing hearts until it’s large enough for the wearer. Trim the strip of paper down to size, leaving enough room to fasten the bracelet.
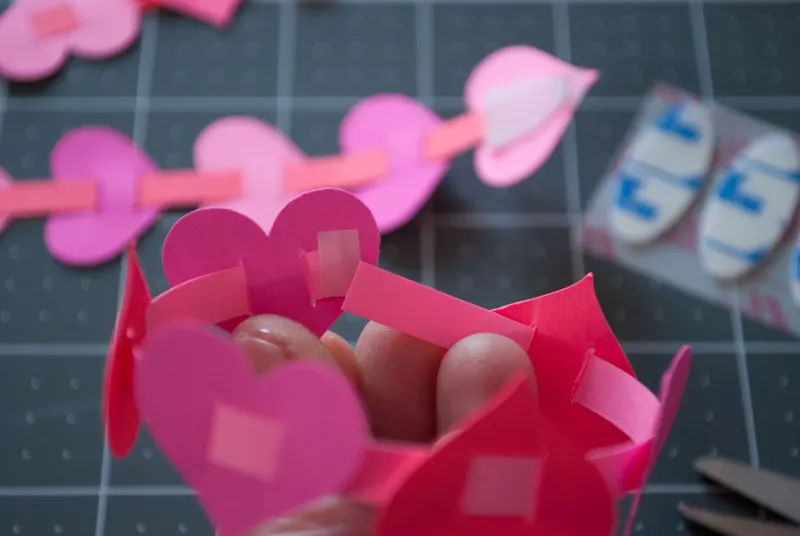
To secure the bracelet, you can really just slip the end of the bracelet back through the heart slits.
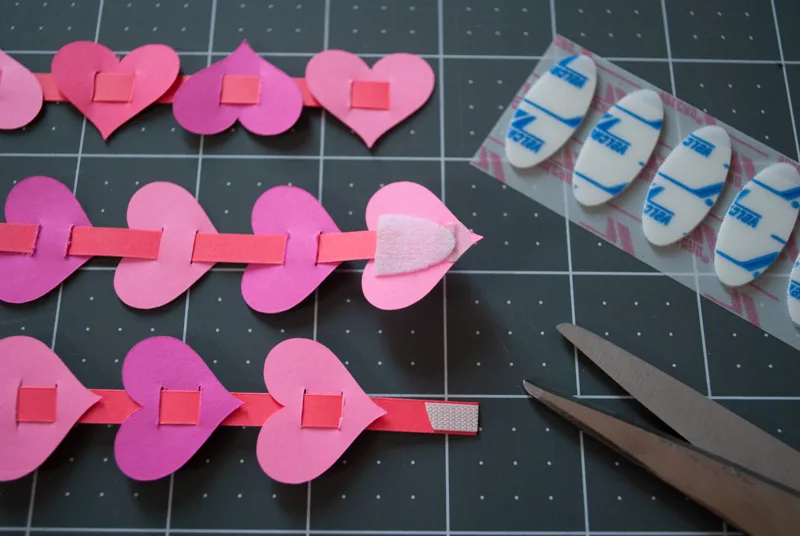
Or you can add a little piece of VELCRO® brand fastener to the end.
Then load up your wrists and go!

>> Tell me in the comments below: Would you try making paper jewelry? What colors would you pick? <<
You can find more inspiration and ideas to COLORIZE your life here:
Like it? Share it!
The nicest way to say you like it is to pin it on pinterest, post a comment, follow Merriment Design on Facebook, twitter, pinterest, Google+, instagram or sign up for monthly emails. Enjoy! 🙂
Copyright stuff: You’re more than welcome to use this free project and tutorial for personal use. Contact me for commercial use and etsy sales.


Amy Anderson
Thursday 11th of February 2016
What a darling idea! My niece would love this!
Ashley ~ 3 Little Greenwoods
Wednesday 10th of February 2016
Cutest little Valentine craft ever! My little girl will love making these. Pinning!