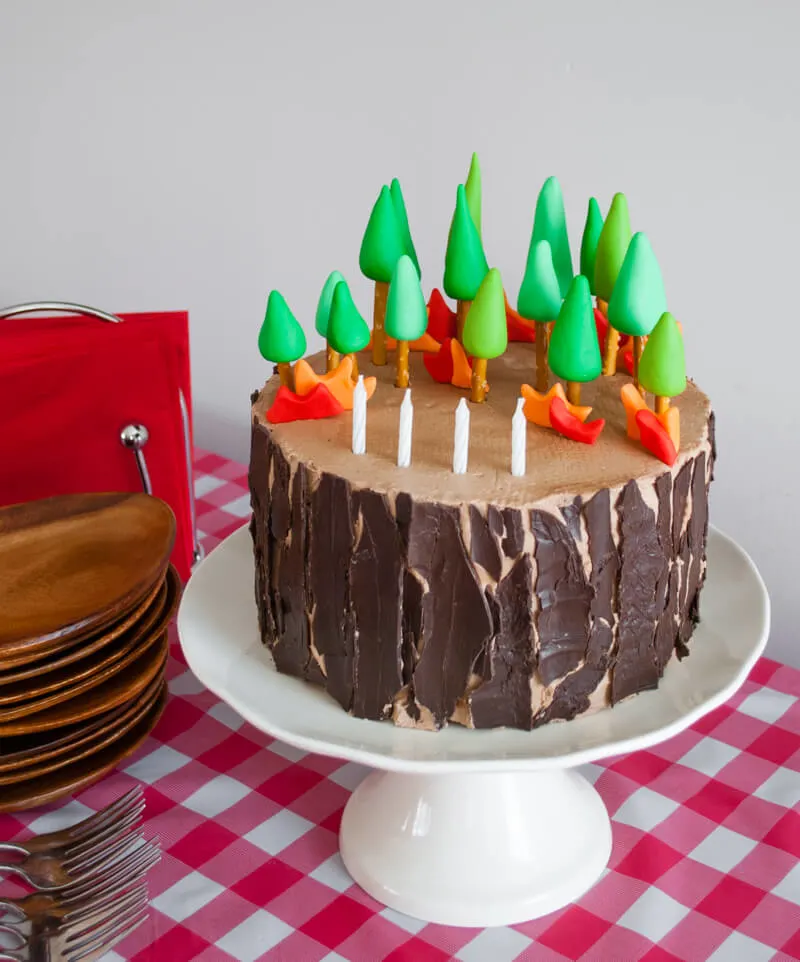
Here’s the DIY Planes Fire & Rescue birthday cake that I made for my son Liam! 🎂 Cute little forest on top, chocolate bark on the sides, and flames for my 4-year-old fireman!
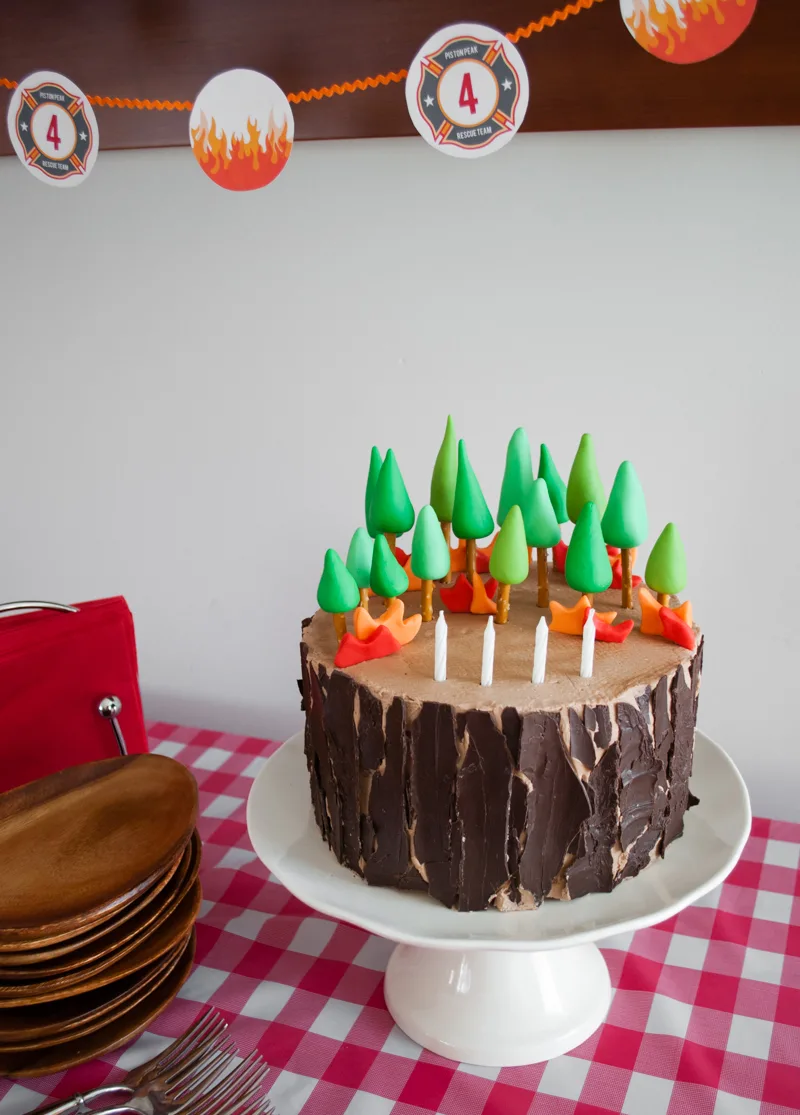
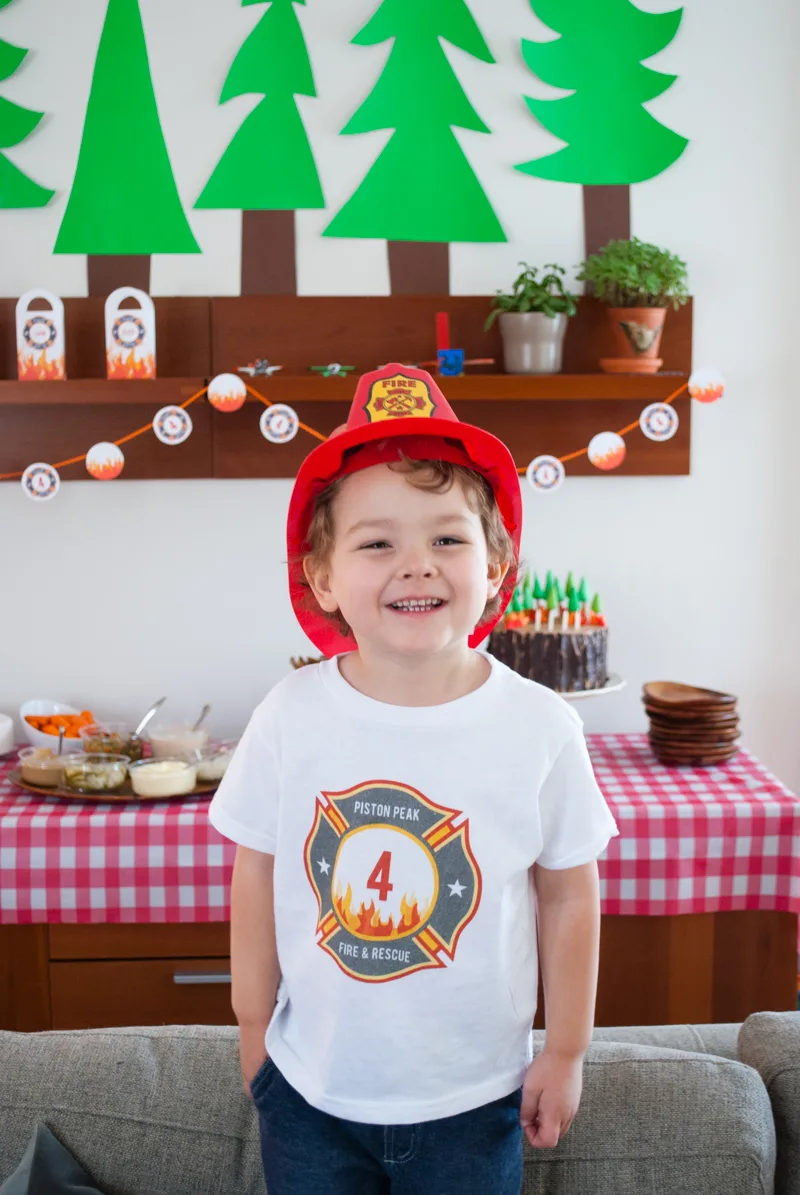
This handmade fiery Piston Peak National Forest birthday cake was the centerpiece in Liam’s Planes Fire & Rescue birthday party theme. We decorated the house with national park signs, large cardboard trees, camping-checked tablecloths, wooden plates, oodles of flames, and Piston Peak Rescue Team badge garland.
But back to the Planes Fire & Rescue birthday cake… The pretzel stick trees! How cute are these trees?!? This white and green Christmas forest tree cake inspired me to make a version with a flaming Piston Peak National Park.
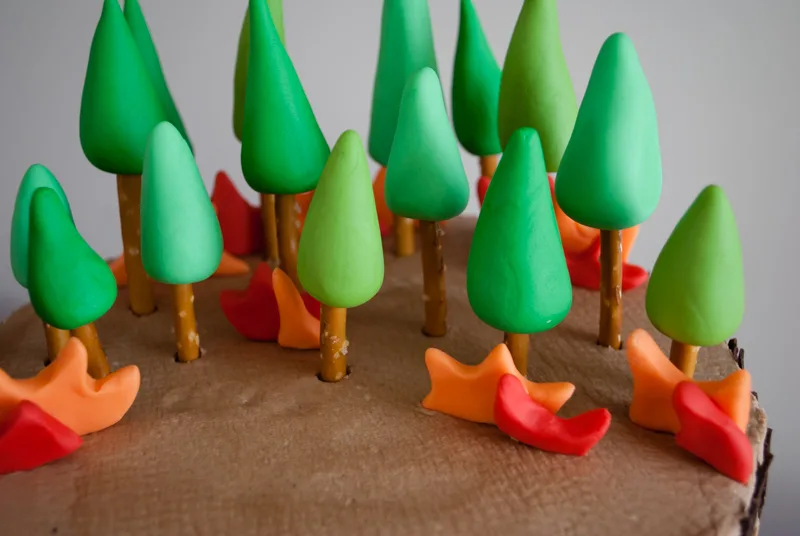
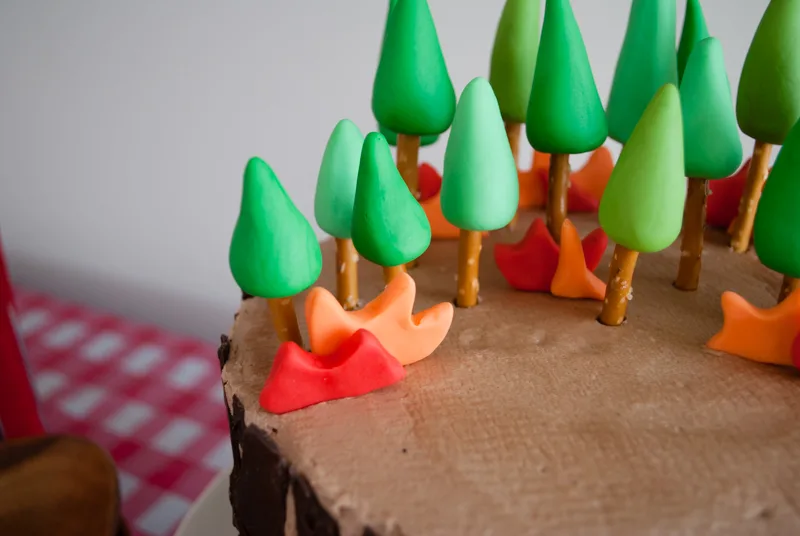
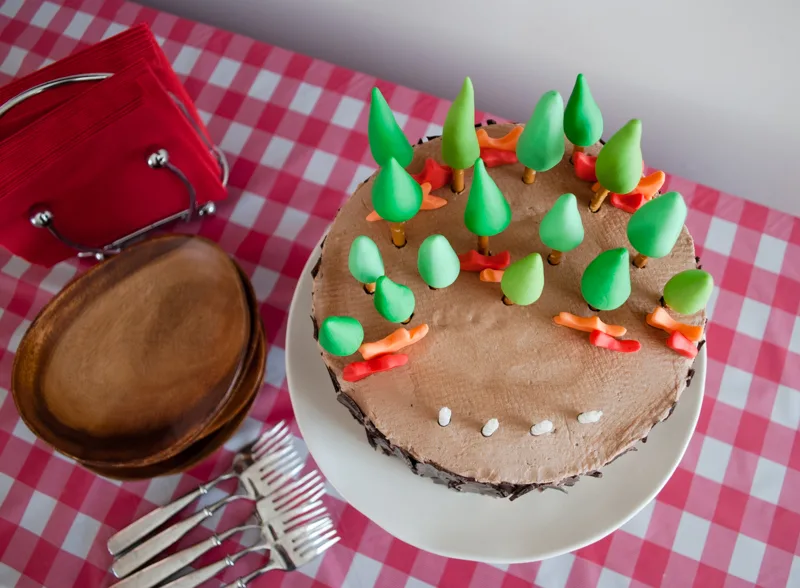
This Planes Fire & Rescue cake is a really easy birthday cake for beginners to make. Truly! Making the trees and flames is quick and easy …kind of like playing with Play-Doh.
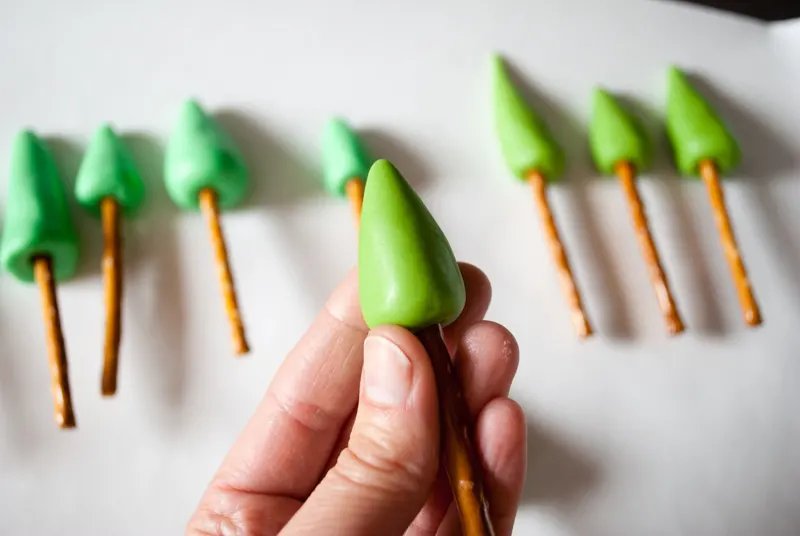
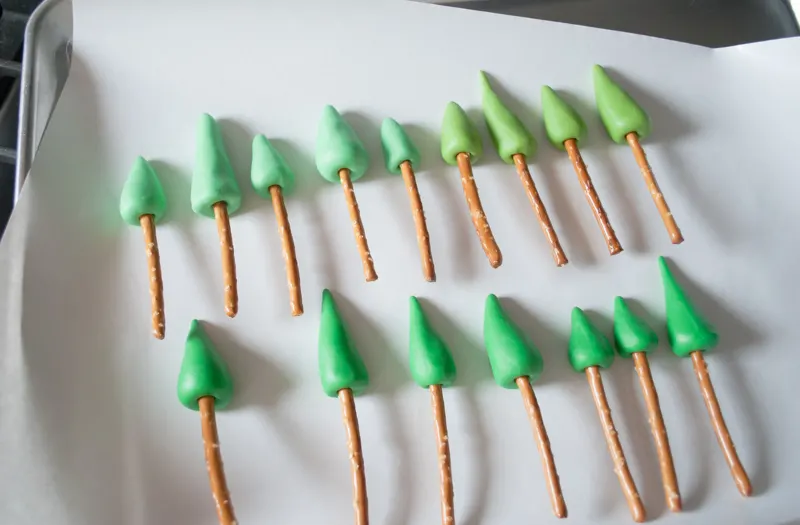
I made three shades of green for the forest trees and all kinds of shapes and sizes. This step was super fun and my 6-year-old daughter had a lot of fun helping make trees and flames.
I love that the cake itself looks like a tree stump. This effect is super easy too: all you have to do is melt some chocolate, spread it thin, and break it apart, and put it on the cake …the Christmas tree cake chocolate bark tutorial is super easy to follow and creates a neat edible bark effect.
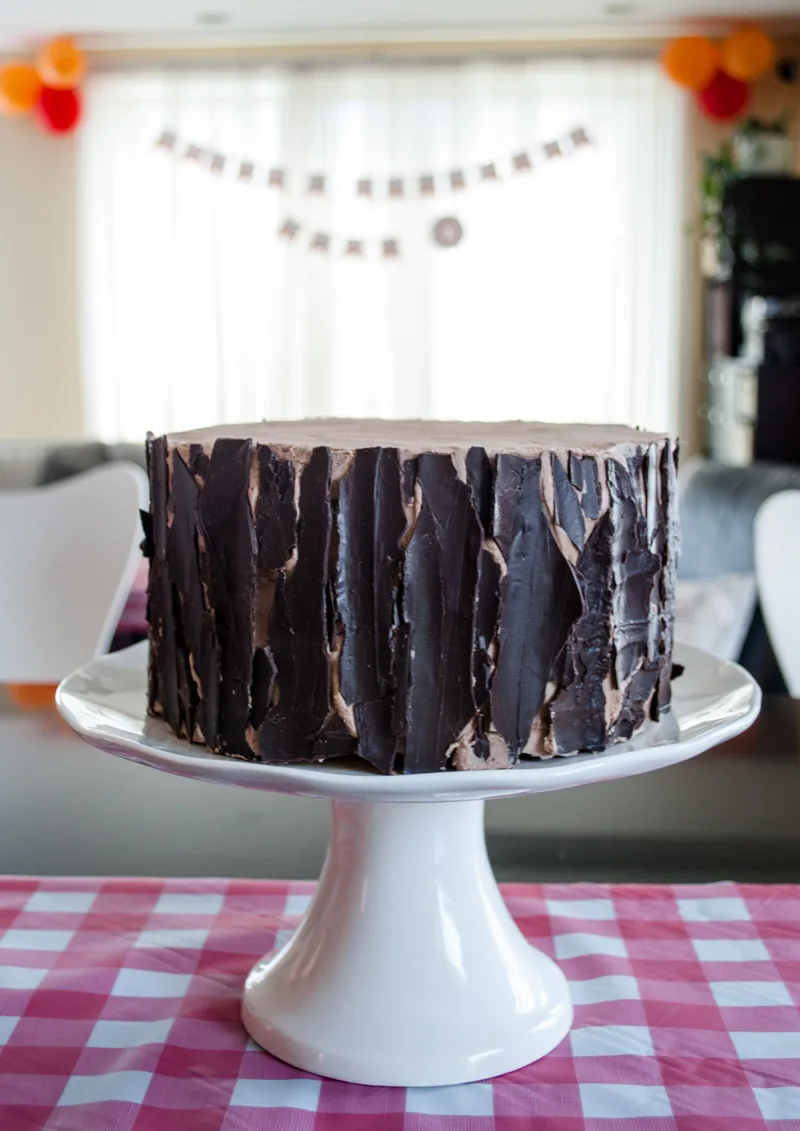
Keep reading to see how to make a DIY flaming Piston Peak National Forest birthday cake for a Planes Fire & Rescue birthday party!
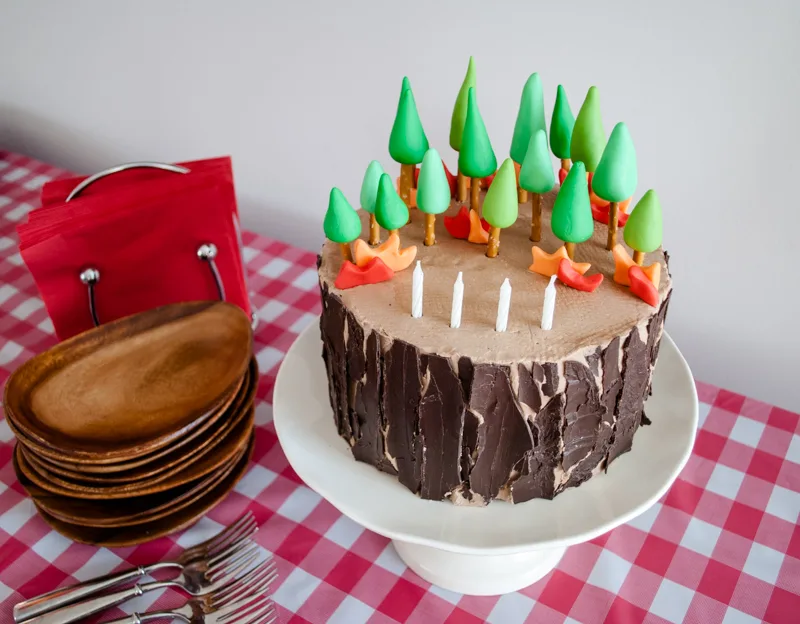
Supplies for making an Easy DIY Planes Fire & Rescue Birthday Cake with Forest Trees and Flames:
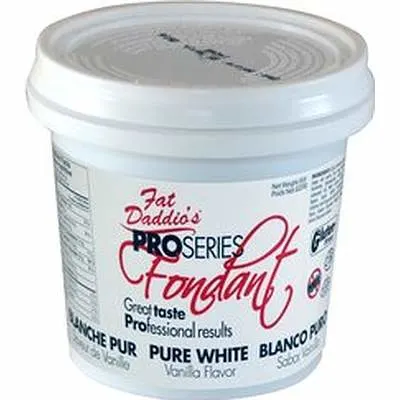
- Fondant – this brand tastes the best
- Food coloring
- Pretzel sticks
- Toothpicks
- Dark chocolate candy melts
- Lollipop stick
- Birthday candles
- Parchment paper or freezer paper
- Vanilla cake recipe ingredients – recipe from Cakegirls
- Buttercream icing recipe ingredients – recipe from Cakegirls
- Stand mixer (recommended)
—
How to make an Easy DIY Planes Fire & Rescue Birthday Cake with Forest Trees and Flames:
First, make two 8″ cakes using the vanilla cake recipe from Cakegirls; this birthday cake recipe tastes the best. Make it a few days in advance and freeze it per their instructions.
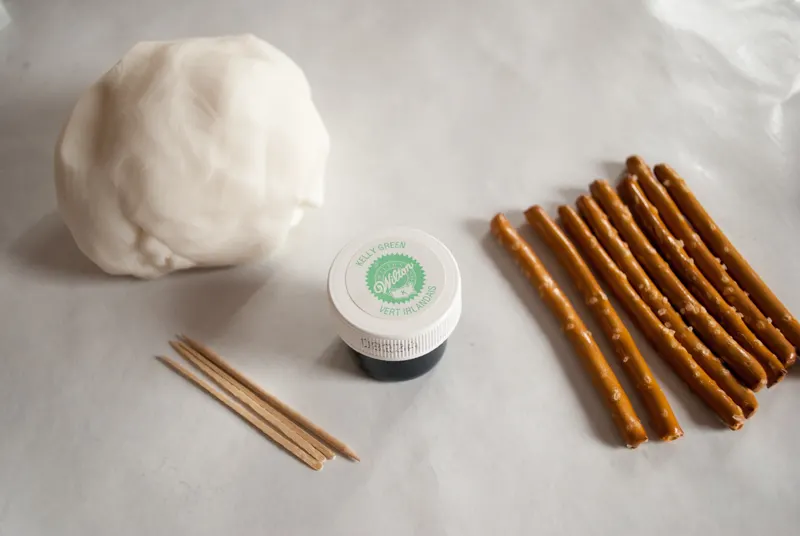
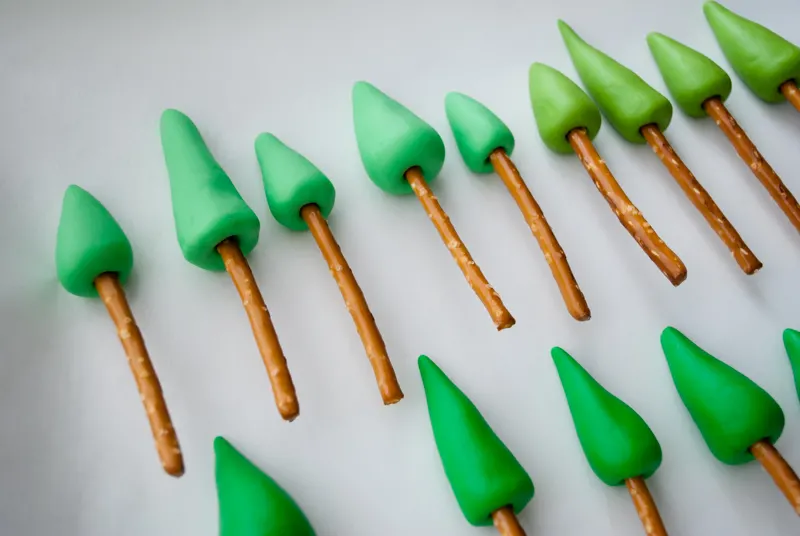
Let’s make some trees! Gather fondant, green food coloring, pretzel sticks and toothpicks.
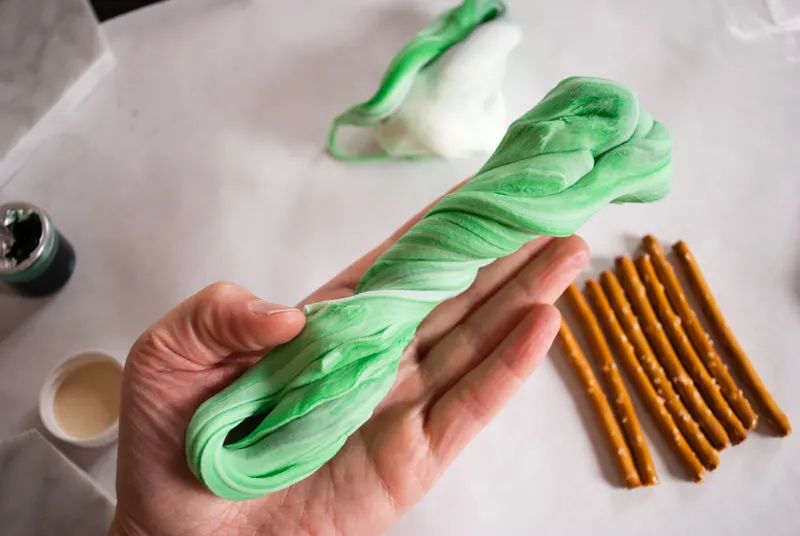
Put a little green food coloring into the white fondant and pull it like taffy to mix in the color.
Once the fondant is fully green, take a little bit and roll into a ball. Tip: Roll it until there are no seams or lines in it to make smoother trees.
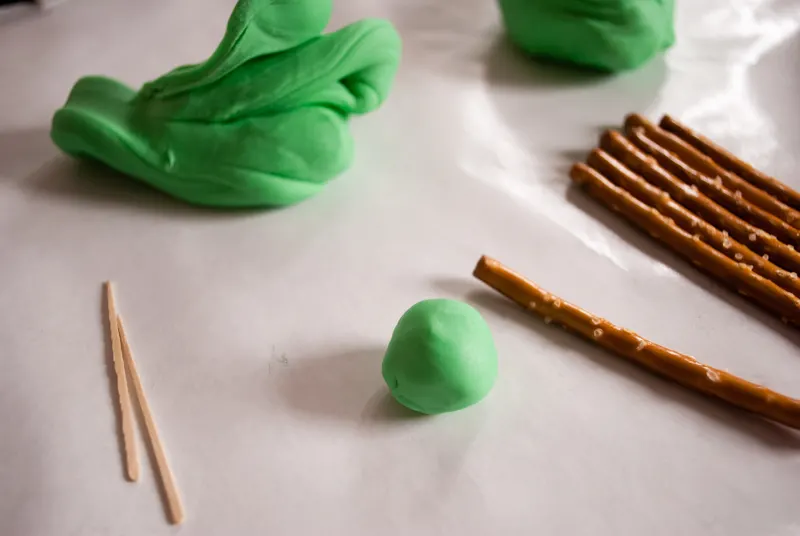
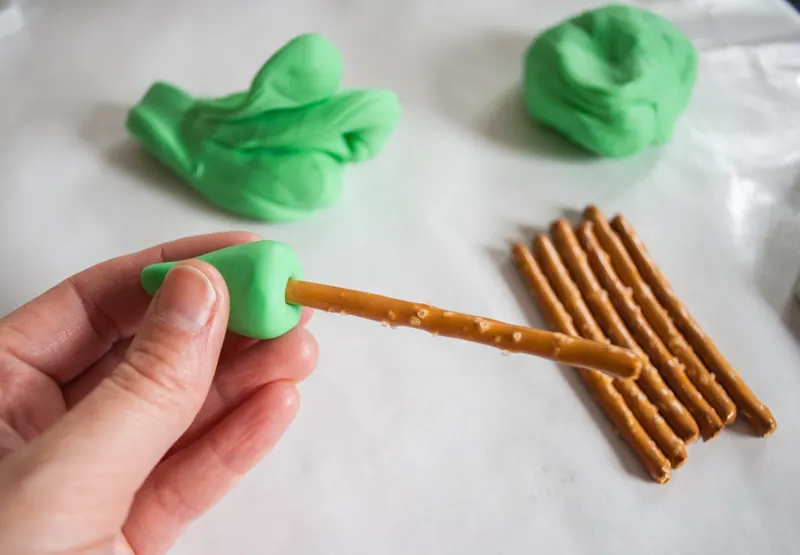
Roll the ball into a cone shape and put a pretzel stick in the middle. Set it on cookie sheet covered with parchment paper or freezer paper.
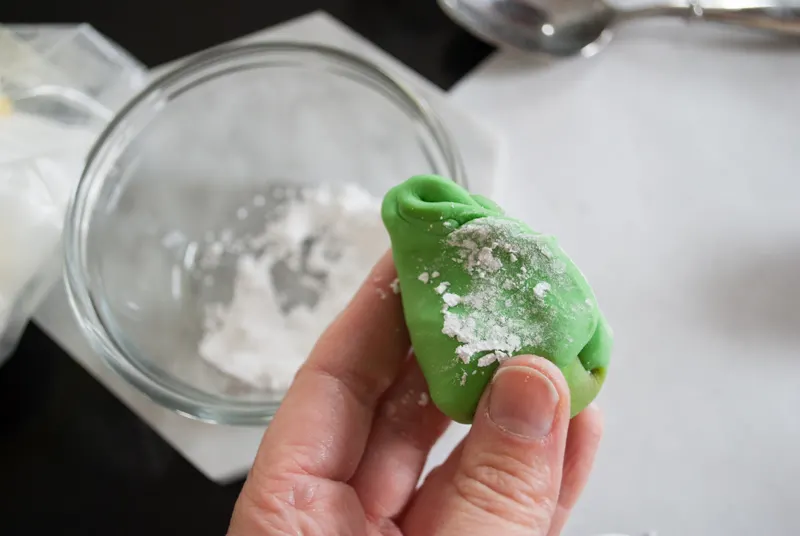
If the fondant starts to get a little sticky, add a bit of confectioner’s sugar to it.
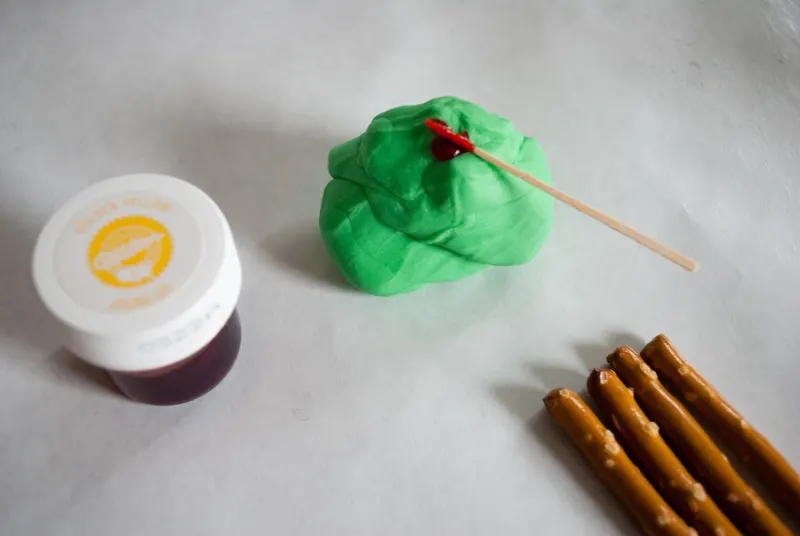
Make as many green trees as you’d like. Then take a bit of green fondant and add some yellow food coloring to make some yellow green trees.
Look at that cute little forest!
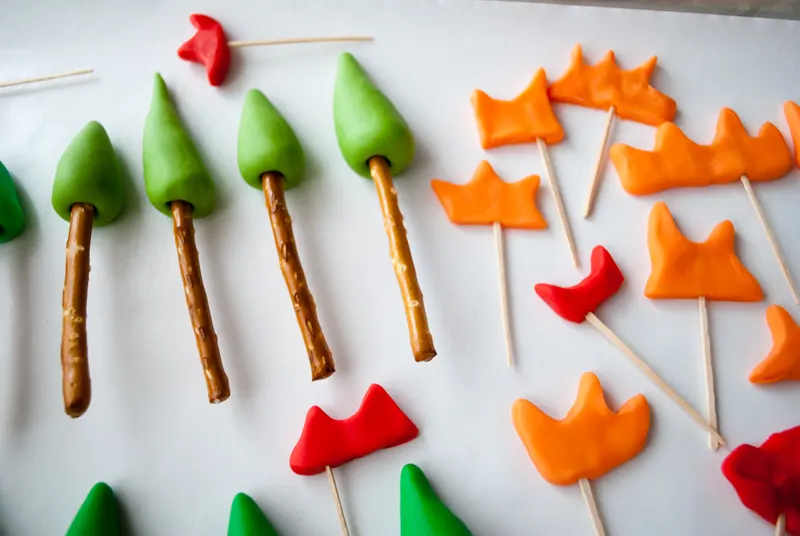
Now for the fire! Use red and orange fondant or color white fondant with food coloring. Shape the flames by hand and put a toothpick in the bottom. Leave the forest trees and flames out overnight to harden.
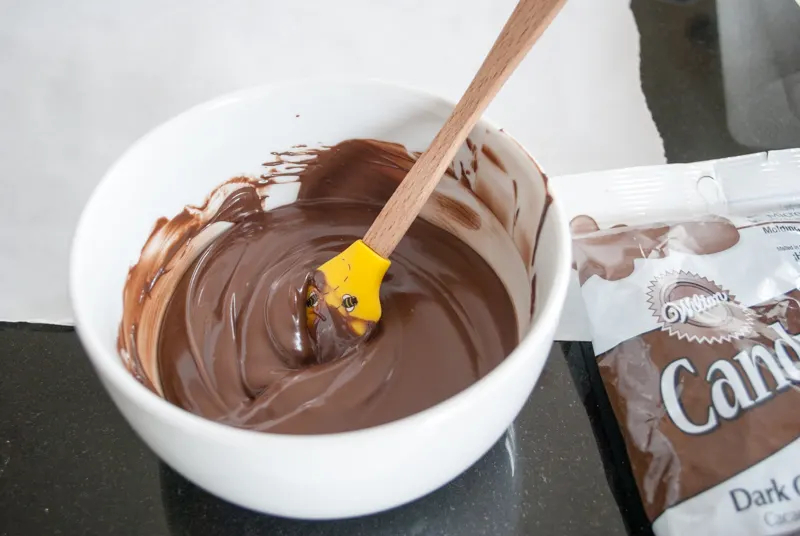
Now for the tree bark around the cake. Melt some dark chocolate candy melts following package directions. Follow the directions here to spread it thinly on wax paper, roll it up, and pop it in the fridge to harden. Then break it up.
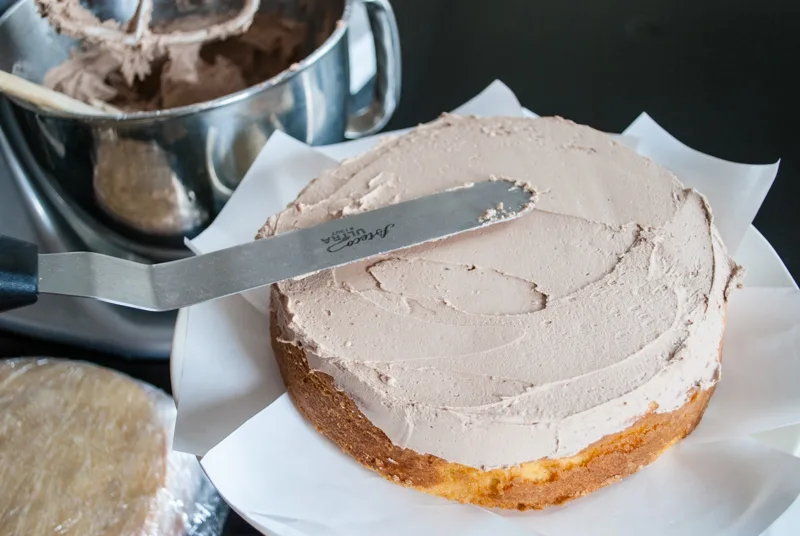
Meanwhile, make the buttercream icing. I used the Cakegirls buttercream icing recipe — it tastes like a bakery. I added a few tablespoons of cocoa to make it tan. Spread the icing on the top of the first layer.
Then add mini chocolate chips.
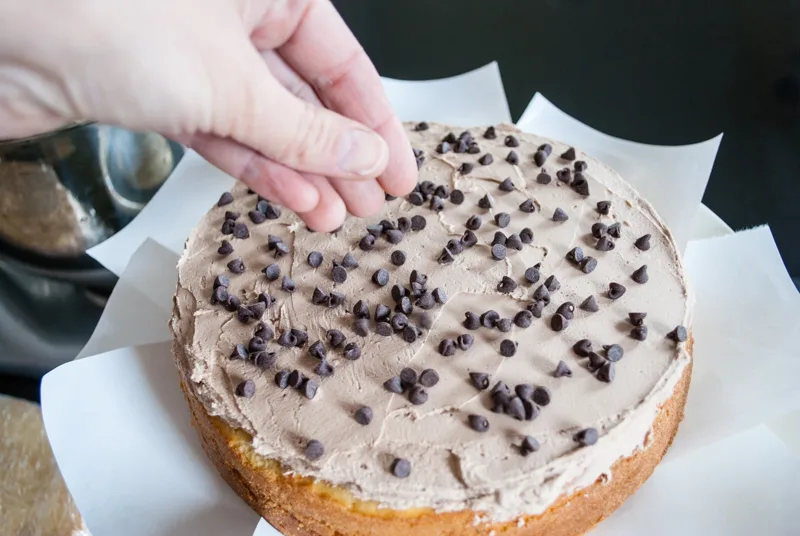
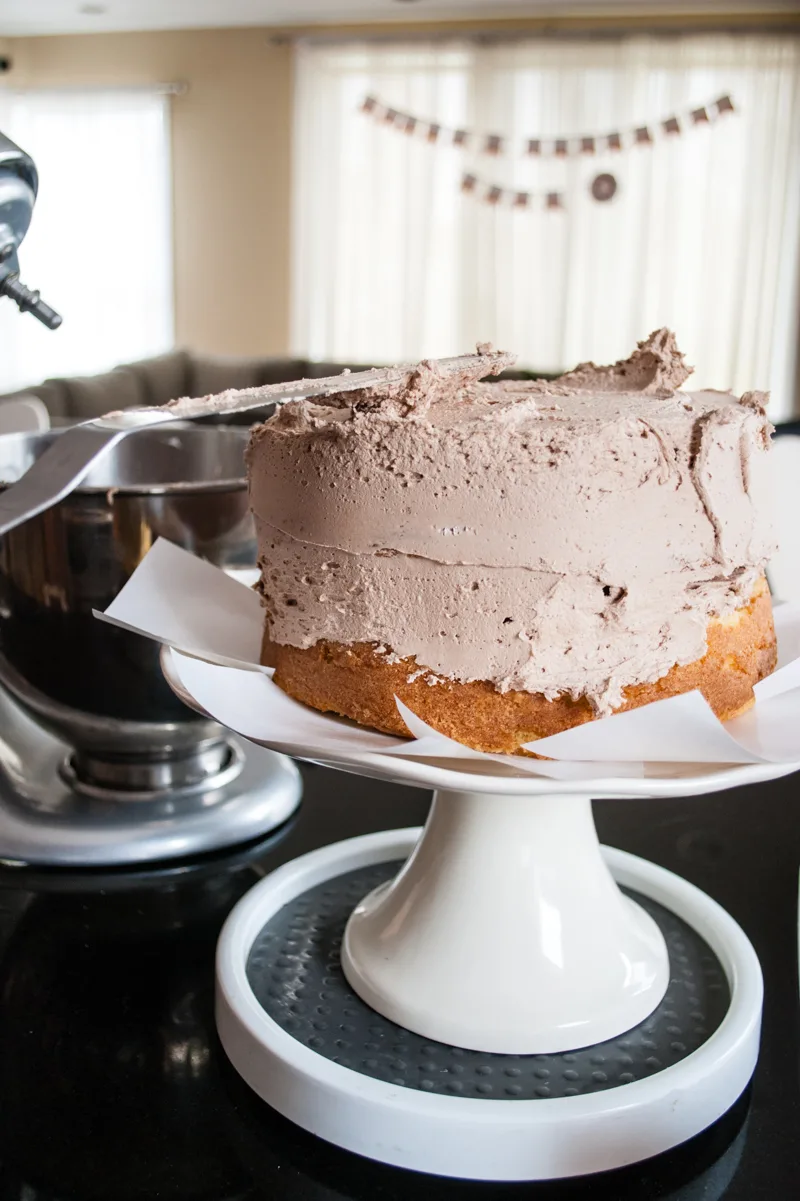
Add the top cake layer and ice the top and sides. Good news for beginners like me: the icing job on the sides can be messy because the bark will cover it anyway. Well, maybe not quite this messy …I cleaned it up and smoothed it out before moving to the next step.
Take the hardened chocolate bark out of the refrigerator and break it into pieces. Add the pieces to the icing sides.
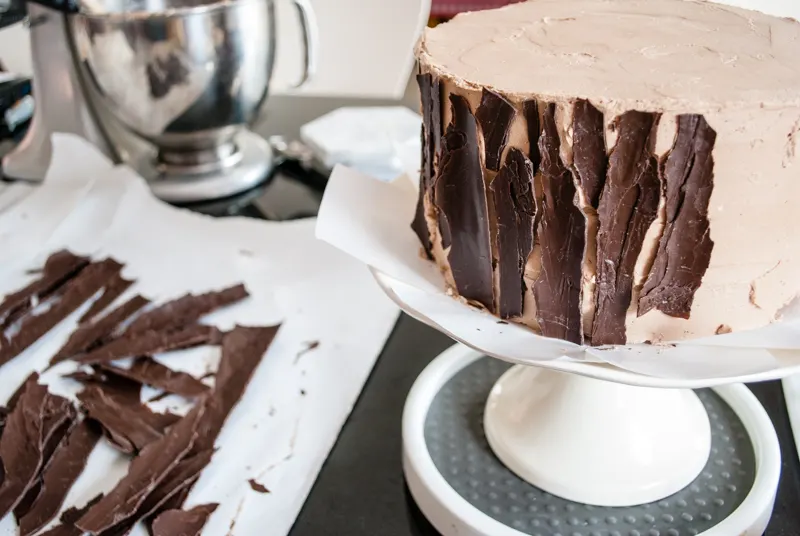
Keep going until the sides are covered. This is where I stopped and refrigerated the cake until the next morning to finish it up because I wasn’t sure if the pretzels would get too soggy siting in the icing overnight (?) Not one to take chances with sweets I decided to add the forest trees and flames the morning of the party.

Here’s how you put in the trees without breaking the pretzel sticks: Use a lollipop stick to make a starter hole, then remove and replace with a tree.
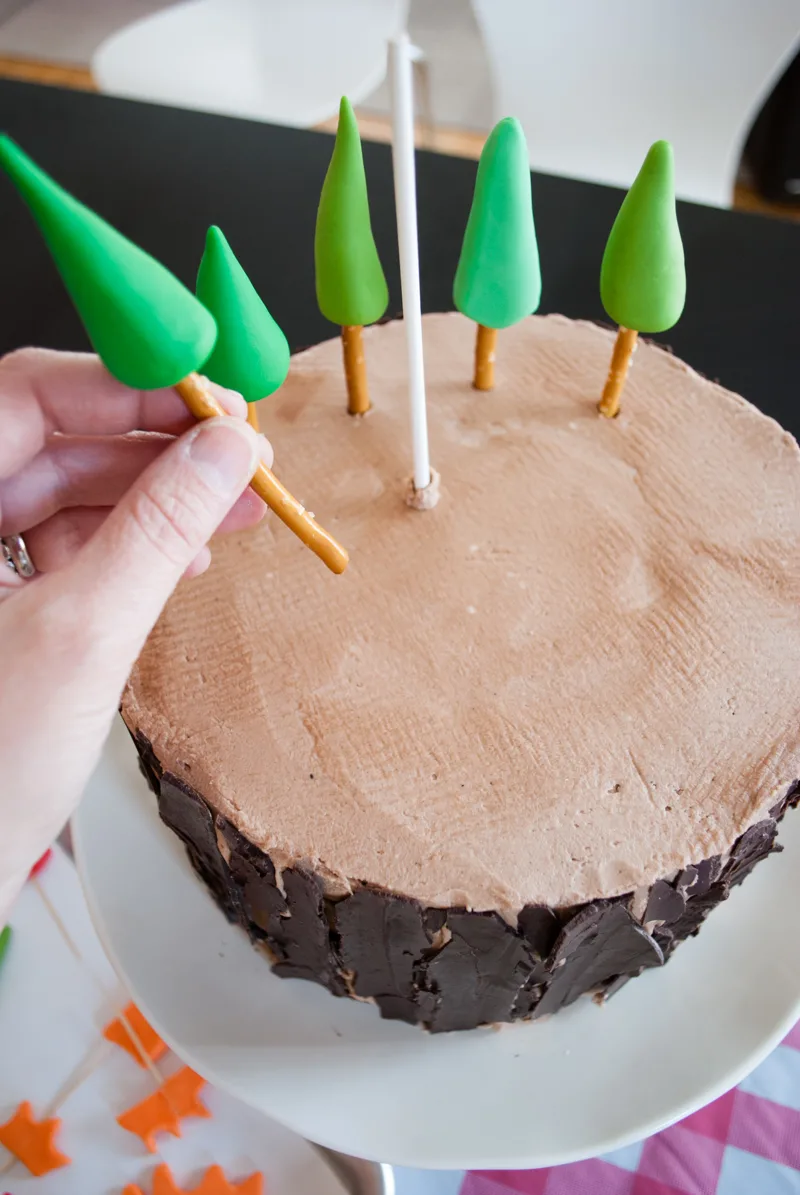
Then add the flames on toothpicks.
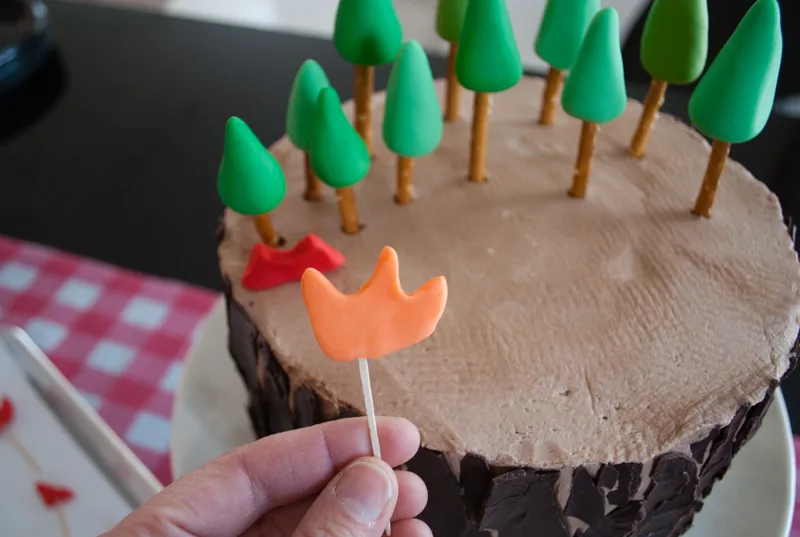
I left some room in front for the candles.
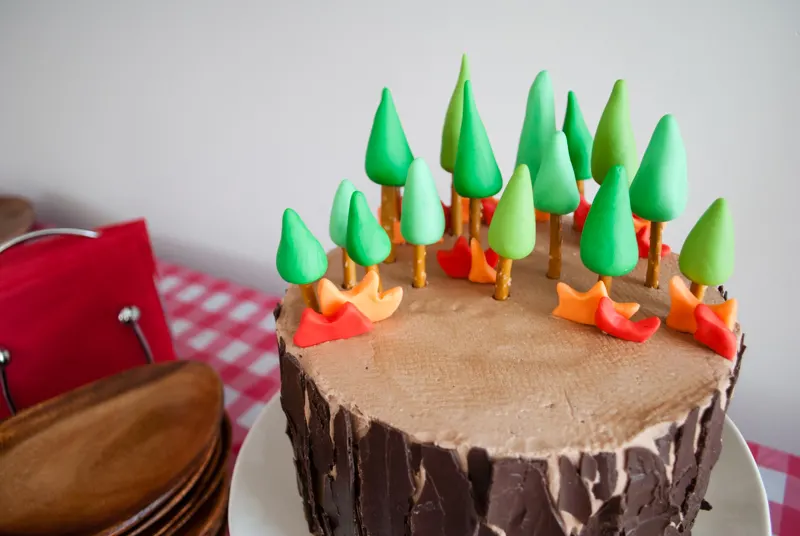
And now the forest fire cake is ready for a Dusty-style Fire & Rescue!
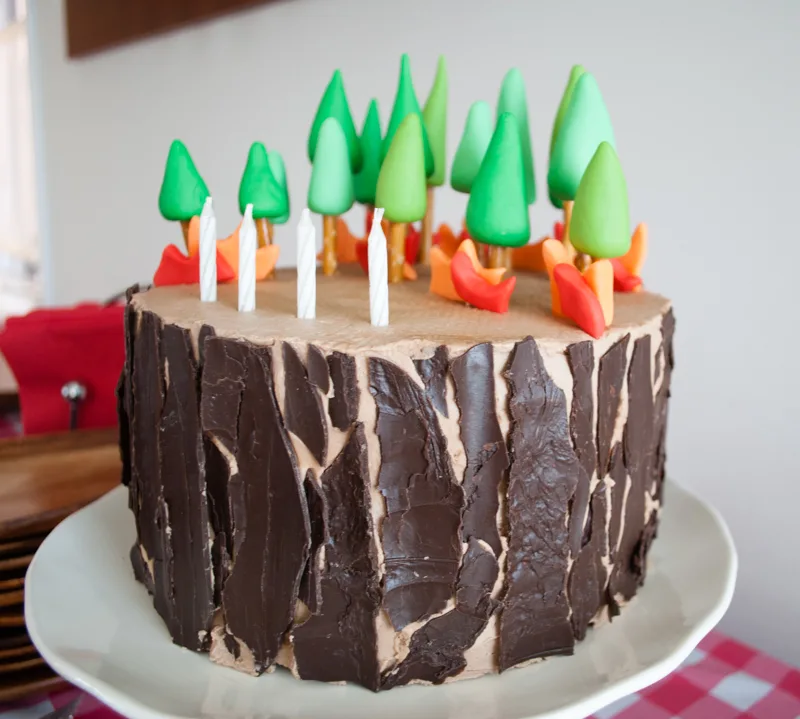
Happy birthday, my 4-year-old fireman!
++++++
Check out more easy DIY fireman and Planes Fire & Rescue birthday party ideas:
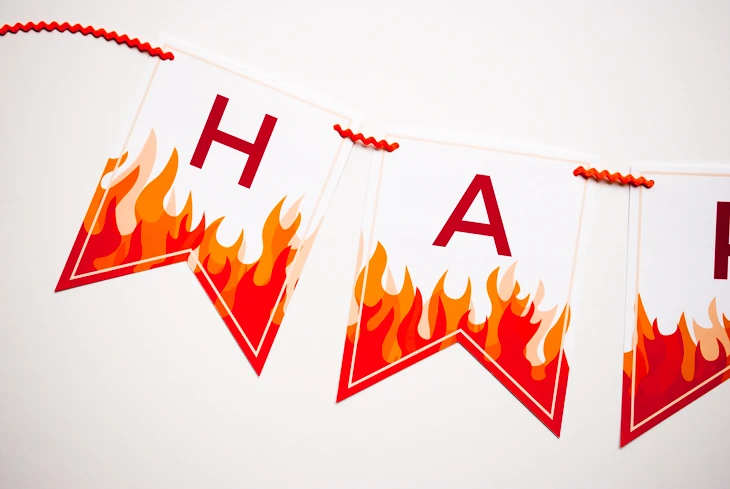
Modern fireman “fire and flames” happy birthday banner for a fireman birthday party
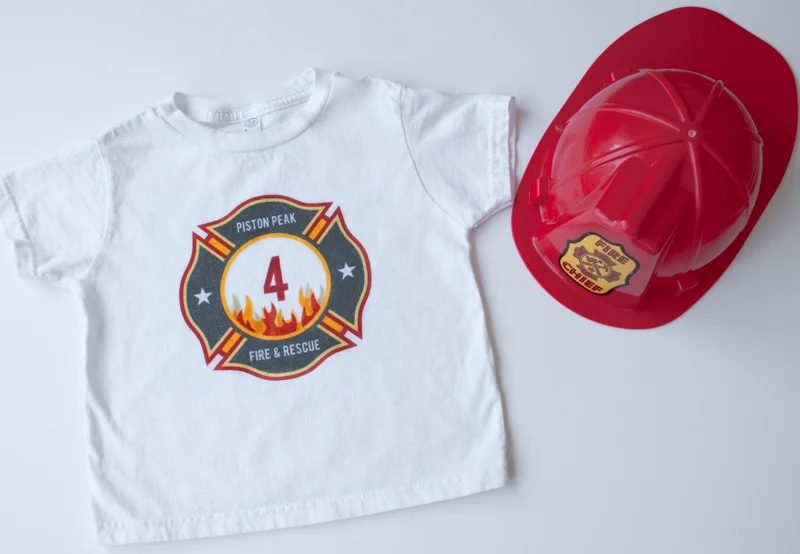
Make a DIY personalized fireman iron-on t-shirt for a firefighter birthday party
—
Like it? Share it!
The nicest way to say you like it is to pin it on pinterest, post a comment, follow Merriment Design on Facebook, twitter, pinterest, Google+, instagram or sign up for monthly emails. Enjoy! 🙂
Copyright stuff: You’re more than welcome to use this free project and tutorial for personal use. Contact me for commercial use and etsy sales.




Amy
Tuesday 28th of June 2016
KATHY! You have outdone yourself this time - that cake is DARLING. I love it!
Kathy Beymer
Tuesday 30th of November -0001
Thanks so much, Amy! :D Making it was fun ...like playing with Play-Doh.