This post is sponsored by Elmer’s and X-ACTO.
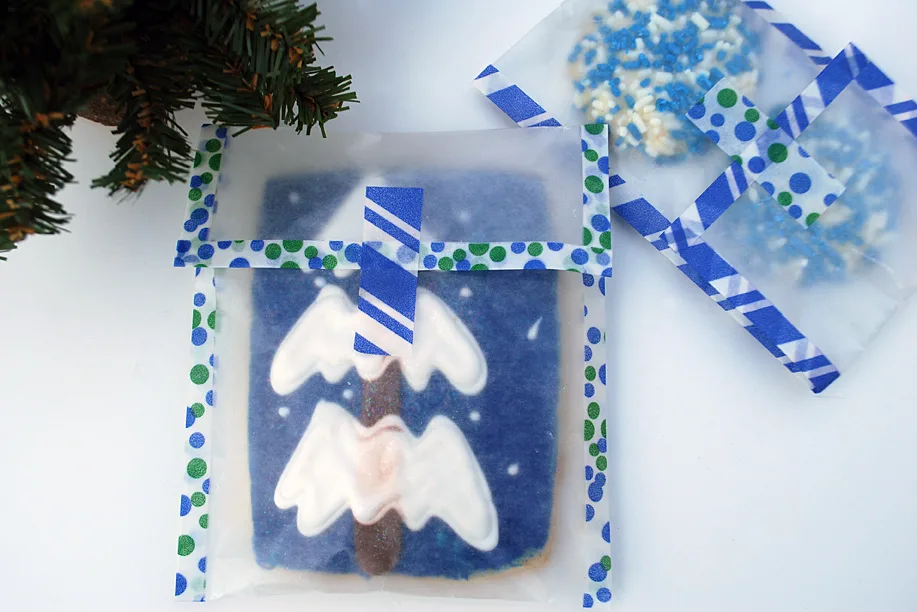
Tis the season for making and gifting cookies. Elise and I are decorating sugar cookies for our friends and neighbors and we’re going to package them in these 5-minute DIY cookie treat bags made from plain old wax paper and decorative Elmer’s Designer Masking Tape. It’s a cute and creative idea for wrapping individual cookies and treats!
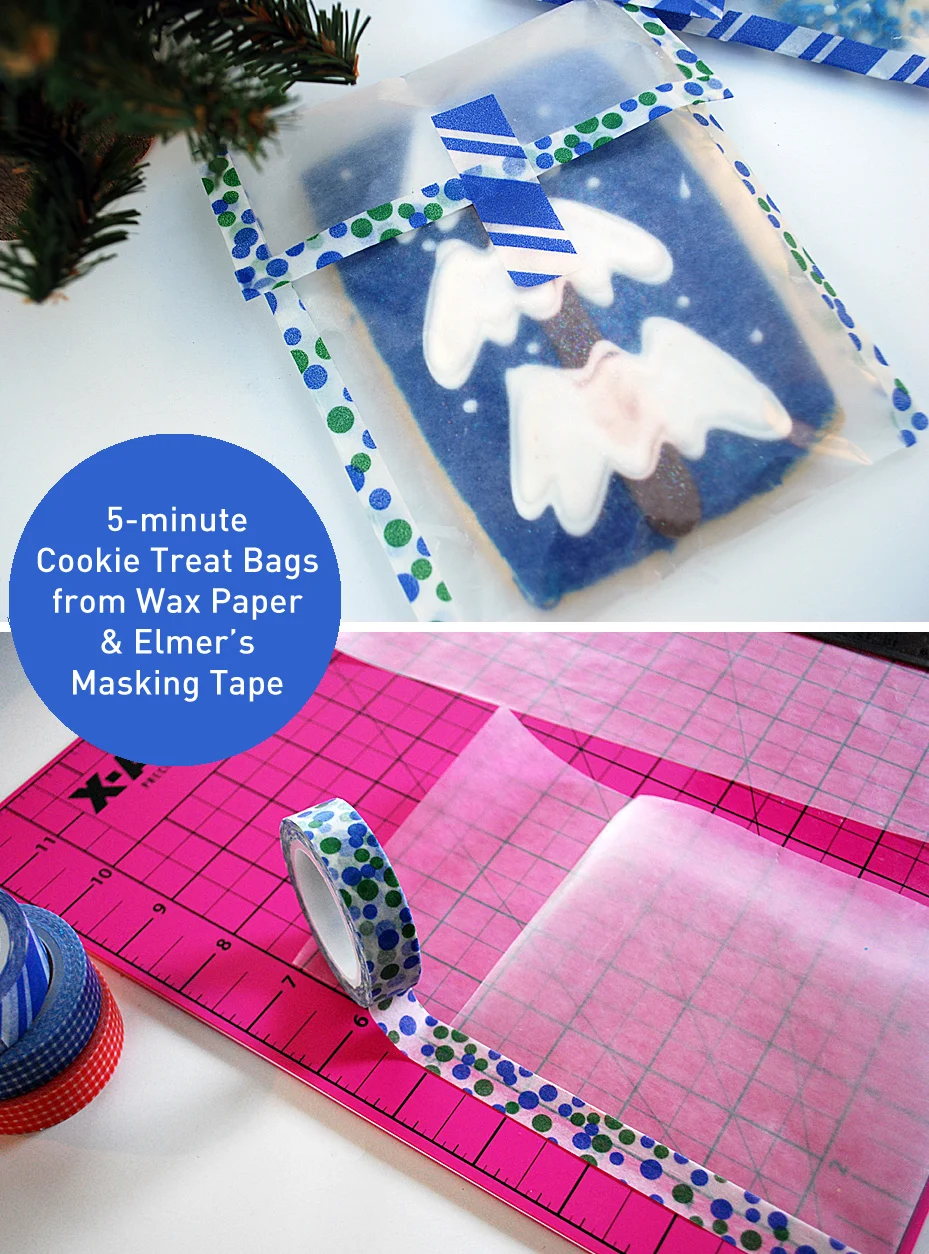
Easy individual cookie bag packaging that you can DIY at home
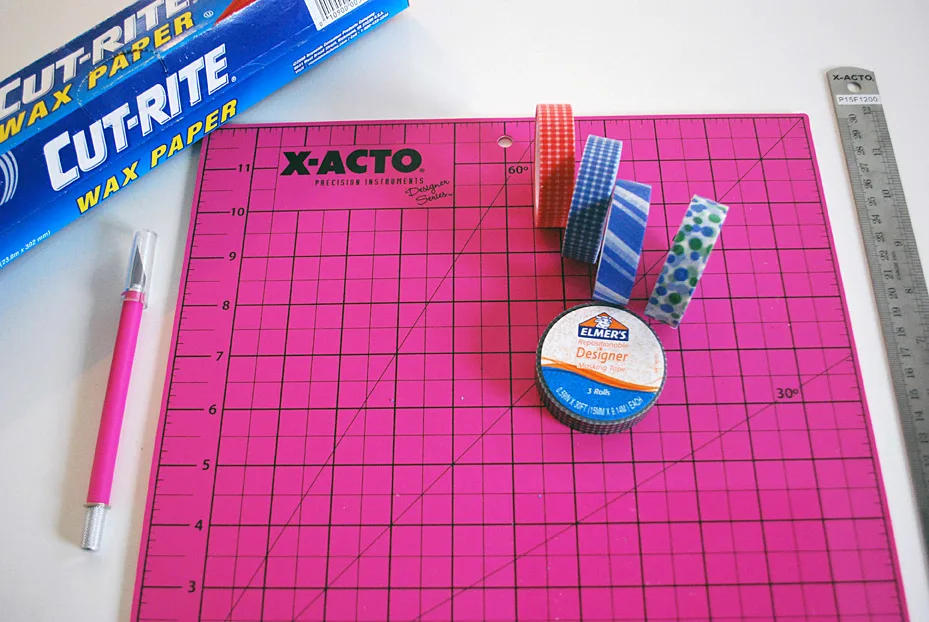
Sure you could go to the trouble to buy cookie treat bags …or you can make this cute and creative cookie bag packaging from supplies you probably already have at home. I used the X-ACTO Designer Series craft knife, ruler and self-healing mat and Elmer’s Designer Masking Tape.
The technique takes 5 minutes and would be perfect for birthday party and baby shower favors too.
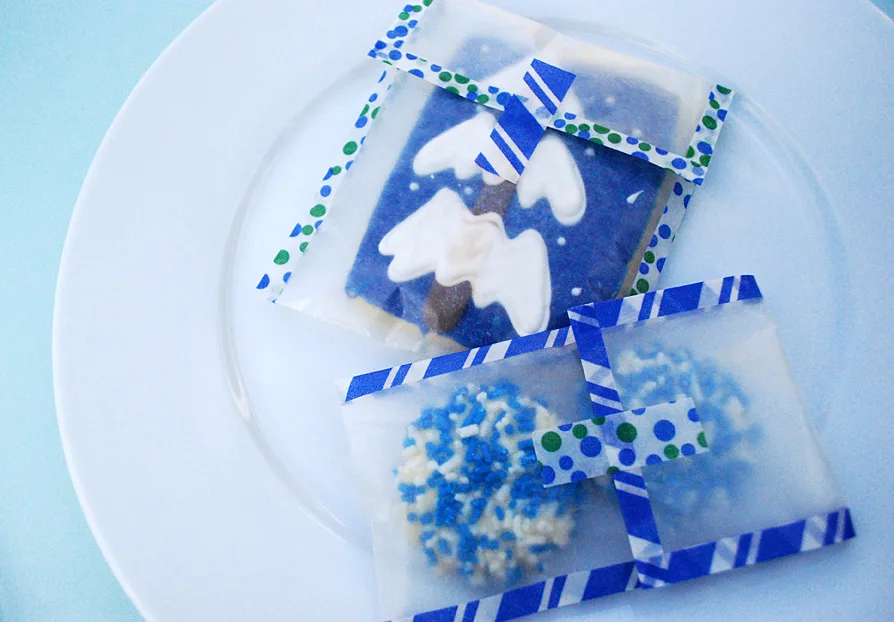
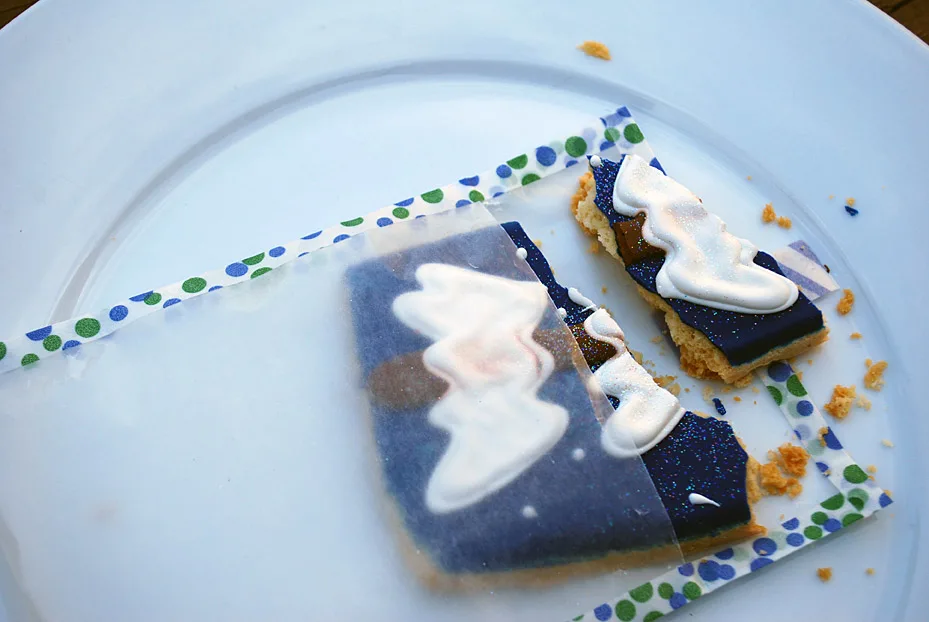
The wax paper gives the treat bag a snowstorm-y effect that really highlights the cookie as it comes out of the bag.
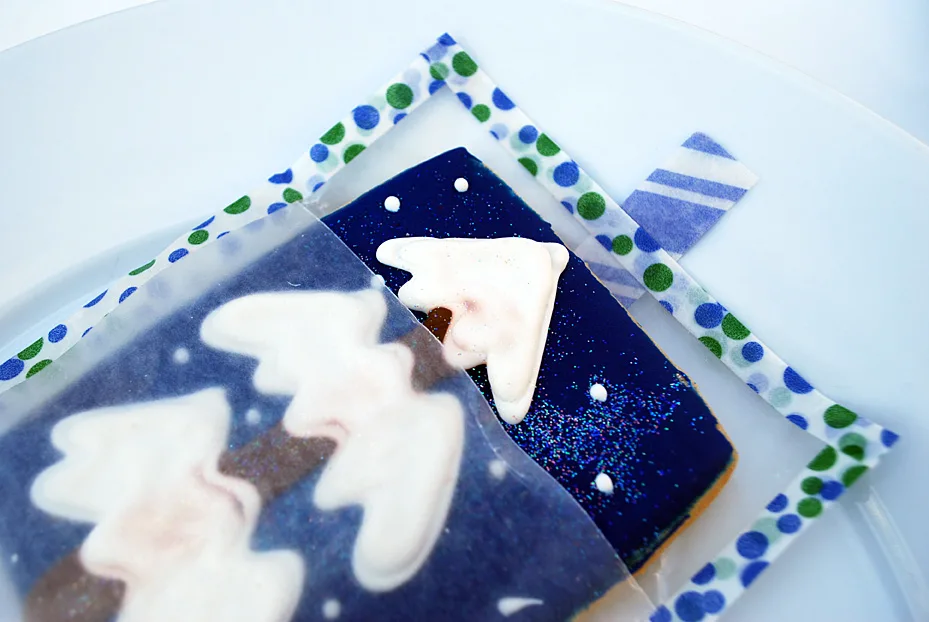
And sadly no, these aren’t the cookies we decorated. These are from our favorite neighborhood bakery with their festive Rudolph holiday window decor:

Elise and I both loved the window! And the cookie was delicious.
Supplies for making a 5-minute cookie treat bag:
- Cookies
- Wax paper
- Elmer’s Designer Masking Tape
- X-ACTO Designer Series Gripster Craft Knife
- X-ACTO Designer Series 12” Metal Ruler
- X-ACTO Designer Series 12” X 12” Self Healing Mat
Thanks to Elmer’s and X-ACTO for sponsoring this post. All product opinions are my own.
How to package individual cookies:
Step 1: Cut a piece of wax paper large enough for your cookie to fit
Gather your supplies including wax paper and Elmer’s Designer Masking Tape. Pull and slice off a piece of wax paper that’s 2x taller than the size of your cookie + 2-3 inches for the flap. This is going to be the overall size of your cookie bag.

Tidy up the edge using running your X-ACTO knife along the edge of the metal ruler on a self-healing cutting mat.
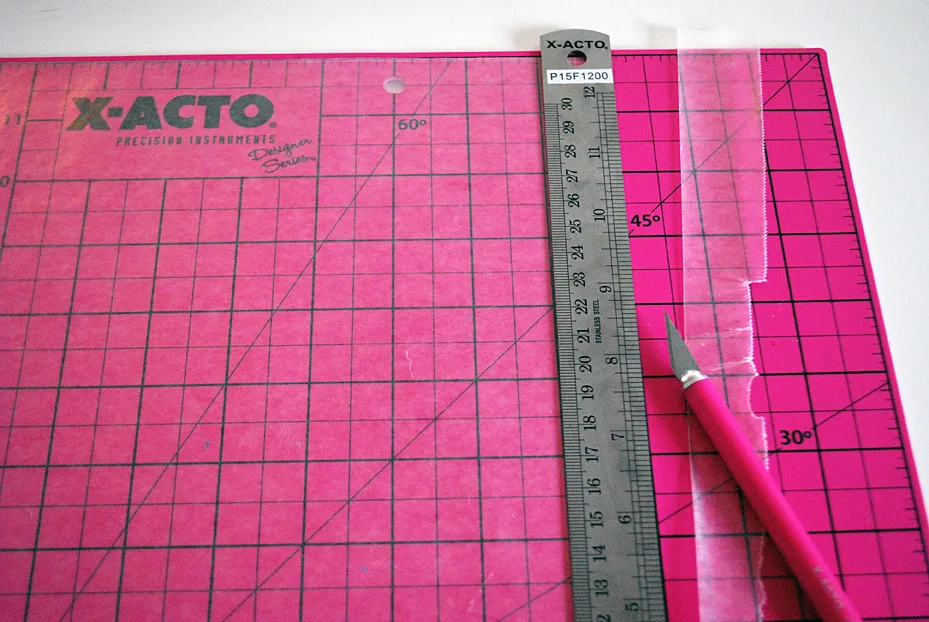
Measure about 1/2 wider than your cookie and cut.
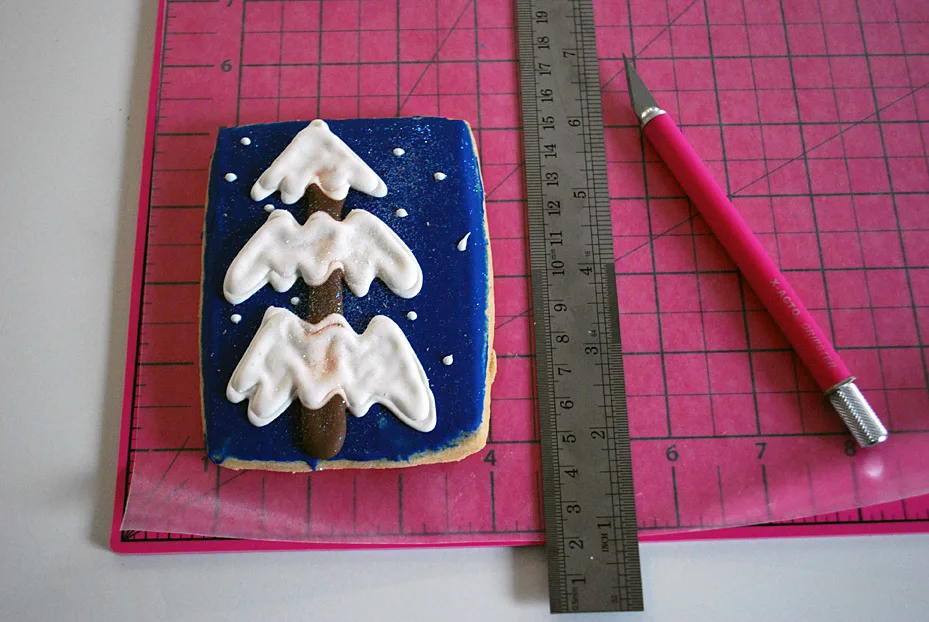
Step 2: Fold up the bottom edge of the cookie or treat bag
Fold up the bottom edge. Mine was 5″ tall with a 2″ flap.

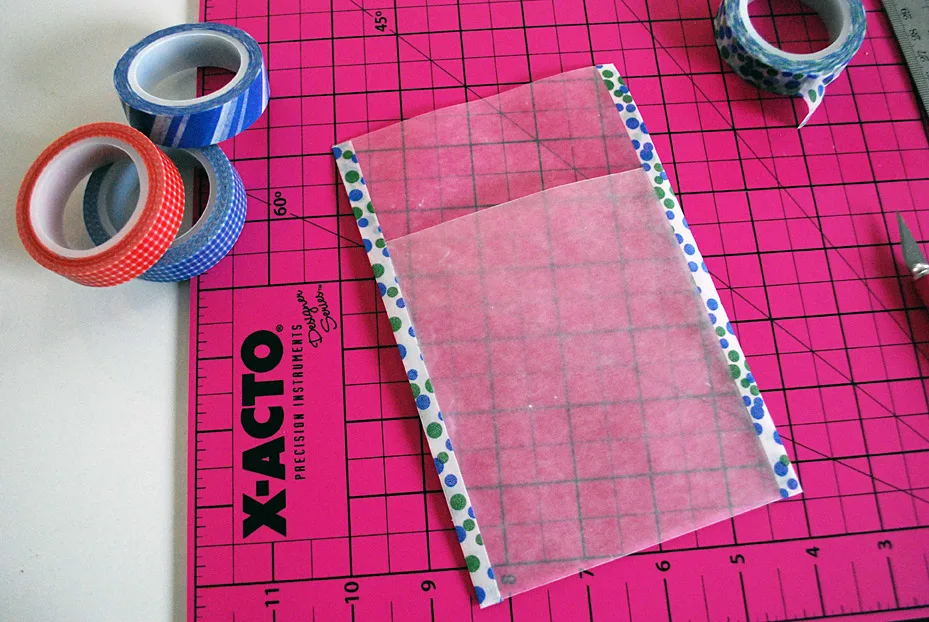
Step 3: Add tape to the sides of the cookie bag
Using Elmer’s Designer Masking Tape, tape along the edge 1/2 on the wax paper and 1/2 on the cutting mat.

Cut being sure not to cut through the bottom of your cookie treat bag.
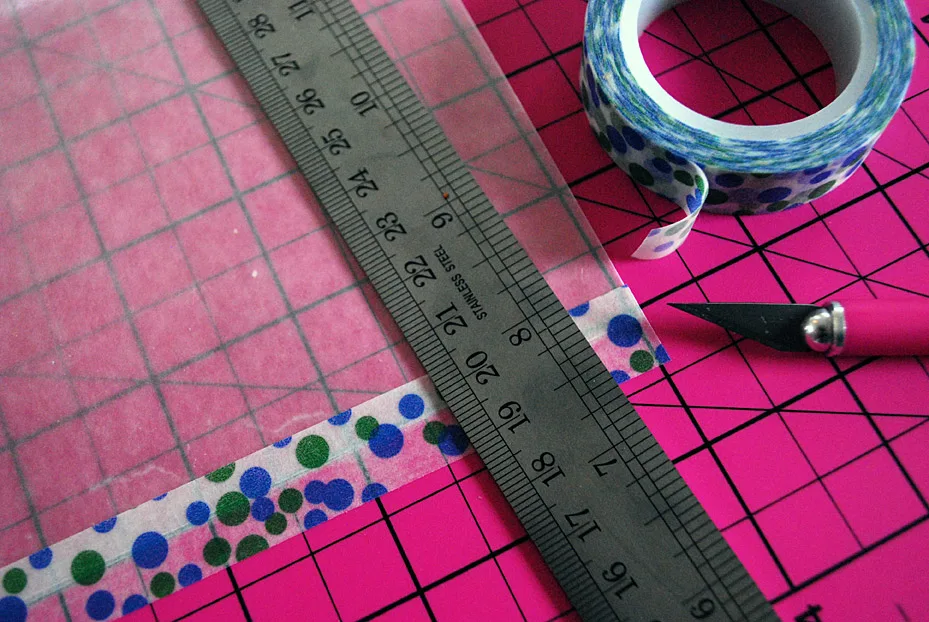
Repeat on the other side.
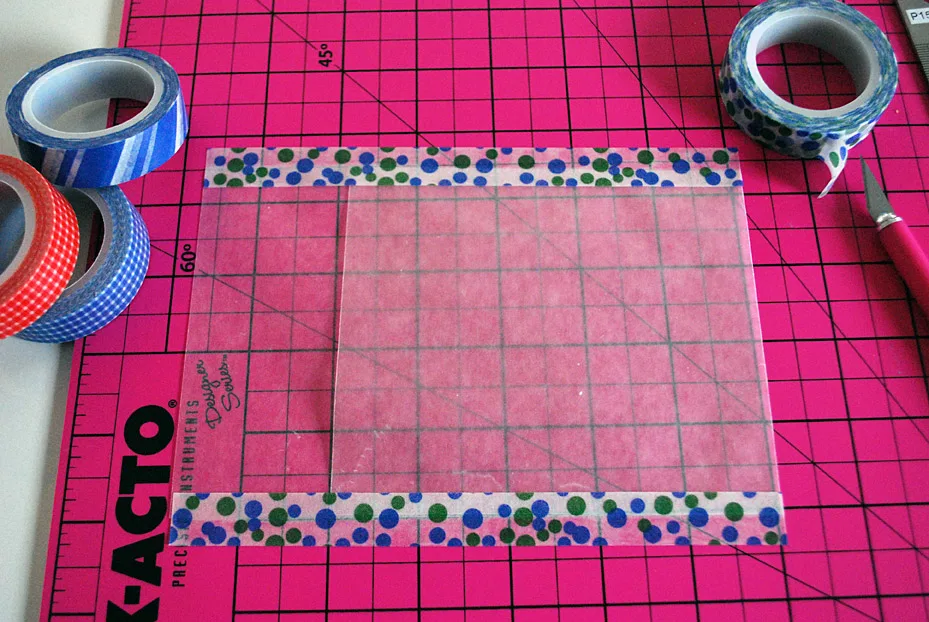
Step 4: Flip and fold the tape in half to secure the sides of the cookie bag
Peel the tape from the cutting board and flip the bag over. That’s what I like about this tape, it stays put when you want it to but is also easy to remove and reposition.
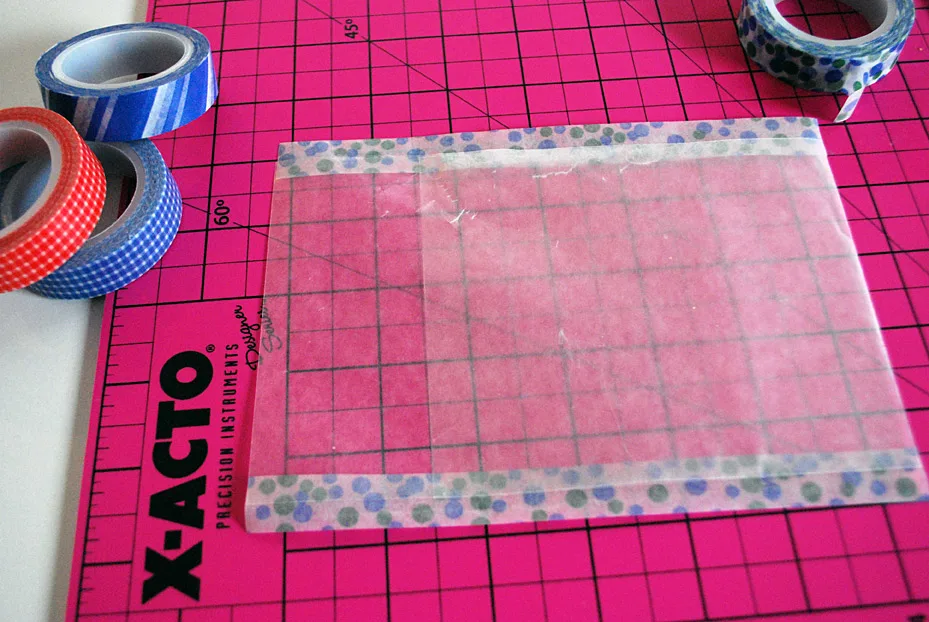
Fold the tape in half over the other side of the wax paper.
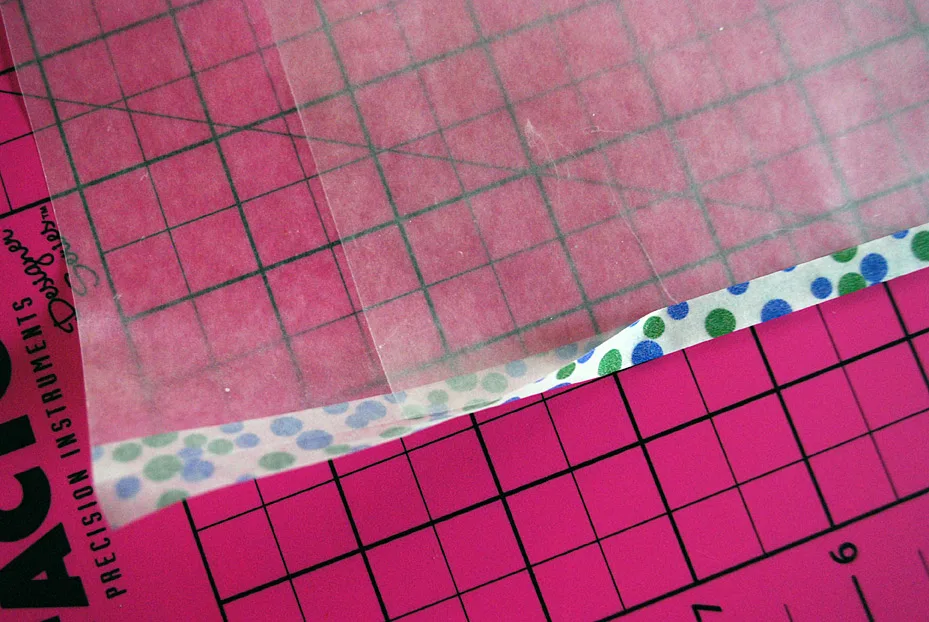
It’ll look like this:
Step 5: Add tape to the top of the cookie package
Now repeat the process on the top flap edge.
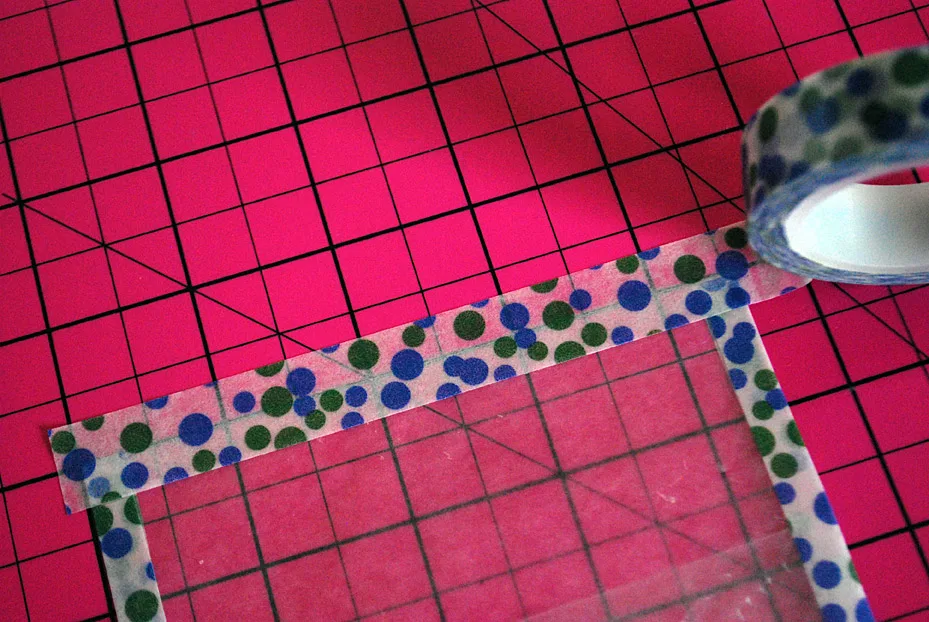
And less than 5 minutes later the bag is pretty much done.
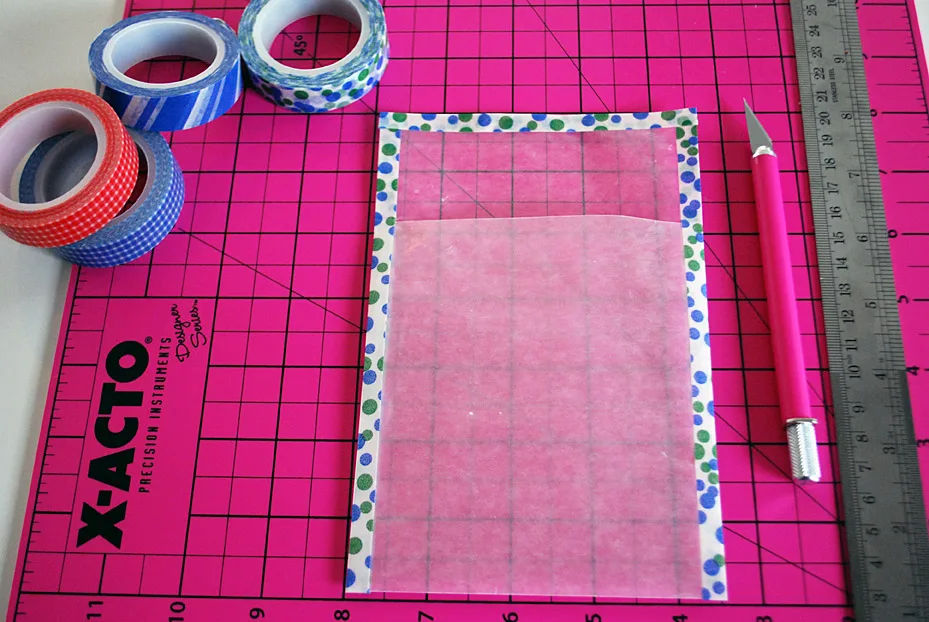
Step 6: Tuck your cookie inside the bag
Slide your cookie into the treat bag.
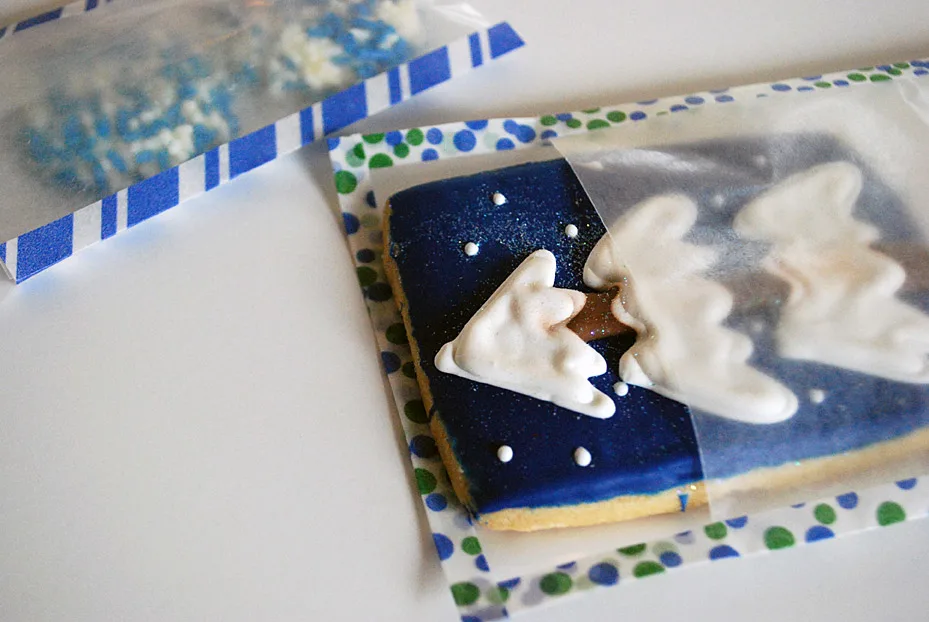
Step 7: Tape the cookie bag shut
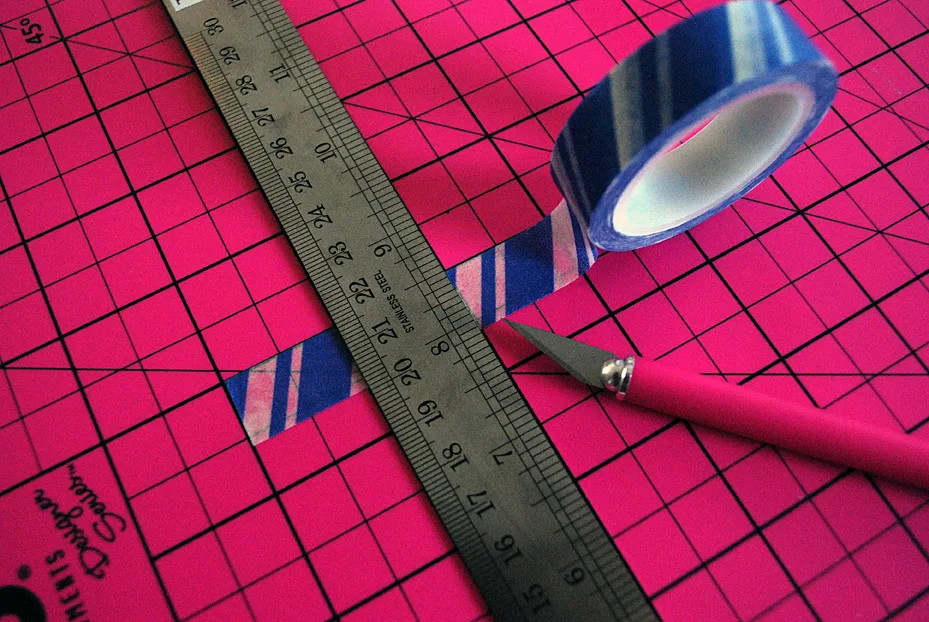
Slice a 1-1/2″ piece of Elmer’s Designer Masking Tape.
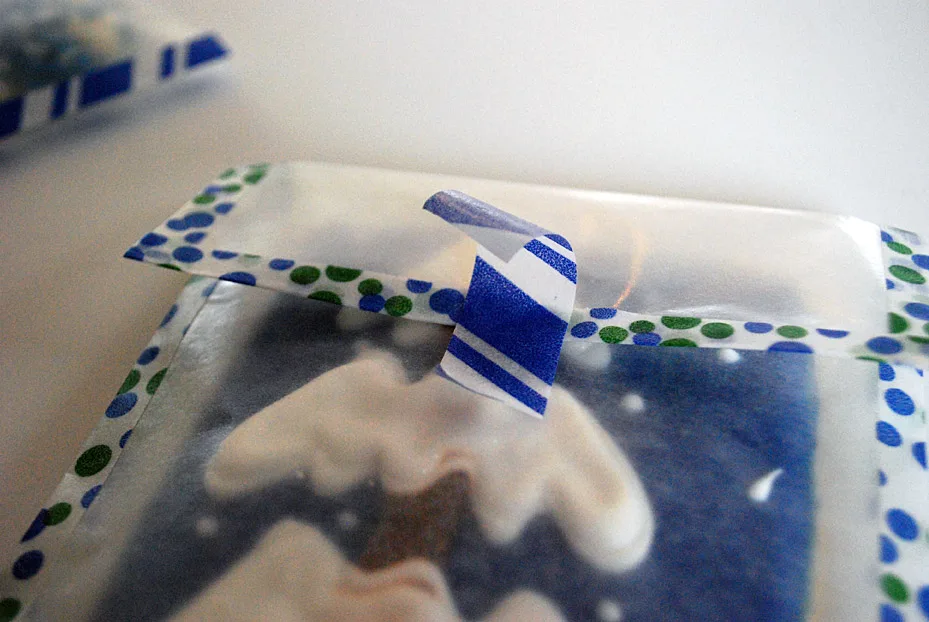
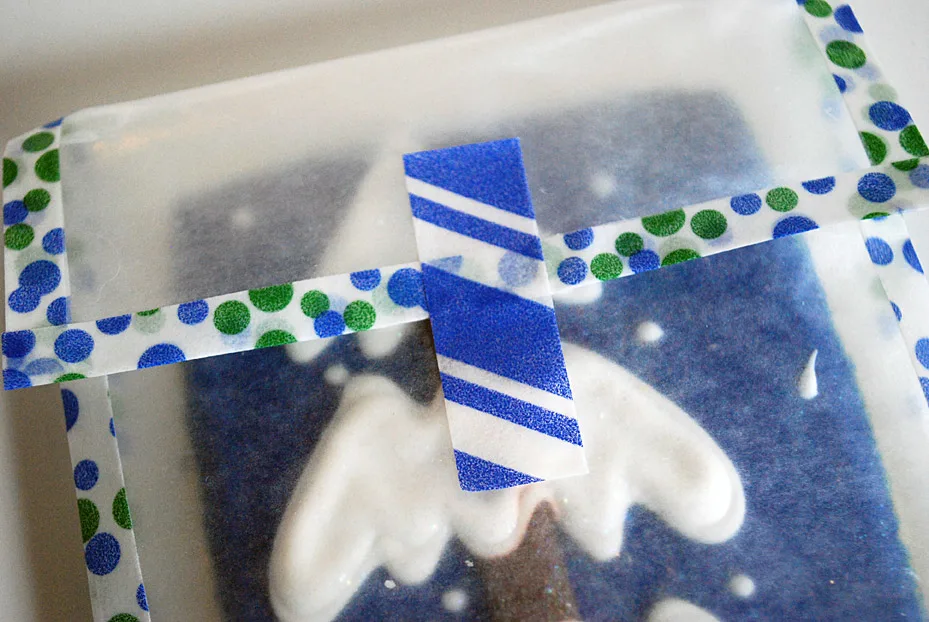
And tape the edge to close the bag shut.
And it’s ready for holiday giving.
Allow adorable photoshoot helper to eat the cookie.

Do you like it?
Be a peach and Tweet about it, Pin it, share it on Facebook and/or comment below. And I love seeing your own finished project photos so do share!
COPYRIGHT JUNK: You’re more than welcome to use this free project and tutorial for personal use. Contact me for commercial use and etsy sales.

Janann Anderson
Monday 7th of April 2014
Really cute idea. I will try this for Easter. Thanks for the very detailed instructions too!
Kathy Beymer
Tuesday 8th of April 2014
Thanks, Janann! Would love to see a picture of your Easter version!