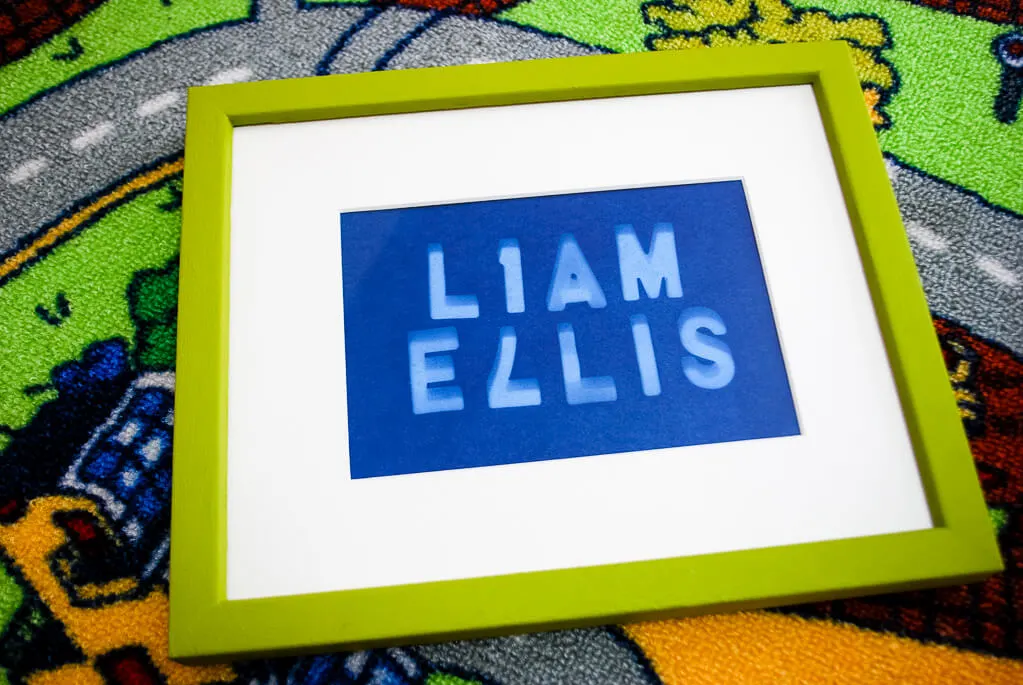
Here’s a fresh and sun shiny DIY nursery wall art idea: Personalized sun prints made using sun paper and alphabet magnets.
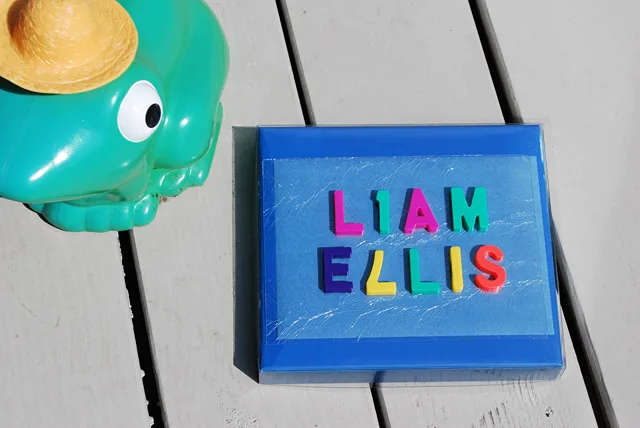
Liam’s room is getting a makeover so I decided to make a bit of DIY artwork for his room to keep company with his super adorable Minted monster artwork.
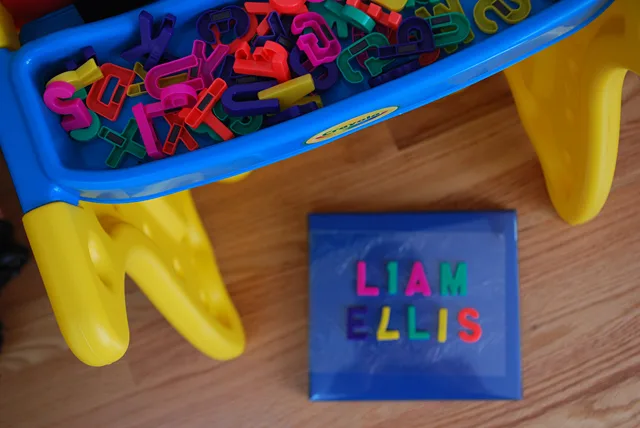
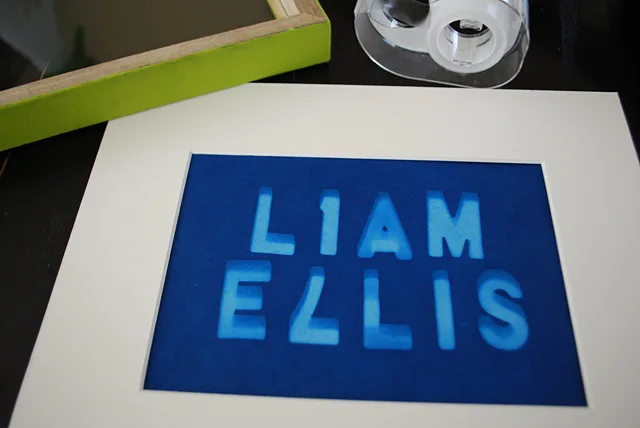
Chicago has been sunny and warm all week so I thought I could pull it off. I used Elise’s alphabet magnets to spell Liam’s first and middle names. There are three L’s in there but only two in our stash so I used an upside down “7” instead, and s0 I changed one of his I’s to a 1 to for balance. I think it looks really cute but here’s hoping I don’t screw up the poor boy once he hits preschool.
Sun prints are fun to make because they kind of feel like magic.
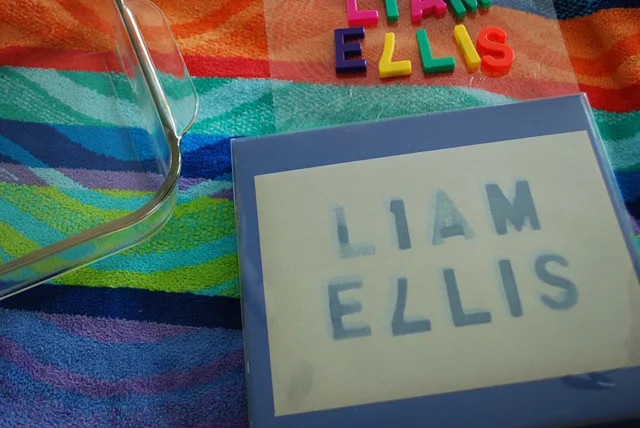
And I love how making something without computers creates happy outcomes and fun imperfections like layered letters and magnets shadows.
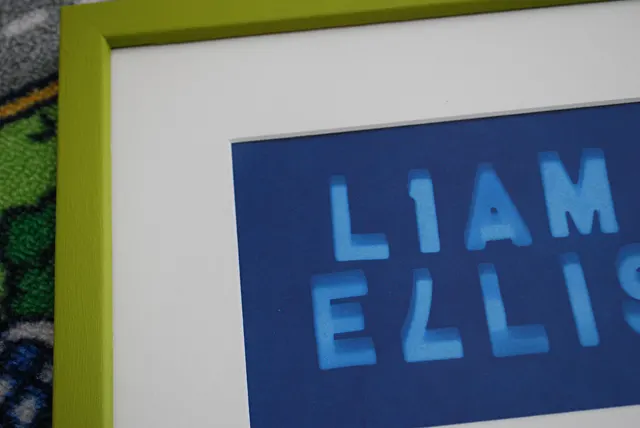
I think personalized sun print wall art like this would make a really cute DIY handmade baby gift. This might be my next easy DIY baby gift staple.
======
Supplies for making DIY Wall Art – Personalized Sun Prints (with affiliates):
- Sun print paper
- Magnetic alphabet letters
- Shallow dish, water, towel and a bit of lemon juice
- Pile of books
- Old frame (and optional paint and brush)
- Sunshine!
—
How to make DIY nursery wall art – Personalized Sun Prints:
Arrange your name on a piece of clear sturdy plastic (mine came along in the sun print kit) until you’re happy with the arrangement.

Carefully take out the sun print paper in a dark-ish room and slip it under the plastic. I didn’t take a photo of this because I wanted to work quickly!
Get it outside quickly without spilling the letters. Let it sit in direct sunlight until the paper turns white, about 30 seconds to a couple minutes.

Don’t wait too long! I made that mistake the first time thinking, oh, more time in the sun will make darker letters. Nope, I just overexposed the letters, dang.
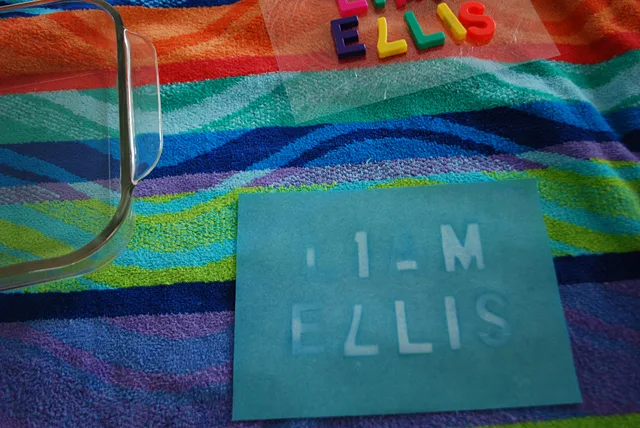
So I tried again and this time I took it out of the sun on time.
Quickly put it in a shallow flat dish of water; I added a few drops of lemon juice to make the blue really pop. Swish it around for about 30-60 seconds and then pull it out to dry on a towel.
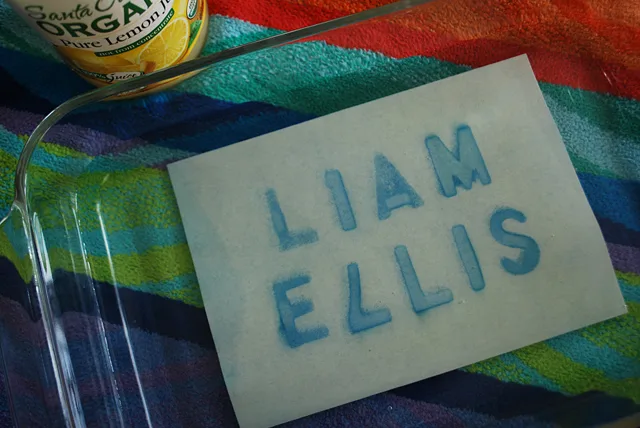
Once the print is totally dry you can flatten it under a stack of books. The instructions are pretty clear to wait until it’s dry but it is tempting to try to flatten it when it’s wet.
Grab an 8″x10″ frame. I painted my frame green to tie it into Liam’s new handmade curtains for his big boy room.
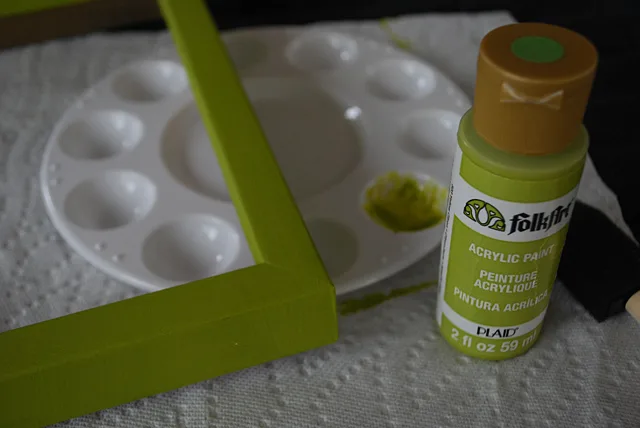
Gather your framing supplies, ignoring our poor trashed coffee table (should have used these coasters!)
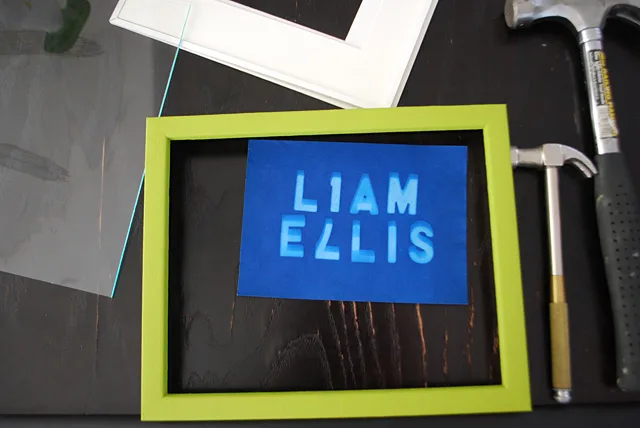
Tape it into the frame using acid-free tape, frame and hang!
—
Like it? Share it!
The nicest way to say you like it is to pin it on pinterest, post a comment, follow Merriment Design on Facebook, twitter, pinterest, Google+ or sign up for monthly emails. Enjoy! 🙂
Copyright stuff: You’re more than welcome to use this free project and tutorial for personal use. Contact me for commercial use and etsy sales.
Save
