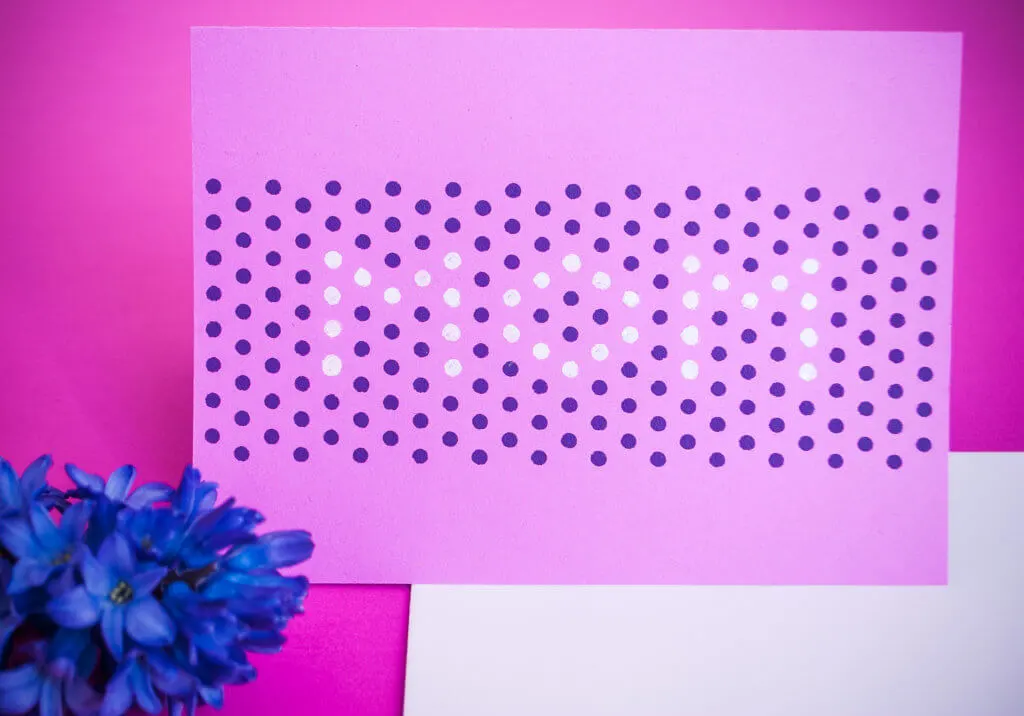
All moms agree that the best Mother’s Day presents are handmade. Make your mom a special Mother’s Day card that spells M-O-M in polka dots.

I used this new polka dot stencil from Amy Anderson at Mod Podge Rocks that she sent me to try out. And you can win a stencil for yourself! Keep reading for a giveaway.
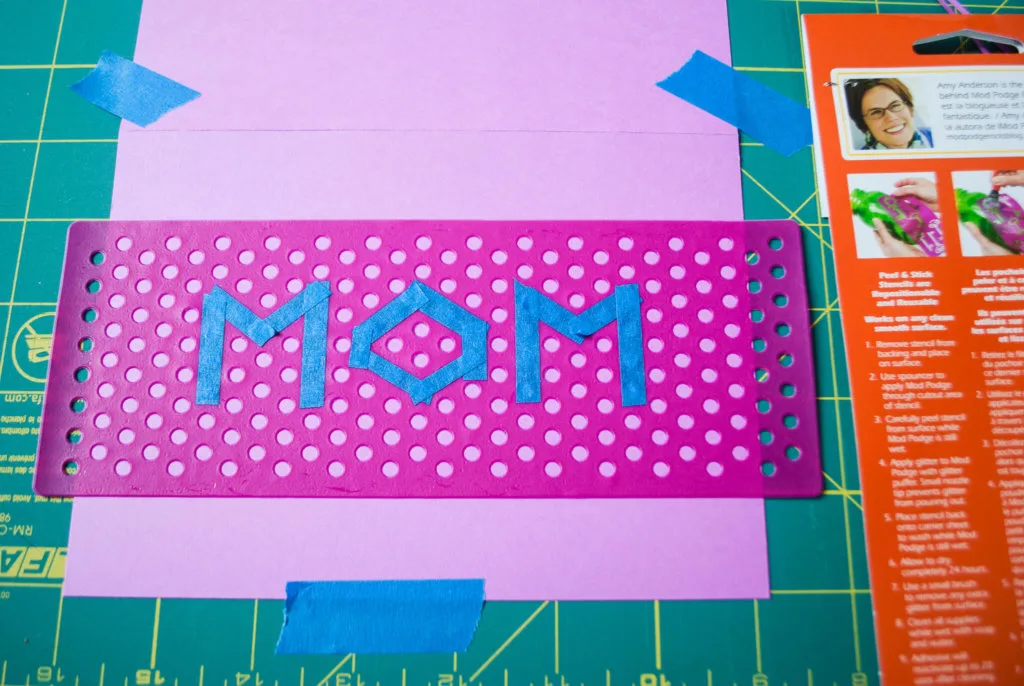
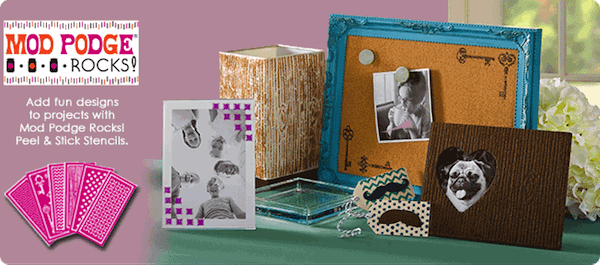
Amy Anderson from Mod Podge Rocks created this new line of six basic pattern stencils that you can use with Mod Podge or paint. She gave me a stencil and supplies but all my opinions are mine.
I love how this Mother’s Day gift idea celebrates Mom in a simple and clever way. It uses on-trend color of the year Radiant Orchid paper and dark egglplant colors. And who doesn’t love polka dots? Let’s get to it.

Easy handmade DIY Mother’s Day card
Supplies for making a DIY Mother’s Day Card using a Polka Dot Stencil (with images and links from affiliates):
- Mod Podge Rocks Polka Dot Adhesive Stencil
- Spouncer
- Craft paint
- Cardstock paper
- Painter’s tape
- Scissors or an X-ACTO knife, ruler and self-healing cutting mat
- Wax paper and baking sheet
—
How to make a DIY Mother’s Day Card using a Polka Dot Stencil:
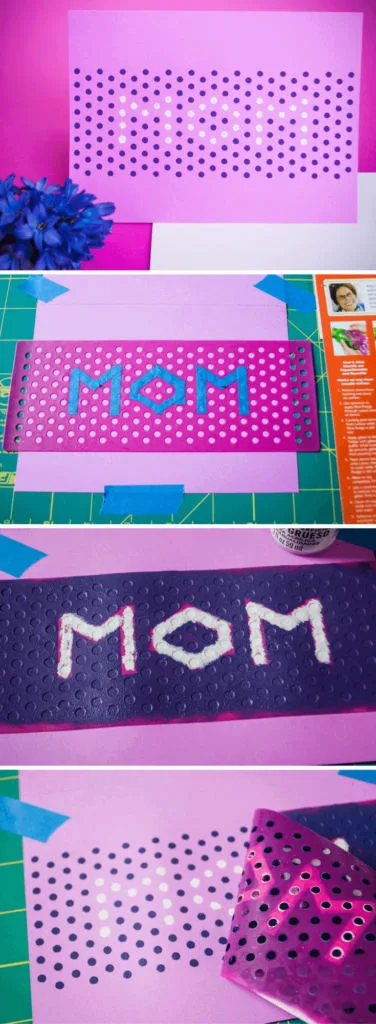
Using painter’s tape, tape off the word MOM. I made my M’s about 4 polka dot circles tall. It’s best to start in the center with the O and then work left and right.
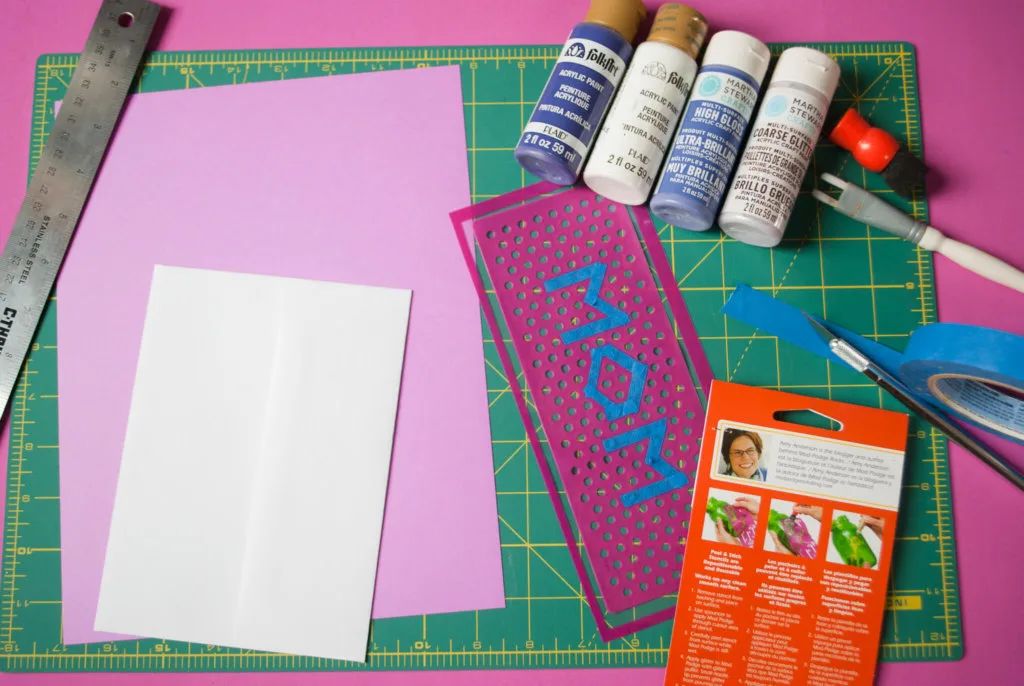
Cut a piece of cardstock to fit your envelope to be your card. Check out my tips on how to score and fold paper cards.
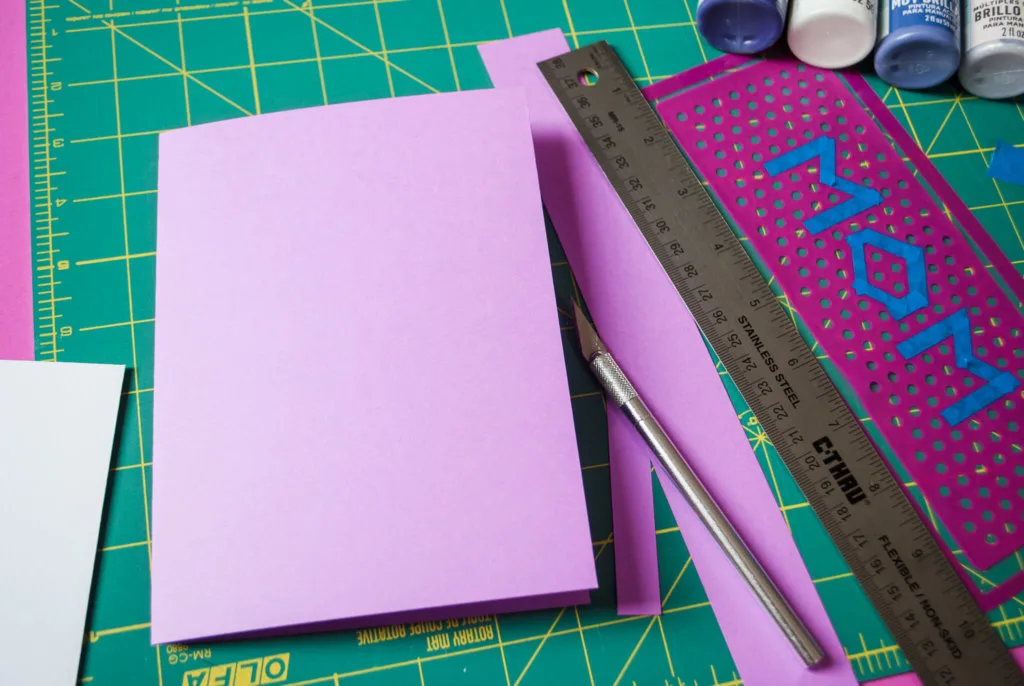
Peel the stencil off of the backer sheet very carefully from the backer and all surfaces so you don’t tear it. Smooth thoroughly onto the surface. Be sure to save the backing for later. Learn more about working with adhesive stencils.

Paint the polka dot stencil.
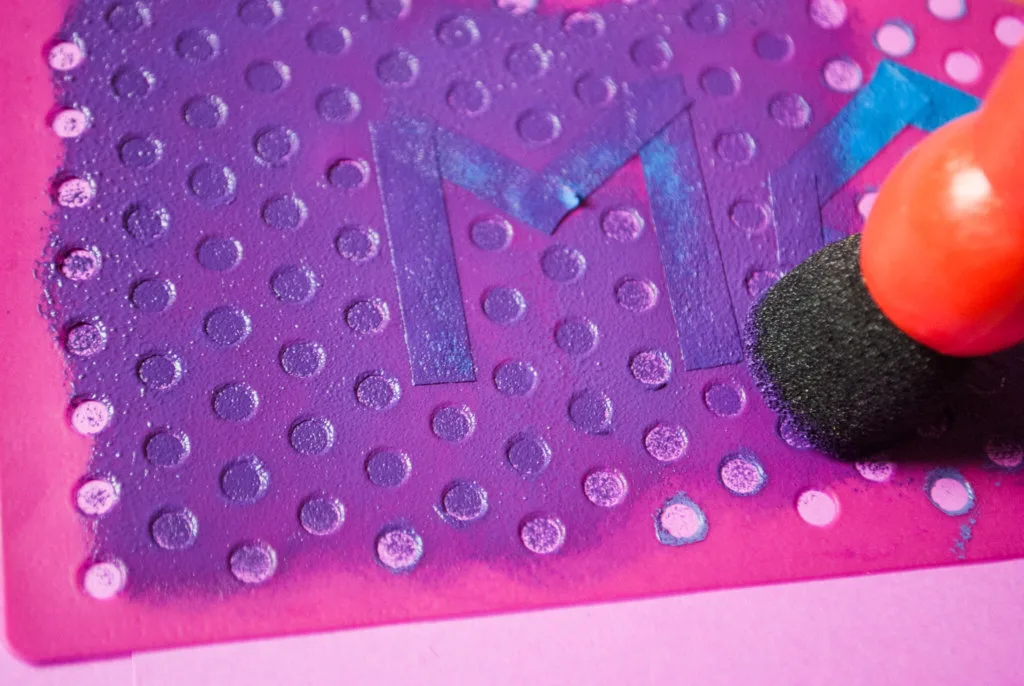
Peel off the painter’s tape.

Paint the M-O-M polka dots.
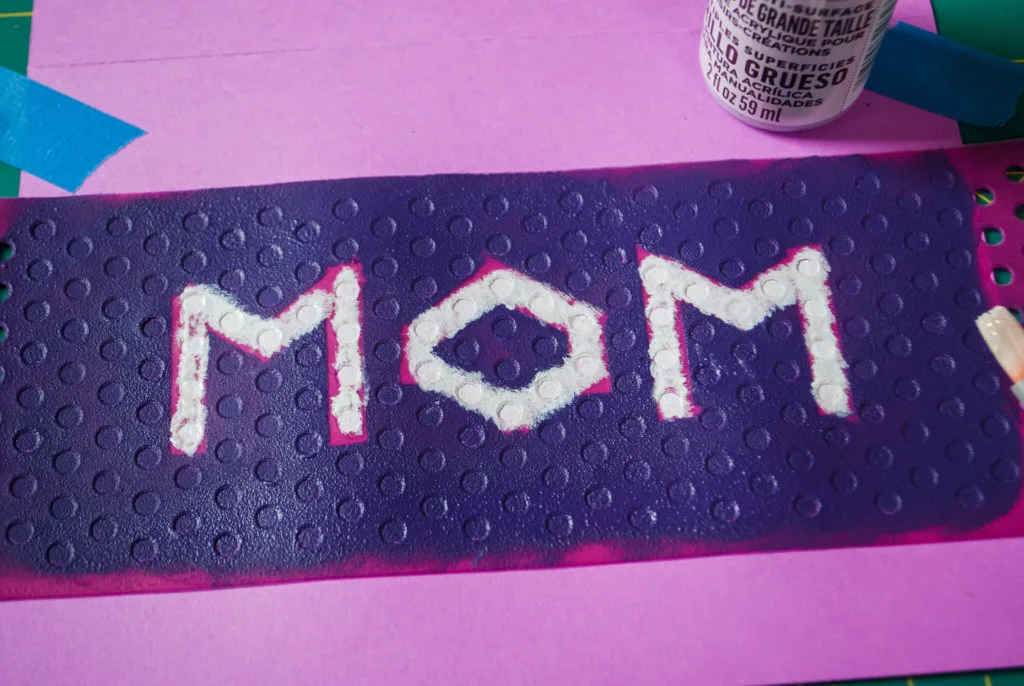
Peel up the stencils.

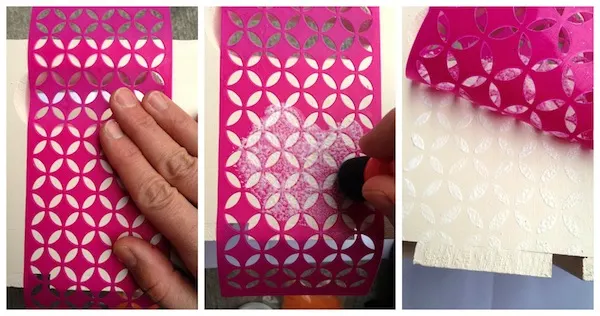
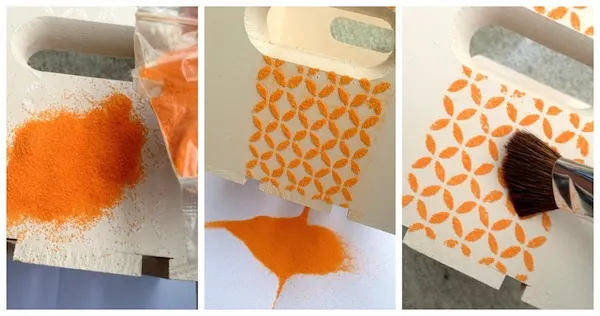
There are six basic patterns to choose from in the Mod Podge Rocks adhesive stencils line:
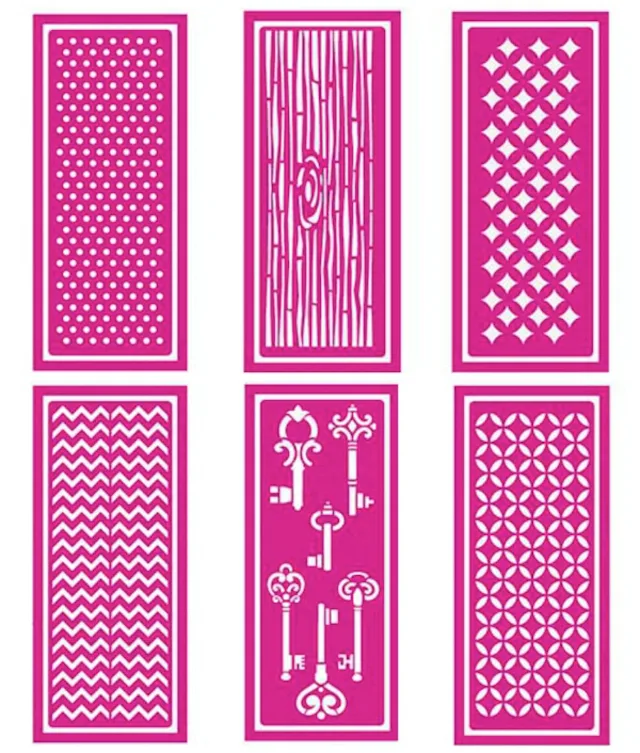
I used paint for these stencils but Amy also figured out a fresh and easy way to add glitter and sand patterns to projects using Mod Podge and these stencils so fans of glitter and sand, be sure to check out her tutorial on learning how to use Mod Podge Peel and Stick stencils with Mod Podge and glitter.
Ready to win one for yourself? Enter the giveaway! See that little gray box below? Please log in the box below using Facebook, click the green “+1″ entry button and follow the instructions — I’m using a service for this giveaway called Rafflecopter. Good luck!
Terms and conditions:
The winner will be randomly selected by Rafflecopter and announced on April 22, 2014. I will contact the winner and Amy Anderson will ship the package to your US mailing address via USPS. Please note that we are not responsible for items lost due to shipping or delivery errors.
Giveaway is open to US residents 18 and older only (sorry international readers!) and is void where prohibited. Odds of winning is based on the number of entrants. This giveaway not associated with Facebook; entrants are providing information to Merriment Design and not to Facebook. Good luck!
—
Like it? Share it! The nicest way to say you like it is to pin it on pinterest, post a comment, follow Merriment Design on Facebook, twitter, pinterest, Google+ or sign up for monthly emails. Enjoy! 🙂
Copyright stuff: You’re more than welcome to use this free project and tutorial for personal use. Contact me for commercial use and etsy sales.
Save


jeanine
Friday 4th of April 2014
opps... oh well, not eligible to win but did everything anyway. at least i found you all in your other social media places. thanks anayway. good luck to winner! I am giving this DIY tutorial, to the KIDS! They love polka dots. (ps. just wondering where did you use the mod podge here? its in materials list but couldnt find where used?) thanks!
Samanthz
Friday 4th of April 2014
What a brilliant way to personalize the stencil.
Amy Anderson
Thursday 3rd of April 2014
Aww, thank you Kathy! I love this project so much! What else can I make with the dots?? :0
Kathy Beymer
Tuesday 8th of April 2014
Glad you like it, Amy! I really love the polka dot stencil so thanks again!
danielle
Thursday 3rd of April 2014
I love this idea!
Kathy Beymer
Tuesday 8th of April 2014
Thanks, Danielle! And thanks for posting your site here - am following now on twitter and pinterest. Keep in touch!