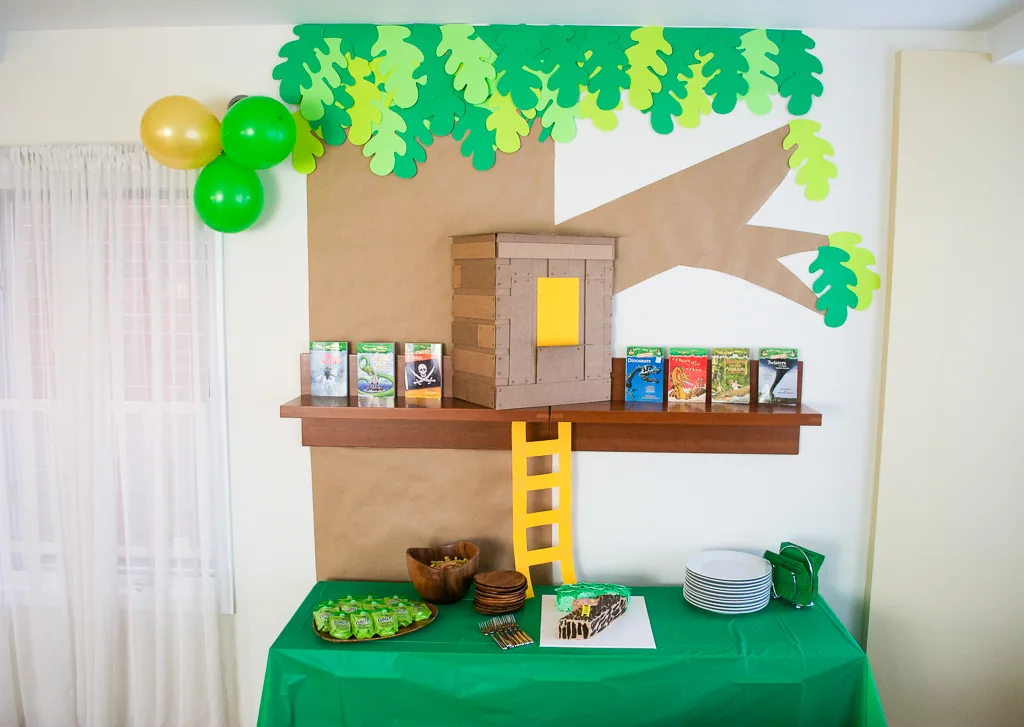
You guys! Check out this cardboard and paper Magic Tree House birthday party decoration that I made for Elise’s 7th birthday. It was actually really easy to make, cost less than $10, made the party feel super magical.
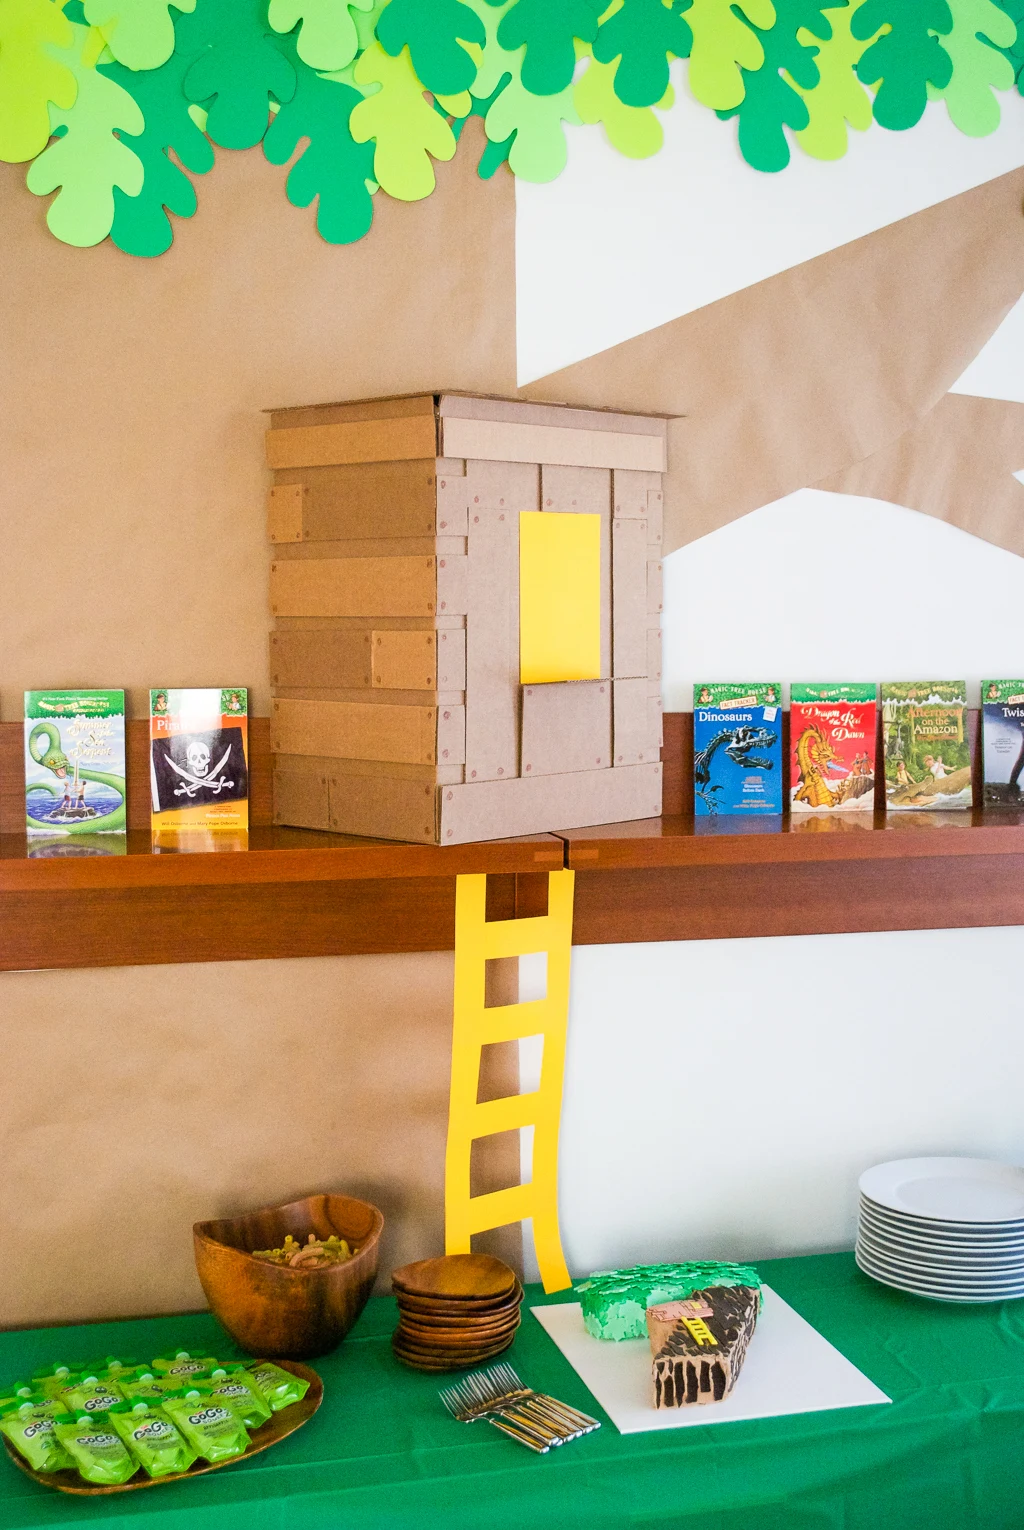
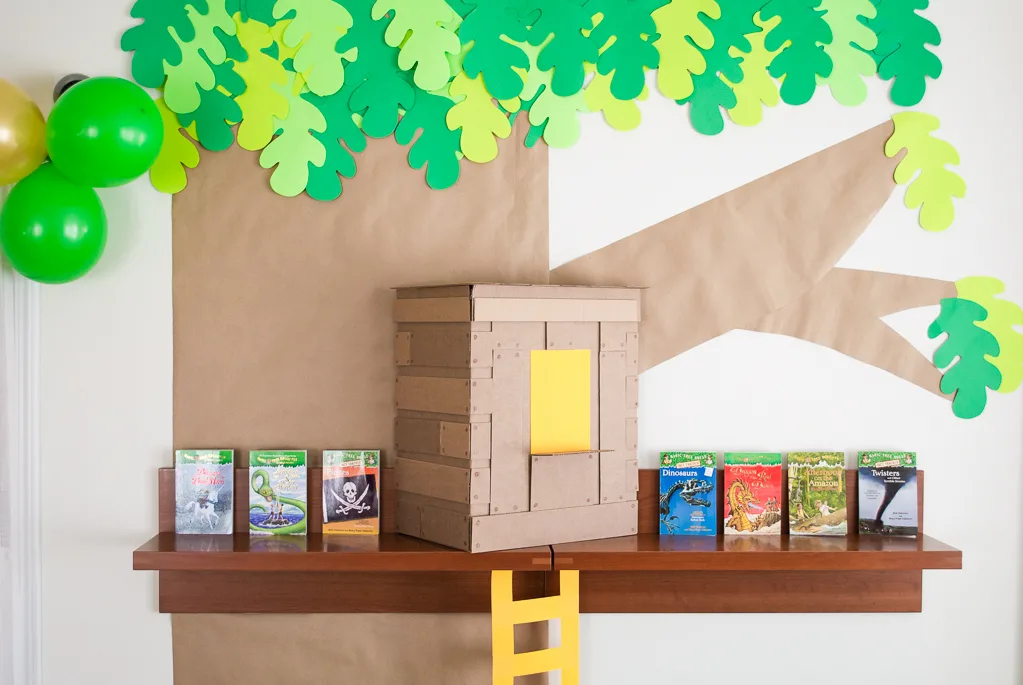
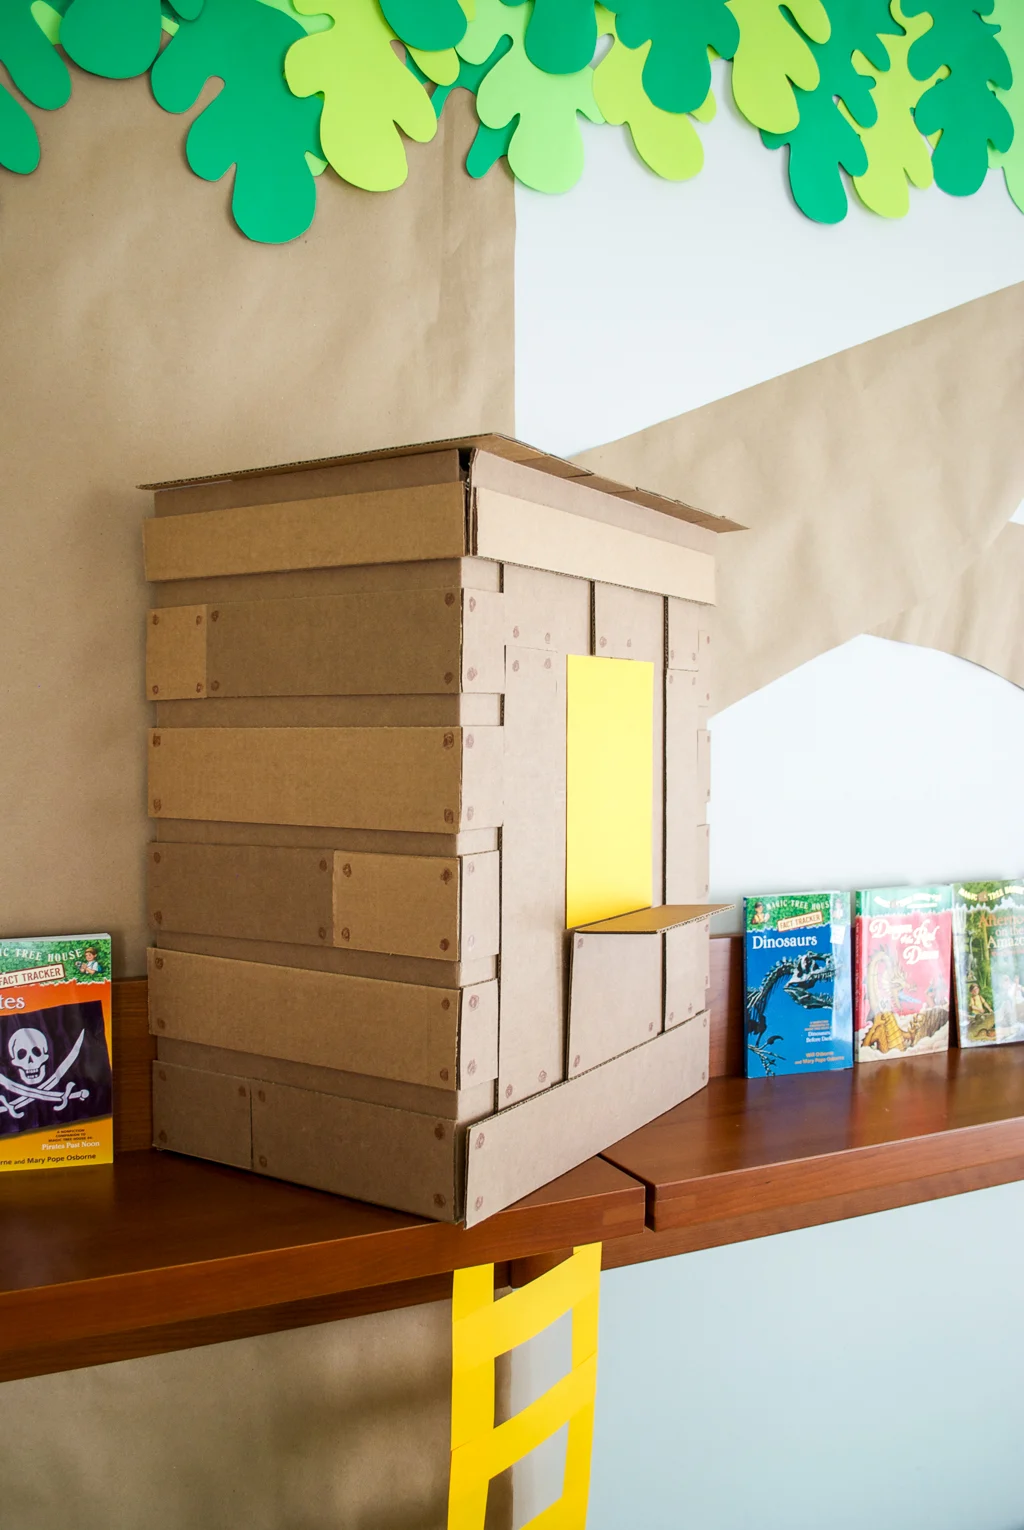
The Magic Tree House book series by author Mary Pope Osborne follows the adventures of Jack and Annie, brother and sister who travel through time and space in a magic tree house. It’s a big, big hit with ages 5-9 with just the right amount of suspense.
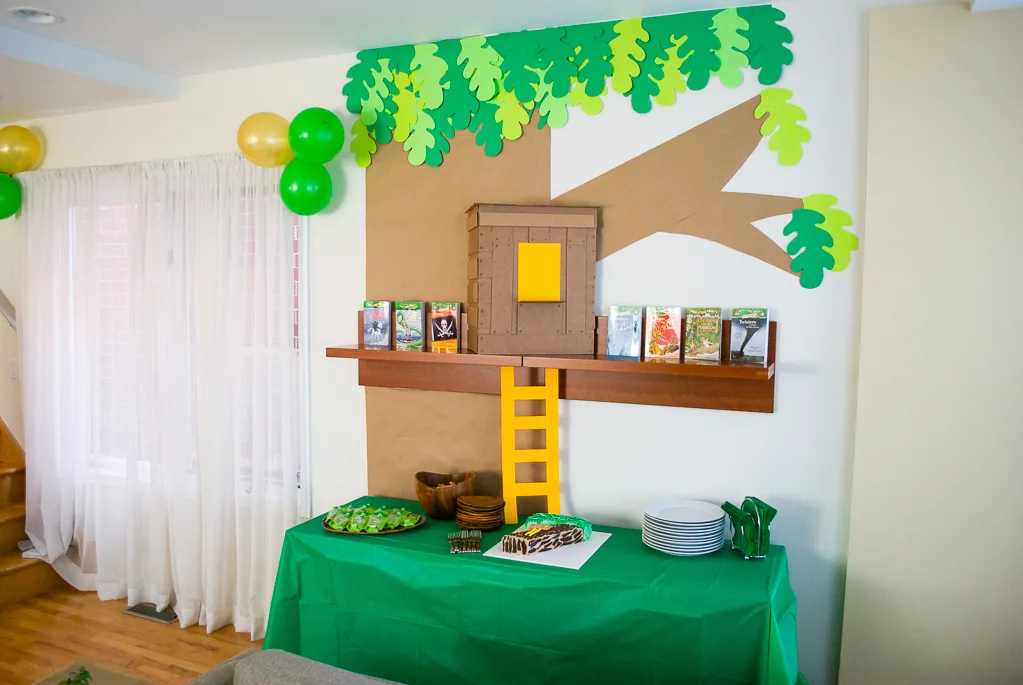
Having a real Magic Tree House for our Magic Tree House birthday party was a big hit!
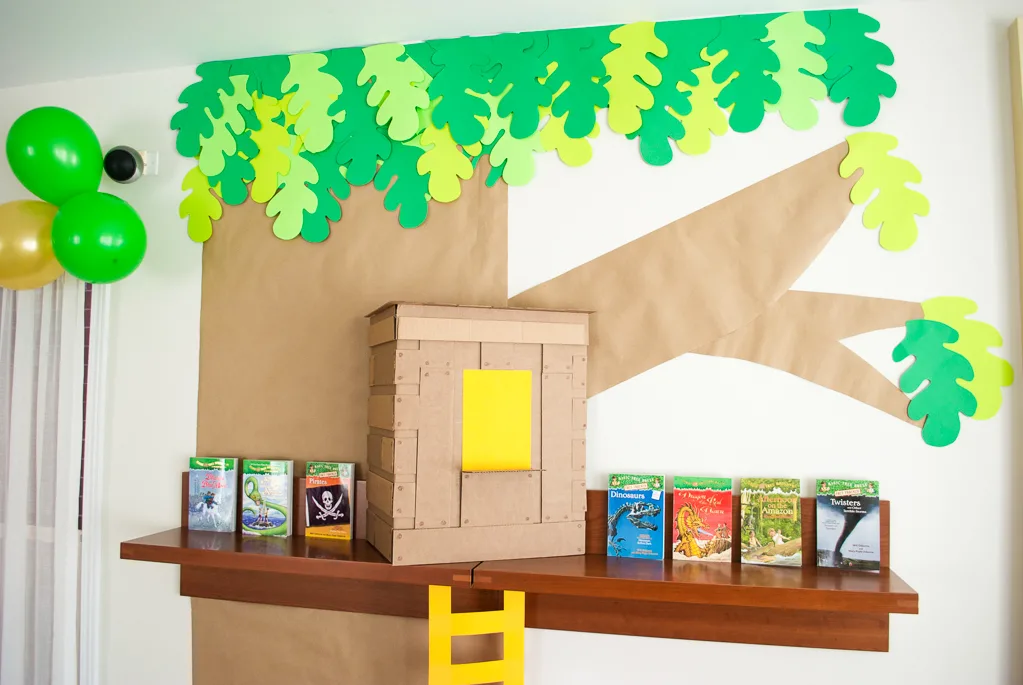
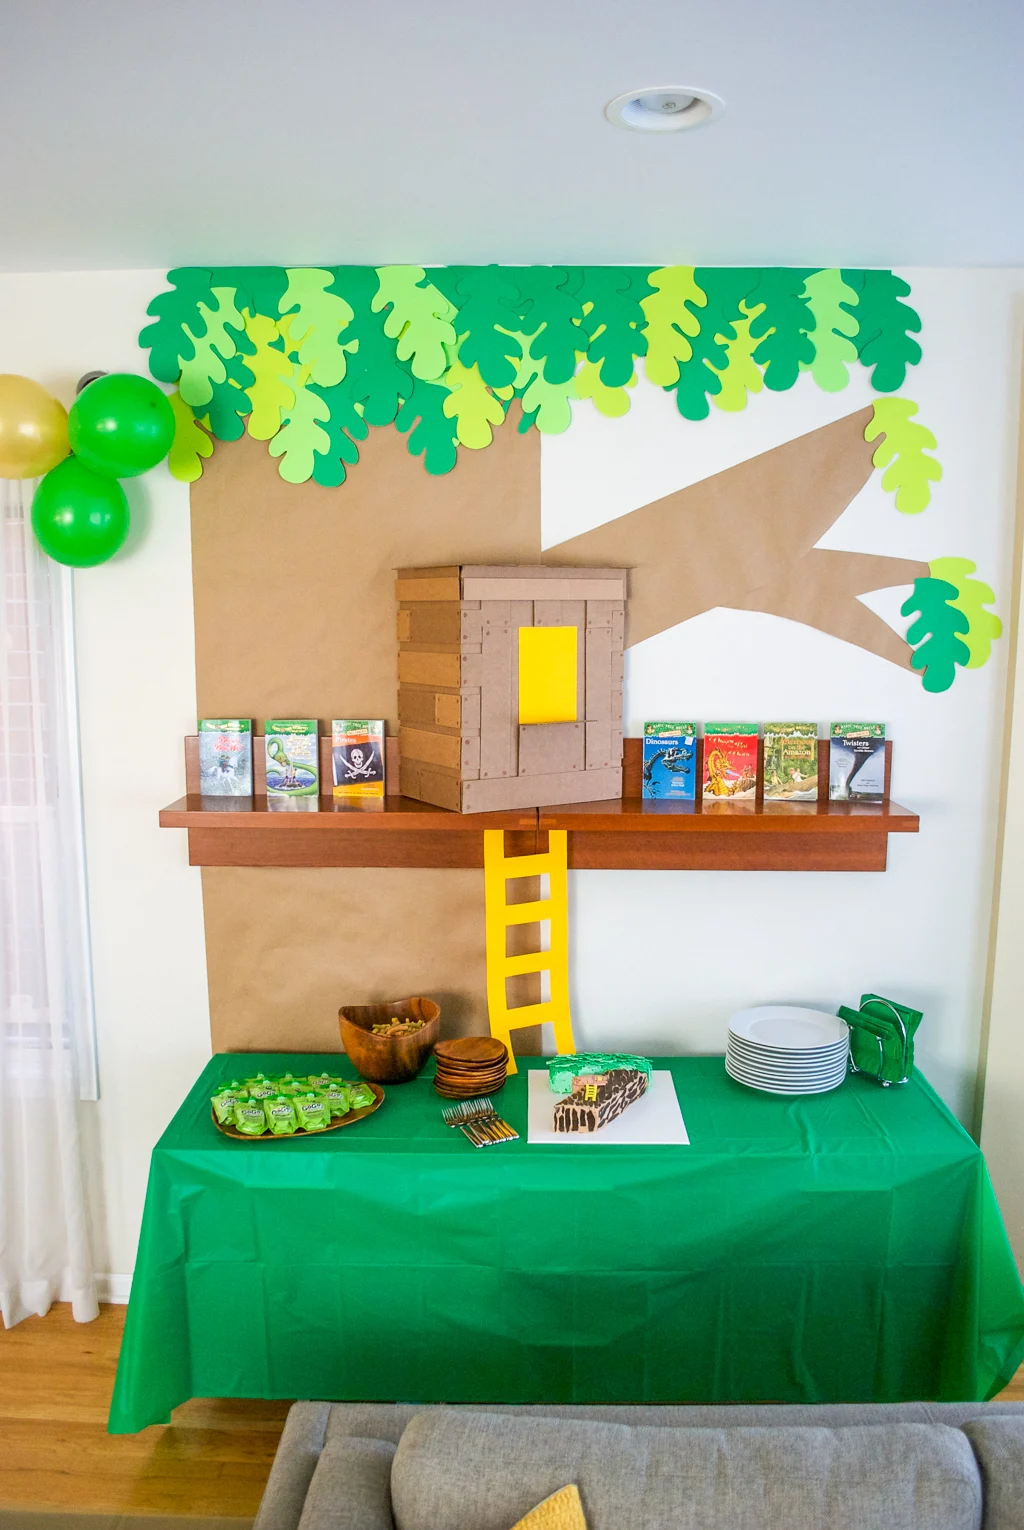
WANNA MAKE IT? Keep reading for the step-by-step tutorial and supply list for making my cardboard Magic Tree House birthday party decoration –>
Supplies for making a cardboard tree house decoration for a Magic Tree House birthday party: (contains affiliate links)
- Cardboard boxes
- Double stick adhesive roller (time saver, or just use regular tape)
- Green and yellow card stock
- Kraft paper roll
- Blue painter’s tape
- VELCRO® Brand Sticky Back fasteners
- Brown crayon
- Scissors
- Green balloons and gold balloons
And of course, the Magic Tree House books themselves…
—
How to make a DIY cardboard Magic Tree House birthday party decoration:
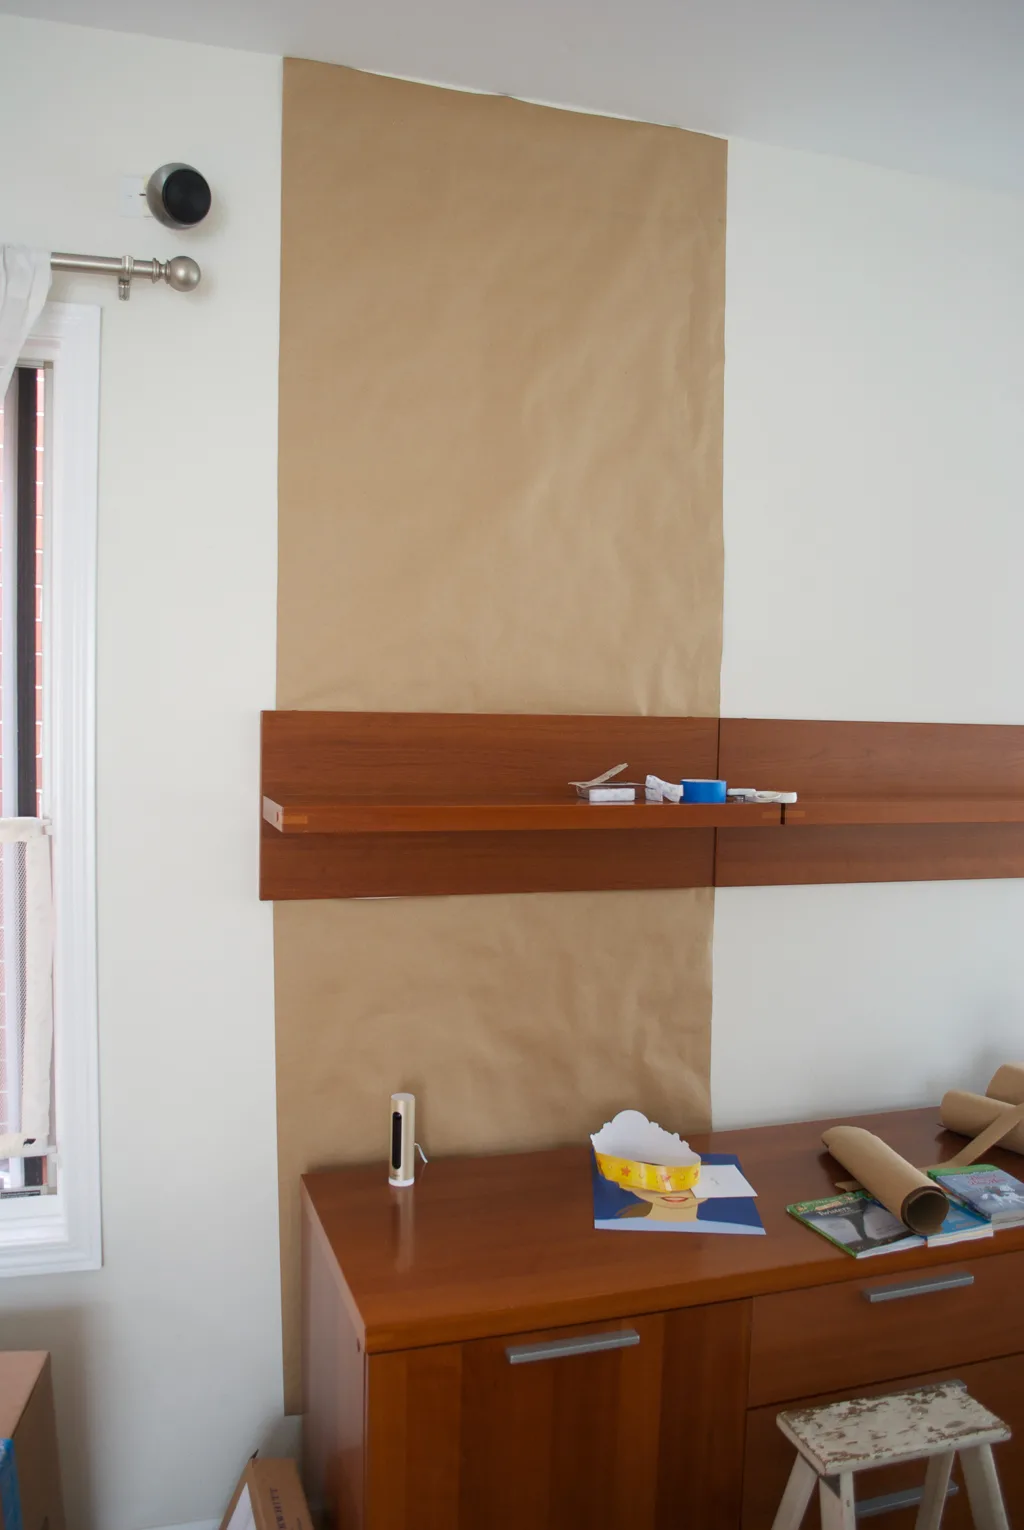
First cut a piece of kraft paper from the roll to make your trunk. Here’s my secret of how I temporarily put heavy-ish things on my walls with no damage: first put a piece of blue painter’s tape onto your wall. Then put a VELCRO® Brand Sticky Back fastener on the painter’s tape and the kraft paper back and it will hold with no wall damage when you remove it.
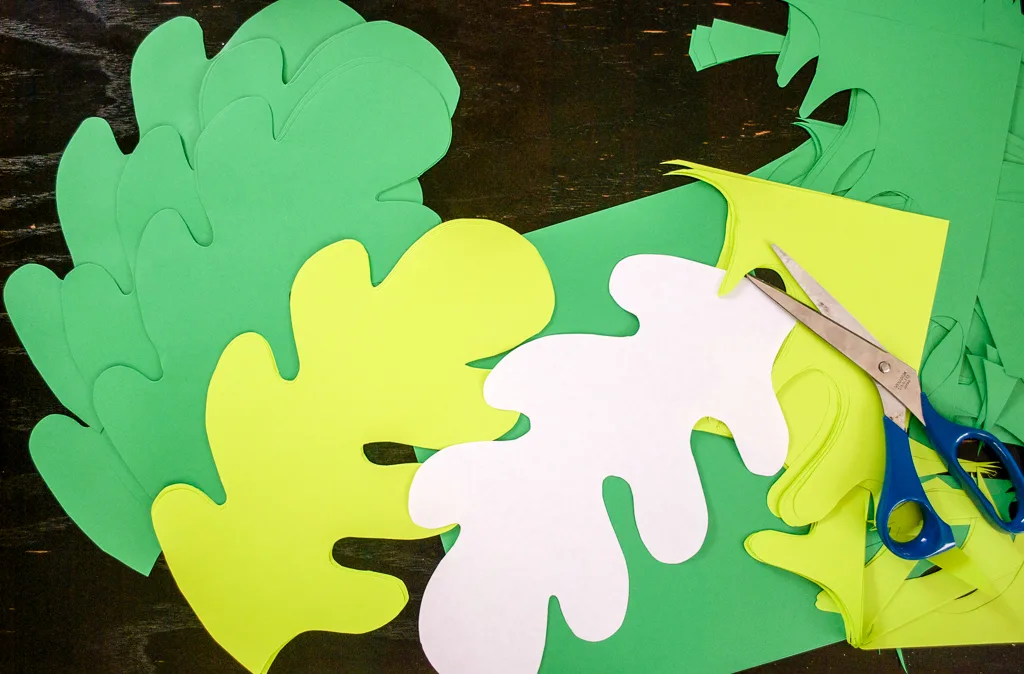
Cut out assorted leaves from green. Email me if you’d like my free leaf template.
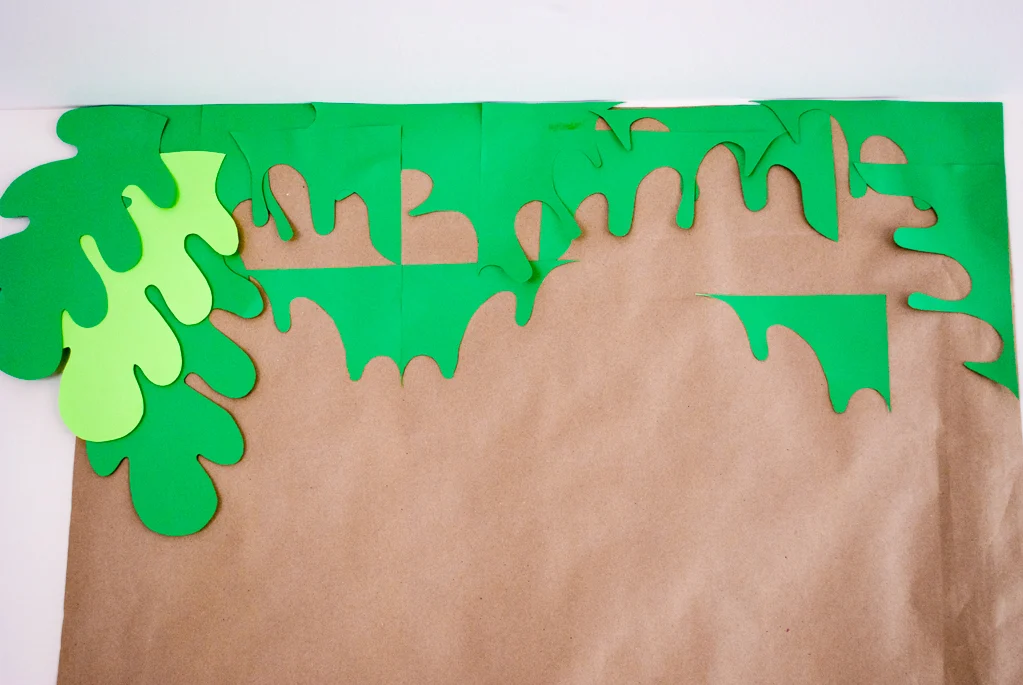
Start taping leaves to the top of the kraft paper. I even taped up my green scraps to cover more of the area in green.
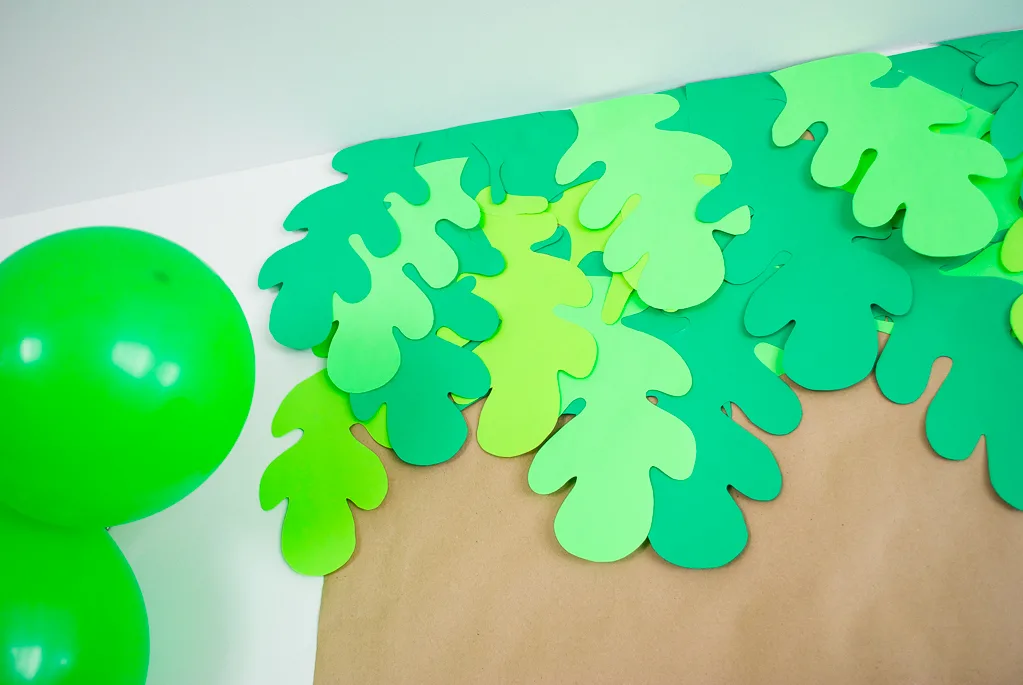
Add leaves until it’s as lush as you’d like.
Now let’s make a cardboard tree house! If needed, open your box so that the writing will be on the inside instead.
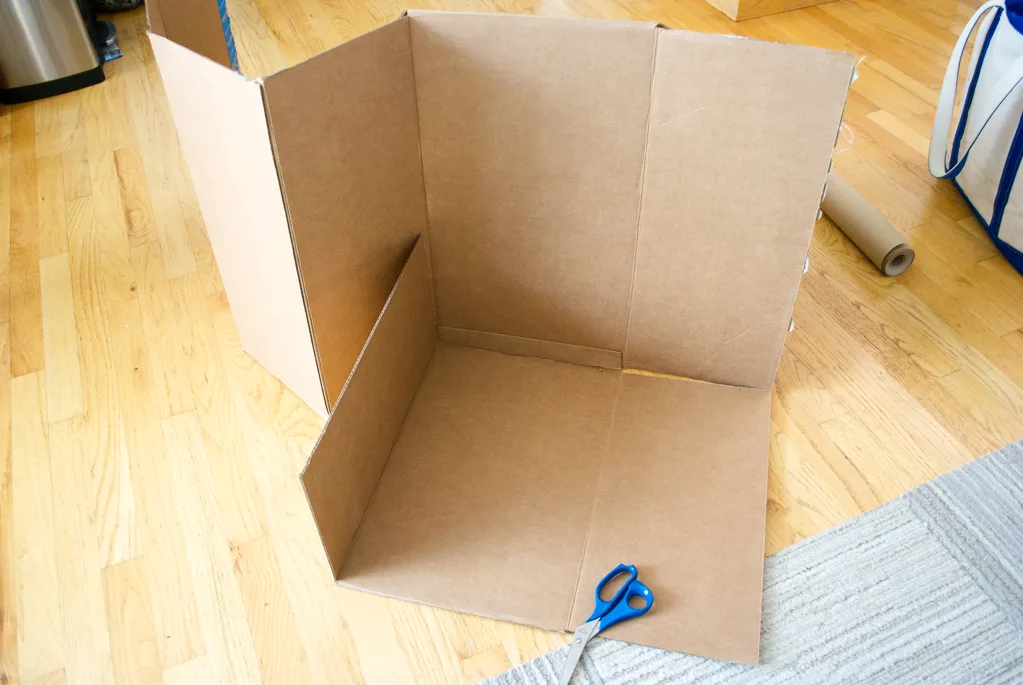
Cut the box in half from corner to corner to make a triangle-shaped box. Then tape down the sides to secure.
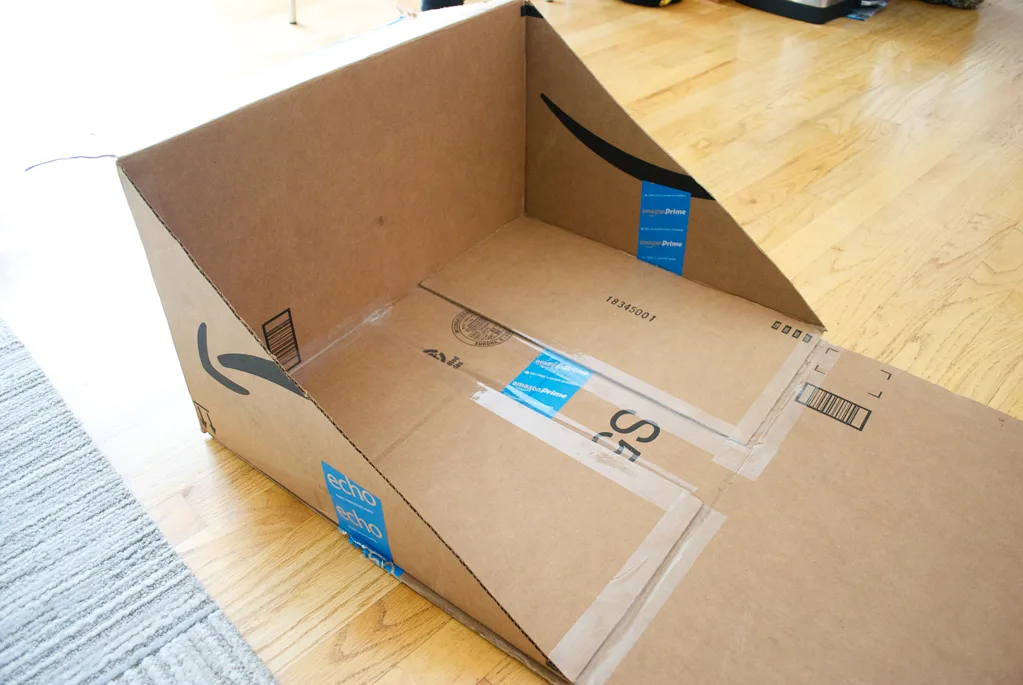
Start cutting strips of cardboard to add on as tree house “boards.”
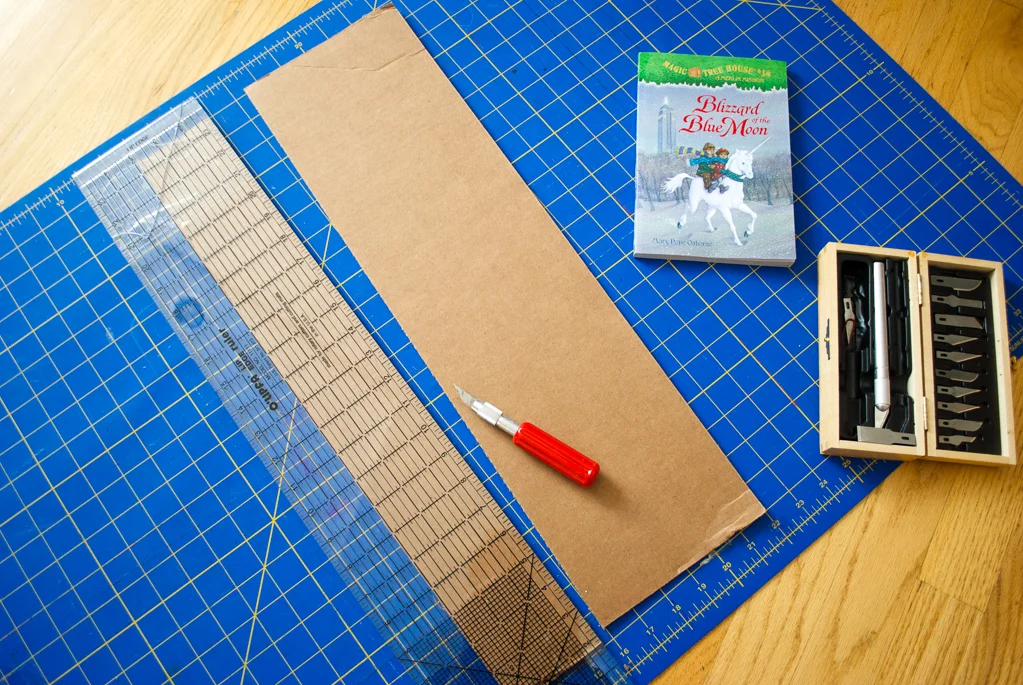
Tape on a piece of yellow card stock as the window.
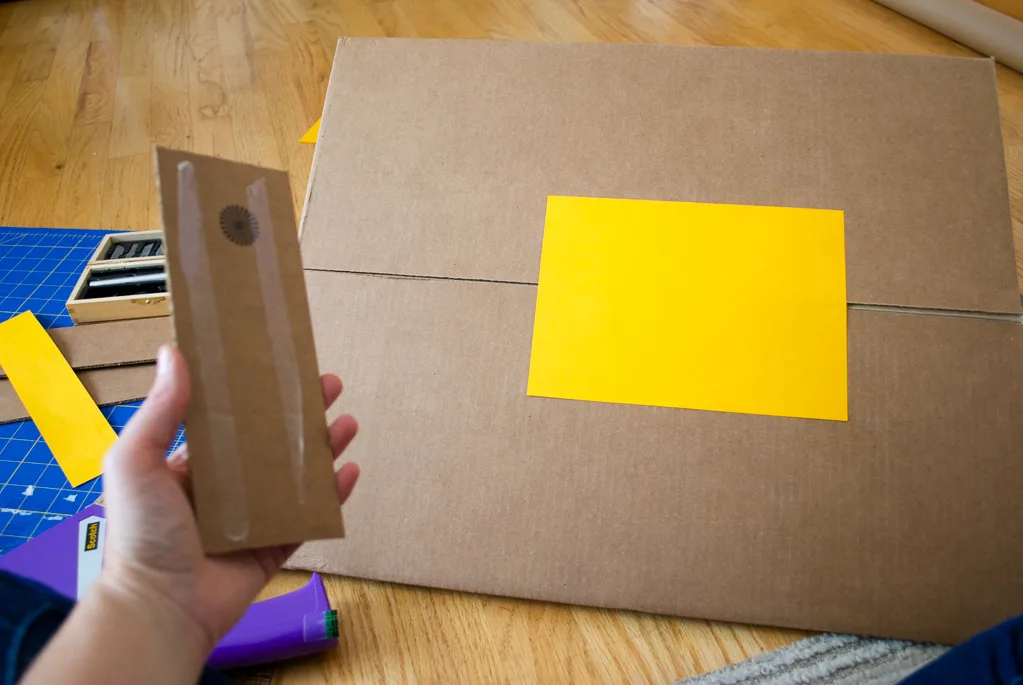
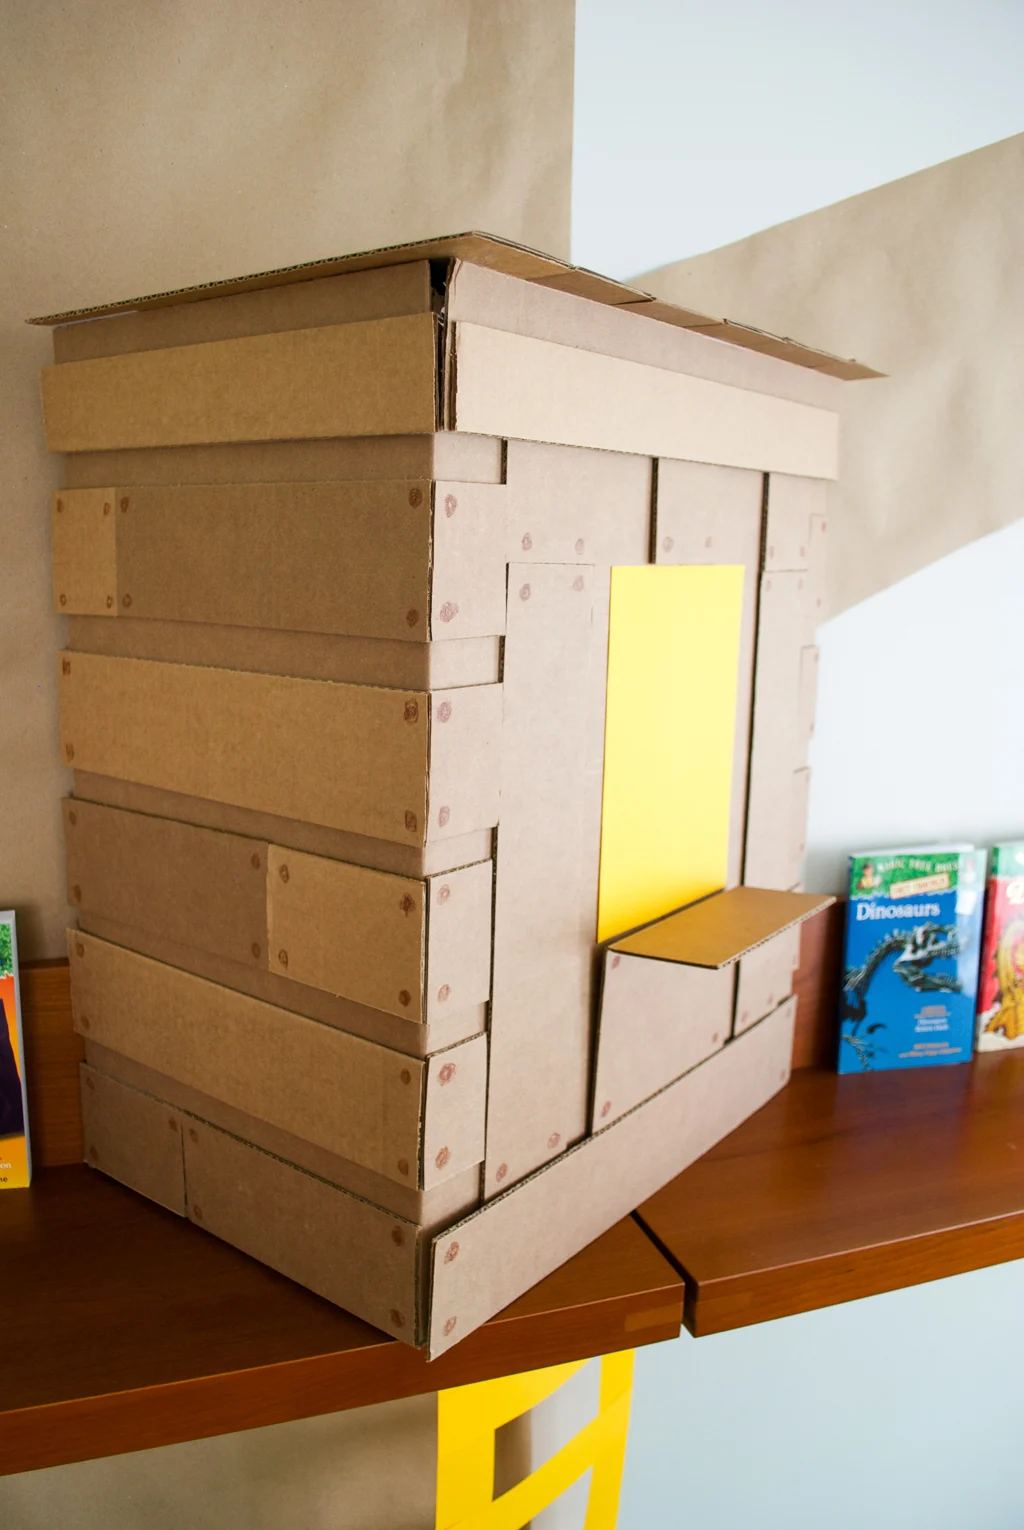
And now start adding your cardboard boards.
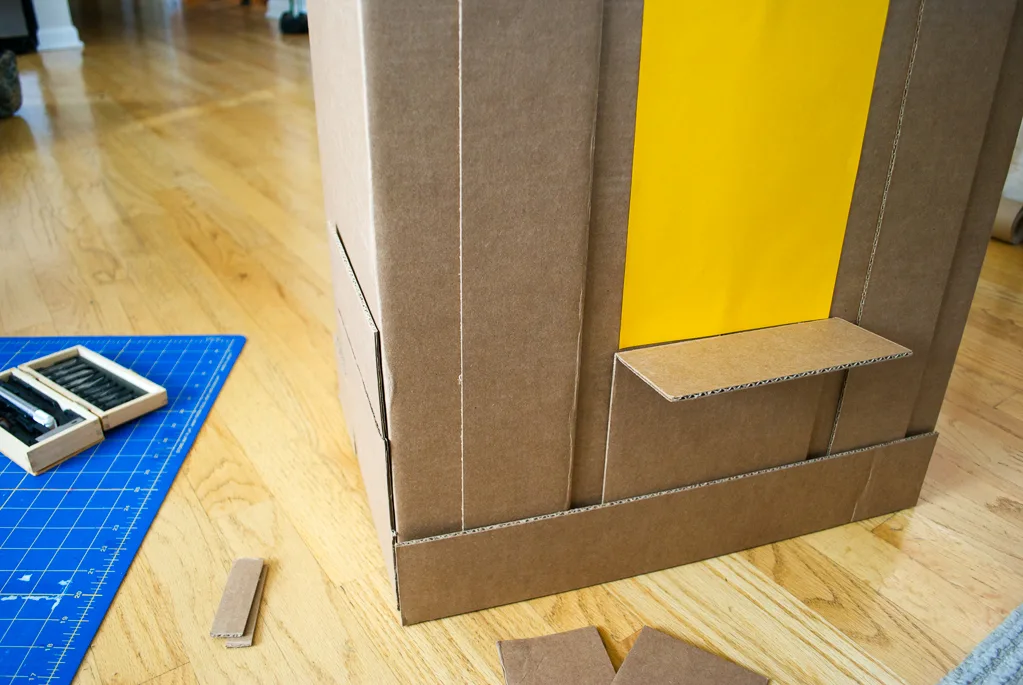
Optionally, add roof shingles too.
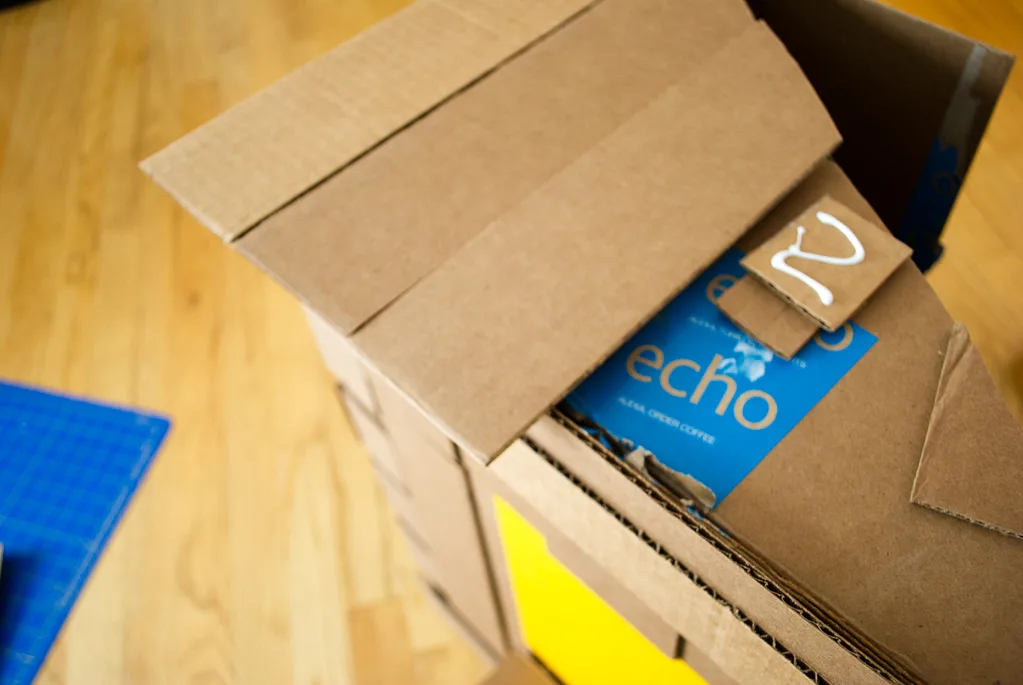
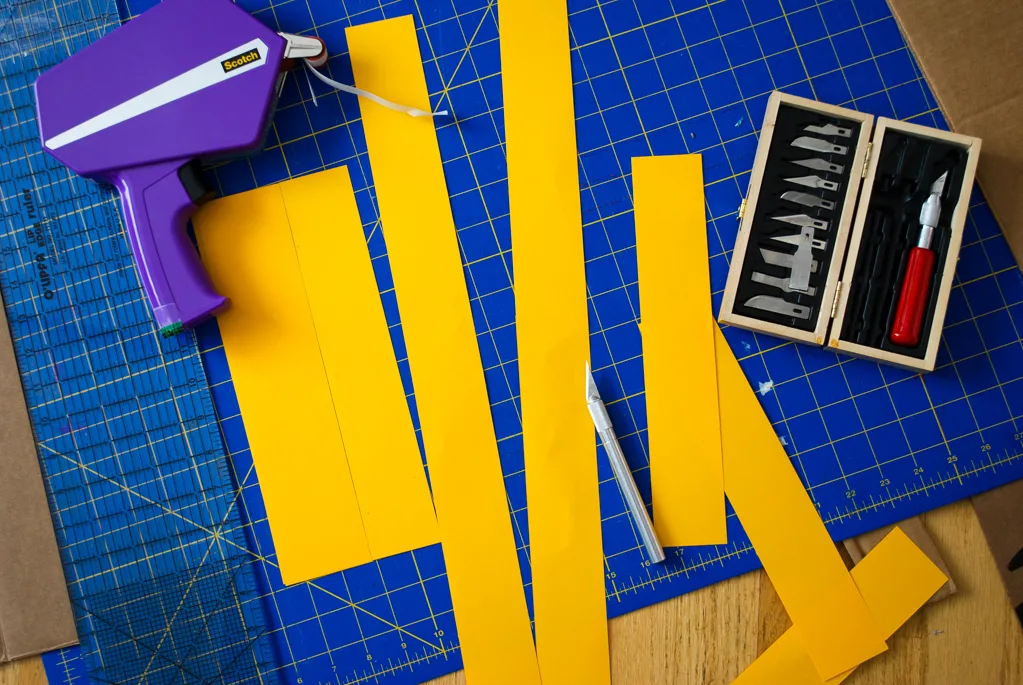
Now make a ladder by cutting pieces of yellow card stock and taping them together in a ladder shape.
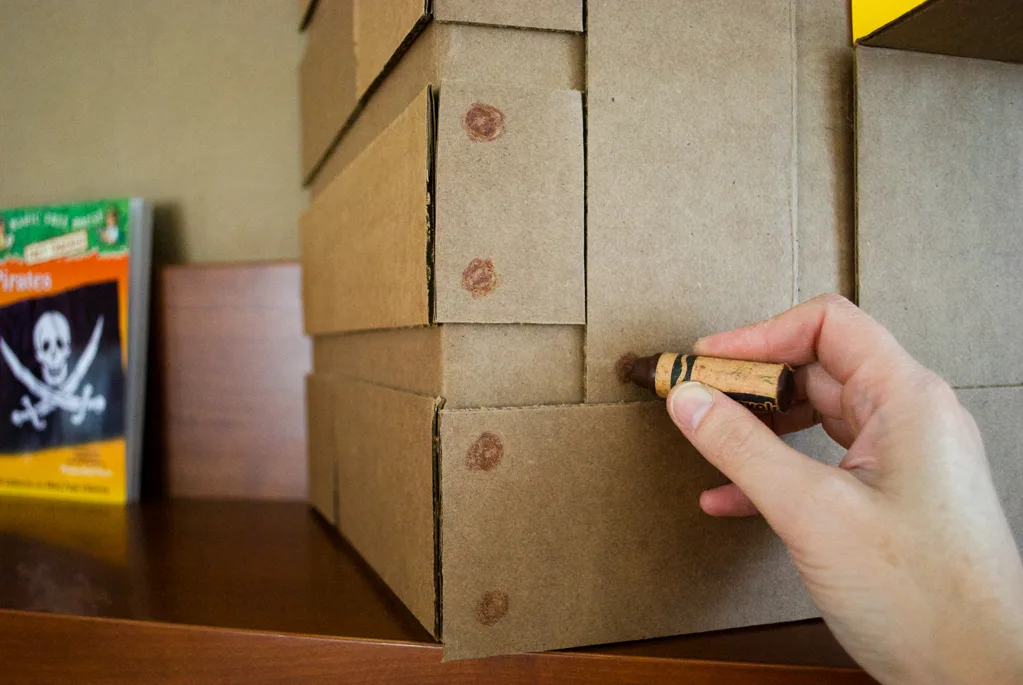
Draw nails onto your cardboard boards using a brown crayon.
I put the cardboard box on the shelf, but you could attach it using the VELCRO® Brand Sticky Back fasteners + painter’s tape hack above.
Add books, balloons, and a green tablecloth and say together, “I wish we could go there!”
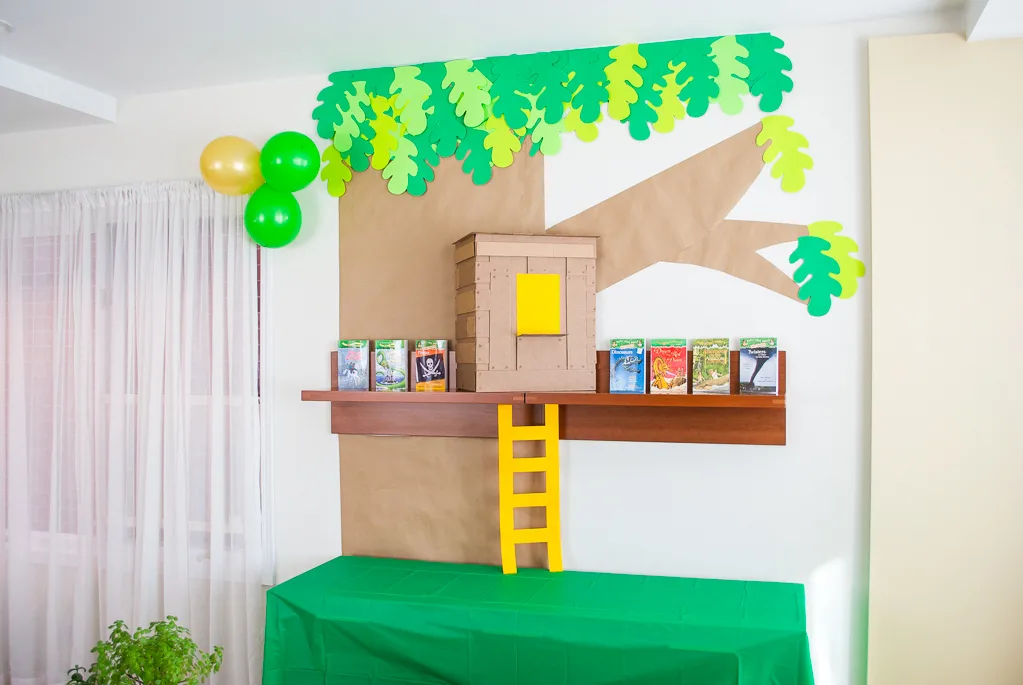
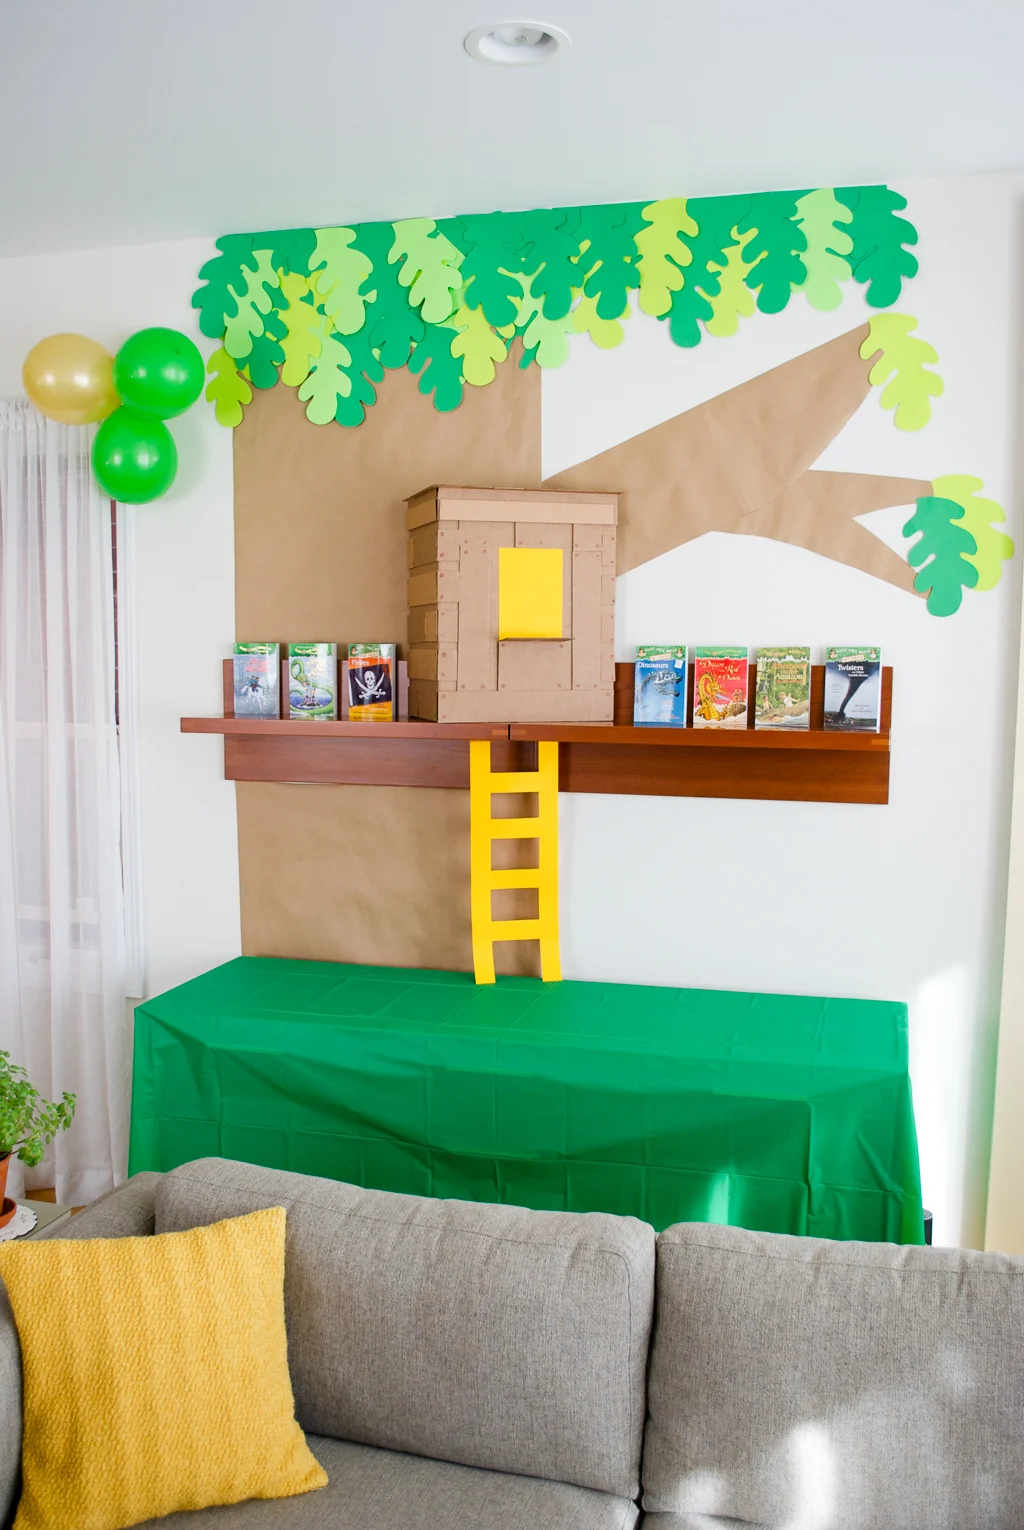
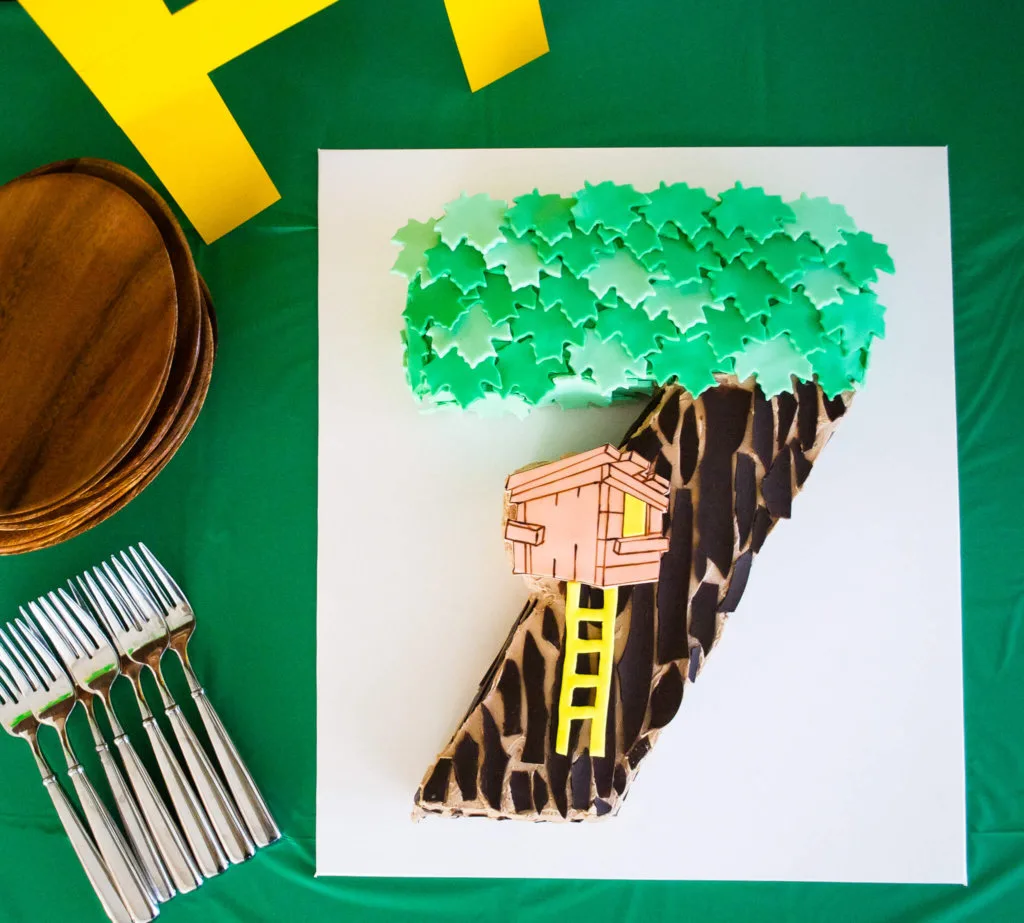
And check out my DIY Magic Tree House birthday cake – it’s a number 7 for Elise’s 7th birthday. I want to go …there!
—
Like it? Share it!
The nicest way to say you like it is to pin it on pinterest, post a comment, follow Merriment Design on Facebook, twitter, pinterest, Google+, instagram or sign up for monthly emails. Enjoy! 🙂
Copyright stuff: You’re more than welcome to use this free project and tutorial for personal use. Contact me for commercial use and etsy sales.


