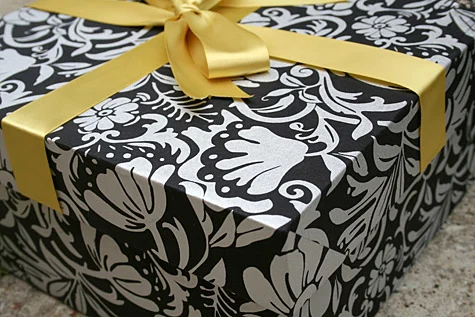
Cristin Siegel made this sophisticated wedding card box covered in decorative paper to collect cards at her sister-in-law Mara’s wedding reception. Pretty crafty and much cuter than a most of the pre-made money boxes being sold out there, don’t you think? And it coordinated perfectly with Mara’s black-and-yellow wedding theme to boot.
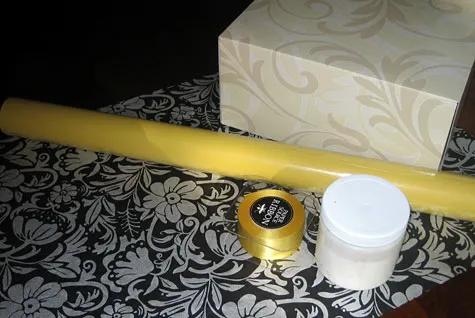
This craft would also be great for storing photos or papers in a den or office, sans ribbon, of course.
Supplies for how to cover a cardboard box with decorative paper:
- Sturdy box (cardboard shoe box or other; be sure to choose a deep one if you want to cut a card slot)
- Bookbinding PVA glue
- Paste brush
(Cristin used a silicone basting brush)
- Decorative paper
for outside and inside
- Satin ribbon
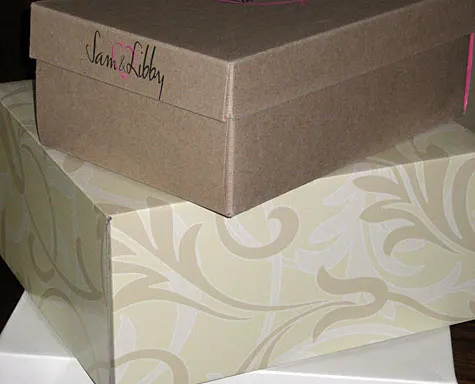
Find a sturdy box with a lid and make sure that both the bottom and the top are in good shape.
NOTE: If you’d like to cut a card slot for people to drop cards in, first be sure you’ve chosen a box that’s deep enough. Then cut a slit in the box that’s 1/4″ wide and at least 6″ long. Cristin opted to skip the slot, instead decorating the inside of the box as neatly as she did the outside. If you’ve chosen to cut a slit, then in subsequent steps below you’ll need to cut your decorative paper and wrap it inside the slot to finish it off.
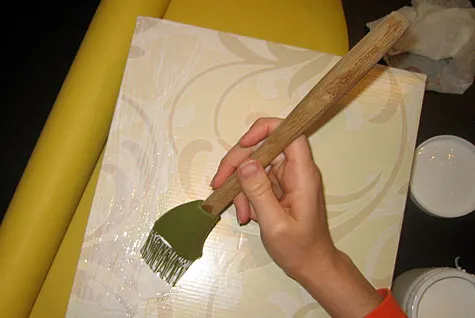
Spread book binding glue on the box and wrap the top and bottom individually with decorative paper. Tip: Cristin recommends using natural or recycled paper because the texture helps to hide any wrinkles or imperfections you might get in the box because of the glue.
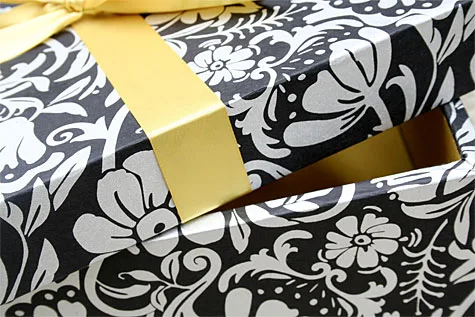
Optional: If you’d like to add a ribbon to the lid: Cut one piece of ribbon that will goes from inside the left side to the inside of the right side. Glue one end in place, stretch the ribbon across the top of the lid, and glue the other end inside the lid. Cut two more pieces of ribbon long enough to act as ties. Glue one end to the underside of the box, leaving the other end loose. Repeat on the other side. Once dry, tie the two ends together into a bow. No need to be too particular about the ribbon ends, as you’ll cover up the ribbon ends on the inside with the yellow paper.
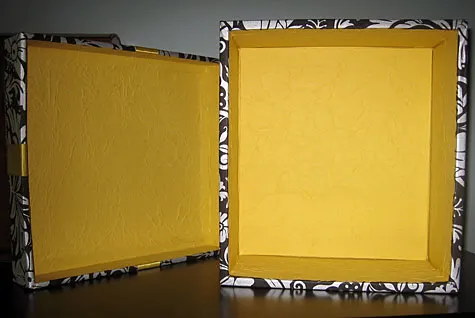
For the inside Cristin chose a solid yellow color wrapping paper, but she wanted it to be textured to better match the outside. Measure one piece of paper for the interior bottom and four pieces of paper for each of the four interior sides. To get a textured effect, ball up the paper up tightly in your hands to get it to fold and wrinkle. Smooth it out again and you’ll now have a textured look. Glue the paper inside the box. Repeat on the inside of the lid, covering up the loose ends of the ribbon.
Did you make it? Please post a comment and share your own photos at the MerrimentDesign.com Facebook page, “I made it!” flickr photo gallery or tweet a picture to @merrimentdesign. Craft and pass it on!

Staci
Tuesday 23rd of February 2016
This is such a cute box. I want to make one for my Mother's wedding. What kind of paper did you use and where did you get it?
Kathy Beymer
Monday 7th of March 2016
Hi Staci, it was wrapping paper! I got it at Paper Source. They have an online store and a really nice selection of thick wrapping paper. They sell it by the sheet. I hope your mom has a wonderful wedding!
spoken m
Thursday 16th of January 2014
Рrecisely what I was searching for, thanks foг posting . "In England every man you meet is some man's son in America, he may be some man's father." by Ralph Waldo Emerson.
cindy
Saturday 31st of July 2010
I am doing this!! I love this idea, but NOT crafty. So far so good, but I am putting a slit in the top for the cards. How to distinguish this from another present on the table. Any ideas? I have 3 days to finish.
Kathy Beymer
Monday 2nd of August 2010
Hmm, maybe a sign that peeks up from the side of the box with a cute saying about it being wedding wishes well? You could use a fabric-covered paint wand as a sturdy base to hold up the sign.
RobbieLee at Chickiedee
Tuesday 15th of September 2009
Very creative and inspiring! Thanks!
Kathy Beymer
Monday 10th of August 2009
Hi Ashley,
Hmm, round. How kitchy vs. traditional are you going? It could be fun to find a large round vase or round planter with a mouth large enough for slipping in cards, or even a vintage zippered suitcase like this:
http://www.etsy.com/view_listing.php?listing_id=26180778
If you use something non-traditional you might want to create a table tent or similar label that says something like "For good wishes" ...something to give enough detail to let people know that's where the cards should go. Otherwise, here's a plain round box that you could decorate...
http://www.createforless.com/Craft+Pedlars+Paper+Mache+Set+Box+Round+Hat+XL+Kraft+Set+of+3/pid152225.aspx?utm_source=googlebase&utm_medium=cse
Thanks for reaching out! Please do share what you come up with.