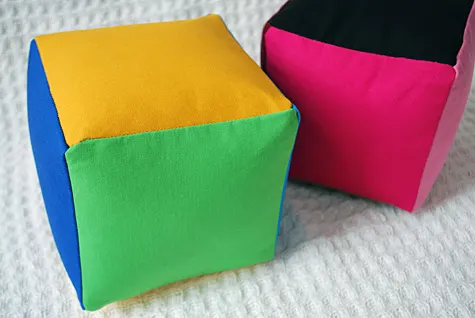
My baby Elise is four months old now. She can hold her toys in both hands and sit up assisted. I think this big girl is ready for some colorful jingly oversized 5″ x 5″ baby blocks!
I am really loving the colors that I chose …which sort of was a fluke. I just went through my fabric stash, cut squares and grouped them afterward. And well I think even my graphic designer friends would approve 🙂
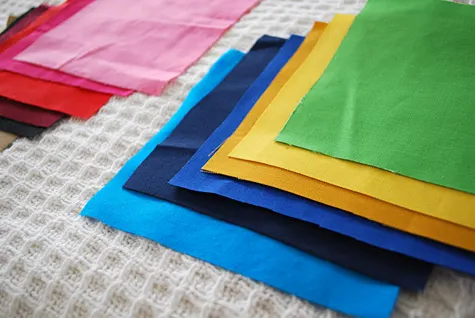
Block 1 – Fresh: Three shades of blue, one shade of green, with yellow and gold on the ends
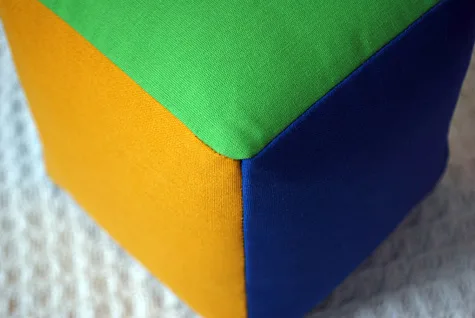
Block 2 – Warmth: Light pink, hot pink, burgundy and red with tan and black on the ends
WANNA MAKE IT? Free template, supply list and DIY step-by-step instructions for creating my colorful fabric baby stacking blocks after the jump –>
Supplies:
- Six 6″ x 6″ squares of colored fabric for each block
- Six 6″ x 6″ squares of craft weight fusible interfacing for each block (optional but recommended for thin fabric)
- Thread
- Good fabric scissors
- Hand-sewing needle
- Pillow stuffing
(you could make these blocks with foam but I had a lot of extra stuffing in my craft closet)
- Jingle bells
- Rotary fabric rotary cutter
, self-healing gridded rotary mat
and clear fabric ruler
- Good iron
- Ironing board
- Sewing machine
Please post a comment if you use this project so I can smile when I see that it’s being used. Craft and pass it on!
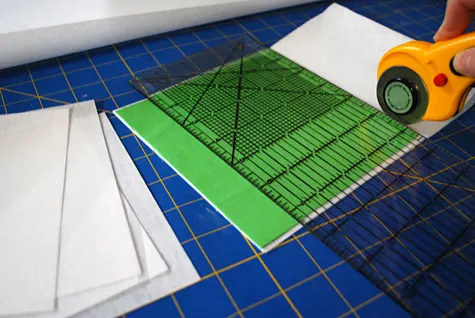
Cut your 6″ x 6″ squares of colored fabric and iron-on interfacing using your rotary fabric rotary cutter, self-healing gridded rotary mat
and clear fabric ruler
.

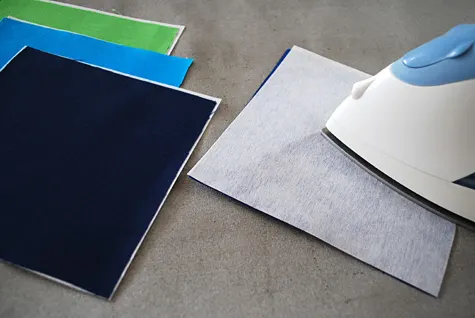
Iron your colorful squares to remove all wrinkles. Then iron the interfacing on to the wrong side of the colored fabric. Trim any extra interfacing from the edges as needed.

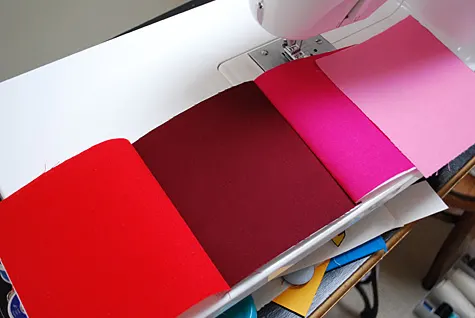
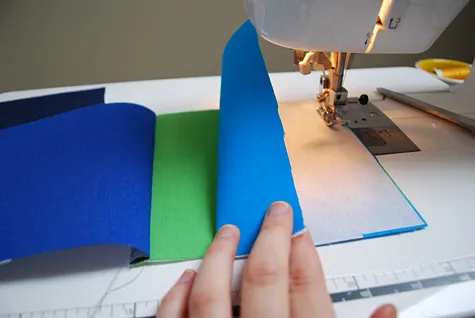
Take two pieces of colorful fabric and place them right sides together. Sew one side together using a 1/2″ seam. Repeat until you have four squares sewn together in a straight line.

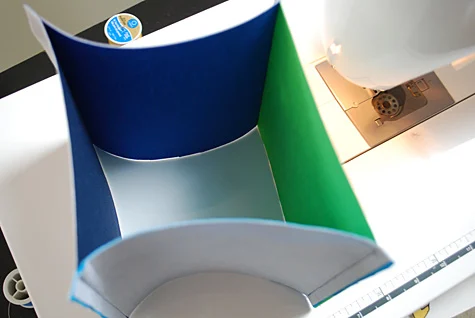
Bend the first square and the fourth square so their right sides are touching. Sew. It will look like a sewn box like this…

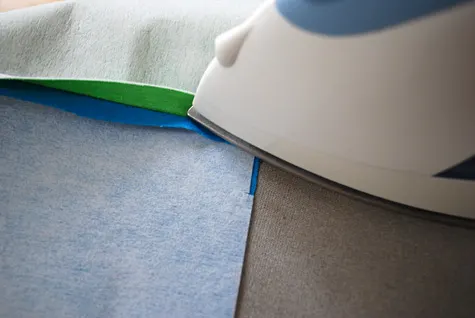
Press the seams open.
Now you’re going to put on the two end pieces. Here’s a trick to easily center your pieces. Fold one side of end piece in half; do the same on one side of your sewn box. Now I don’t usually use a lot of pins when I sew but this is one case where you do want to put in a pin here to hold the centers together.
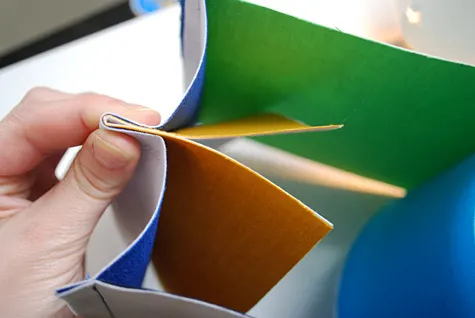
Repeat on the opposite side.

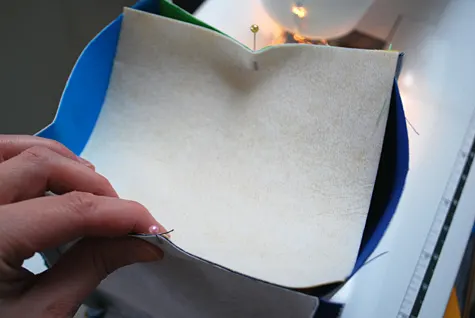
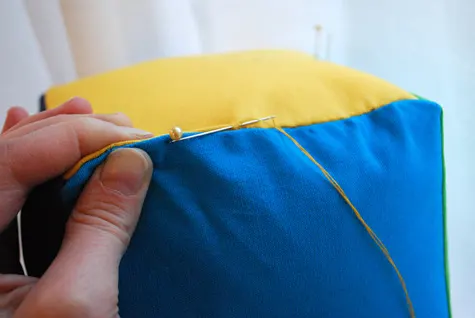
When you have all four sides pinned it will look like this. Notice that I’ve put the pins in from the outside; this is because you’re going to sew the end piece on the bottom as you’ll see shortly.
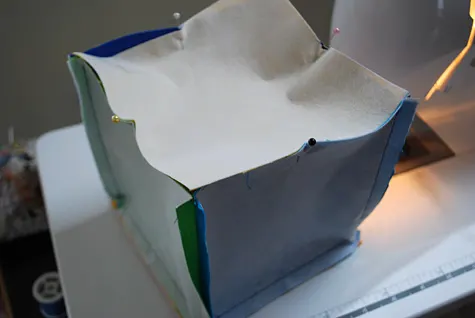
Flip your box so the end piece is on the bottom. Sew each side from corner to corner, stopping at the seams.
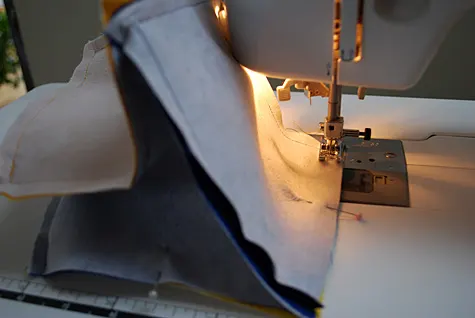
Repeat on the other end piece with one important difference: Leave about a 4″ opening on one of the sides. I mean, sew from the corners about an inch on each side, but then stop and backstitch. Turn the block right-side-out.
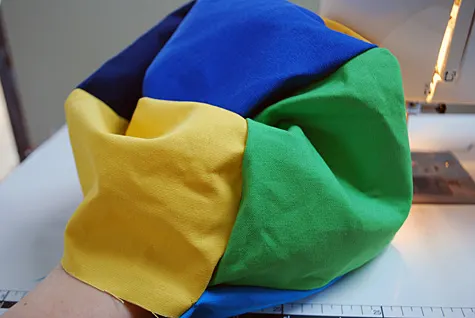
Here’s what mine looked like …pay no attention to the fuzz …I rolled that off after stuffing and sewing 🙂
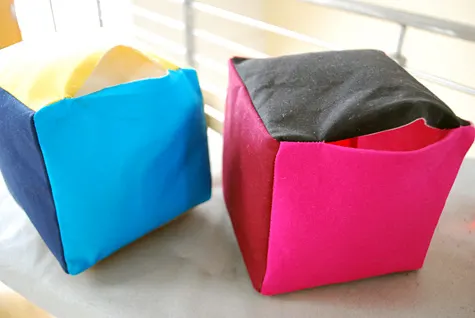
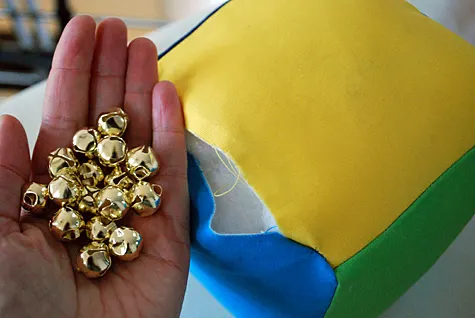
Stuff the block tightly with pillow stuffing, making sure to really pack it in on the corners. Slip a handful of holiday jingle bells
inside …I had small ones already in the house but with the tight stuffing I would recommend buying larger bells for a louder jingle.

Hand sew the opening shut.
COPYRIGHT NOTE: You’re more than welcome to use this idea and project instructions for personal use. Contact me for any commercial use – this includes etsy sellers.
Please post a comment below if you use this project so I can smile when I see that it’s being used. Craft and pass it on!

FRAN
Friday 6th of February 2015
GREAT IDEA FOR USING SCRAP MATERIAL. THANKS FOR THE DIRECTIONS! :-)
FRAN
Friday 6th of February 2015
GREAT IDEA FOR USING SCRAP MATERIAL. THANKS FOR THE DIRECTIONS! :-)
Annie
Tuesday 4th of January 2011
I think these blocks would be even MORE fun with ribbon, etc. attached- kind of like your travel blanket. FUN FUN! Thanks for sharing!
Rachel C.
Thursday 11th of November 2010
I am going to do this for the next baby shower I go to! I've been looking for a tutorial, and this is clear and simple- thanks!
Llew and Kat
Sunday 22nd of August 2010
Thanks for the great instructions. Last year I made bunting for our friend's newborn baby. This year, for her first birthday she's getting one of these. I don't sew that often so I especially liked your trick to get the end squares centred before sewing them on. Might send a pic if I get a chance. Thanks
Kathy Beymer
Sunday 22nd of August 2010
Hi Kat, I'm sure your friend's one-year-old will love it! In hindsight, I'd suggest adding some ribbons to a few of the sides ...would give the baby something to swing them around and things to pull. Check out my kid's travel blanket tutorial for inspiration. Would love to see your final blocks :)