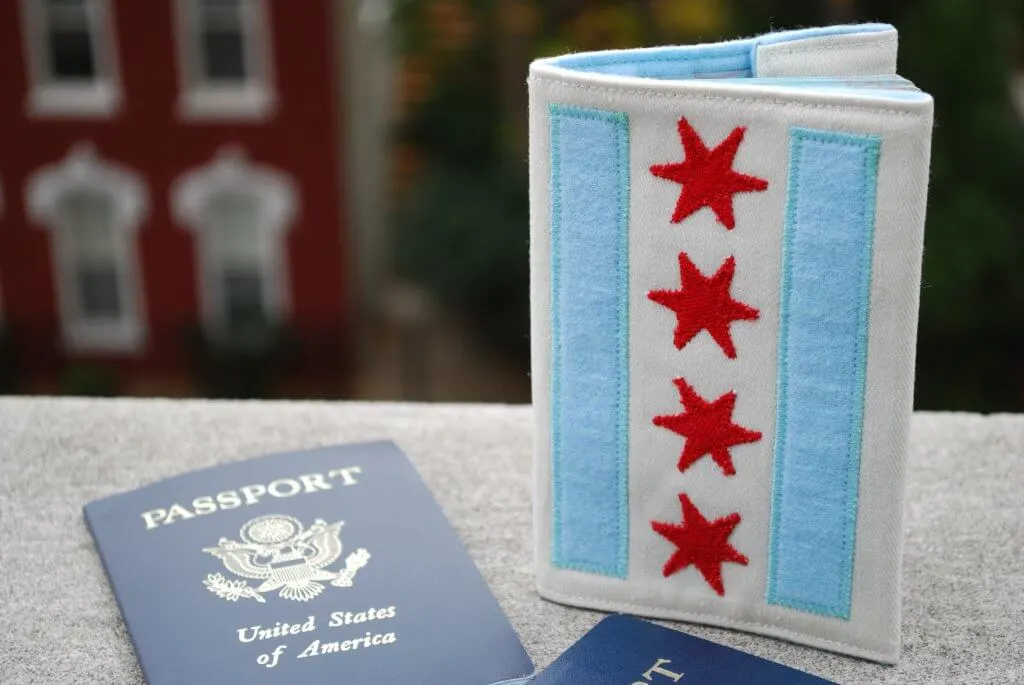
Make a DIY passport cover for your summer travels. It’s an easy beginner sewing project that you can make in an evening. You can use fabric or felt, and you can decorate the front how you wish. I decorated mine with a Chicago flag to give as a DIY gift for my friend, and I share my stars and stripes free template below. Keep reading to get my DIY passport cover free sewing pattern.
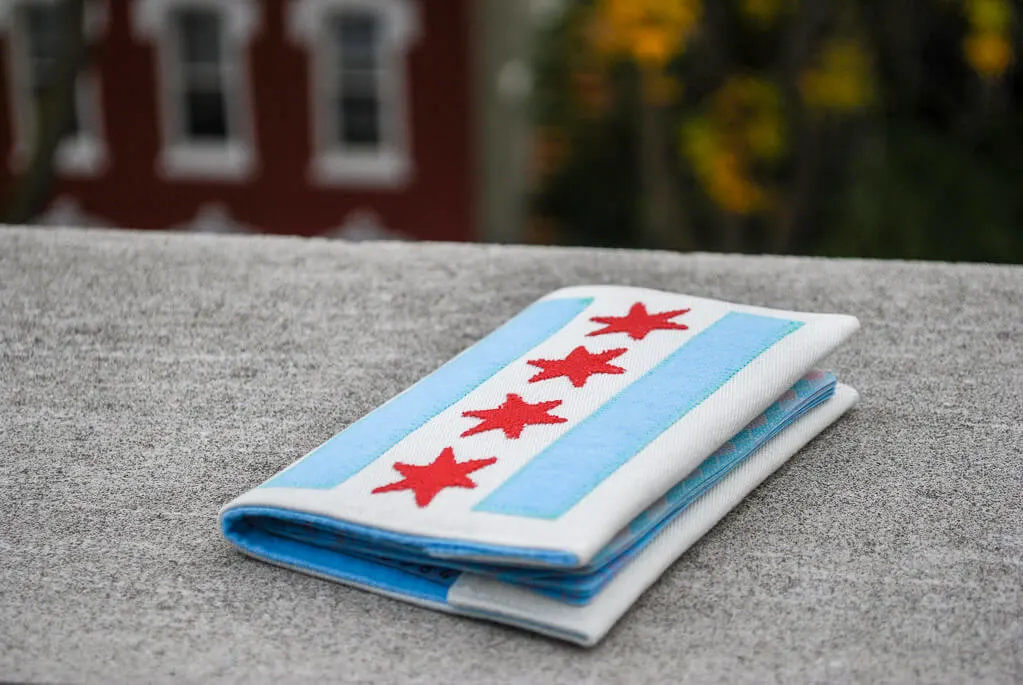
My friend Debbie has accumulated an enviable amount of stamps in her passport. Each year she plans a “big trip” which recently has meant China, Costa Rica, Spain, Czech Republic, Hungary and Brazil.
This project was proudly featured in Time Out Magazine and at Chicagoist.com. Yay!
See also: ‘Oven mitt free sewing pattern’ »
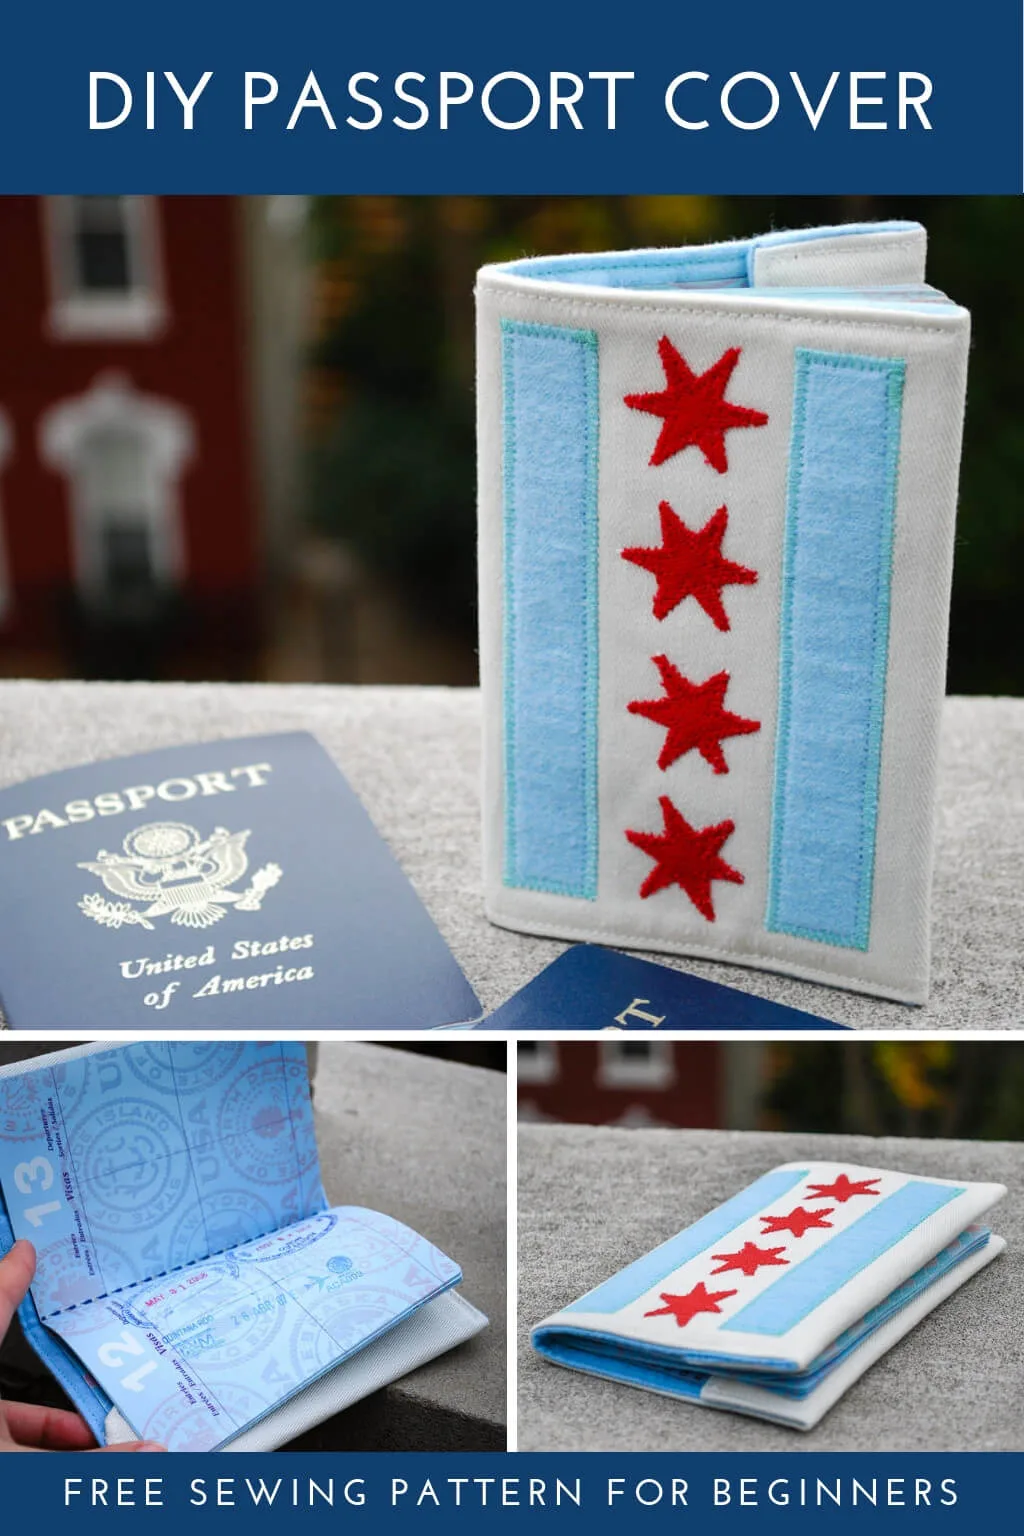
I wanted to make a unique DIY gift for Debbie’s birthday so I came up with the idea of a passport cover featuring the Chicago municipal flag:
- The three white stripes = North, West and South sides of the city
- The top blue stripe = Lake Michigan and the North Branch of the Chicago River
- The bottom blue stripe = the South Branch of the Chicago River and the Great Canal
- Stars = Fort Dearborn, the Great Chicago Fire of 1871, the World’s Columbian Exposition and the Century of Progress Exposition
I can get such a knot-in-my-throat sense of pride about Chicago. As a big 2016 Olympics bid supporter, Debbie gets it too. Happy birthday, Debbie …and happy travels!
You’re welcome to use these instructions and free sewing pattern for your own personal use. Anyone using the template simply post a comment below.
This post contain affiliate links which means that products I recommend may give me a nominal commission at no extra cost to you. Thanks – your clicks help me make more free DIYs!
++++++
Supplies for making a DIY passport cover:
- Kathy’s free star Chicago flag template (optional) (PDF)
- Cream fabric
- Light blue fabric
(I used super soft fleece)
- Red fabric (small amount for stars)
- Iron-on craft weight interfacing
- White, red and light blue thread
- Rotary fabric cutter
- Clear fabric ruler
- Self-healing mat
- Good fabric scissors
- Sewing machine
++++++
How to make a DIY passport cover:
Step 1: Decorate the front of your DIY passport cover (optional)
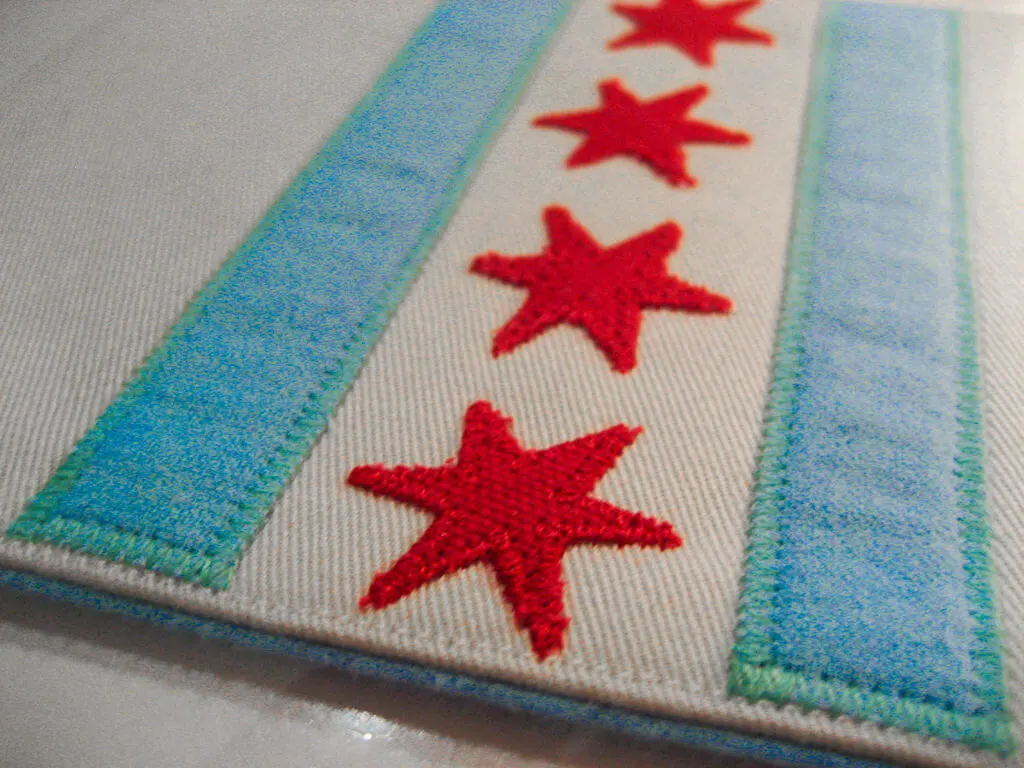
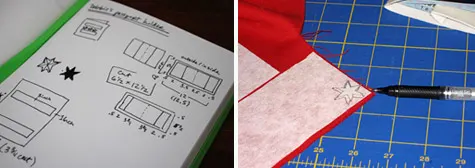
Decorate the front of your passport cover. If you’d like to make a Chicago flag, print out my free Chicago flag template and cut out the pieces. Iron interfacing onto the wrong side of your red fabric. Trace four stars with a pen and cut out.
Step 2: Cut out fabric pieces for your DIY passport cover
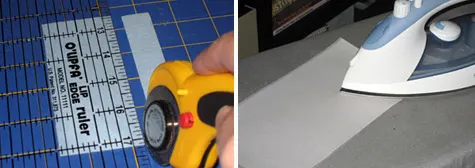
Cut out the pieces using a rotary cutter, clear fabric ruler
and rotary mat
:
Cream outside: 12.5″ wide x 6.5″ tall
Light blue inside: 12.5″ wide x 6.5″ tall
Blue flag strips: 3″ wide x 1″ tall (cut two)
Interfacing: 12.5″ wide x 6.5″ tall
Iron the interfacing onto the wrong side of the cream fabric.
Step 3: Sew your DIY passport cover
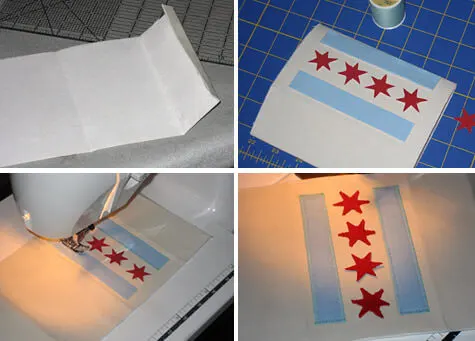
Fold the cream outside piece in the middle (above left), wrong sides together, and crease. Measure 3.5″ from the middle crease on both sides, fold wrong sides together, and crease. Fold the short left and right ends 1/2″ on each side, wrong sides together, and crease.
Lay out the stars and stripes on the right side of the cream front. Using your sewing machine’s zigzag stitch to sew down the stripes first, then the stars one at a time.
Step 4: Attach the front of your DIY passport cover to the back
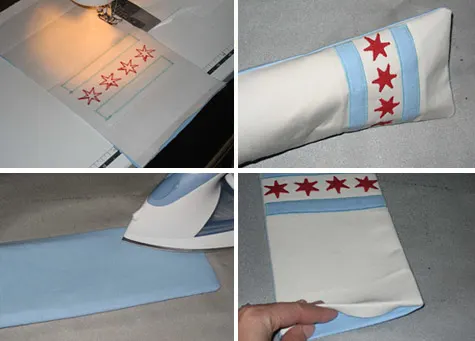
Sew the light blue inside to the cream outside, wrong sides together, using a 1/2″ seam and leaving one of the short ends open (above left). Cut off some of the fabric bulk from the corners, turn right side out, and iron. On the open end, turn the cream and blue under 1/2″, tuck inside and pin.
Step 5: Topstitch and finish your DIY passport cover
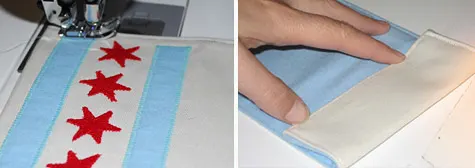
Make it look nice by topstitching close to the edges using cream thread on top and light blue in your bobbin. Fold in the left and right flaps so they’re 3.5″ from the middle crease, then pin and sew along the edge (right on top of what you just topstitched using cream thread) to secure the flaps.
Step 6: Slip your passport inside
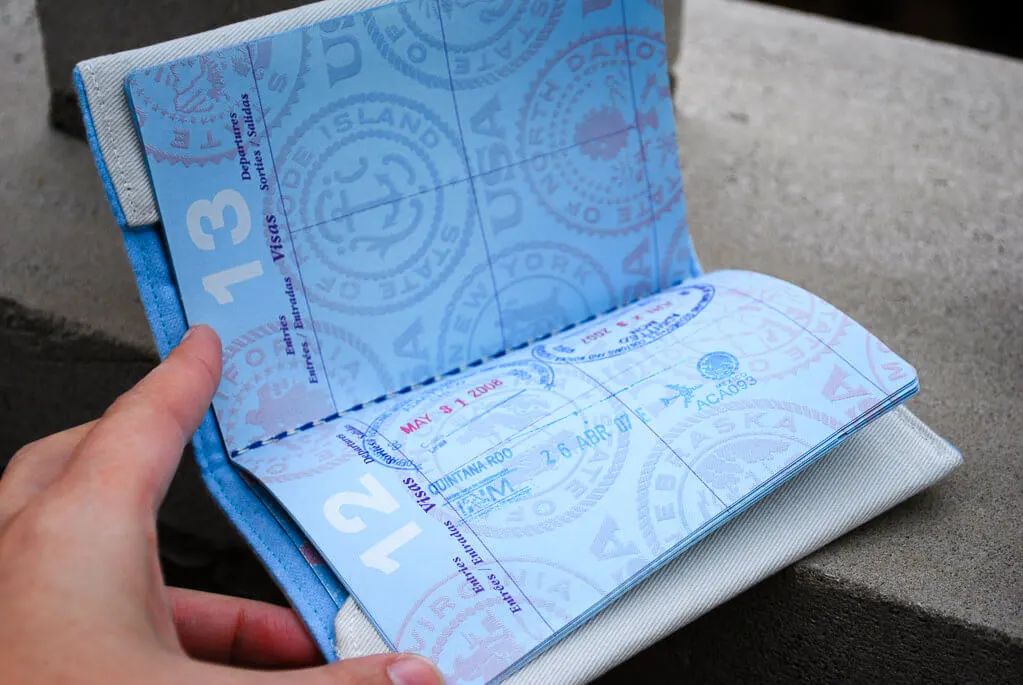
Slip your passport inside and head for O’Hare.
++++++
Be sure to pin this DIY passport cover free sewing pattern for beginners:
++++++
And be sure to see more free sewing projects.
—
Like it? Share it!
The nicest way to say you like it is to pin it on Pinterest, post a comment, follow Merriment Design on Facebook, Pinterest, Instagram or sign up for monthly emails. Enjoy! 🙂
Copyright stuff: You’re more than welcome to use this free project and tutorial for personal use. Contact me for commercial use and Etsy sales.

marci
Sunday 29th of January 2012
LOVE the Chicago Flag. What a great idea. I never would have thought to make a passport cover. What a nice disguise when traveling abroad. Maybe sew it to a band to wear around neck like those security pouches for keeping your passport safe while traveling
Nicole
Saturday 9th of October 2010
Kathy, I got inspired and made a cover a few days ago - right before I went on a trip. I used blue linen and white/pinkish fabric for the add ons. Making the cover was great fun and showing it at the airport even more. Thanks for sharing your ideas! Nicole
Kathy Beymer
Saturday 9th of October 2010
Hi Nicole, that sounds like a pretty color combination. Thanks for the smile today! Kathy
Chicagoan
Tuesday 14th of April 2009
Hello, I was searching for information on the Chicago flag, and, well, look at the nice thing I found. This is beautiful. In recent years, when I have traveled, I have not worn a US Flag lapel pin. Neither did I wear a Canadian flag as the coward way's out. I wore a Chicago Flag pin and, boy, did I get into a lot of interesting and funny conversations about it! These pins are available in different places around and about in Chicago.
--Bry
Kathy Beymer
Wednesday 29th of April 2009
@Bry :: Thanks so much for sharing your story. Good on ya for not hiding while overseas. You did Chicago proud!! I'll keep my eye out for those pins. Lovely Bakery on Milwaukee also has cute Chicago coffee mugs in case you can't get enough of the light blue and red...
DJ
Thursday 6th of November 2008
What if i'm too lazy and I want to buy one??
Joseph Dombroski
Thursday 30th of October 2008
This is a lovely idea. I'm thinking of making one for myself (even though my passport rarely leaves the safe anymore).