This post is sponsored by ConsumerCrafts.com: Creativity Made Affordable.
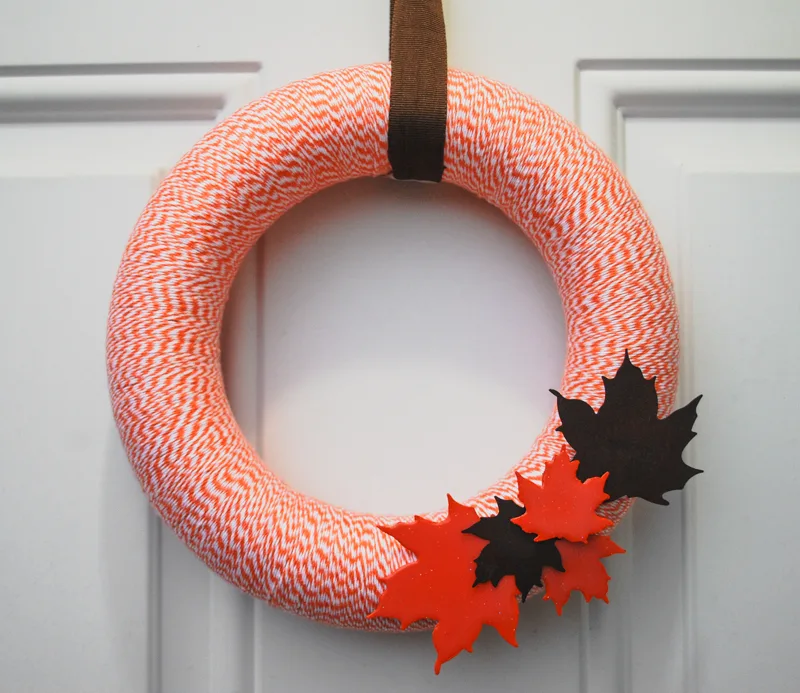
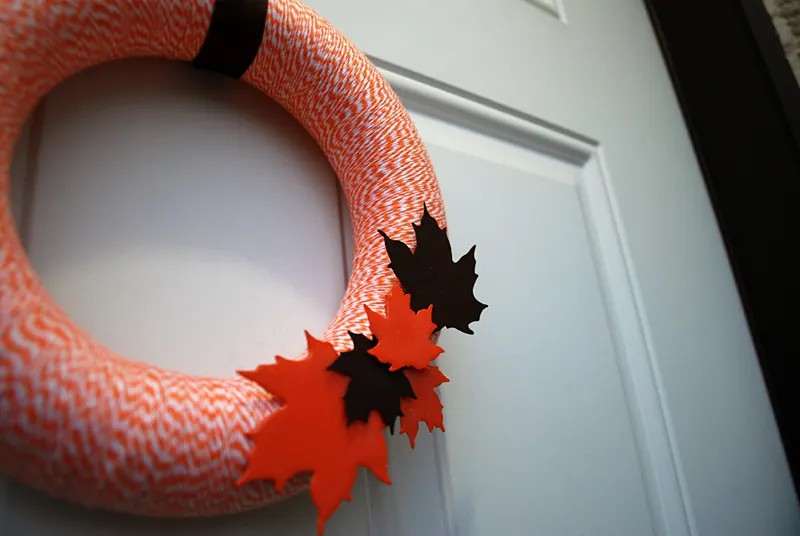
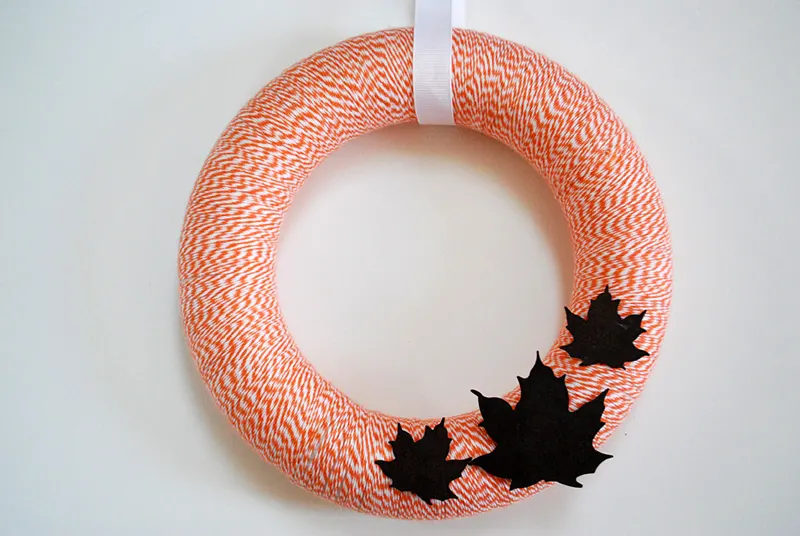
Here’s an easy DIY fall wreath idea with a modern flair: A baker’s twine wreath with rustic tin leaves painted orange and glossed up with Mod Podge Dimensional Magic.
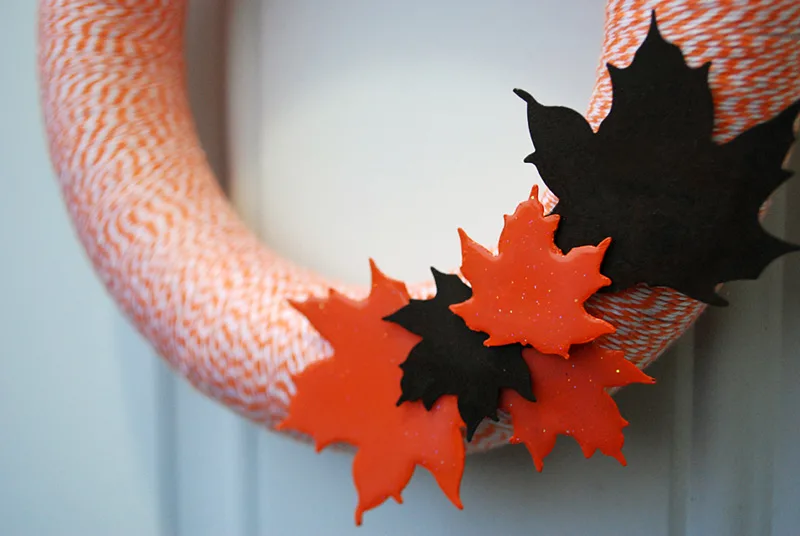
I love how the painted glossy Mod Podge’d maple leaves turned out.
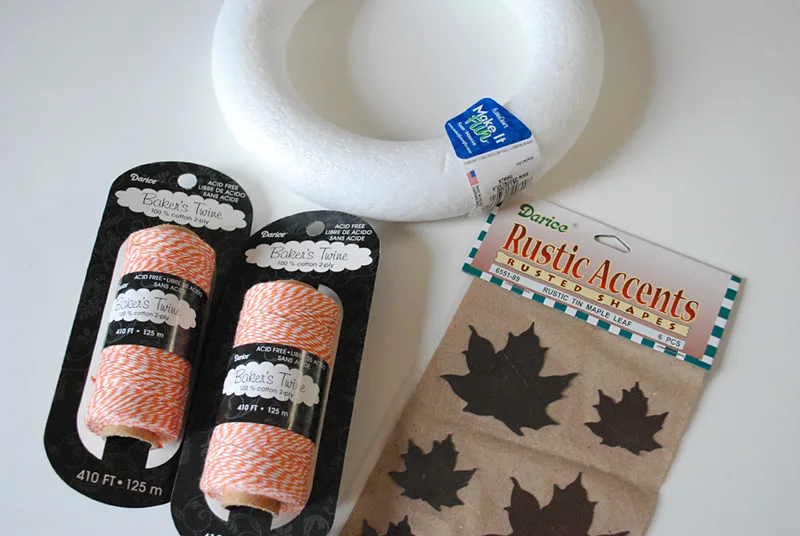
I started with a some supplies from ConsumerCrafts.com including some cute rustic tin maple leaves that I’ve not seen elsewhere.
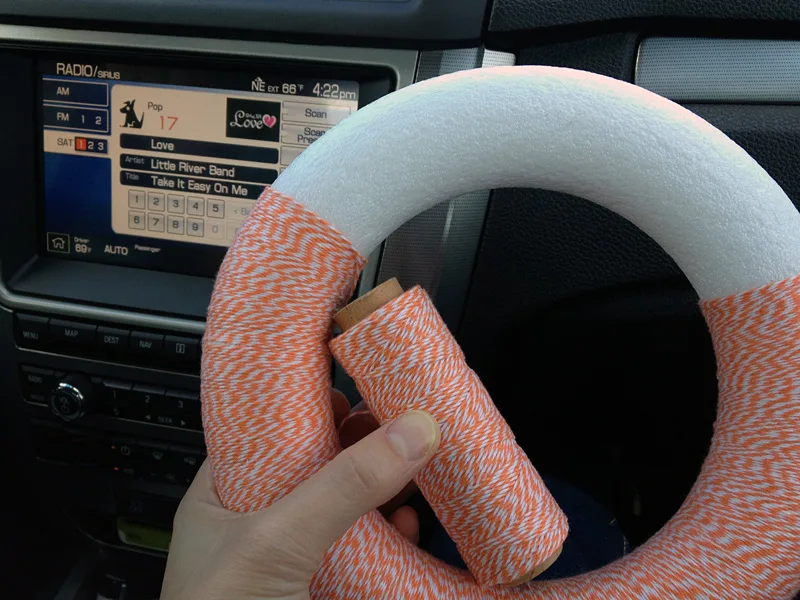
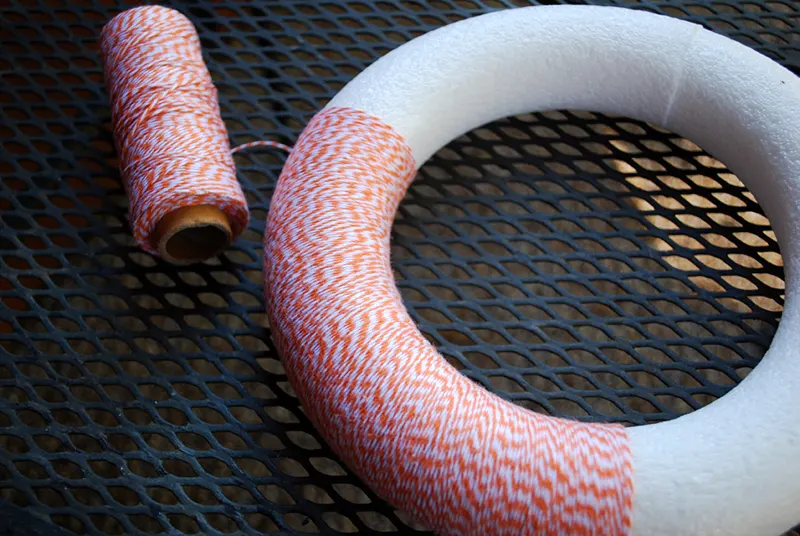
I wrapped the styrofoam form with orange and white baker’s twine around it during an 80s-cheestatstic-filled roadtrip with my sister. Wrapping it was strangely therapeutic and an 8″ wreath ended up taking less than one package of twine.
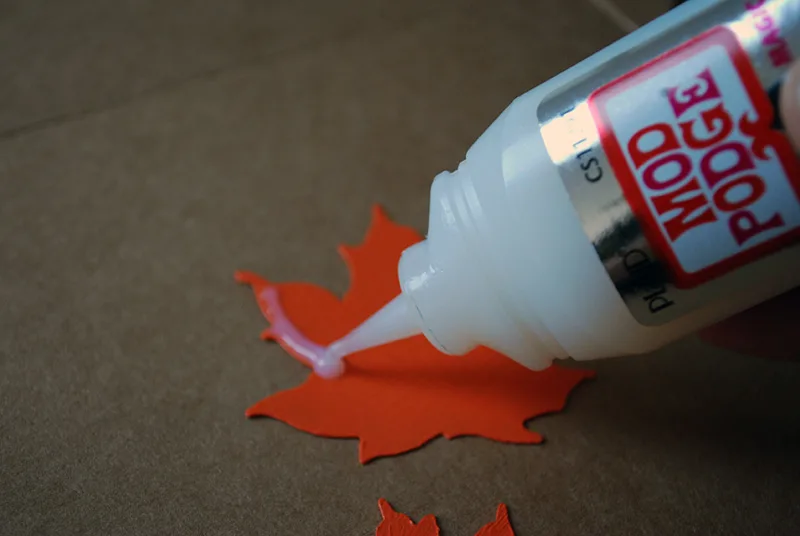
Then I painted three of the six rustic metal leaves with bright orange paint and made them pop with Mod Podge Dimensional Magic.
Cute, yes? And cheap. Really cheap thanks to the craft supplies website, ConsumerCrafts.com, where I bought the supplies. ConsumerCrafts.com launched in November 2011 and carries a broad range of craft products like jewelry making supplies, scrapbooking and craft basics, yarn, candy-making supplies and kids crafts. I wrote this post as part of a paid campaign with ConsumerCrafts.com and Blueprint Social. The opinions in this post are my own.
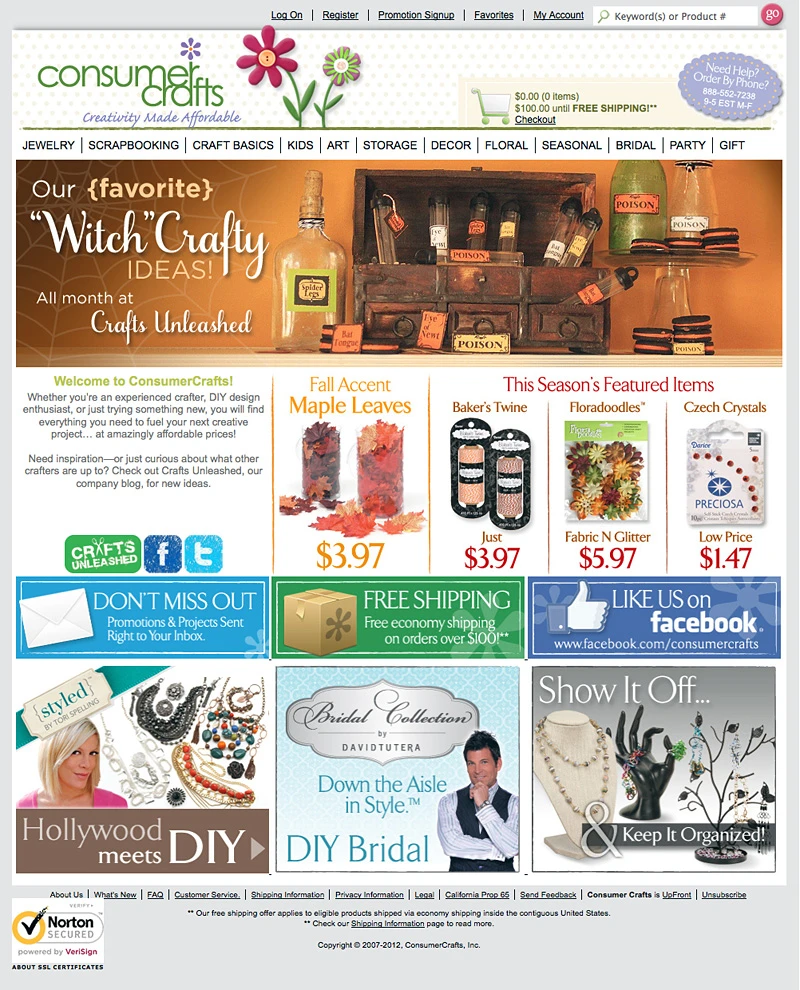
And the prices? Well, their tagline isn’t Creativity Made Affordable for nothing. ConsumerCrafts.com asked me to try out their site and gave me $50 to spend in craft supplies. I was pretty shocked what I was able to get for $50 there considering I routinely walk out of craft stores spending about that much for maybe a bag or two. I ended up browsing most of the site’s categories while watching The X Files (when I wasn’t making Halloween no-sew bracelets). I added $200 of things to my cart, no lie, I found that much that I wanted to buy. Of course I had to pull back from that but I ended up ordering some really cute and unusual items for Elise’s upcoming Toy Story themed 3rd birthday party like cowboy hats for kids, cowboy hats for adults, red bandanas, teeny cowboy hats for decoration and favor bags (and the white kraft paper favor bags themselves) and rustic star garland.
Selection-wise jewelry, scrapbooking and basic crafts seem to be their deepest right now. As of today they do not carry fabric which is something I do buy a lot of online. But Consumer Crafts says that they are constantly growing and add anywhere between 200-500 items to our site a month so I will check back.
Visit Consumer Crafts on Facebook , twitter, pinterest and You Tube Channel and get cute project ideas on their Crafts Unleashed Blog. And remember to enter the Consumer Crafts refer a friend contest for a chance to win $250 in prizes:
WANNA MAKE IT? Keep reading for the step-by-step tutorial for making my Baker’s Twine Fall Wreath –>
Supplies for making a Baker’s Twine Fall Wreath:
- Styrofoam Wreath Form – 8″ extruded round form $1.67
- Rustic Accents Rusted Tin Maple Leaves $1.27
- Orange and White Twist Baker’s Twine (1 package, 125m) – $3.97
- Orange paint and paintbrush
- Mod Podge Dimensional Magic
- Tacks (optional)
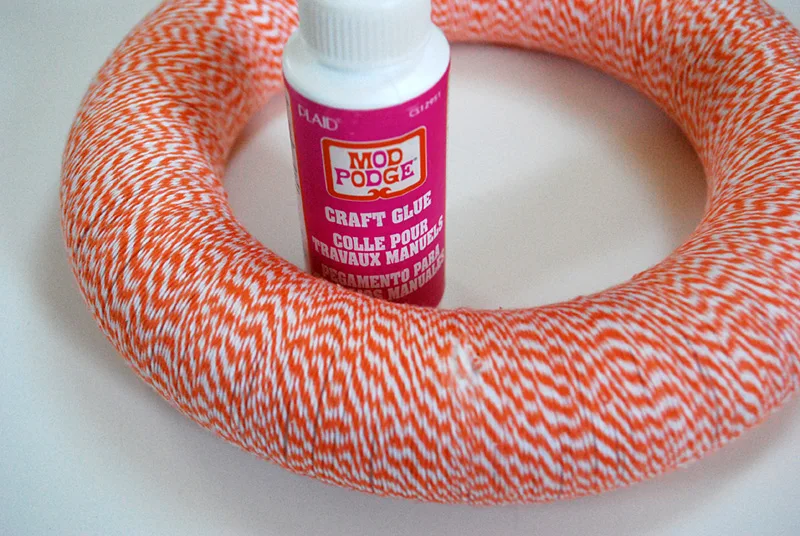
- Craft Glue
Consumer Crafts says that their everyday prices are lower than most sale prices you will find on other internet sites or in stores. I did a little wreath supplies comparison shopping:
8″ Styrofoam extruded wreath: $1.67 at ConsumerCrafts.com, could only find 10″ at Joann and have to buy in a 12-pack, 10″ wreath is $7.77 at Amazon
Orange and White Baker’s Twine: $3.97 at ConsumerCrafts.com, couldn’t find at Joann, Amazon is a range but looks like about $7.90
Rusted Metal Tin Leaves: $1.27 at ConsumerCrafts.com, couldn’t find this product at Joann or Michael’s
Mod Podge Dimensional Magic: $4.97 at ConsumerCrafts.com, $4.99 at Joann, $7.59 on Amazon
So making this Baker’s Twin Fall Wreath cost me about $12.00.
:: How to make a Baker’s Twine Fall Wreath ::
Tie the baker’s twine onto the styrofoam wreath.
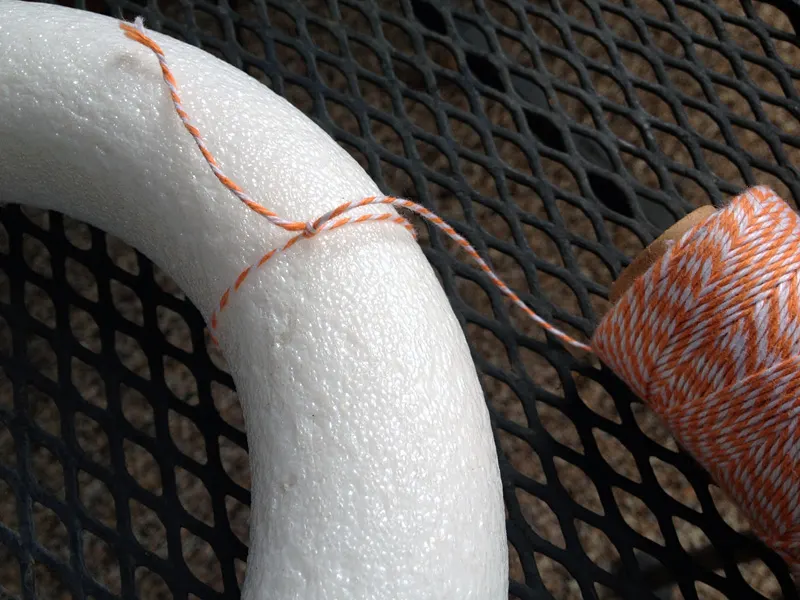
Start wrapping the Baker’s Twine around the styrofoam wreath. And wrap. And wrap. And…
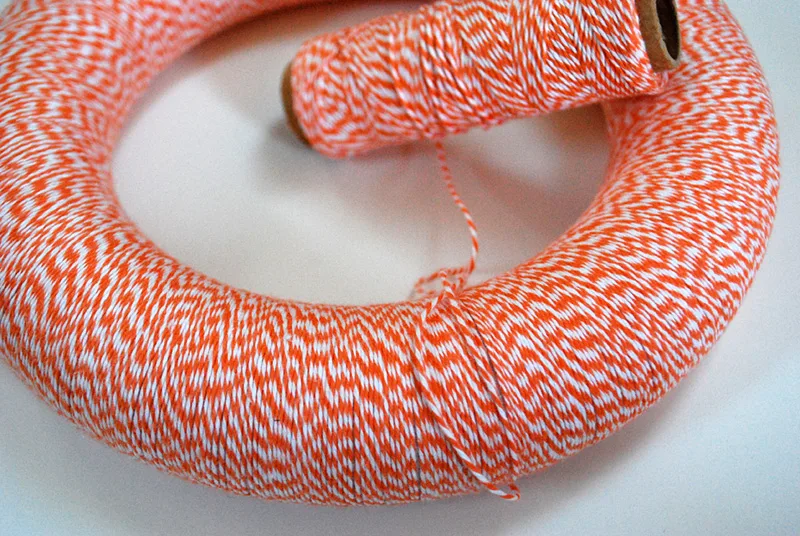
Tie off the Baker’s Twine.
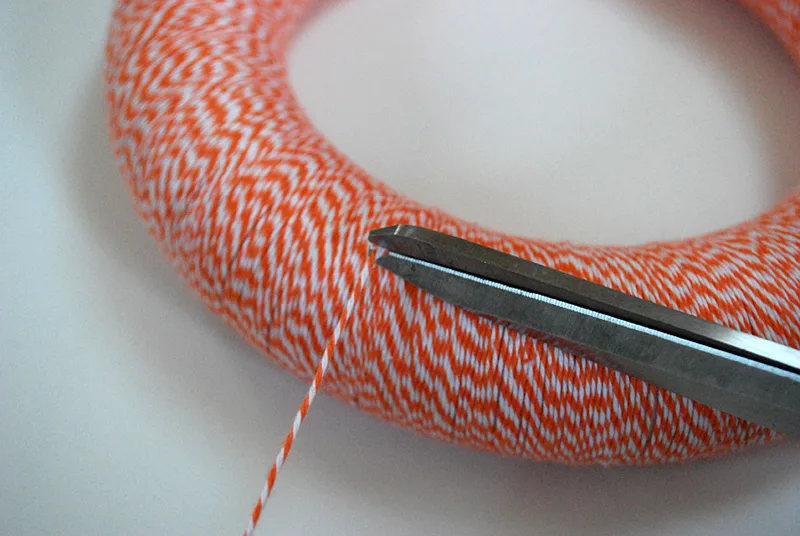
And cut.
I put a dab of craft glue on it but you could probably leave this step out if you tie it really well.
Pull the rusted metal leaves from the backing. There’s some glue on the back which did a number on my nails, oof, so maybe use a craft knife or something to save your manicure.
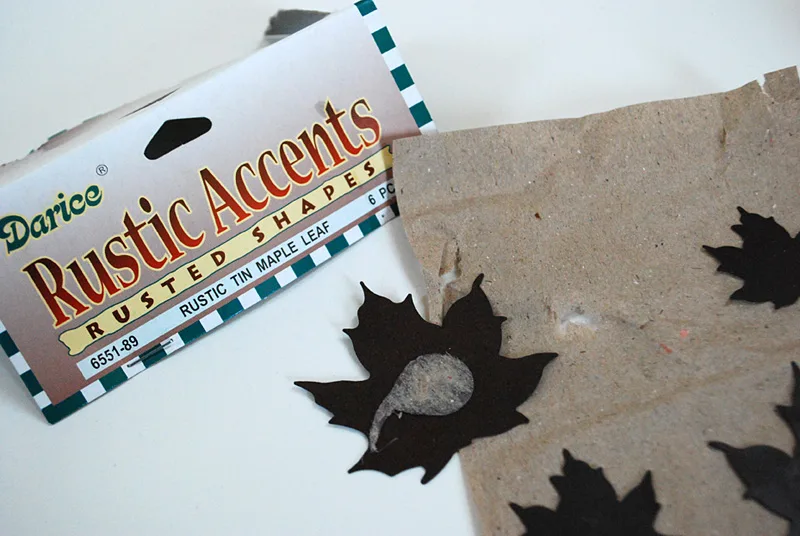
Now came some indecision. I placed the rusted metal leaves as is on the wreath to see how it looked. Originally I had planned to paint the leaves …but does it look cute enough like this?
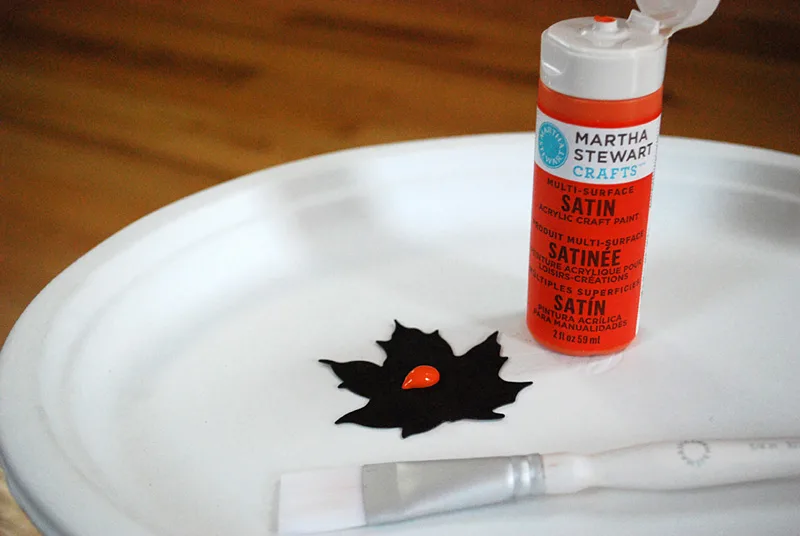
Luckily, the leaves come six to a pack so I decided to paint three and decide later. Dab some orange paint onto the leave and spread it around.
This was my first coat, pretty sloppy, heh. Painting is normally not my thing.
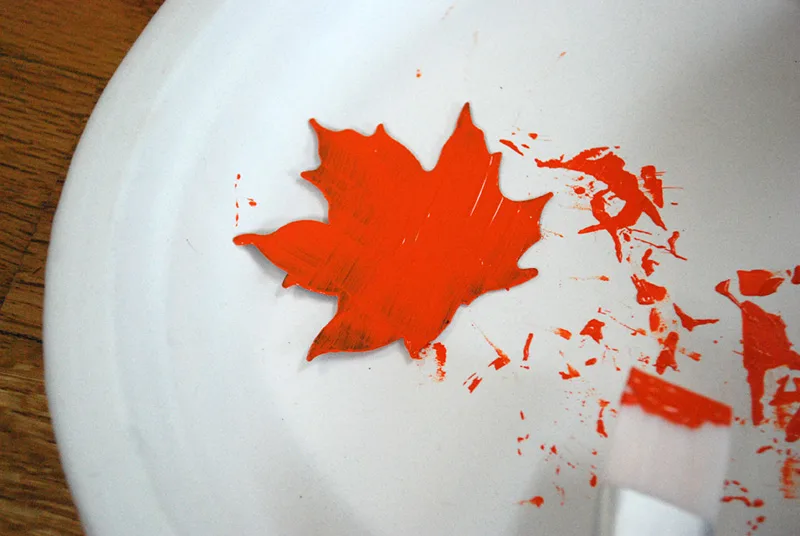
Paint a light coat, let it dry, and paint another coat the other direction. I painted two coats on the front and backs so plan on this step taking a couple evenings. I tried to rush it and put the paint on too thick and it looked kind of sloppy.
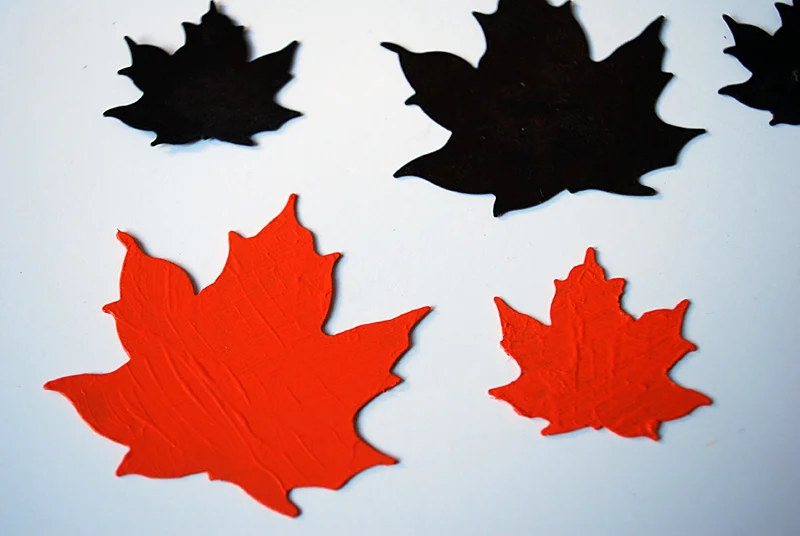
Enter my saving grace: Mod Podge Dimensional Magic. I used this stuff on my Fourth of July Sparkler Caddy and it’s really cool. Basically, it adds a shiny coat with a subtle glitter.
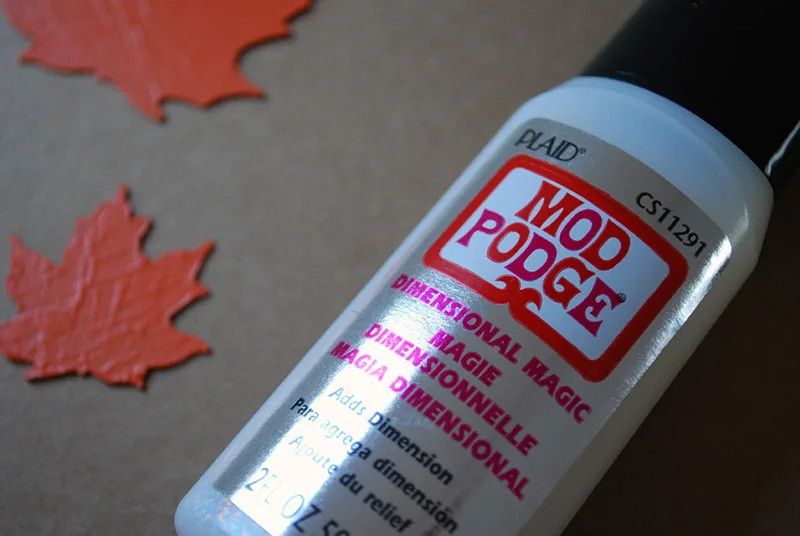
Place your leaf on a very flat surface. Seriously, make sure it’s flat or else it can run off of your shape. Outline around the perimeter kind of like icing a cookie taking care to not flood outside of your shape.
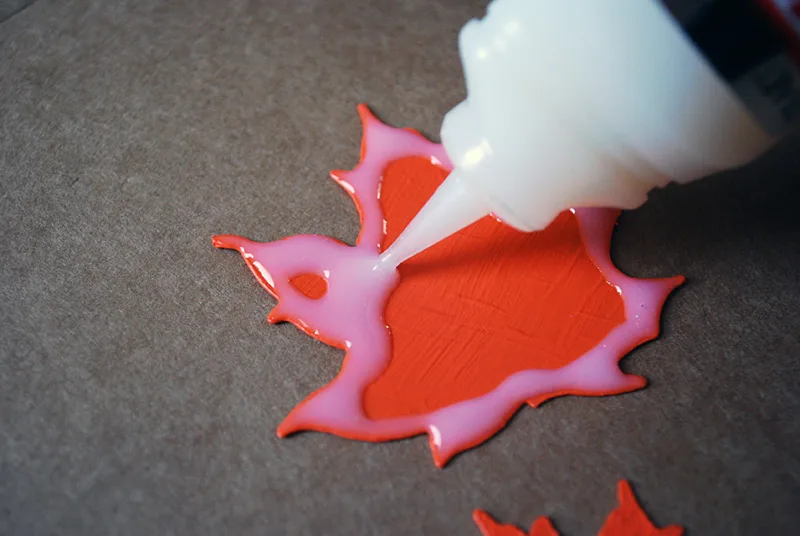
Now flood the inside with the Dimensional Magic. Let dry 24 hours.
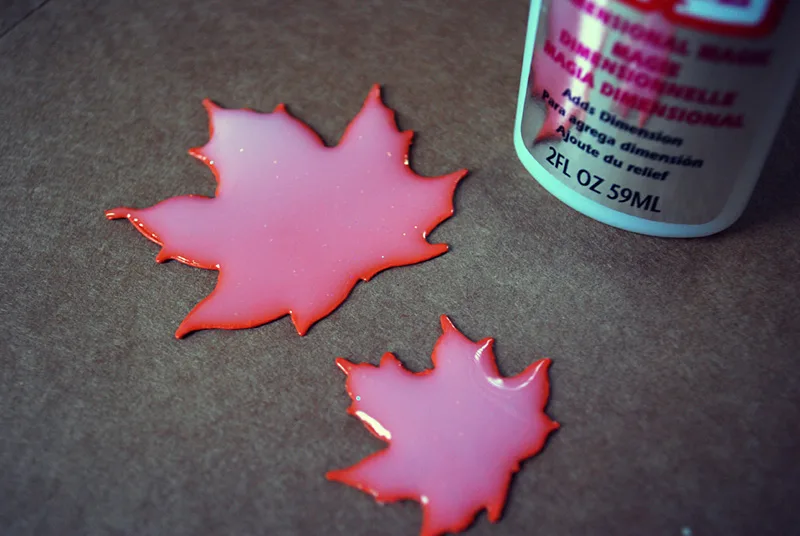
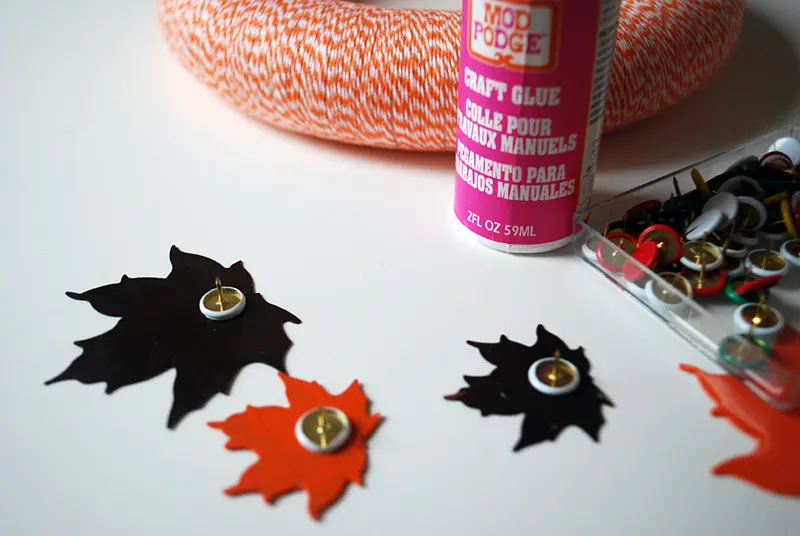
Because I’m non-committal I glued some tacks on the back of the leaves.
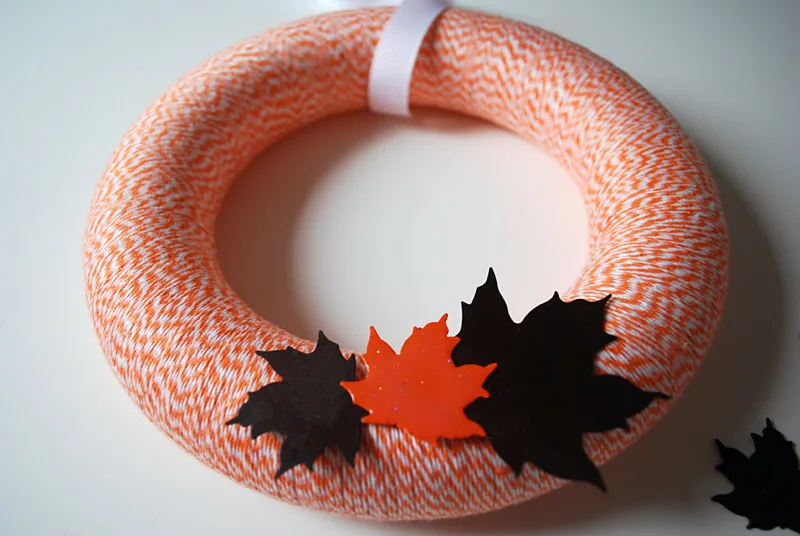
Then I tried arranging the leaves like this…
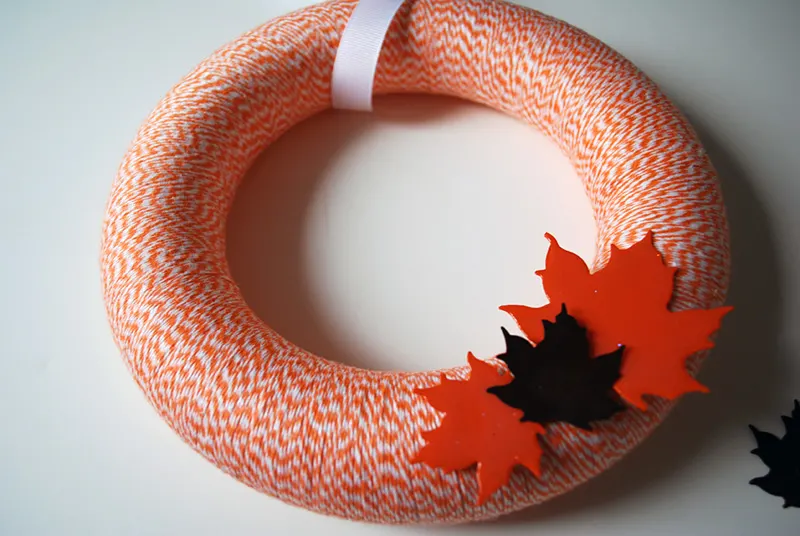
And then like this…
Until I finally found an arrangement that I liked. I felt kind of like Cher in Clueless taking photos of all of her outfits before choosing what to wear. But I liked having the tacks on to play around a bit. I put a bit of glue on the tack pins and then stuck them into the styrofoam for a stronger hold.
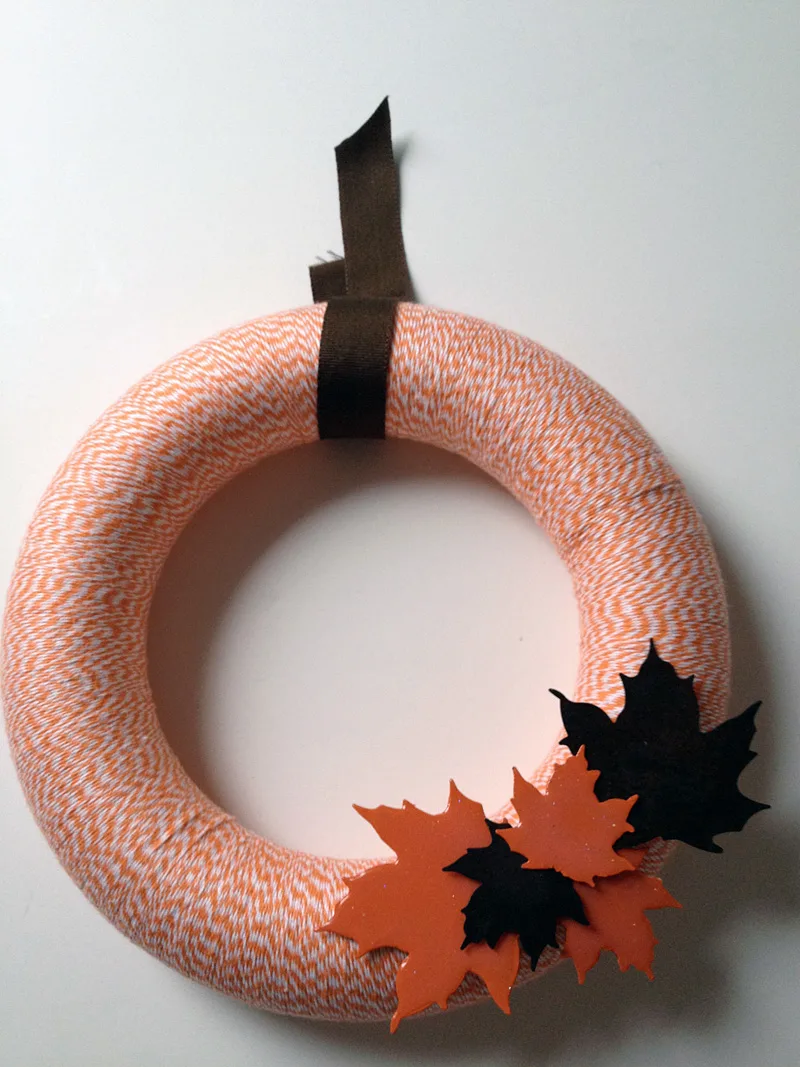
—
Like it? Share it!
The nicest way to say you like it is to pin it on pinterest, post a comment, follow Merriment Design on Facebook, twitter, pinterest, Google+, instagram or sign up for monthly emails. Enjoy! 🙂
Copyright stuff: You’re more than welcome to use this free project and tutorial for personal use. Contact me for commercial use and etsy sales.


eva scott
Sunday 25th of November 2012
How cute. I love wreaths but have never thought to use baker's twine to cover one. Really cute idea!
Kim
Friday 23rd of November 2012
Just wanted to let you know how much I LOVE, LOVE, LOVE your website. Just stumbled across it today and look forward to a long day of crafting tomorrow. Will post pics!