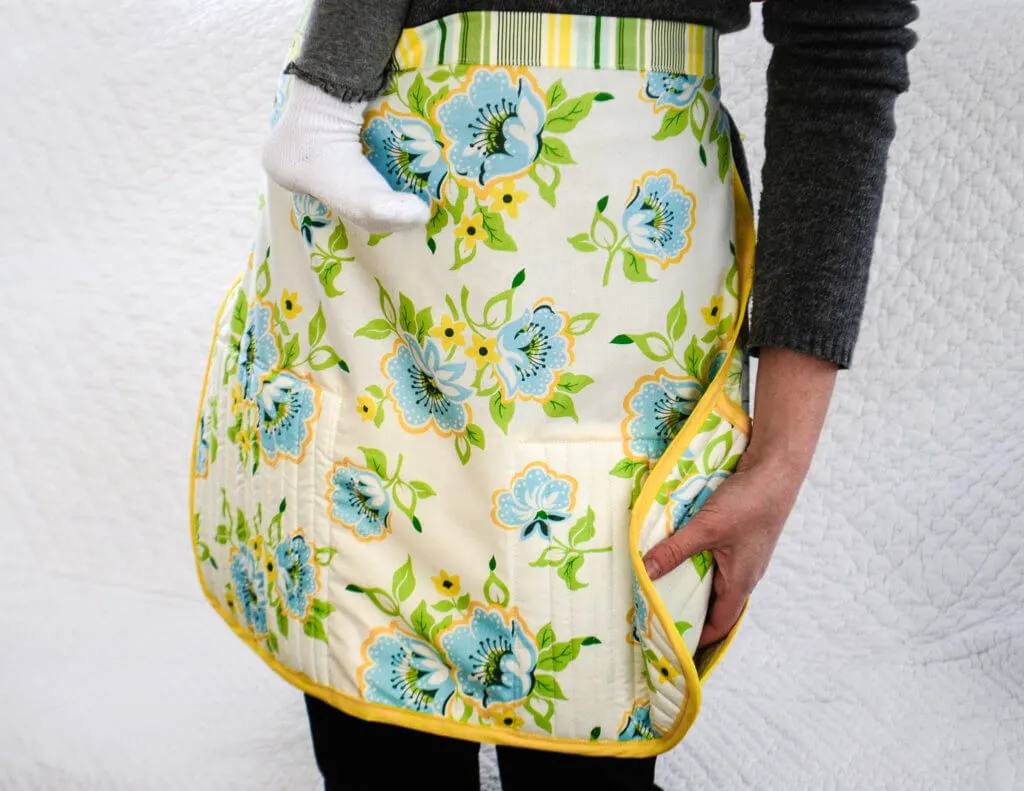
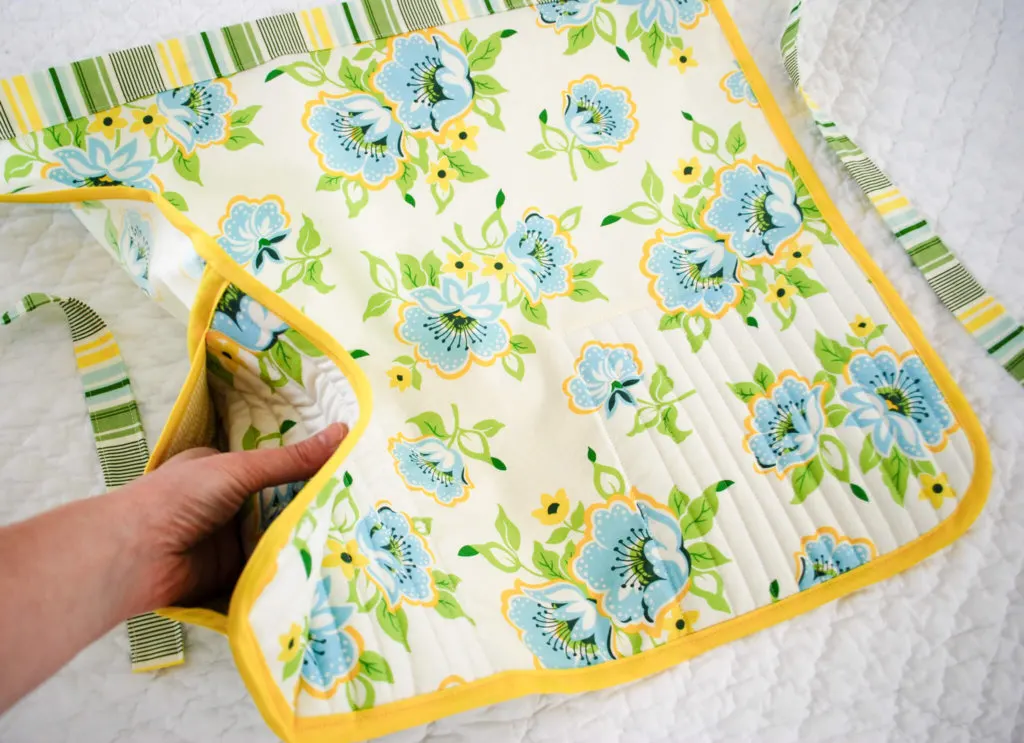
Here’s an original free apron sewing pattern with two built-in potholders and secret iPhone pocket. Aprons have been glued to my body ever since I started feeding Elise – I find it’s just easier to wipe my hands on my stomach than find a dish towel.
I need something that would work for me as a stay-at-home-mom in an all-day apron so this is what I came up with, and I love it.
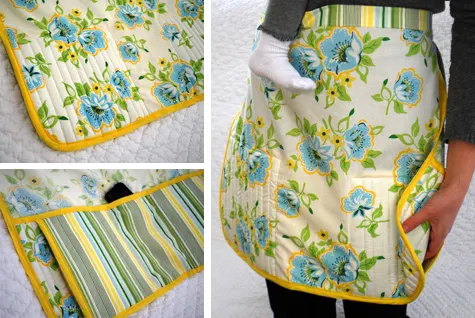
I’m thrilled to be a judge for Prudent Baby’s Sewing Machine Double Down Potholder Contest! Jaime and Jacinda’s easy potholder tutorials inspired me so much that I decided to make my own potholder version for the occasion – embellished with an attached apron and secret iPhone pocket. My original free apron sewing pattern has Jamie and Jacinda’s potholder pattern built-in, plus a secret iPhone pocket on the back so I can avoid losing my phone around the house.
There are two potholders, one on the left side and one on the right. It’s much easier to have the potholders “on me” than fumbling for them and juggling Elise.
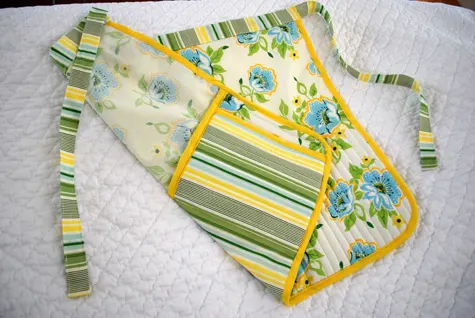
On the back I used one piece of fabric to make the potholders which gave me a perfect opportunity to include that secret iPhone pocket:
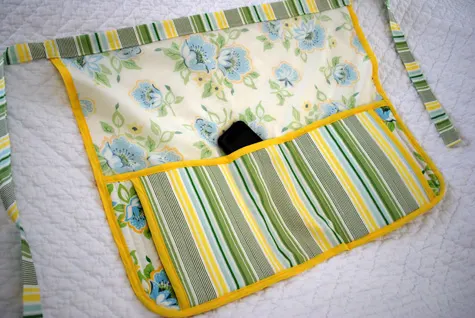
Of course you’ll want to be careful when using this potholder apron with any open stove top flames but I’m finding that it’s so great to be able to quickly grab that pot or pull a quick cookie sheet out of the oven. And no more calling myself so I can find my dang phone.
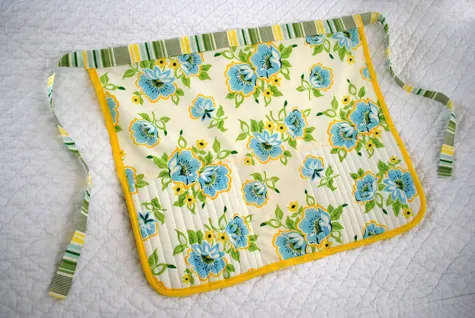
So it’s time to start judging those Prudent Baby potholder contest entries for those drool-worthy sewing machines. Good sewing, and good luck!

Supplies for making a DIY apron with built-in potholders and iPhone pocket:
-
- 1 yard of fabric (I used Heather Bailey Nicey Jane Church Flowers in Blue)
- 1/2 yard of contrasting fabric (I used Heather Bailey Nicey Jane Slim Dandy in Blue)
- 1/2 yard Insul-Bright Insulated Batting
and 100% cotton batting – ideally use both, I used just the Insul-Bright because it’s what I had
- 1 package of extra wide bias tape
(or you can make your own using the Simplicity Bias Tape Maker
- Rotary fabric cutter
, self-healing cutting mat
and clear acrylic ruler
- Good fabric scissors
- Good iron (like Rowenta)
- Ironing board
- Sewing machine
- Pins (I prefer glass head pins)
- Thread (I use my thread spool set)
How to make an apron with built-in potholders and secret iPhone pocket
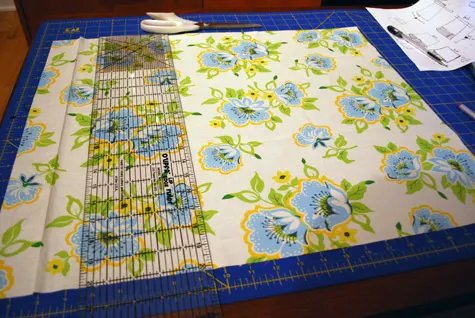
Cut apron pieces:
One 24″ x 24″ square (I used Heather Bailey Nicey Jane Church Flowers in Blue)
One piece 26″ x 4″ for the waistband (I used Heather Bailey Nicey Jane Slim Dandy in Blue)
Two ties 23″ x 3″ – you can make the ties shorter or longer as you wish (I used Heather Bailey Nicey Jane Slim Dandy in Blue)
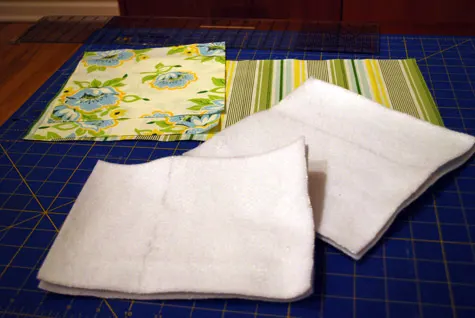
Cut potholder pieces:
Two 9×20″ pieces (I cut one of Heather Bailey Nicey Jane Slim Dandy in Blue and one of yellow & white gingham)
Two 9×9″ pieces (I used Heather Bailey Nicey Jane Church Flowers in Blue)
Cut batting:
Four 9″x7″ (two of Insul-Bright Insulated Batting and two of 100% cotton batting)
Four 9″x9″ (two of Insul-Bright Insulated Batting and two of 100% cotton batting)
How to make potholders:
NOTE: I used Jaime and Jacinda’s potholder tutorials for my tutorial and built around it. I’m incorporating their steps in here because I altered them enough that it would be confusing otherwise, but if you ever want to make just potholders use their super easy tutorials.
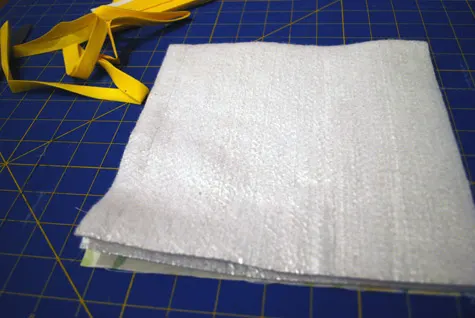
Place a 9×9″ fabric square face down on the table. Put your batting on top. I used two layers of Insul-Bright Insulated Batting but I’m told that it’s better to use one layer plus a layer of 100% cotton batting.
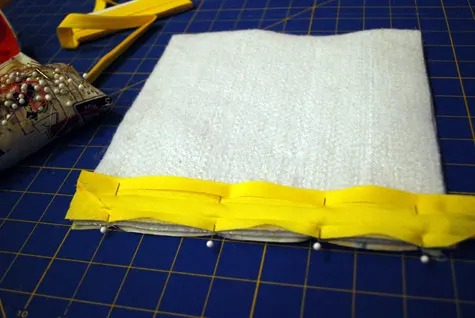
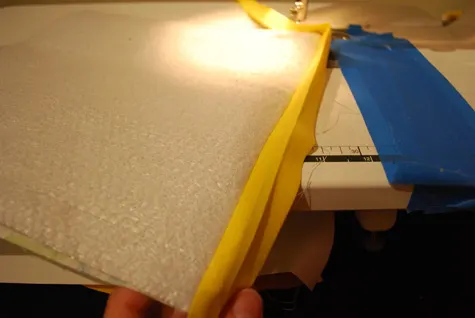
You can either make your own double-fold bias tape using the Simplicity Bias Tape Makeror buy it. Cut a 24″ piece of extra-wide bias tape and pin the bias tape to the 9×9″ square and sew one side of the biding tape to the potholder. Repeat for the other potholder. They will look like this from the back:
Place your apron on the table right side down. Place a potholder on the right corner, right-side-up, and pin.
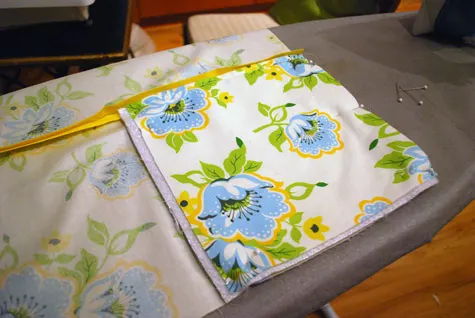
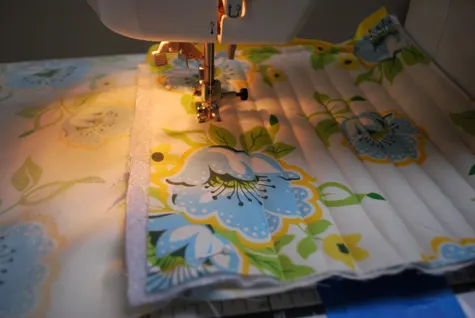
Repeat on the left side too. Quilt as you please – you’ll be stitching through the apron front and the potholder back, with the batting in-between. Remember that whatever you quilt will show on the apron front. I just did vertical lines like Jaime did, stitching 8 stitches between rows – sew up to the stitching line where you sewed down your bias tape and then turn. It’s not totally even but not too shabby:
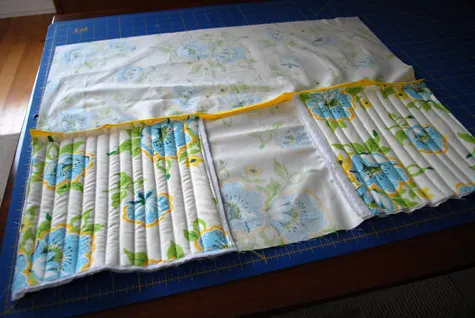
Now pin the other side and quilt that down too. When you’re done with both sides the back will look like this, with the middle of the bias tape totally open:
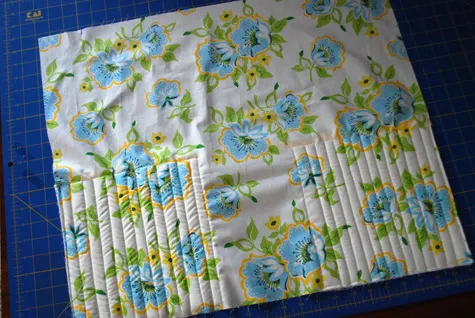
And here’s the front, but ignore all my wrinkles – quilting took a beating on the rest of the fabric:
Now take your 9×20″ piece and place it right-side down on your table. Put one 9X7 piece of batting on both the left and right sides.
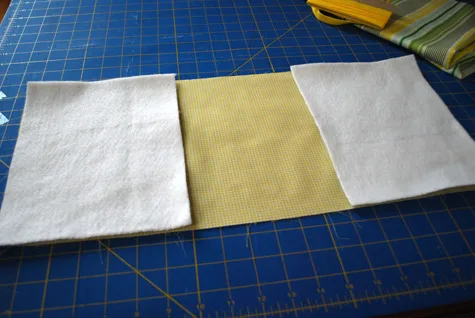
Sandwich it with your other piece of 9×20 fabric, right-side up, and pin.
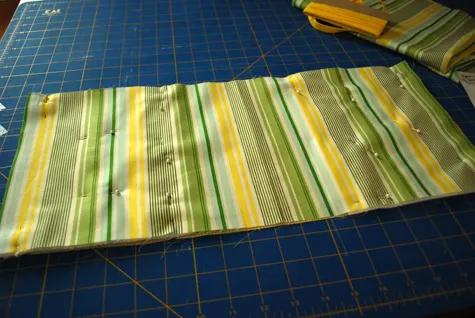
Baste around the entire outside rectangle to hold the pieces together. Then on the left side, quilt the batting to the fabric like you did above. Repeat on the right side. You can leave the middle area un-quilted like I did or go ahead and quilt it too.
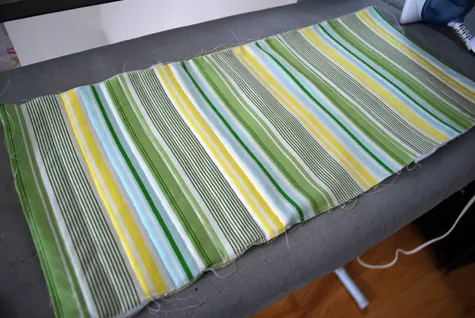
Cut two pieces of binding the same length as the short sides and sew.
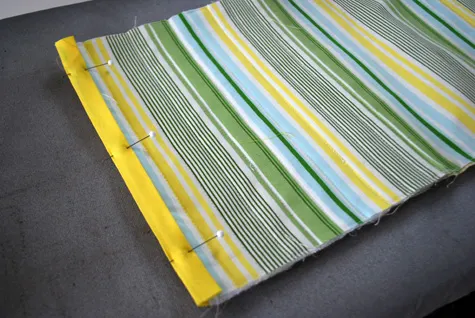
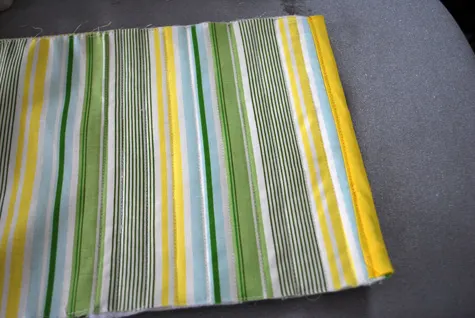
I used the two-step binding technique – nerd.
Place your apron face-down. Lay the 9×20″ potholder piece on top, leaving about 2 inches on the left and right sides.
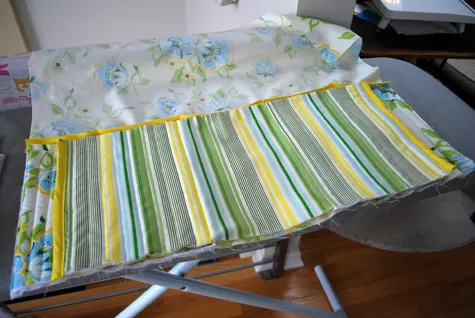
Remember that open binding tape on the top? Pin down the binding tape on top…
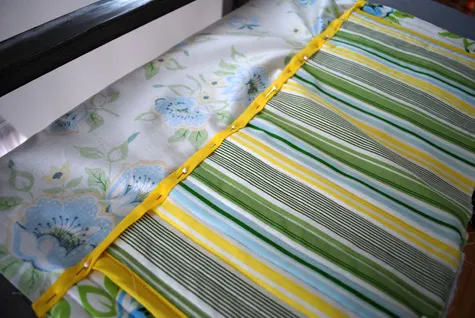
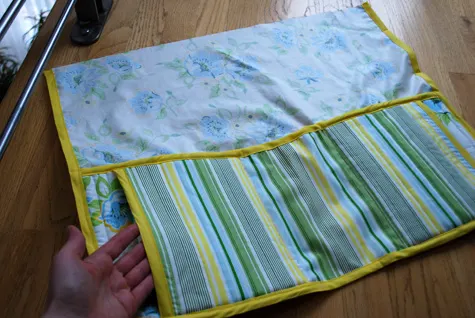
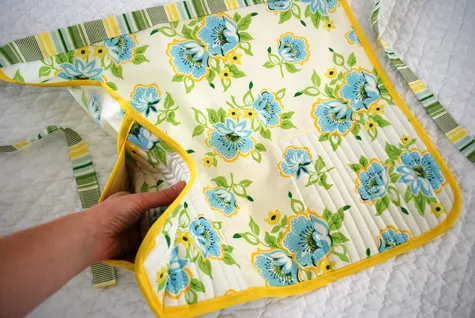
…BUT when you get to the middle, just put the binding tape on each side of the secret pocket like so – your hand should be able to fit inside like this:
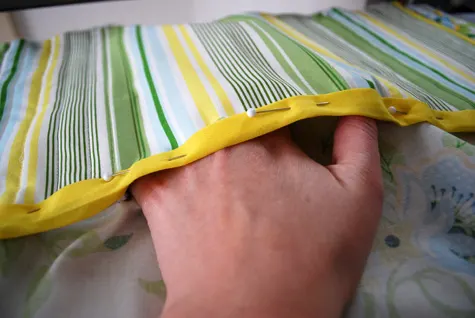
Sew the left side binding tape, making sure to stop when you reach the secret pocket. Turn your needle and sew down to the bottom and around the bottom, leaving the middle open for now. You’ve basically sewn a big C.
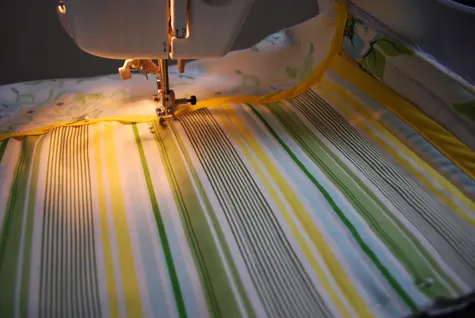
Starting to look like potholders, yes?
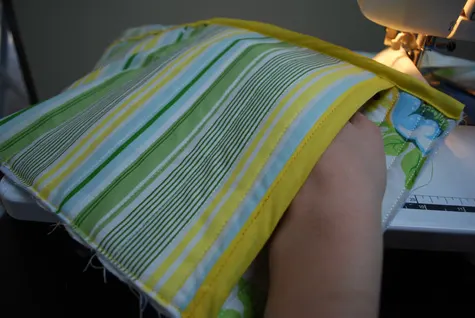
Repeat on the other side.
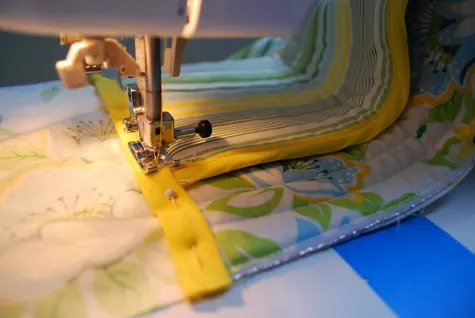
Now you’re going to sew the binding on the top of your secret pocket. Slide the pocket lining back from the binding and sew, making sure not to catch the lining in your stitches. Now sew the bottom of the pocket shut too.
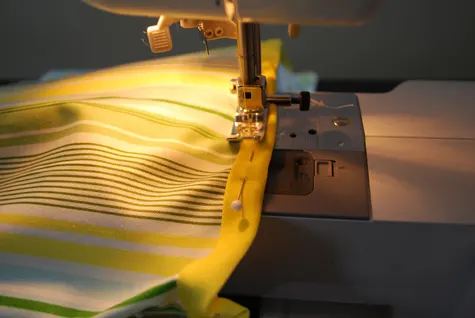
OK, so your secret pocket is done.
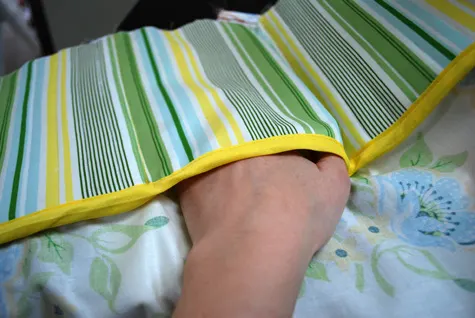
Now I try to avoid turning corners with binding tape (lazy) so I decided to round off the edges. Place a circle on your corner – I used a roll of painter’s tape – and trace the curve.
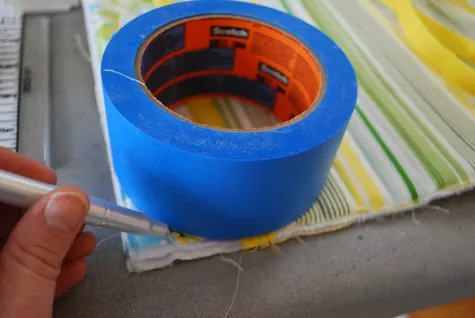
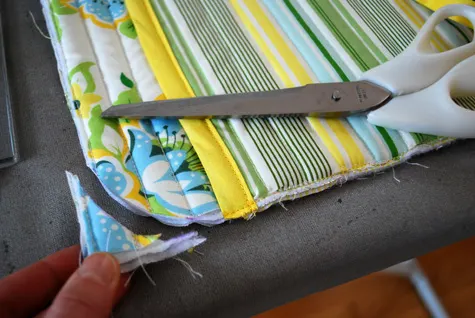
Now cut the curve off.
Sew binding around the apron outside, leaving the top fabric edge raw.
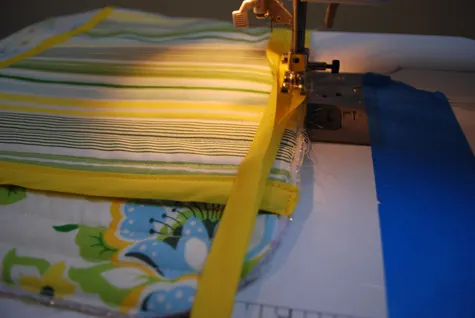
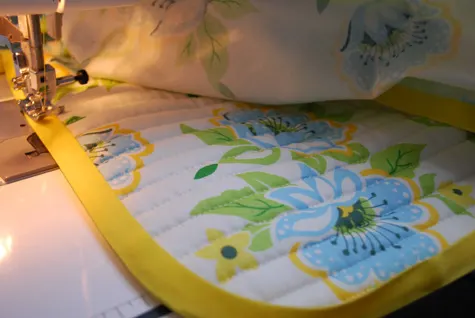
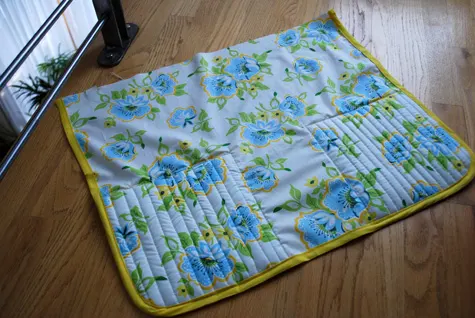
It’s looking like an apron now, right? Here is the front:
And here’s the back with the potholders and pocket:
How to make the apron waistband and ties
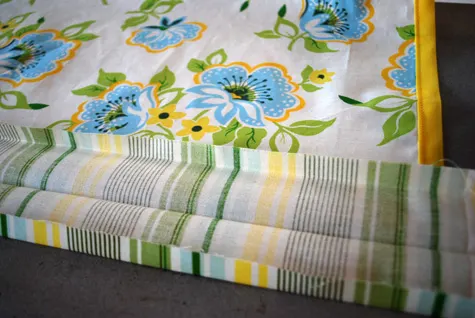
Cut one piece 26″ x 4″ for the waistband. You can interface it if you want but I felt lazy. Fold in half and press. Fold each long side in 0.5″ and press. It will look like this:
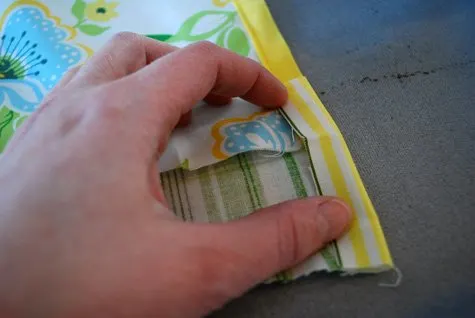
Turn in the left and right edges 0.5″ like this:
And pin:
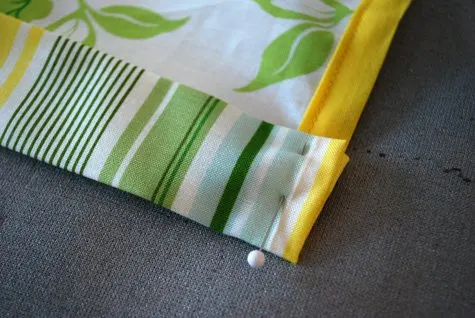
Set it aside for a bit and now make the ties. You’ll do the same basic steps to make the ties – fold them in half and press…
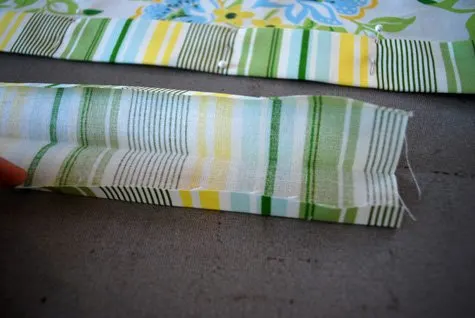
Then turn up 0.5″ on each long side and press to the center.
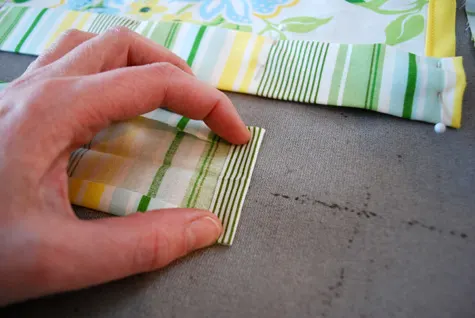
No need to do its left side – just leave the edges raw. Pin the ties closed.
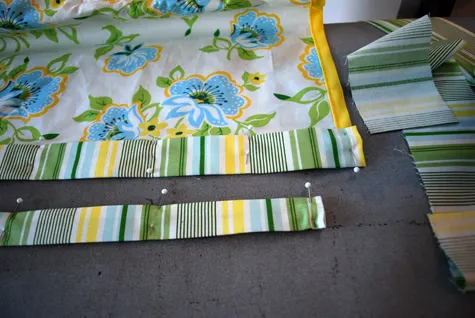
Sew your ties close to the edge.
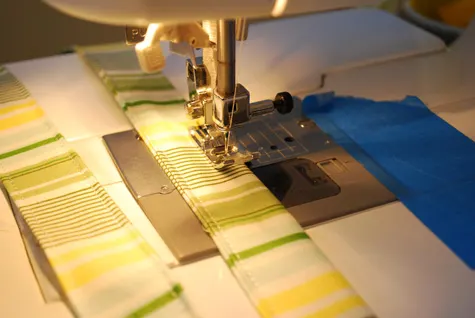
Now repeat on your other strap, this time fold the left side in 0.5″. No need to do its right side. Slip the raw edge of the strap under the waistband…
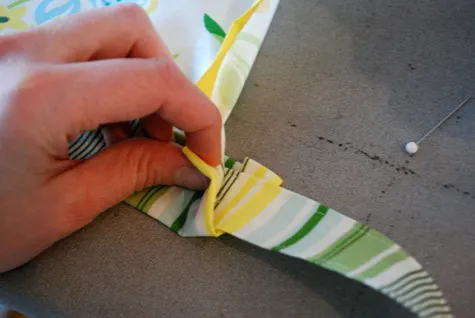
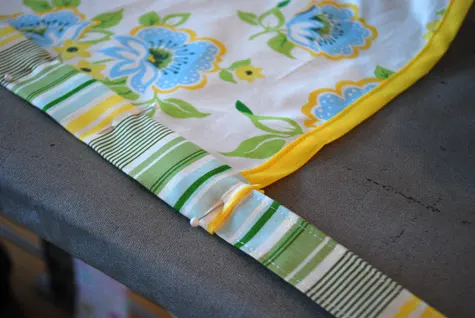
…and pin.
Sew around the perimeter.
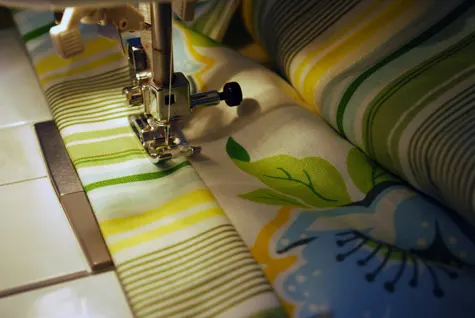
I made “X” shapes on both ends to make sure the ties are tightly secured.
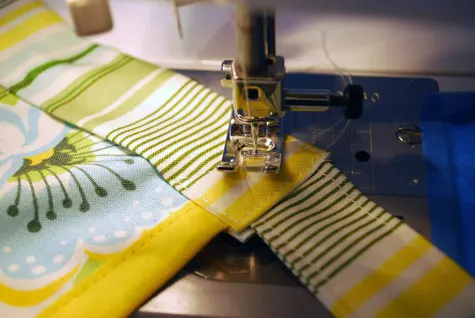
And you’re ready to bake!
—
Like it? Share it!
The nicest way to say you like it is to pin it on pinterest, post a comment, follow Merriment Design on Facebook, twitter, pinterest, Google+, instagram or sign up for monthly emails. Enjoy! 🙂
Copyright stuff: You’re more than welcome to use this free project and tutorial for personal use. Contact me for commercial use and etsy sales.

Kristina Alexander
Tuesday 24th of January 2017
I was linked to your Apron with Built-in Potholders tutorial through Craftsy Blog. But for some reason the pictures aren't loading into my browser. I tried both Google Chrome and Internet Explorer. Is there a PDF I could get? I really like this idea and it would make awesome gifts for my family of cooks. Thank you!!
Kathy
Friday 3rd of February 2017
Hi Kristina! Thanks so much for finding that bug! I have fixed all of the images so take a look and let me know if you can see them now too. Happy sewing!!
Mary Sinco
Wednesday 17th of August 2016
This I can make and always have pot holders when I need them! Thanks for the tutorial!
Kathy Beymer
Thursday 25th of August 2016
You're welcome, Mary! I'd love to see your apron when you finish it up!
Anne K
Thursday 16th of April 2015
Thank you. It looks like a good idea.
Kathy Beymer
Sunday 19th of April 2015
Thanks, Anne! Glad you like it, let me know if you make it!
interested in getting started
Saturday 21st of February 2015
I want to get the directions so I can try this pattern out! Looks fun but very practicial and useful!
Linda
Thursday 19th of February 2015
Thanks so much