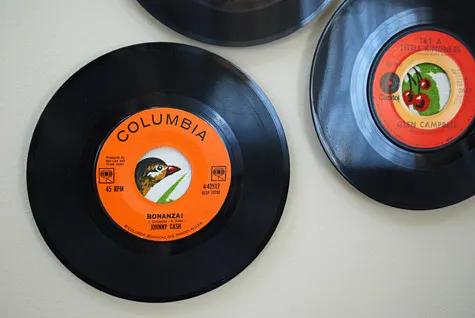
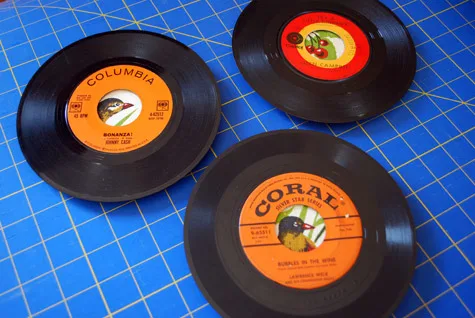
My DJ friend Chad creates free compilation music mixes for anyone who asks. Being the lucky recipient of many said mixes, I wanted to make Chad something to thank him for the tunes. Chad collects bird-related art and of course loves music so I thought that birds from vintage linen calendars framed by old 45 vinyl records would fit quite nicely.
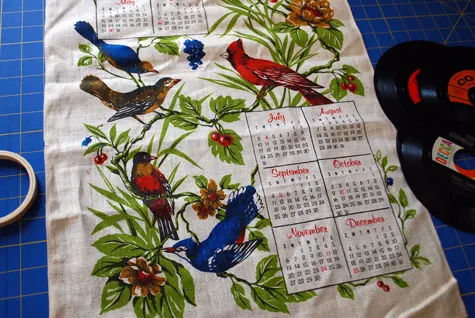
I was inspired by Emily Moe who used an LP record frame to frame her face embroidery, cutting out the center label using an Xacto knife (via Craft:). Initially I planned to do the same thing but then decided that I liked seeing the artists and song titles so kept them in.
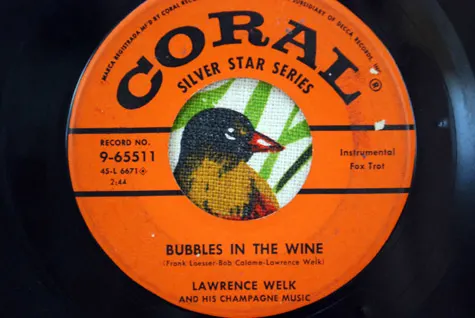
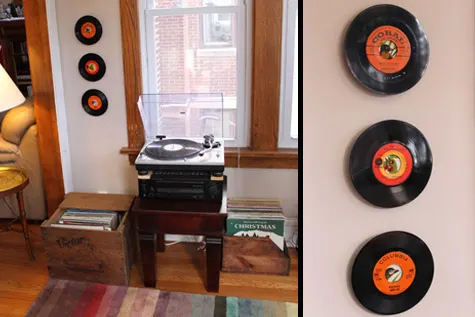
Chad hung up the art in his sunroom above his record player and vinyl collection. “The spot is so perfect. I display my banjo and guitar in there, play records and practice… it’s just like a chill forest-y music lounge.”
Supplies for making 45 vinyl records as frames for wall art:
- Vintage linen calendar
(or other art/photos that you choose to frame)
- Vintage 45 vinyl records
(you could also use LP size like Emily did)
- 1/8″ yard of blackout drapery lining
- Small wooden embroidery hoop (mine was 4″)
- Good fabric scissors
- Dritz Air Soluble Marking Pen-Pink
- Good iron like Rowenta and ironing board
- Glue gun and glue sticks
- Tissue paper
—
Like it? Share it!
The nicest way to say you like it is to pin it on pinterest, post a comment, follow Merriment Design on Facebook, twitter, pinterest, Google+ or sign up for monthly emails. Enjoy! 🙂
—
Find vintage linens or other art that you’d like to frame. Here are some vintage linens for sale right now on ebay:
I got three 45 vinyl records at a local thrift store but here are some for sale right now on ebay:
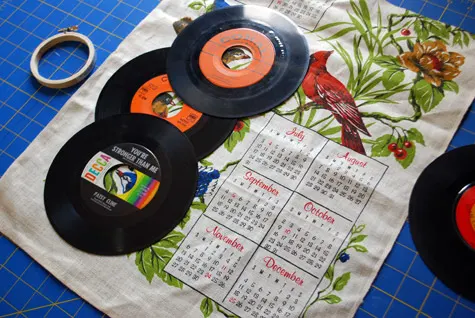
Lay your records on top of the linen calendar to plan out your cutting. I ended up choosing two birds and the bunch of cherries on the far right.

You may be wondering, why an embroidery hoop – it seems like an extra step. However, I wanted the records to be elevated away from the wall a bit and the hoop also makes it super easy to hang the art on a tiny nail or hook.
Cut a square of tissue paper slightly larger than the embroidery hoop. At the same time, cut the same-size squares out of your drapery lining and set it to the side.
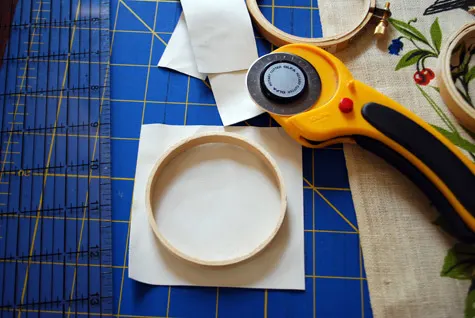
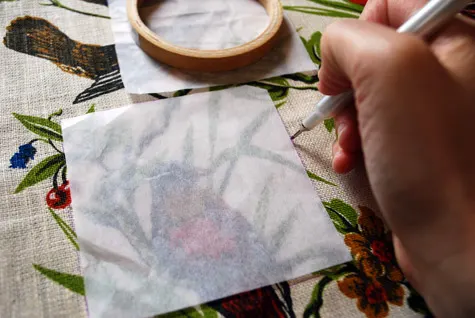
Place a tissue paper square on top of the linen to crop out what you’d like to have in the frame. Be sure it lines up with the hole in the record.
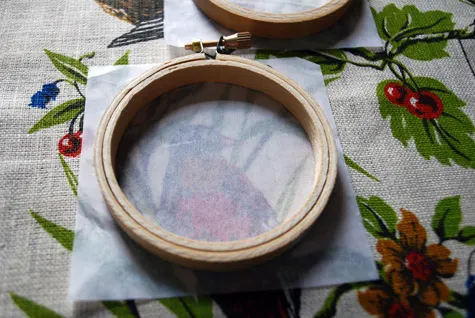
Using an erasable pen, trace around the tissue paper.

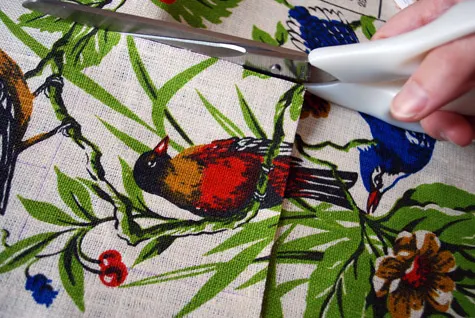
Cut it out using a pair of sharp fabric scissors(this is one rare instance that I do not recommend using a self-healing mat, rotary cutter and clear plastic ruler. Iron as needed.

Layer your linen calendar square on top of the drapery lining square.
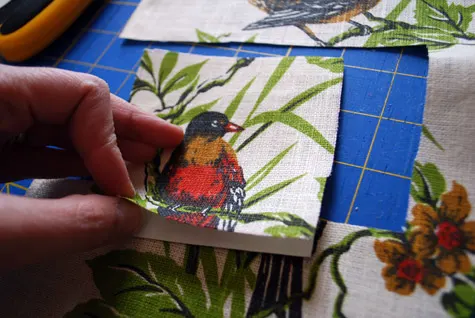
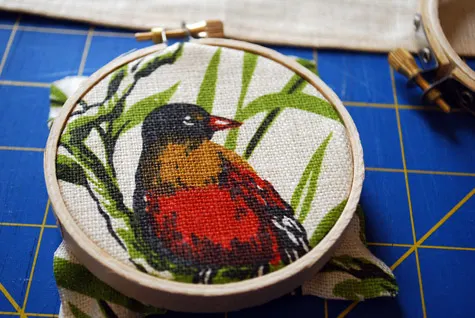
Open the embroidery hoop. Place the square stack on top of the bottom hoop and pull the top hoop down, then tighten the screw – be sure it’s tight!
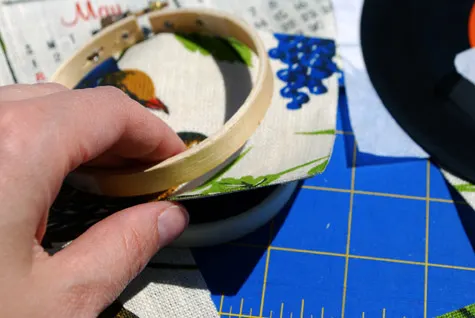
This is what it should look like from the front:

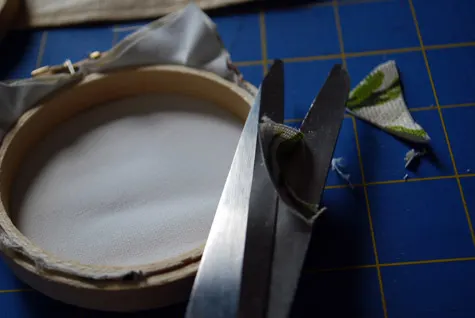
Trim the fabric and lining from the back of the hoop.

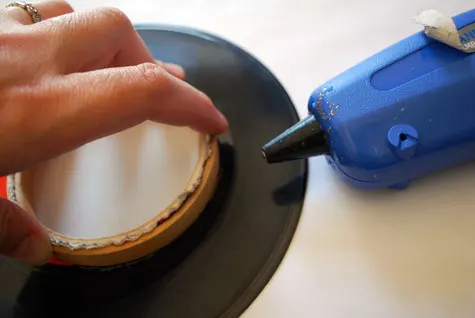
Glue gun the embroidery hoop to the record. Hold until firm. I put a stack of books on mine for a couple hours. Hang on a small nail or hook.

Did you make it? Please post a comment and let me know how this craft idea works for you. And share your own photos at the MerrimentDesign.com Facebook page, “I made it!” flickr photo gallery or tweet a picture to @merrimentdesign. Craft and pass it on!
COPYRIGHT NOTE: You’re more than welcome to use free pattern and how t0 step-by-step tutorial for your own personal use. Contact me for any commercial use – this includes etsy sellers.

roland cutting blades
Thursday 29th of August 2013
Hey! Do you know if they make any plugins to help with Search Engine Optimization? I'm trying to get my blog to rank for some targeted keywords but I'm not seeing very good success.
If you know of any please share. Thanks!
erica
Tuesday 1st of March 2011
how did you hang the records on the wall??
Kathy Beymer
Tuesday 1st of March 2011
@Erica, it's super easy, just put a small nail in your wall and slip the back of the embroidery frame onto the nail.
Candice
Sunday 27th of February 2011
Love this tutorial ... and we found Chad thanks to this post. I've linked back to you today (in a post about "free" music). Thanks for a great blog - I'll be re-posting your wonderful burpcloth tutorial soon!