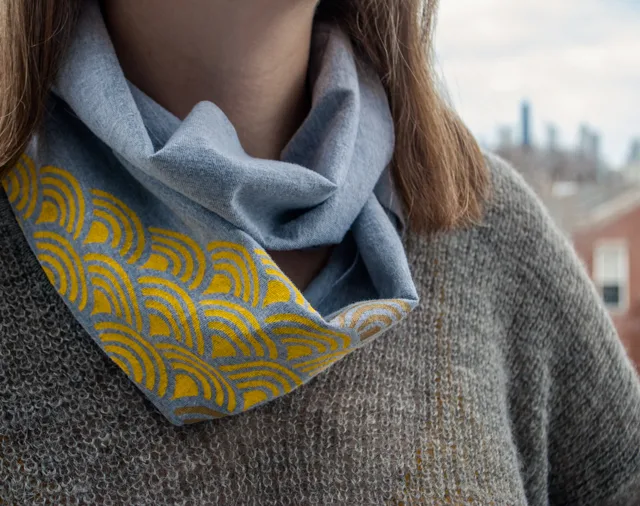
I made this DIY infinity scarf from a recycled t-shirt in exactly one nap time. Cute, yes? It looks like I bought it at a Chicago boutique or Etsy or Renegade Craft Fair but all it took was a scallop stencil by Ed Roth from Stencil1, FolkArt Multi-Surface paint, and my husband’s old gray t-shirt.
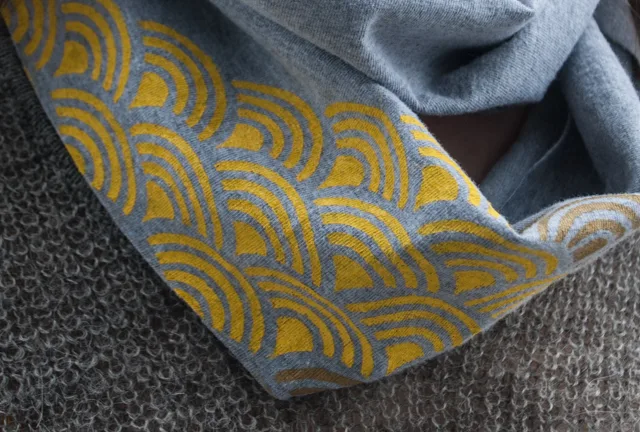
I’d like to thank Ed Roth and Plaid for sponsoring this post. All opinions are mine. Ed Roth has been creating edgy, fun, and art-inspired designs since it all began in the 90s. They’re cool and cutting edge while remaining accessible. These #Stencil1 stencils will be available at Jo-Ann Fabric & Craft stores.
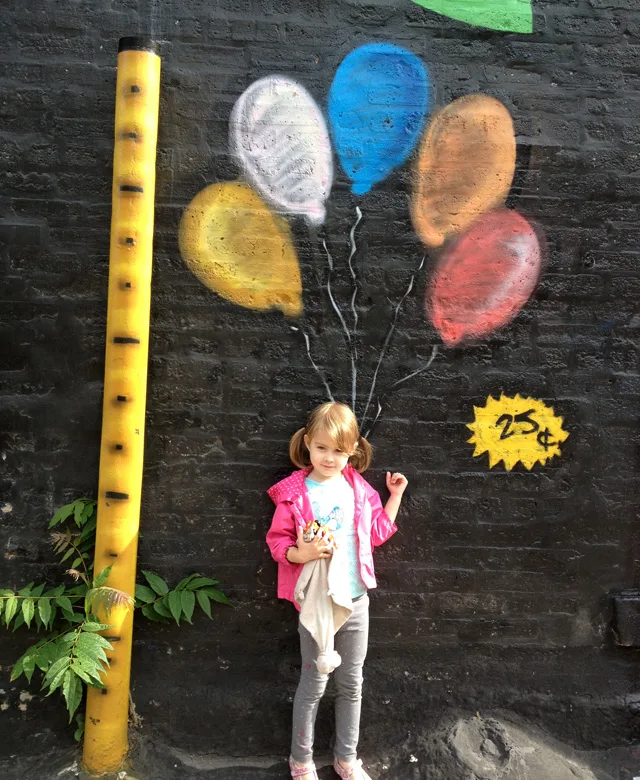
I am a sucker for street art-inspired looks which is why I was so excited to get an early peek at these brand new Ed Roth stencils from Plaid. Chicago has oodles of street art — spray painted brick walls, stenciled sidewalks, yarn-bombed bike racks. My kids and I come across it all the time like these balloons around the corner…
I really like this scallop pattern and thought of like a dozen things to stencil with it. I chose an infinity scarf because it’s almost spring in Chicago which (sadly) means spring scarves because the weather usually looks like this…

…plus I actually haven’t made something for myself in a long time. Hooray for me.
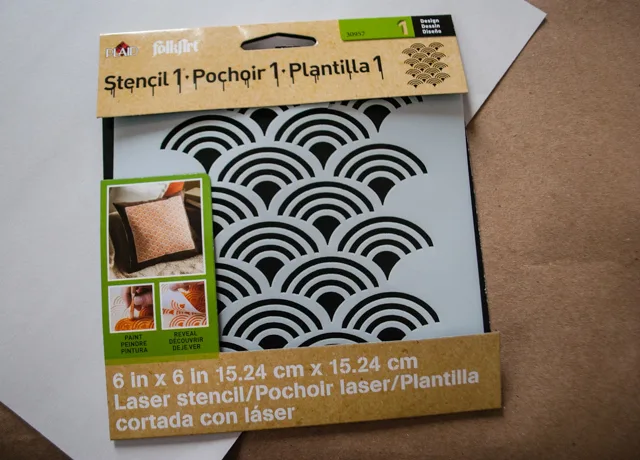
Like many of the Stencil1 stencils, the scallop stencil that I used is a repeating pattern. That’s nice because you can use it to tile a huge area or use a portion to make your own shape like I did. It’s also made from durable mylar so it’s easy to clean. OK, let’s make it.
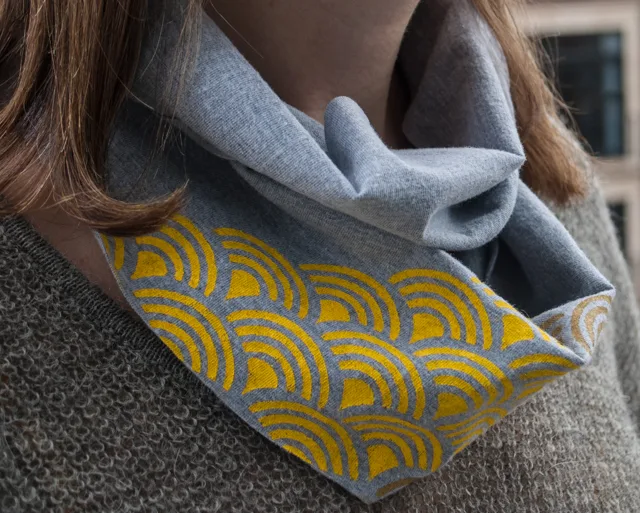
Supplies to stencil an infinity scarf using a recycled t-shirt:
Ed Roth Stencils from Plaid
FolkArt Multi-Surface paint
Old t-shirt to recycle
Rotary fabric cutter, clear plastic ruler and self-healing cutting mat
Spray stencil adhesive (optional but recommended)
Painter’s tape
—
How to stencil an infinity scarf using a recycled t-shirt:
I watched Ed Roth’s video before tackling this project and it’s super helpful.
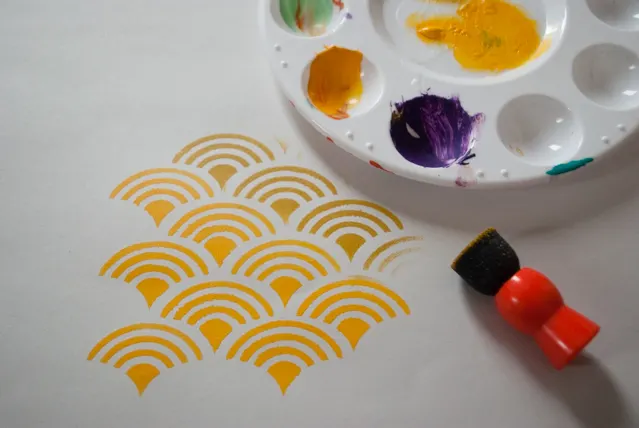
Then I practiced on a piece of paper:
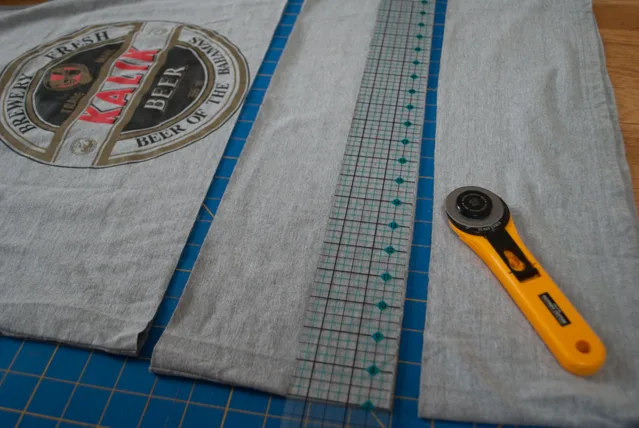
Then I gladly sliced up a 6″ strip from one of Shane’s old unworn free t-shirts, folded so it would make an infinity shape. It’s a size L so will wrap around my head twice.
I used stencil adhesive because I was working on fabric. Put it on and wait 10 minutes for it to dry and get tacky. If I would have been working on another surface maybe I would have skipped it. Do you use adhesive on your stencils? Let me know in the comments below.
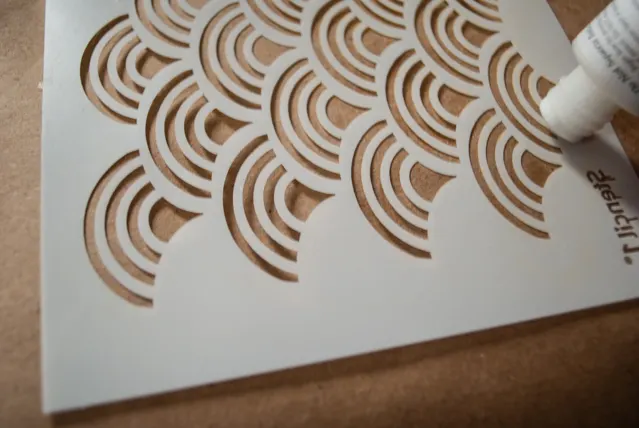
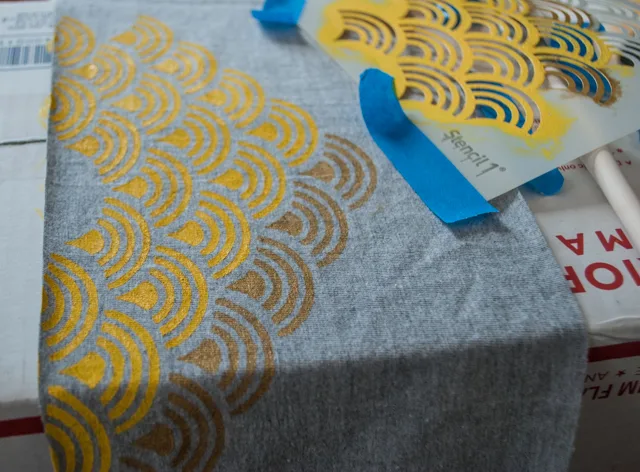
Put the stencil onto your fabric with a cardboard box underneath. I also taped the edges with painter’s tape, doesn’t hurt to be cautious.
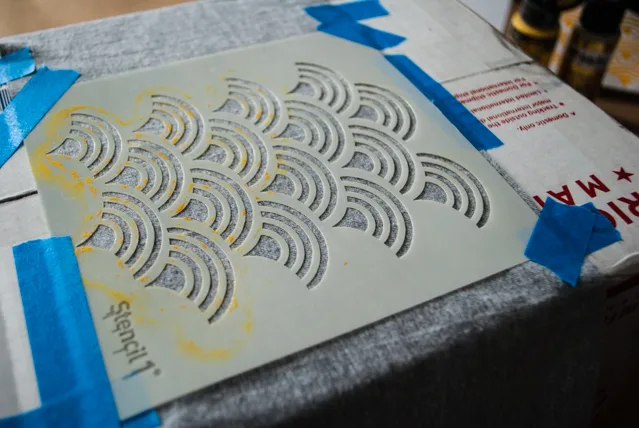
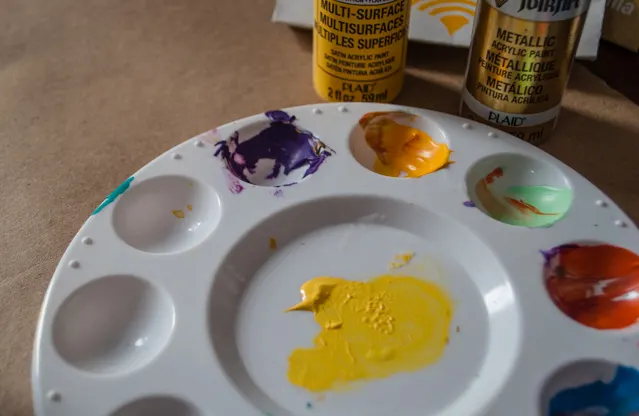
I used FolkArt Multisurface Paint and FolkArt Metallic Paint.
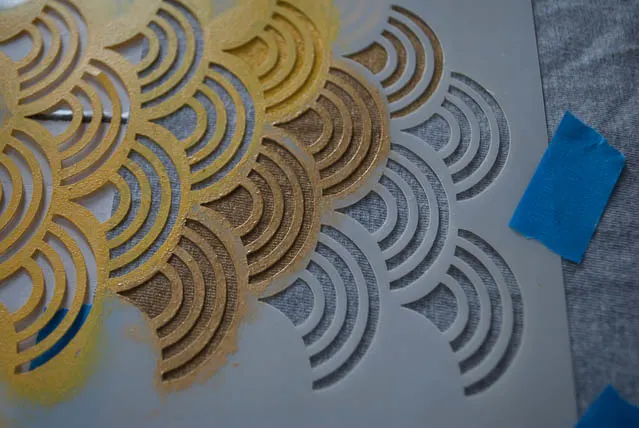
And I alternated between using a spouncer and a stencil brush. It’s tough to be patient but I tried to use as dry of a brush as I could like the Ed Roth video suggested.
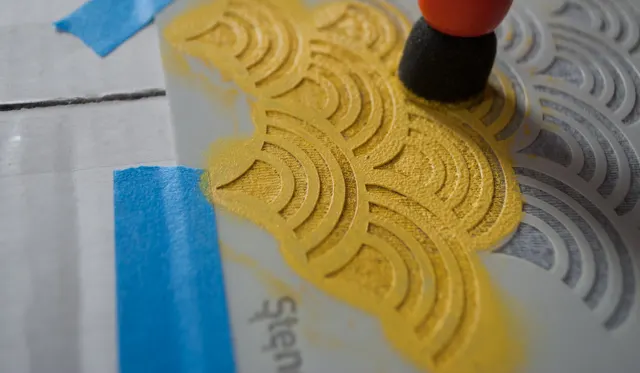
Then the first big reveal. I loved it!
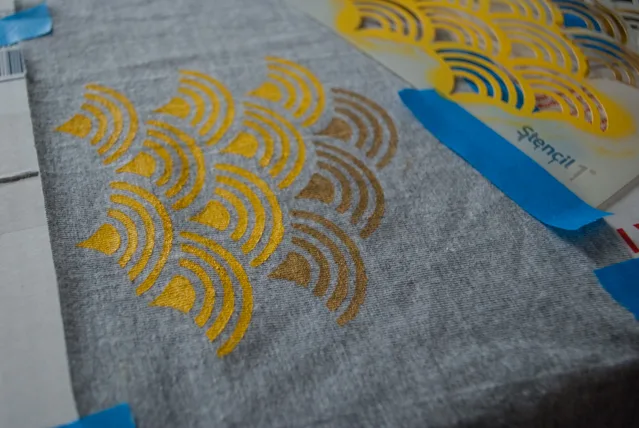
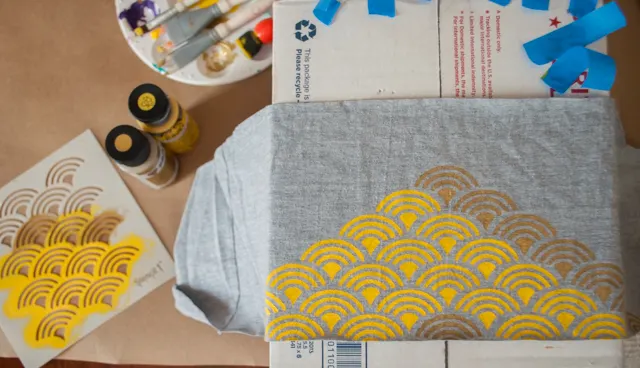
So I waited a bit for it to dry but I was impatient so really only like 10 minutes. I moved the stencil over and added more scallops in yellow and metallic gold. The thing I like about these stencils is the pattern repeat. The shape was really up to me. My stencil adhesive actually lasted through four peel-and-stick placements so I didn’t have to re-apply the adhesive.
Let it dry. Heat set it by following the FolkArt paint instructions and it’s ready to wear. Yes, you can wear a scarf in the spring! Especially a fresh yellow and gold scalloped one.
I’d like to thank Plaid again for sponsoring this post and giving me some graphic inspiration. Check out Plaid here:
The Plaid Palette blog
Plaid on Pinterest
Plaid on Facebook
Plaid on Twitter
Plaid on YouTube
Instagram
—
Like it? Share it!
The nicest way to say you like it is to pin it on pinterest, post a comment, follow Merriment Design on Facebook, twitter, pinterest, Google+ or sign up for monthly emails. Enjoy! 🙂
Copyright stuff: You’re more than welcome to use this free project and tutorial for personal use. Contact me for commercial use and etsy sales.
