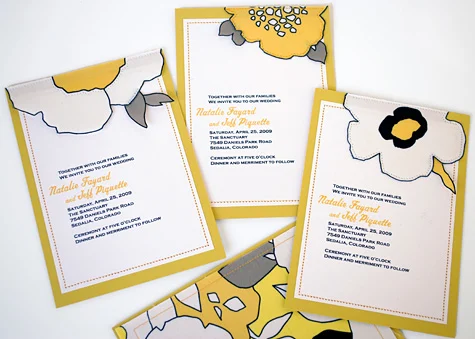
I am totally in love with these DIY sewn fabric wedding invitations that I designed for recent bride Natalie Fayard.
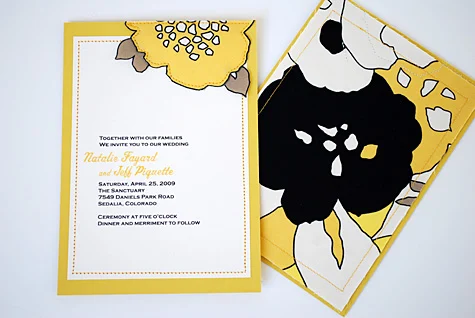
Thanks to Google, Natalie and her mother found me and my sewn fabric poppy wedding invitations that were featured in the The Knot’s 2007-2008 Fall/Winter National Magazine. Natalie had found this lovely yellow, black, white and khaki fabric that has such energy and throwback personality:
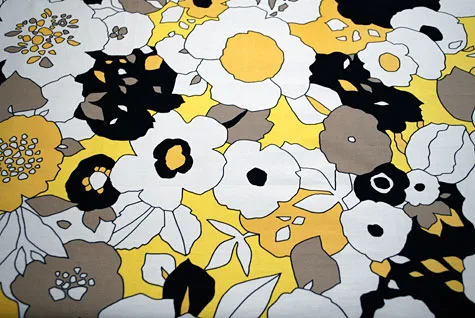
One tricky wrinkle: Natalie’s fabric had a lot of large flowers (3″ – 4″) and smaller flowers that were not “perfect,” overlapping to create oddly shaped sides when cut out. To make things worse, the “perfect” flowers were so spread out that it would require oodles and oodles of expensive yardage to get a full-flower look.
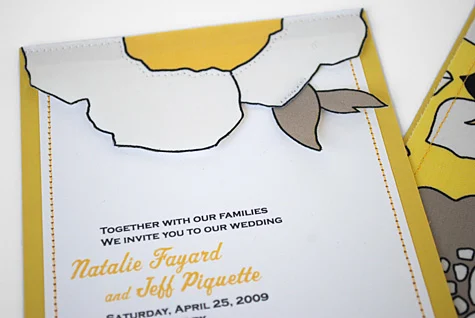
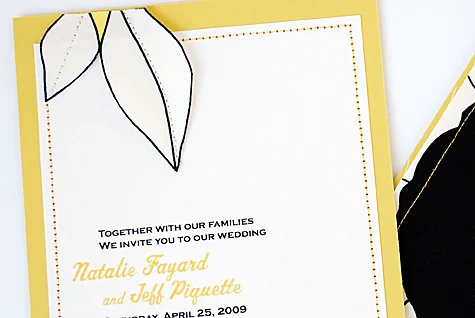
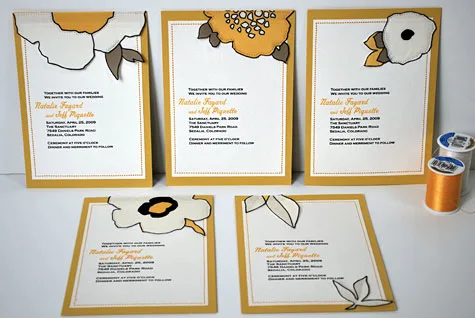
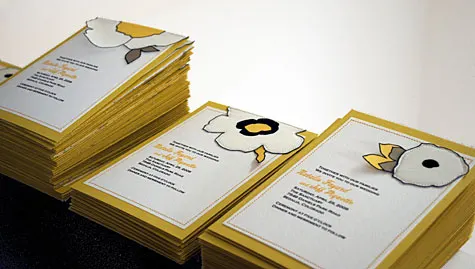
So I noodled around and designed this variation for Natalie featuring half flowers layered on top of loose fabric leaves. I couldn’t be more more thrilled with this design twist …and to tell the truth, I think I like these even better than my poppy ones.
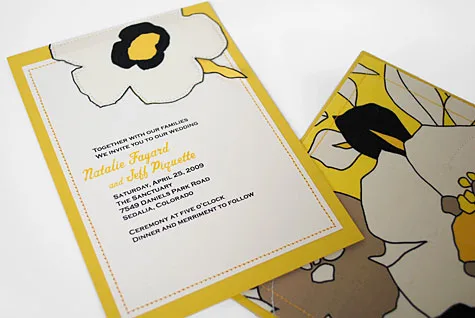
From Natalie: “A-M-A-Z-I-N-G! Kathy, they’re awesome; you are so great honestly! …Thank you again so much for all your hardwork and all the time you took to assist me with this project. I look back and have learned so much.”
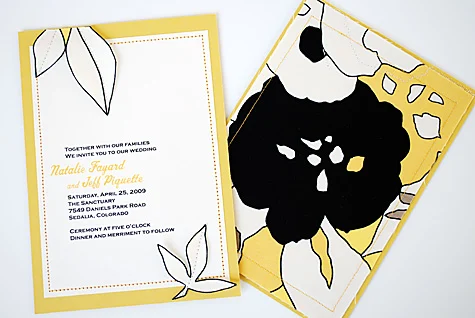
Supplies for making your own DIY sewn wedding invitations:
- Kathy’s sewn invitation text template in Adobe Illustrator CS3 (429K, uses Copperplate Gothic Bold and Spoleto from Novel Fonts, not Monotype. If you can’t find this version of Spoleto you could substitute Machiarge or Fenway Park)
- Luxe Cream A6 Size (4 1/2″x 6 1/4″) Note Cards – 25 Pack OR if you’re printing them yourself, get the 8 1/2 x 11 Luxe Cream Cover Paper – 10 Pack – 210g weight (also available in 8 1/2 x 11 Luxe Cream Cover Paper – 100 Sheet Bulk Packs
- A7 Flat Note Cards – 25 Pack in Curry (many other colors available)
- Flowers and leaves cut out of fabric – edges should be raw
- 4.75” x 6.75” fabric squares for invitation backs (optional) – edges should be raw
- Fusible interfacing (craft, medium or heavyweight)
- Yellow thread
- Computer
and printer
(if printing yourself)
- A7 Envelopes – 10 Pack in Curry (many other colors available)
- Paper trimmer
OR X-Acto knife
, Self-healing mat
and Metal ruler
if you’re printing yourself and cutting 8 1/2 x 11 paper
- rotary cutter
, Self-healing mat
and clear plastic ruler
for cutting fabric squares (you will thank me)
- Good fabric scissors
- Good iron like Rowenta
and ironing board
- Sewing machine
—
Like it? Share it!
The nicest way to say you like it is to pin it on pinterest, post a comment, follow Merriment Design on Facebook, twitter, pinterest, Google+ or sign up for monthly emails. Enjoy! 🙂
—
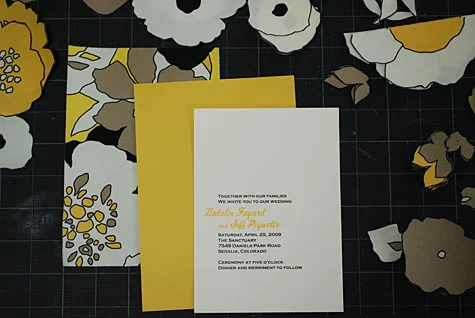
(also available in 100 Sheet Bulk Pack
) instead of A6 Flat Note Cards, print 2 per page and cut to size.)
Cut flowers and leaves
Press fabric flat. Iron on craft weight interfacing behind areas of flowers and leaves to stiffen and add weight (you can skip this if you’re using thick fabric).
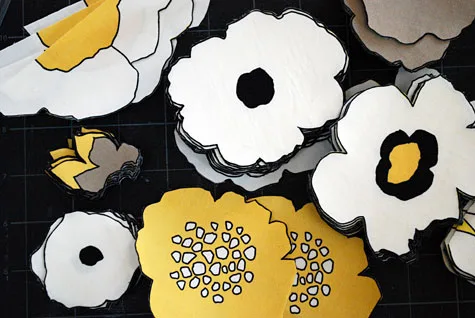
Cut out flowers and leaves, making sure to cut slightly *outside* the lines. Remember not every invitation needs to be exactly the same.
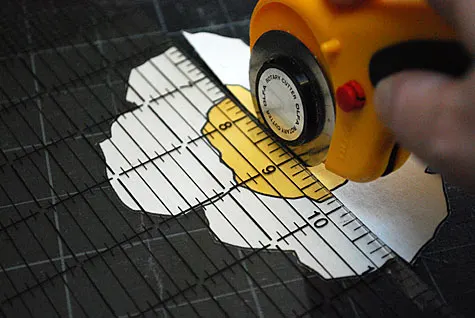
Cut all large and odd-shaped flowers so that they bleed off the top of the invitation.
Cut fabric for invitation backs
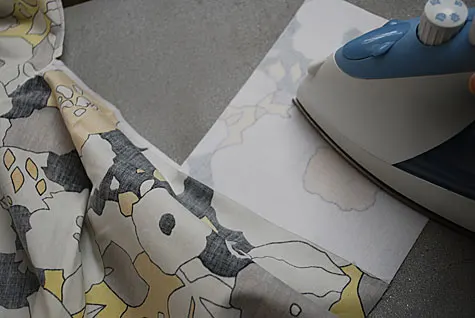
Iron craft weight interfacing onto fabric (if using thick fabric you can skip this step).
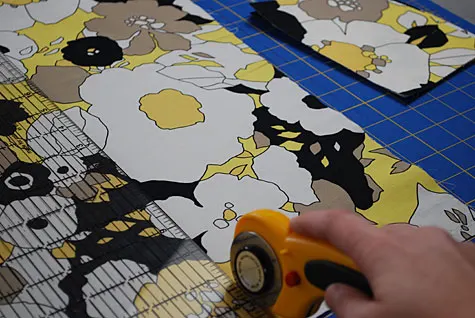
Using your Rotary cutter, Self-healing mat
and clear plastic ruler
cut 4.75” x 6.75” squares, one for each invitation back. Remember all fabric edges are intentionally left raw and unfinished.
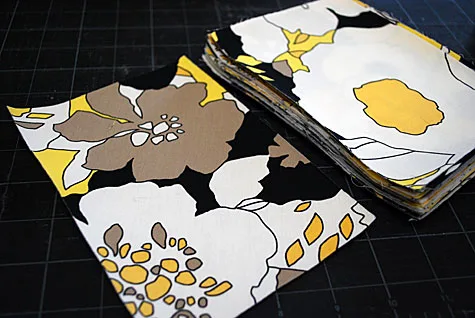
Stack your invitation and sew
Place the fabric rectangle back face down on your mat. Layer on the A7 Flat Note Card next and then the A6 Size Flat Note Card printed page on top.
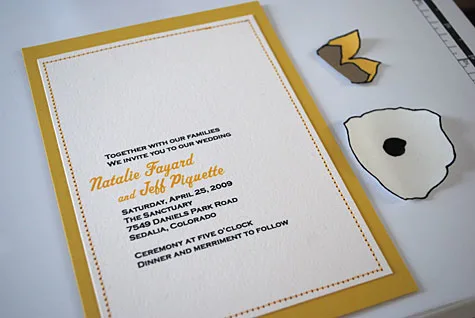
Sew yellow thread through all three layers 1/8th of an inch from the cream sides; you can either backstitch or tie it off (here’s a perfectionist trick: backstitch where the flower is going to go to hide your backstitch).
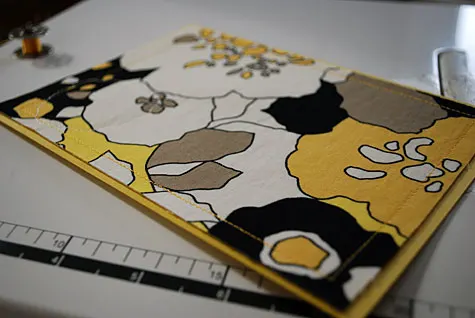
Here’s what the sewn fabric back looks like.
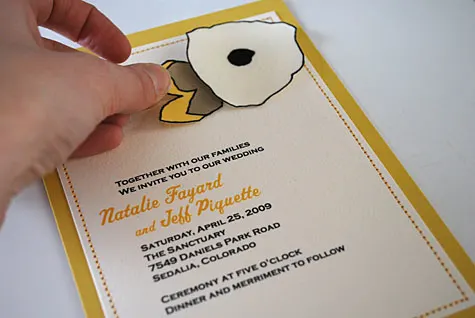
Put the flower on the top and slip a loose leaf underneath. Sew around the edge of the flower. Leaf edges will be raw and loose.
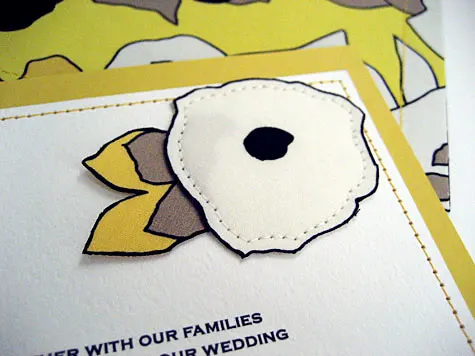
You will see the stitching on the back of the invitation; again, this is intentional to add to the texture and handmade feel. Voila!
Get creative! Layer flowers on top of loose leaves and sew around edges
Mix and match flowers and leaves to create a range of pretty invitations.

For instance, I made these leaf-only “more manly” invitations were for Natalie and Jeff’s single male guests 🙂
Create bunches of variations and have fun!
Don’t feel like making them yourself? Contact me and I’ll help.
Did you make it? Please post a comment and let me know how this craft idea works for you. And share your own photos at the MerrimentDesign.com Facebook page, “I made it!” flickr photo gallery or tweet a picture to @merrimentdesign. Craft and pass it on!
COPYRIGHT NOTE: You’re more than welcome to use free pattern and how to step-by-step tutorial for your own personal use. Contact me for any commercial use – this includes etsy sellers.

KellyS
Friday 11th of April 2014
I love this and made up a quick card for my friend today. Thank you for the inspiration. http://statigr.am/viewer.php#/detail/696435961594476164_21757396
Kathy Beymer
Friday 11th of April 2014
How pretty! I love that fabric. You look like a good sewer ...I need some motivation. Where's the best place to follow you?
Laura
Monday 23rd of December 2013
I just happened to fall on this website and am in LOVE with these invitations. Step 1: Find fabric! My colors are navy blue and gray, so hopefully I'll be able to find something as adorable as this!
Antonia
Monday 23rd of July 2012
Hi, Can you tell me where you got this exact yellow floral fabric and the name of the fabric too? I really like it and I'm about to start doing my own invites. It would really help since I've been looking for a long time, but can't find anything remotely as pretty as this one! Thanks!!!
Alanna
Thursday 5th of July 2012
I am so in love! I'm thinking of adding a pock on the back so RSVP card could be tucked in to the back.
Angie
Thursday 5th of April 2012
My bridesmaid and I dove into this project this week! So far, we have all of the fabric squares cut. I had someone recreate the flowers from my fabric in a design for the front of the invitations, though. We're just not cut out for...cutting out all of those flowers. Yeah, I went there with the pun. Anyhow, on to sewing, and I will be sure to share everything when it's finished!
Kathy Beymer
Monday 9th of April 2012
Hi Angie, that's great. I'll share your photos with my followers when you get them done. And congratulations on your engagement!