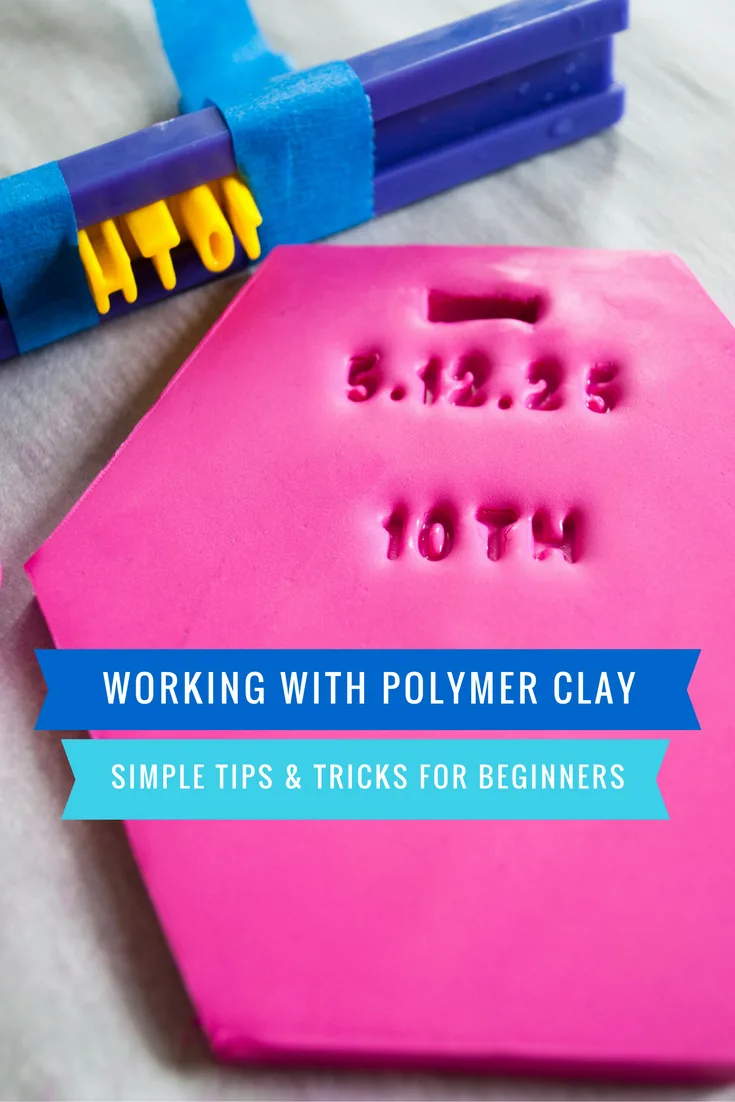
A lot of DIY sites make working with polymer clay look as easy as baking sugar cookies. Well, working with polymer clay like FIMO and Scuply is pretty easy but I definitely had a bit of a learning curve. Today I’m sharing what I learned about polymer clay so that it can be really is simple for you when you work on your clay project ideas.
An easy polymer clay idea for beginners
Earlier this week I shared my DIY wedding gift project that features handmade clay tags attached to wine bottles using VELCRO® Brand fasteners. This is a really easy polymer clay idea for beginners to try, and it taught me a lot about crafting with polymer clay.
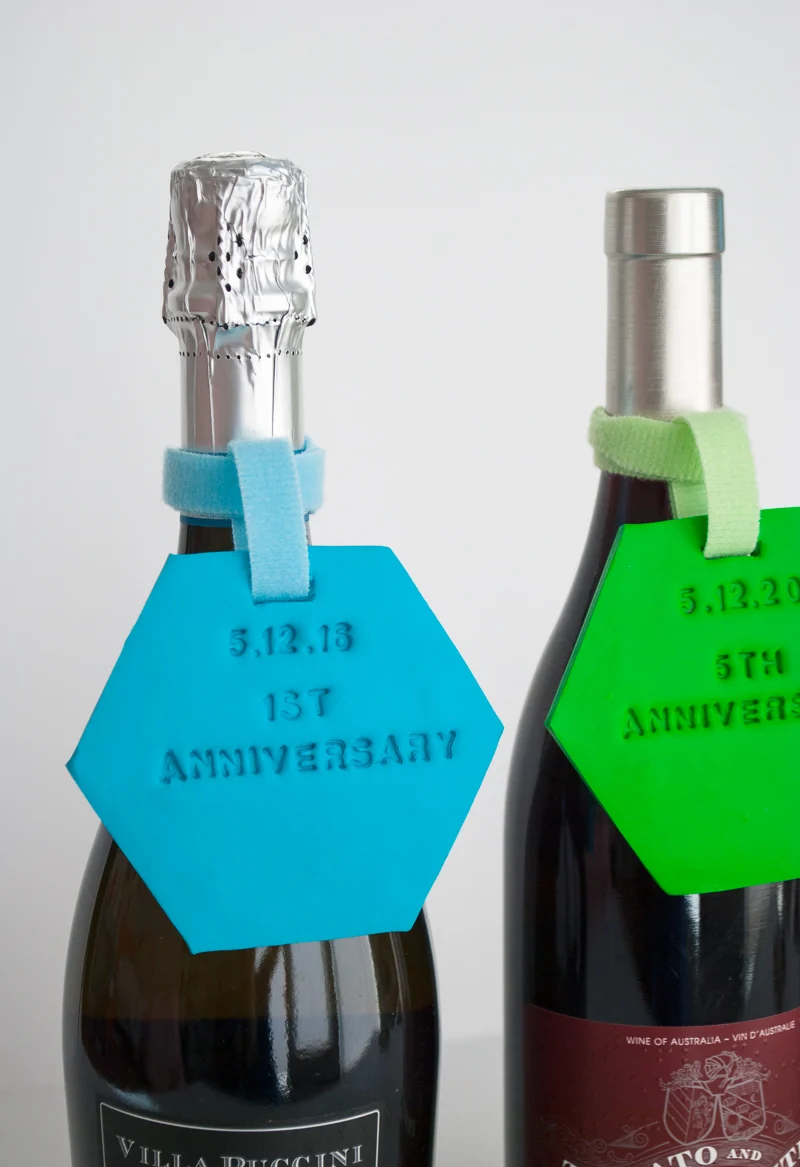
Crafting with polymer clay can be easy if you follow my beginner tips
Speaking of making things easy, lately it seems like there’s a major oversimplification trend with some of the most popular DIY sites out there. In their attempt to make their projects look super simple and pinnable, these popular sites leave out a lot of important details for those who would actually attempt to make it. This is not OK with me, so I’m going to continue to share super detailed tutorials with you.
OK so let’s get to the tips: I had 10 and then thought of a couple more so here are 12 simple polymer clay tips and tricks for beginners like me!
=======
10+ tips and tricks when working on polymer clay project ideas
1. Avoid mixing different products that bake at different oven temperatures
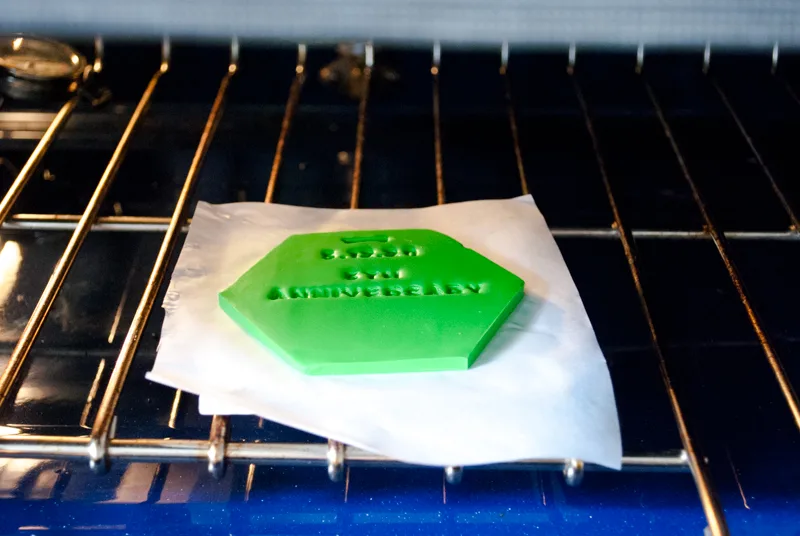
Different brands and products bake at different temperatures. Check your packages before you get started and use an oven thermometer. For instance, the Sculpy that I used bakes at 275 degrees but the FIMO I chose said that 250 degrees was its max. Maybe this is splitting hairs but I recommend that it’s not super wise to mix and match. This article has good information about oven temperatures. And it helps to use an oven thermometer.
2. Be prepared to soften your clay
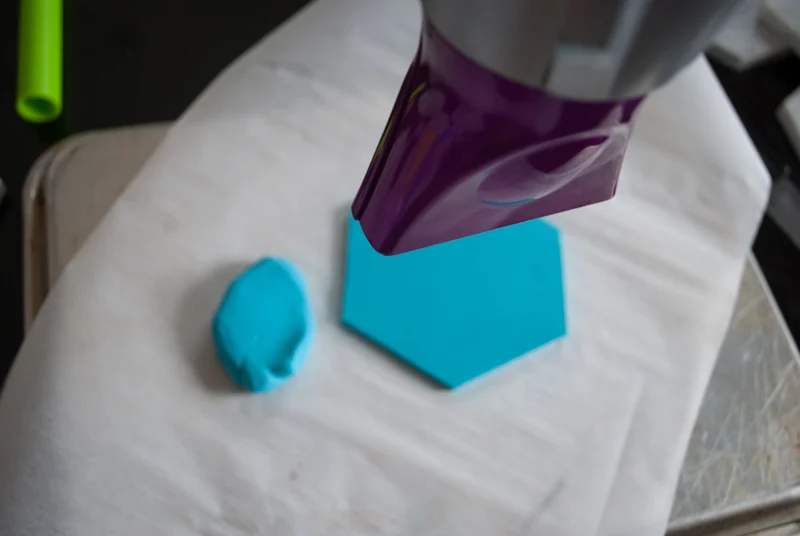
Different brands of polymer clay are easier to soften than others. The FIMO clay that I chose was way harder to soften up than the Sculpy clay that I was more familiar with. I watched this cool video on how to soften Sculpy using a bit of canola oil (UPDATE: I got advice from reader Ann to use baby oil rather than food oil) and it was a bit messy but worked for me. I also read about and tried the hairdryer method. Use that one with a little caution. The first time worked like a charm, but the second time I ended up heating it too hot and so I had little teeny hard pieces in the clay and had to start over (sigh).
3. Clean your hands and surface before working with polymer clay
Clean hands and surface! The clay picks up dirt and lint very easily. Use a lint-free cloth to dry your hands and keep the kitty far, far away.
4. Use parchment paper as a clean working surface
Parchment is clean and you can switch it out as you change colors. You can either tape it down using blue painter’s tape, or put something heavy on the edges to hold it down. I used my heavy DIY hexagon coasters from marble tiles.
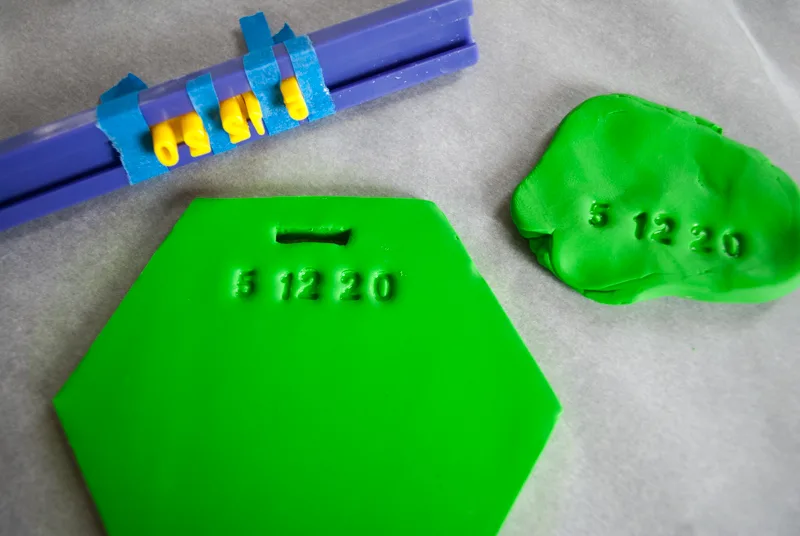
5. Tape letters and numbers stencils together so they don’t move around
Use painter’s tape to hold the cookie cutter letters together and also to make spaces.
6. Practice on scrap clay first
Practice with the letters on scrap clay! I pushed mine down waay too far and it looked silly. Had to start over. Nothing will harden until baked so not a critical mistake, just a time suck.
7. Dip stamps in water
Dip stamps in water so they release a little better. I’m not talking super wet, but dip them and then stamp and it will release better. I’ve read that corn starch works too.
8. Avoid caffeine before clay 😉
Steady hands! I am staying up too late lately and getting up too early so I drank a big mocha before this project. Shaky caffeine hands are no bueno.
9. Avoid using food utensils on polymer clay
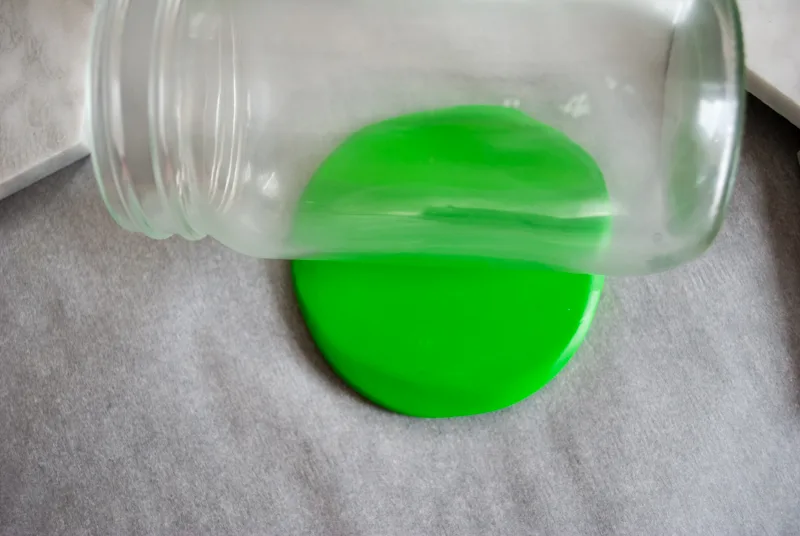
Once something touches clay, it’s no longer food safe. So don’t use your best rolling pin and then make some cookies. I used a glass jar from the recycle bin instead of a rolling pin and then recycled it when I was done with it.
10. Recycled glass jars are good for rolling clay
Speaking of recycled jars, avoid the seams when you’re rolling jars on clay as a rolling pin. Any little seams in the glass jar will show up in the clay. Fingerprints too so no touching.
11. Pop any air bubbles in your clay
Pop any air bubbles if you get any! Better to start over and roll out again than have a bubble in your clay.
12. Open some windows while baking polymer clay
While polymer clay is nontoxic, it’s kind of stinky when baking. Open up those windows and let the fresh air in.
Do you have more tips on working with polymer clay? Let me know in the comments below.
—
Like it? Share it!
The nicest way to say you like it is to pin it on pinterest, post a comment, follow Merriment Design on Pinterest, Instagram or sign up for monthly emails. Enjoy! 🙂
Copyright stuff: You’re more than welcome to use this free project and tutorial for personal use. Contact me for commercial use and Etsy sales.

Ann
Friday 17th of May 2024
Hello so was told to use baby oil rather than any food oils to soften the clay as the food oils can turn rancid
Kathy
Thursday 23rd of May 2024
Oh my! Thanks for the tip. I'll update my instructions. Appreciate it!
Liz
Monday 4th of June 2018
Hi, I'm sorry to disagree with that Polymer Clay is stinky when you bake, the only time it stinks is when you burn it, now that's when you have to open all windows. If you bake polymer clay as the package advises or even slightly lower but a bit longer time (like I do) then you won't burn your work and it won't stink. The hairdryer method is a big no no, keep your clay away from heat.
Kathy
Wednesday 6th of June 2018
Hi Liz, thanks so much for weighing in with your expertise. I baked mine at the suggested temperature; next time I'd like to try your suggestion to bake it slightly lower and see if that helps with the smell. How much do you suggest lowering it? 25 degrees? 50? I agree that the hairdryer method is hit or miss. Now I use that tip only when the clay is so hard that it would be unusable anyway if I didn't give it a go. Thanks again for reading!