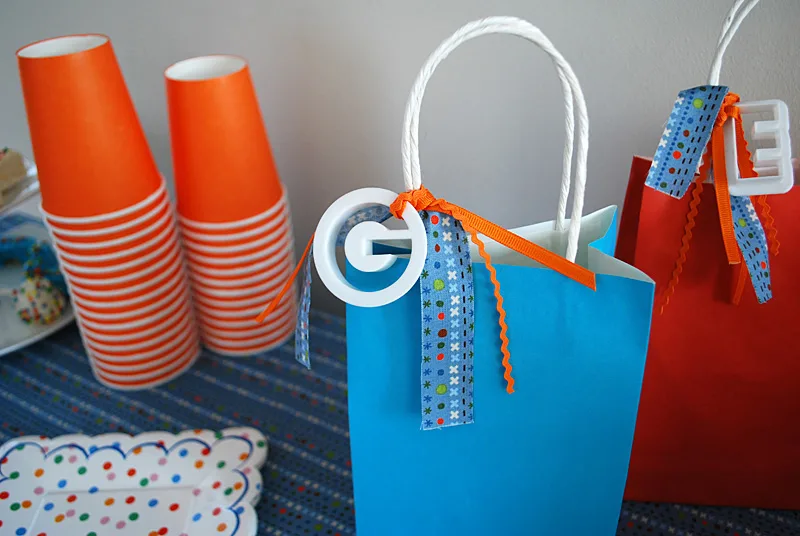
I like making handmade DIY goodie bags for birthday parties. Like, maybe too much.
My handmade DIY goodie bags tend to be pretty quick and simple, and these DIY goodie bags for Liam’s 1st birthday party were my easiest yet.
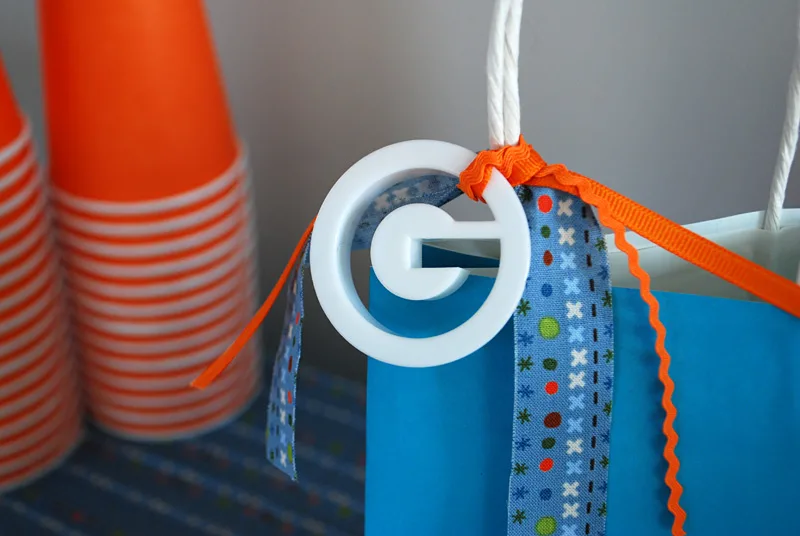
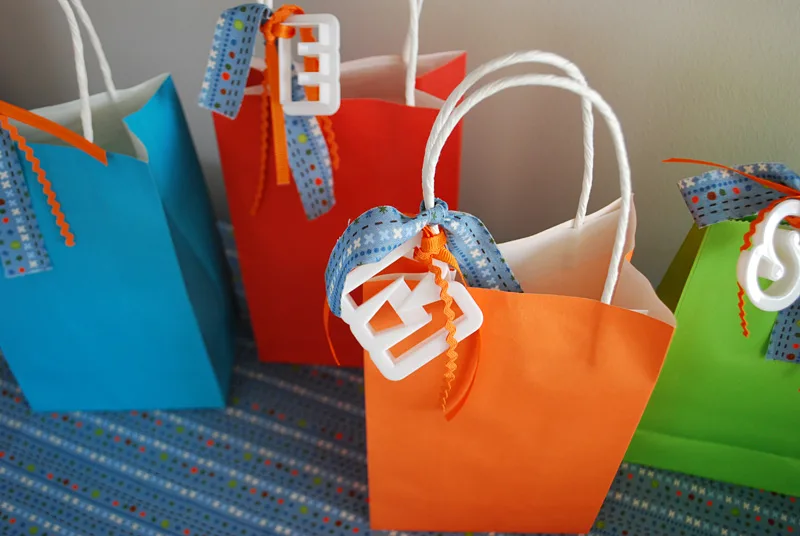
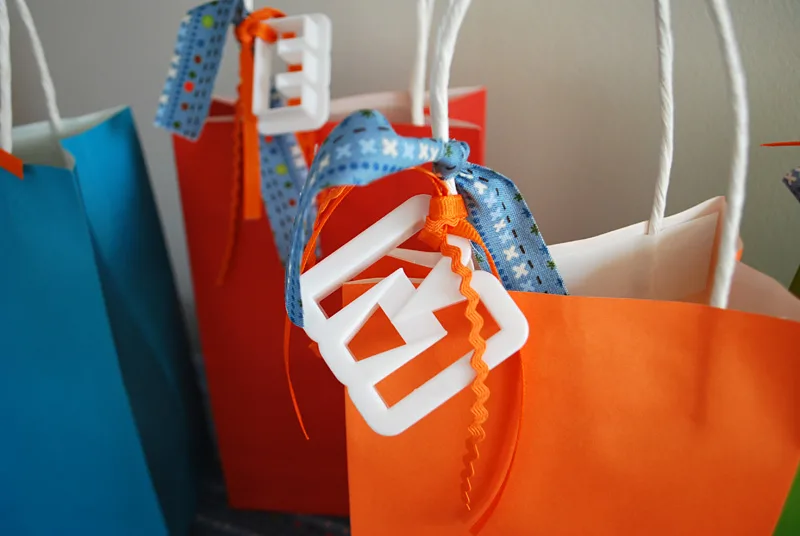
Elise and I made these DIY goodie bags to match Liam’s XOXO Hugs and Kisses birthday party theme using colored bags, orange ric rac and a strip of fabric that we also used as a table runner, DIY 1st birthday bib, free printable birthday banner and pretty much all Liam’s other 1st birthday decorations.
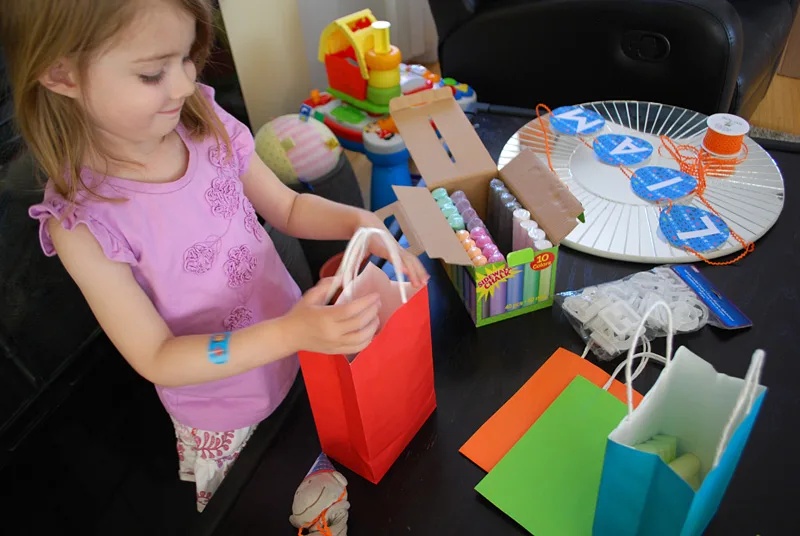
I got a huge box of chalk at the party store and a bag of inexpensive white alphabet cookie cutters to label the bags for guests. My friend Danielle told me that she always likes my DIY goodie bags because they’re things that can get used up, like bubbles, and chalk, and stickers, and the like. I never thought of it that way but it’s true, I think that favors that can get used up are the very best kind.
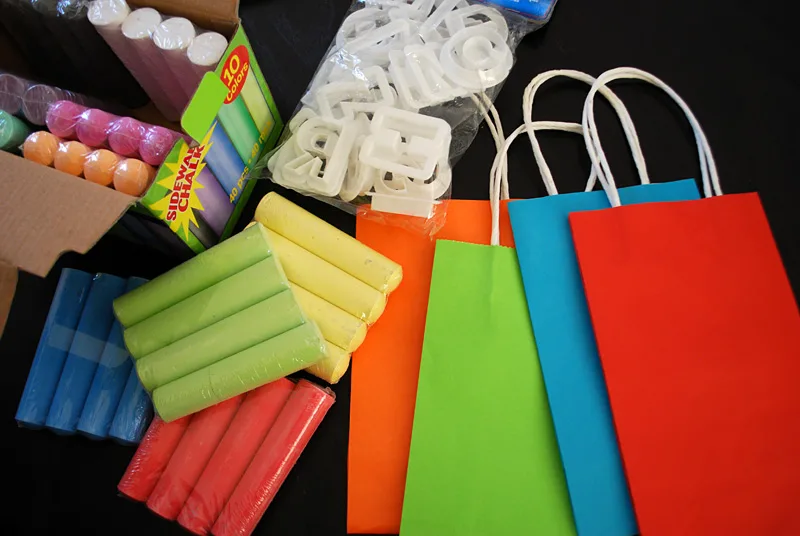
Our party guests all had different initials which helped; this idea would be tougher to pull off with a whole bunch of Elise-Eleanor-Ella-Evan-Ellis guests, but you could use different cookie cutter shapes for your guests, like a monkey for Elise, an ice cream cone for Margot, and the like.
Check out more from Liam’s XOXO Hugs and Kisses 1st birthday party theme: DIY 1st birthday bib, free printable birthday banner, letter mini birthday cakes.
What do you like to tuck into your homemade birthday goodie bags?
This post contain affiliate links which means that products I recommend may give me a nominal commission at no extra cost to you. Thanks – your clicks help me make more free DIYs!
++++++
Supplies for making handmade DIY birthday party goodie bags:
- Colored paper bags
- Chalk
- Alphabet cookie cutters
- Scissors
- Ric Rac
- Grosgrain ribbon
- Fabric
- Rotary cutter, ruler and self-healing mat
—
How to make handmade DIY goodie bags for birthday parties:
Gather your supplies and clear off a working space (yes, in my house clearing off a suitable working space is a bona fide crafting step, ha).

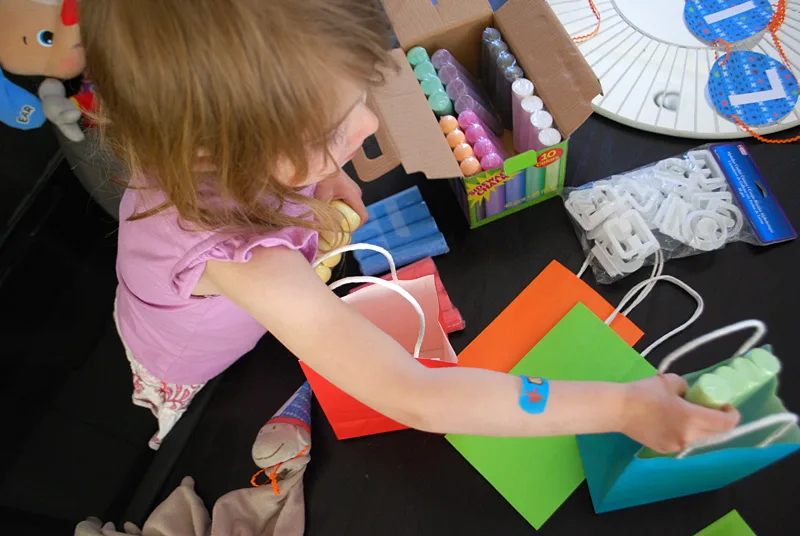
Put your chalk into the bags. You can have a little helper choose which colors to go with which bags.
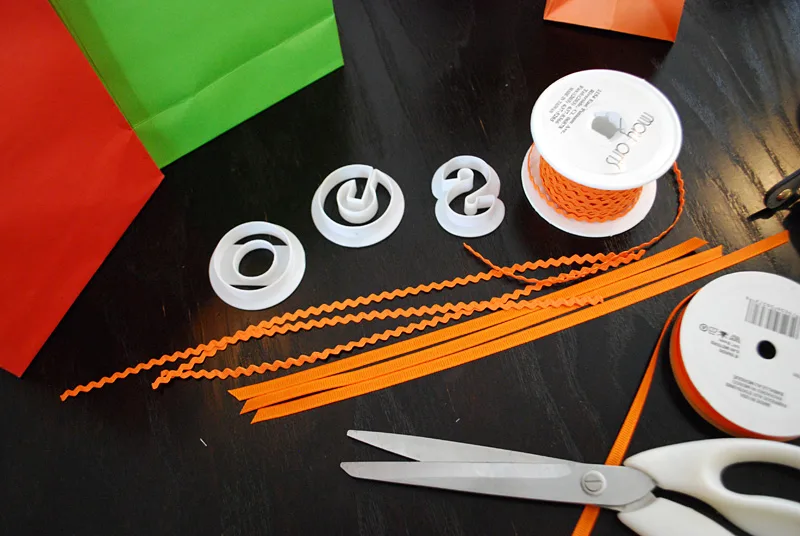
Cut pieces of ric rac and ribbon long enough to fit through your cookie cutter and around the handle.
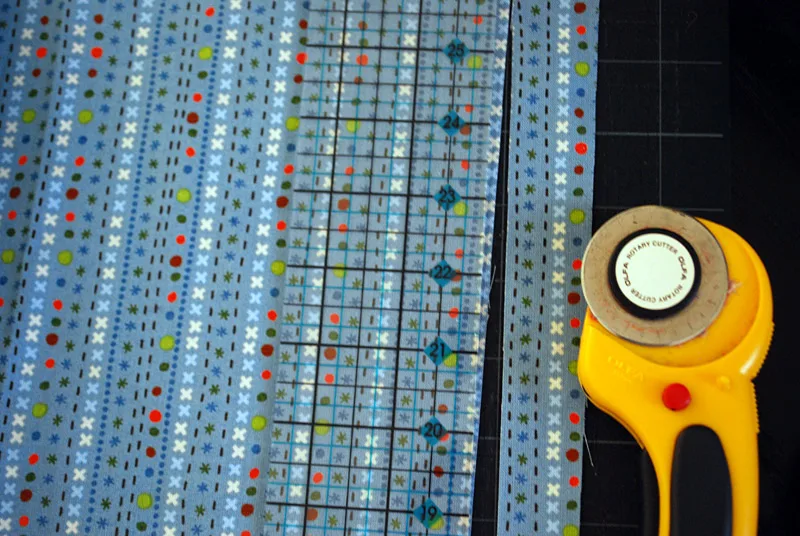
Cut a piece of fabric about 1″ wide.
Group the ric rac, ribbon and fabric together. Slip them through a cookie cutter and tie them onto a bag.
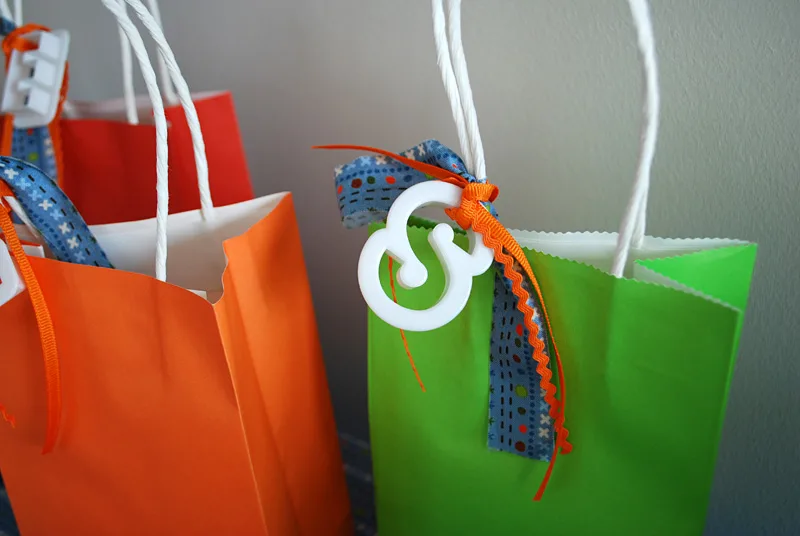
Repeat for all your party guests.
—
Do you like it?
Be a peach and Tweet about it, Pin it, share it on Facebook and/or comment below. And I love seeing your own finished project photos so do share!
Copyright stuff: You’re more than welcome to use this free project and tutorial for personal use. Contact me for commercial use and etsy sales.

Priscila
Thursday 9th of April 2015
Hi I love your gift bag ideas, everything is really beautiful. I'm trying to find out where I can purchase the paper bags from? Do you know where I might find them?
Thank you