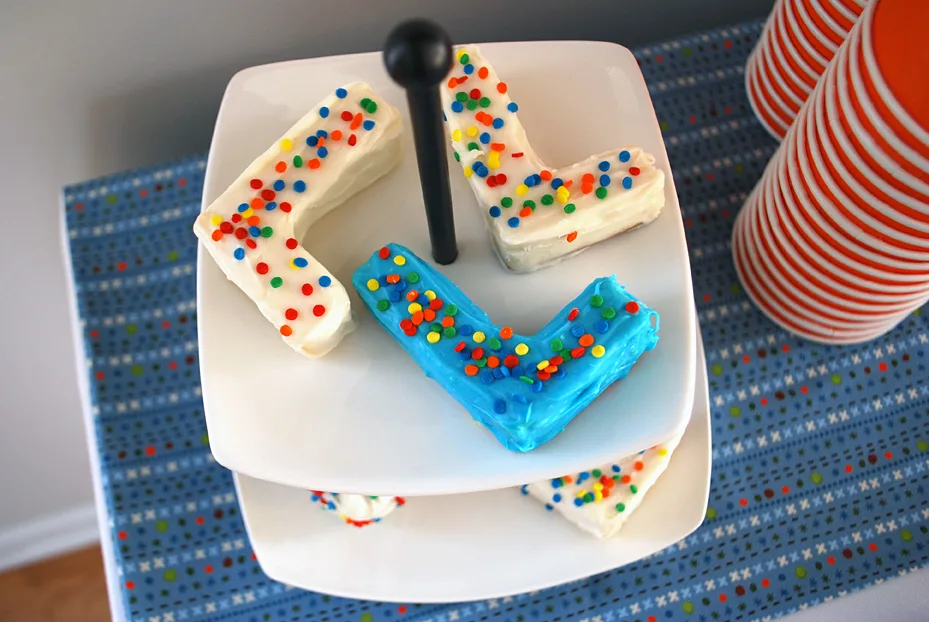
These letter mini birthday cakes were a big hit at Liam’s 1st birthday party. I made them using an L-shaped cookie cutter and pound cake like these cute baby shower petit fours by Cakegirls.
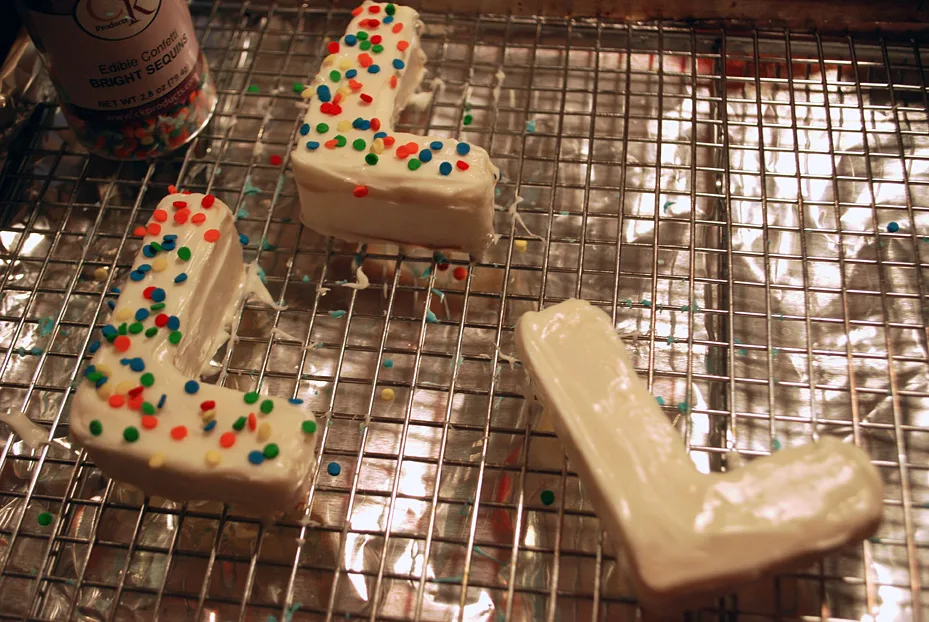
Then I covered the L letters with melted chocolate and confetti sprinkles that complimented Liam’s polka dot XOXO birthday theme and DIY 1st birthday bib tutorial.
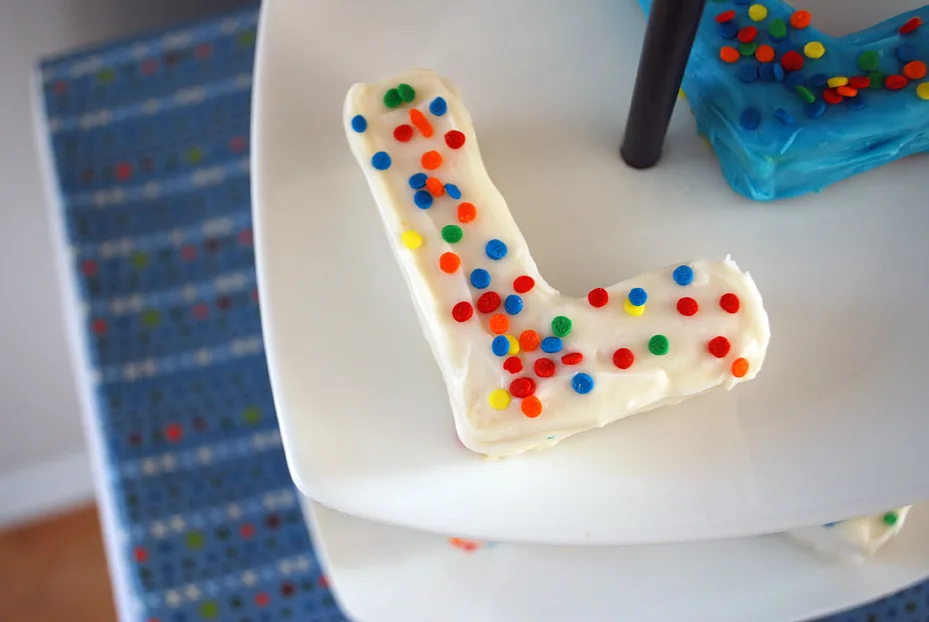
Now everyone knows I’m not an expert baker but I think it’s a big deal to make birthday cakes and treats on your own, imperfections and all, so I gave it a go and you can too! And I made my first ever cake pops using the leftover pound cake from cutting the L-shaped mini birthday cakes.
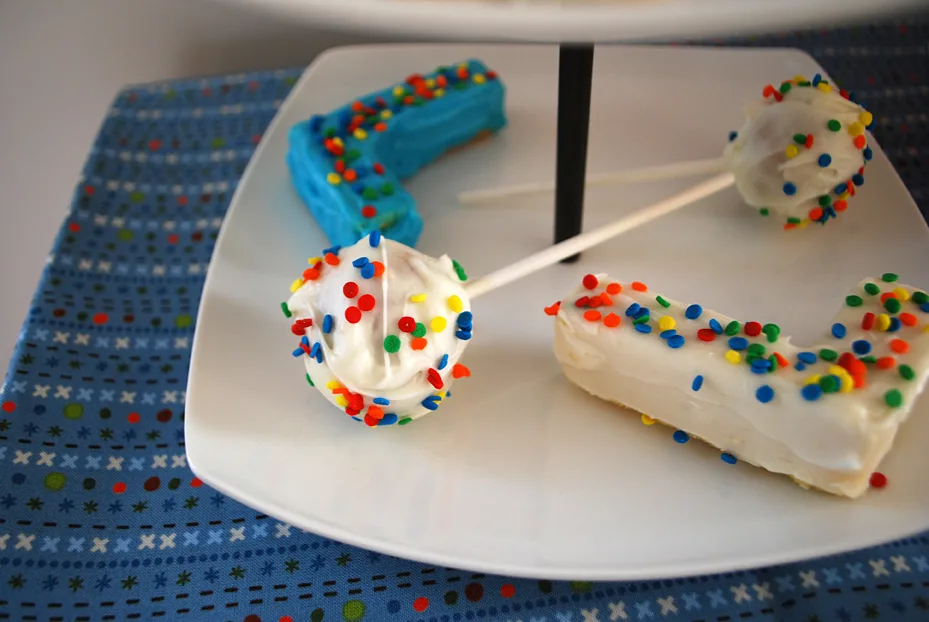
And displayed them on the table next to colorful M&Ms and polka dot plates.
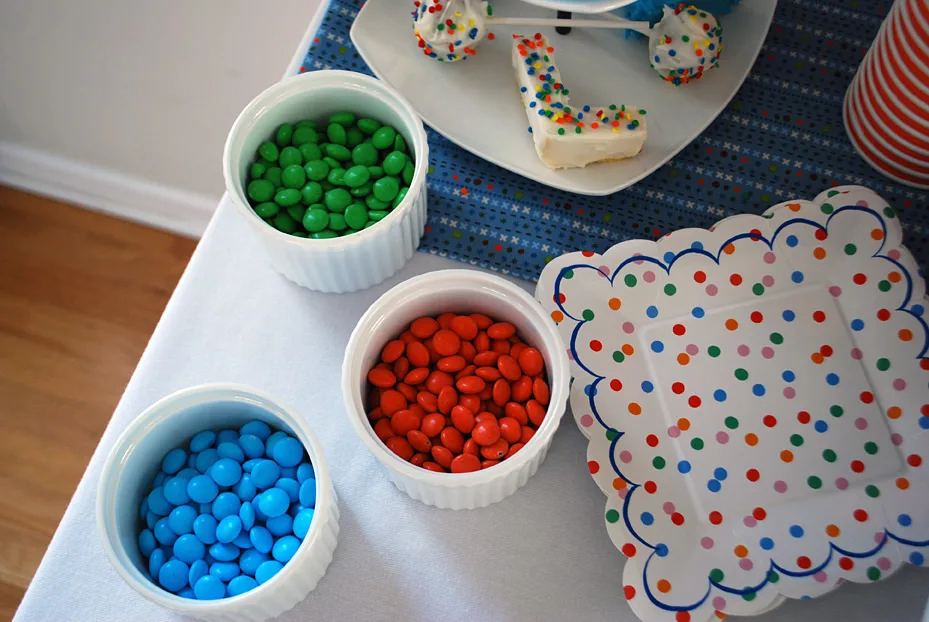
L is for Liam, my little birthday boy!

WANNA MAKE IT? Step-by-step tutorial and supply list for making letter mini birthday cakes petit fours –>
Supplies for making letter mini birthday cakes petit fours:
- Frozen pound cake
- Chef’s knife
- Large alphabet cookie cutters
- Chocolate wafers
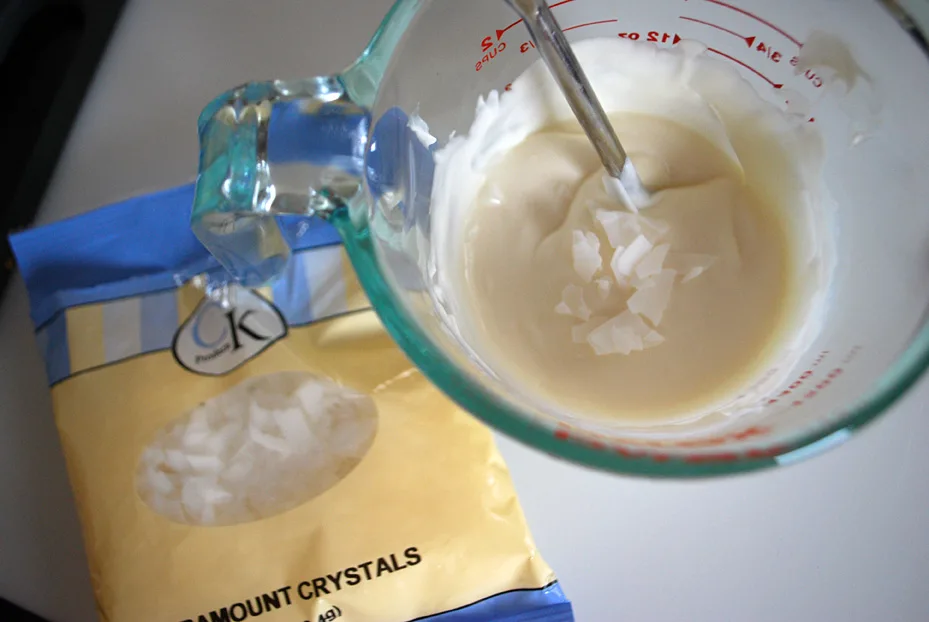
- Paramount crystals
- Food coloring
- Sprinkles
—
Like it? Share it!
The nicest way to say you like it is to pin it on pinterest, post a comment, follow Merriment Design on Facebook, twitter, pinterest, Google+ or sign up for monthly emails. Enjoy! 🙂
—
How to make a letter mini birthday cakes petit fours:
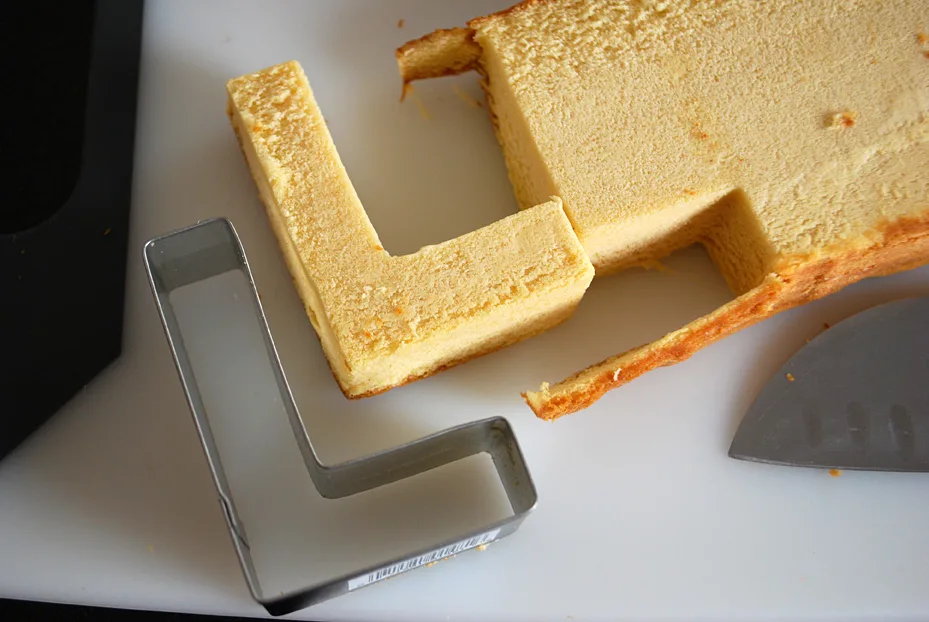
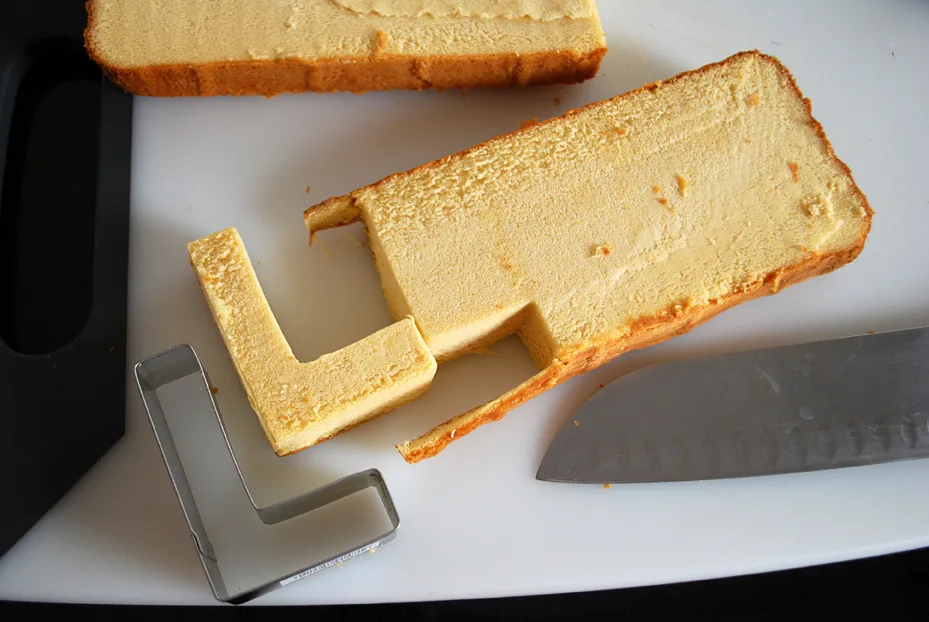
Cut the frozen pound cake lengthwise using a chef’s knife to be about 1/2″ tall. Use the cookie cutter to cut L-shapes out of the pound cake.

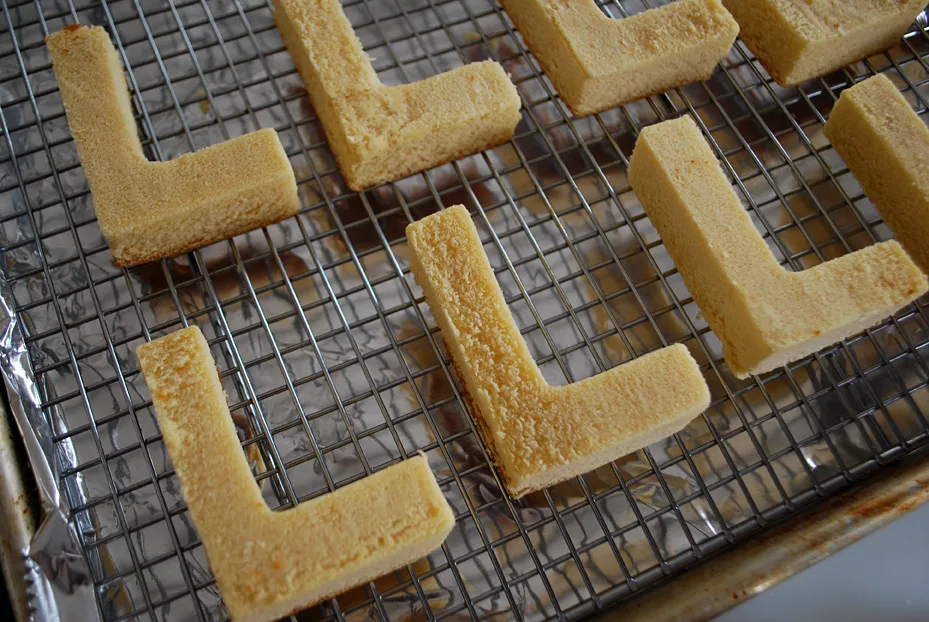
Place them on a wire rack with aluminum foil-covered jelly roll pan below. I was able to get 10 L mini birthday cakes from one frozen pound cake.

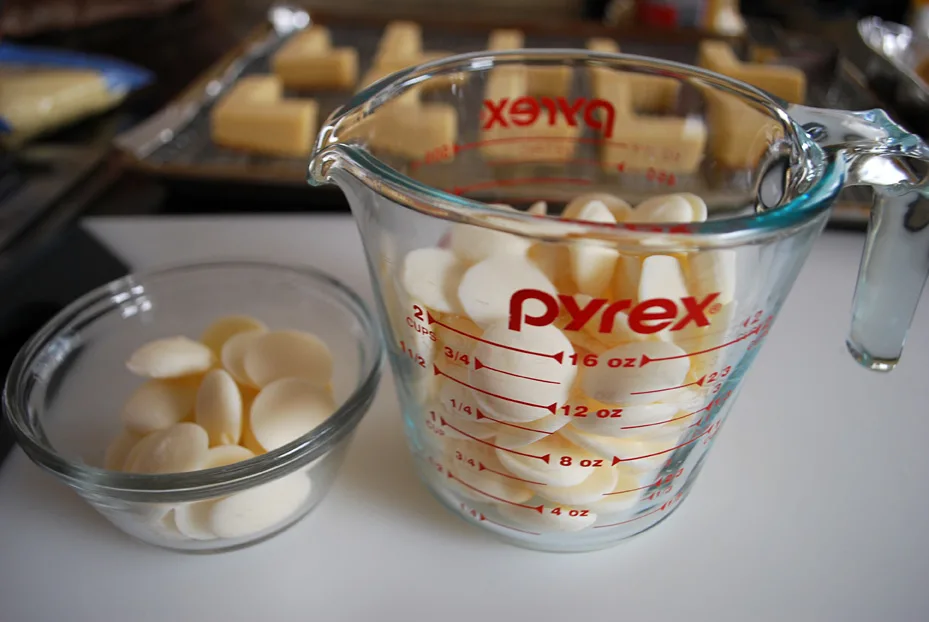
Melt the chocolate in the microwave at 30 second intervals. Stir. Don’t overheat the chocolate or else it will get ruined.

Cakegirls recommended stirring in Paramount Crystals to make it more fluid. It kind of worked, I don’t know, maybe I didn’t add enough.

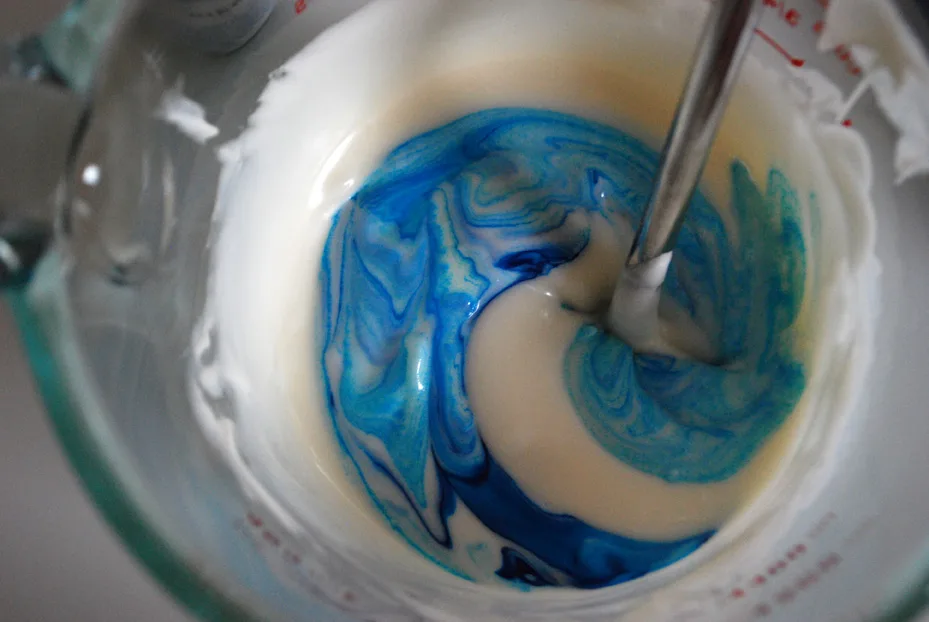
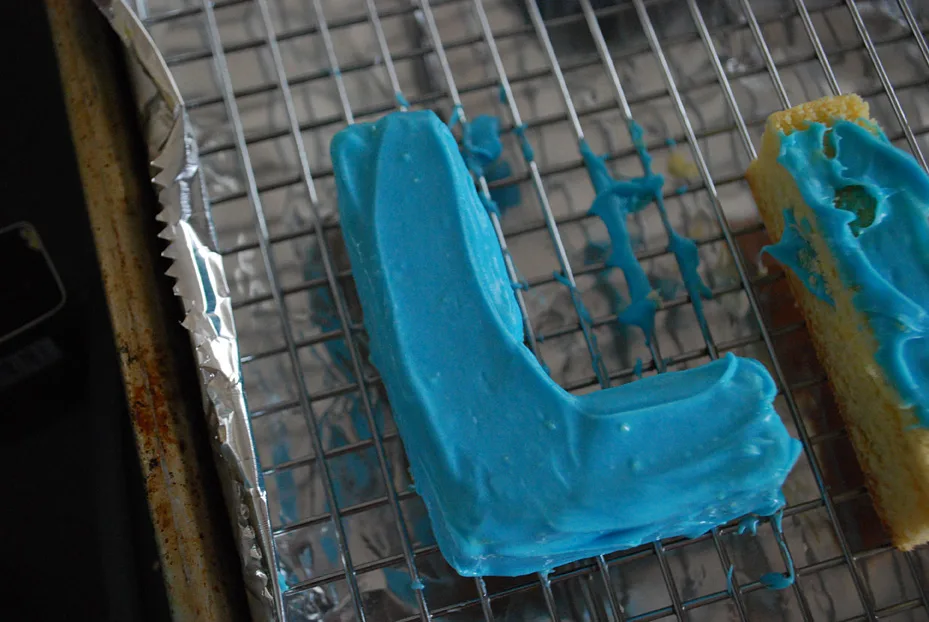
I added food coloring to a batch of the melted chocolate because I wanted to match the blue shade to Liam’s DIY 1st birthday bib but honestly, I wouldn’t do this in hindsight. I’d just buy colored chocolate. Also make sure that if you do use food coloring that your brand doesn’t include corn syrup or else it will make the chocolate start to get hard like when I made candy clay for Elise’s Buzz Lightyear birthday cake.

Technically, you should be able to pour the chocolate onto the pound cake. I ended up spreading mine with a knife but I’m sure you could do a smoother job!
Now add some confetti sprinkles while the chocolate is still wet.
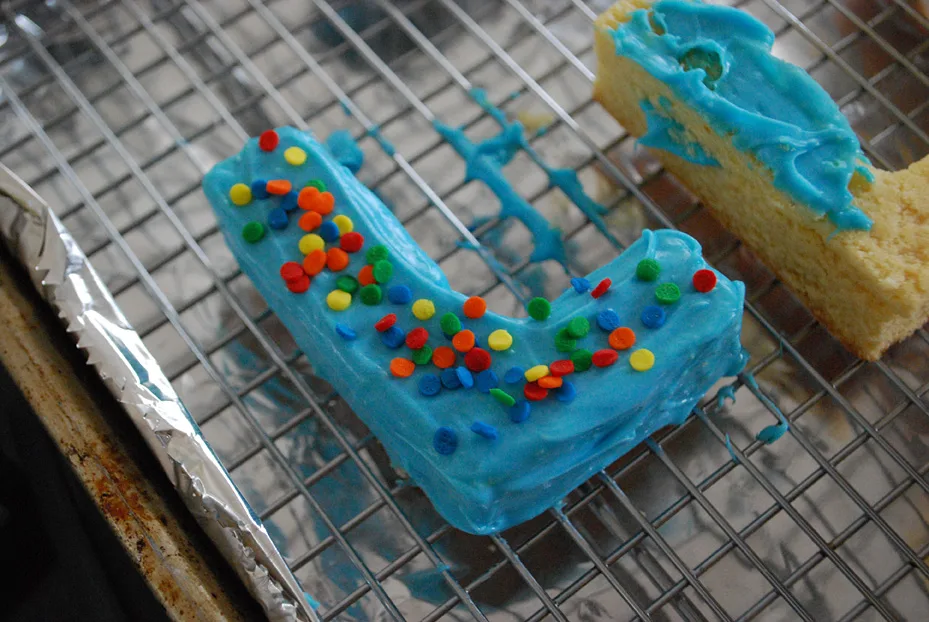
I made the white batch after the blue batch once the kids were in bed and learned that you need to pull them up from the wire rack when they start to harden a bit to keep them from sticking. Good to know when I make E’s next time for Elise!

—
Like it? Share it!
The nicest way to say you like it is to pin it on pinterest, post a comment, follow Merriment Design on Facebook, twitter, pinterest, Google+ or sign up for monthly emails. Enjoy! 🙂
Copyright stuff: You’re more than welcome to use this free project and tutorial for personal use. Contact me for commercial use and etsy sales.

Yolanda Crisostomo
Monday 8th of July 2013
I Love it!!! Can't wait to make it! I hope you don't mind but I want to share this on my blog with a link back to your blog for the tutorial. Thanks so much! ~Yolanda~
Kathy Beymer
Wednesday 10th of July 2013
@Yolanda, thanks so much for sharing it! Cute site you have.