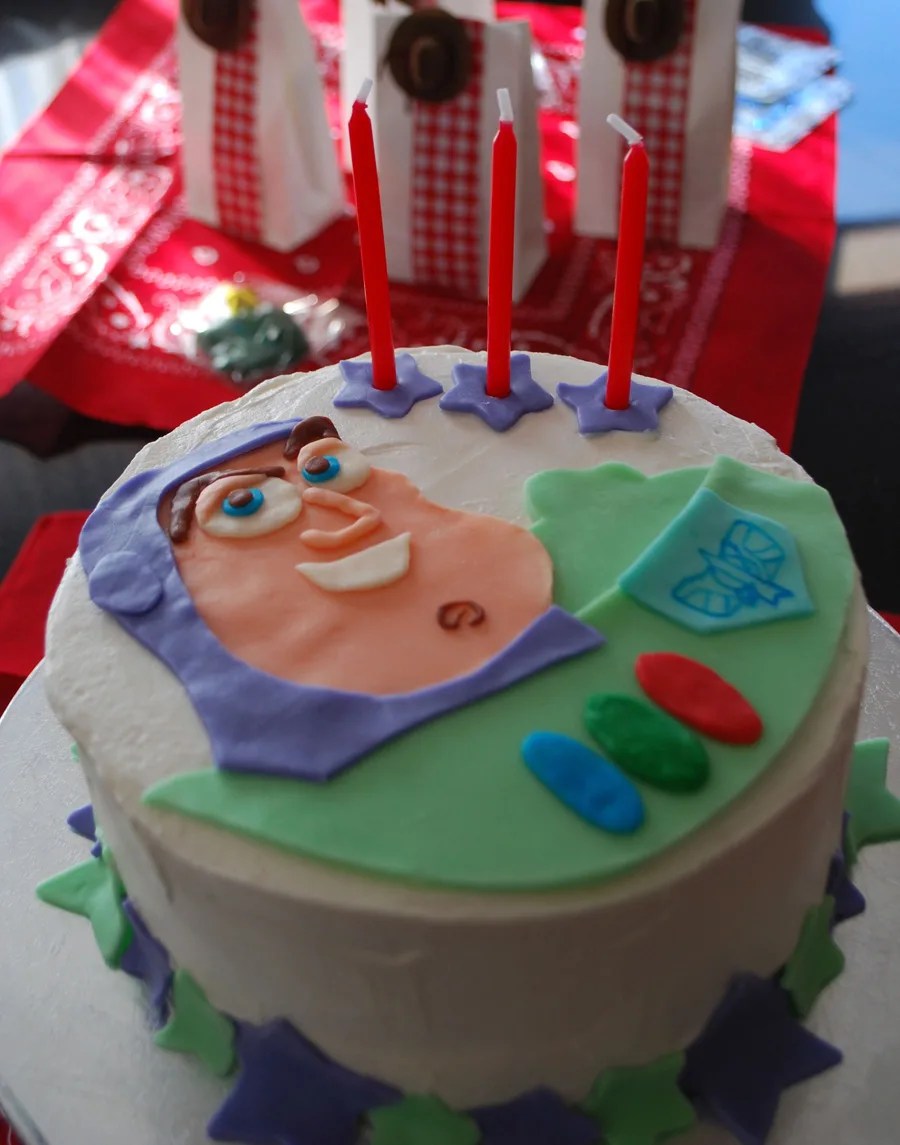
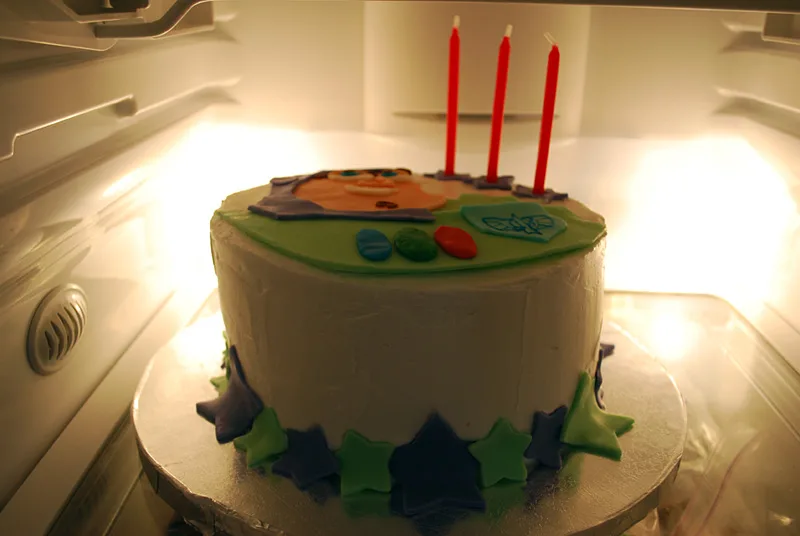
Here’s a Buzz Lightyear Toy Story birthday cake idea that even cake decorating total beginners like me can make. Just print out my free Buzz cake pattern below to make your own Space Ranger.
I used a little cheater method: make and roll out some chocolate candy clay (easy), trace out pieces with a knife, and assemble it into a little edible puzzle.
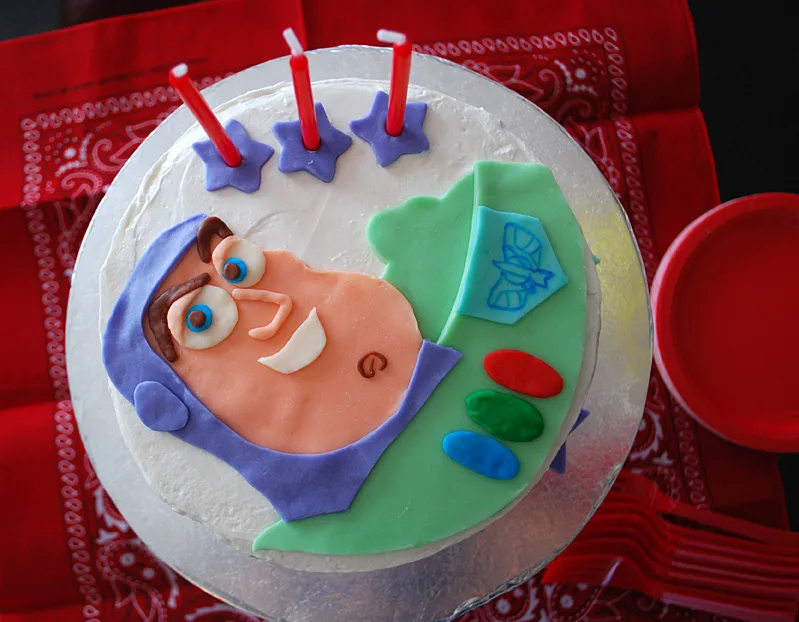
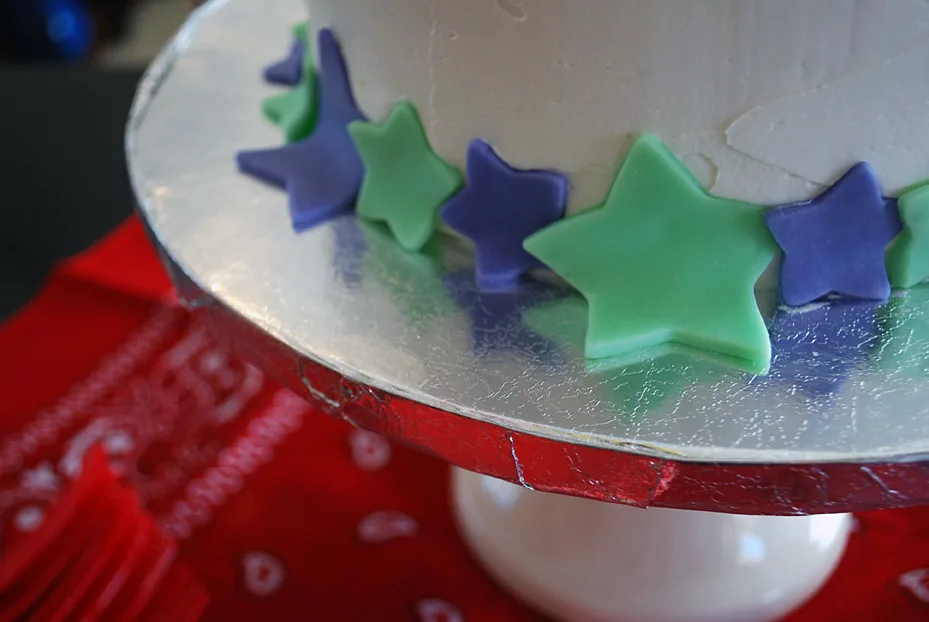
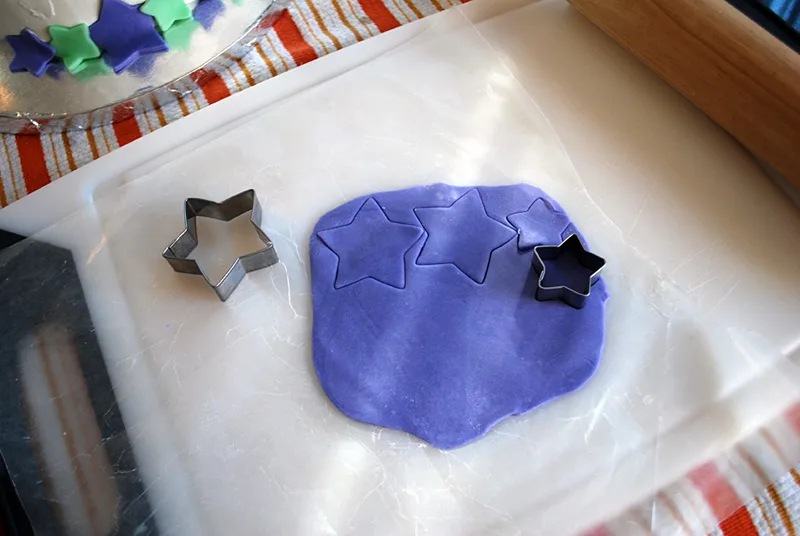
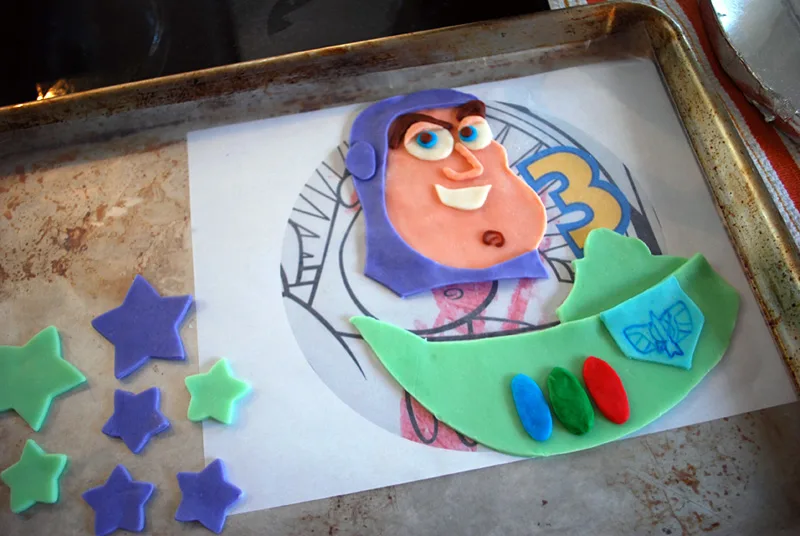
Elise requested stars so I cut some out with cookie cutters and put them around the bottom.
I usually buy birthday cakes. Super cute bakery cakes. But starting this year I told myself that I’m going to stop buying cakes and start learning how to make them if it kills me. I bake but not very well …making cakes seems so intimidating especially with the ridiculously perfect Toy Story birthday cakes out there.
But maybe perfect isn’t the point? I loved the cakes my mom made me growing up, LOVED THEM imperfections and all, from the bunny…
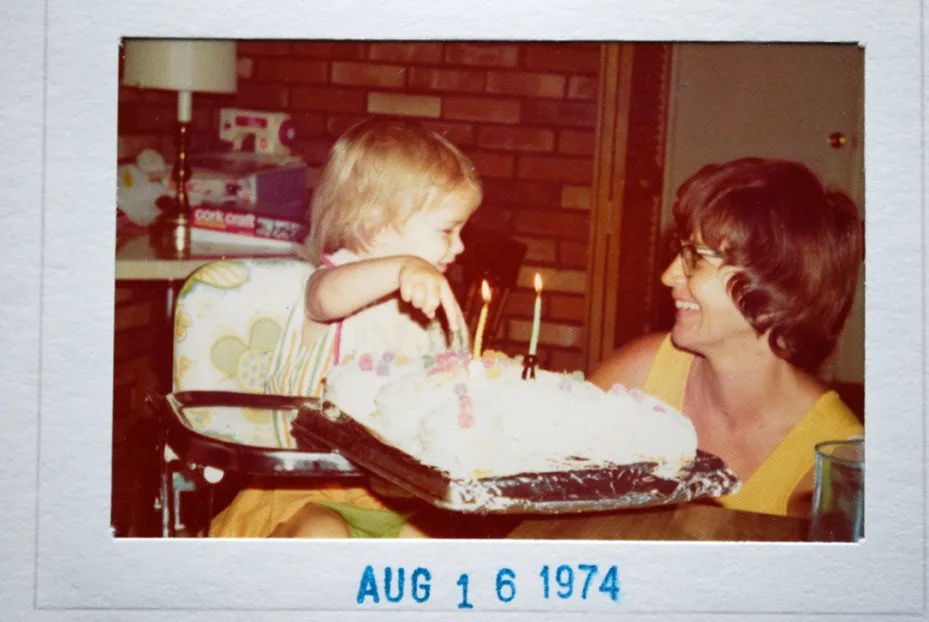
to the pig…
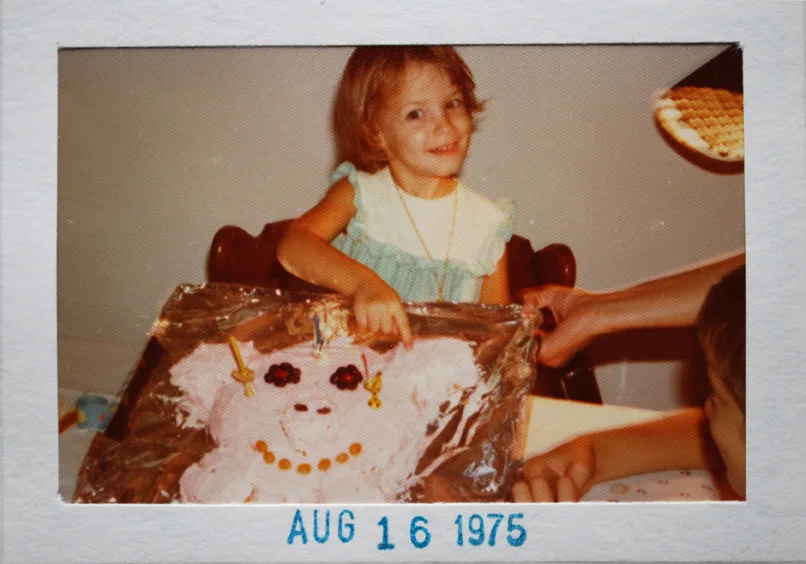
and Snoopy and the gang.
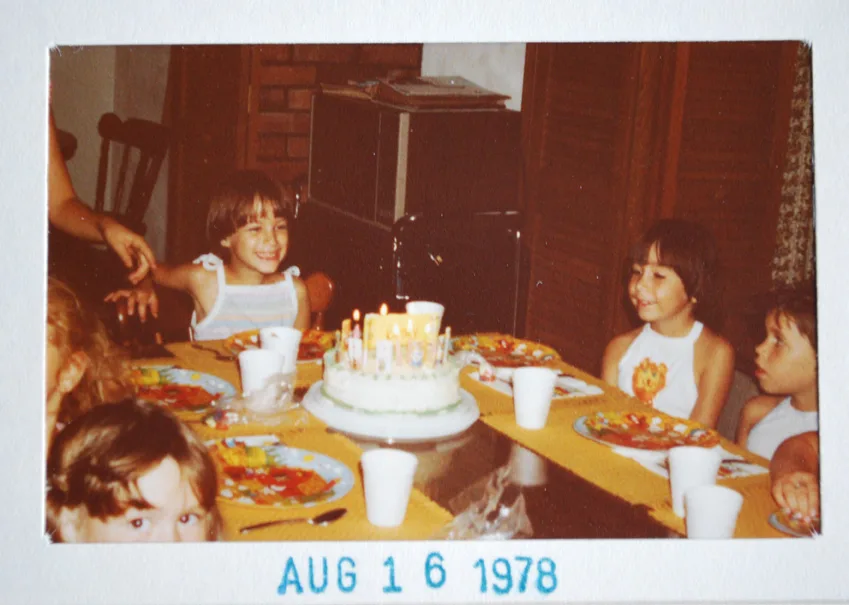
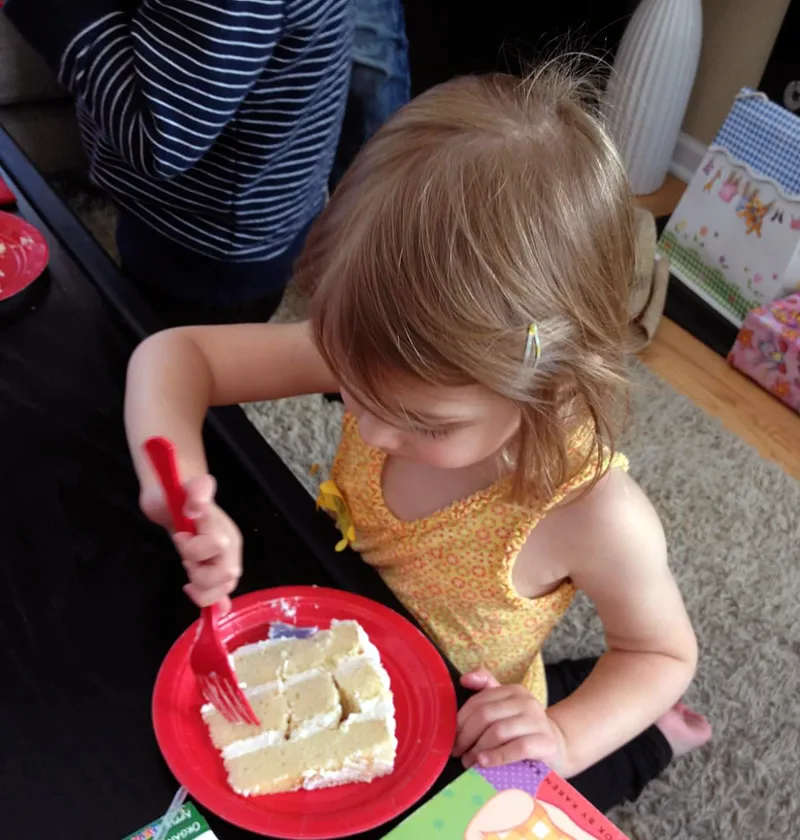
Thank goodness for the book Cupcakes, Cookies and Pies Oh My! and CakeGirls cake and icing recipes. Mary and Brenda from Cakegirls made our poppy wedding cake and then featured it on their WeTV television show ‘Amazing Wedding Cakes’ and they have a new Cakegirls website with tons of great products and how-tos. And while there’s no danger of me becoming a professional baker I’m pretty happy with how the Buzz Lightyear birthday cake turned out …and better yet, Elise loved it.
WANNA MAKE IT? Keep reading for my free printable pattern and tutorial for making an easy Buzz Lightyear Toy Story birthday cake –>
Supplies for making an easy Buzz Lightyear Toy Story birthday cake:
- Free printable Buzz Lightyear cake puzzle pattern PDF (sized for an 8″ round cake)
- Star cookie cutters
- Rolling pin
- Wax paper
- Squeeze professional food coloring
- Cakegirls vanilla cake recipe and Brenda’s Buttercream Frosting recipe to make an 8″ round cake (I made a three layer cake)
How to make a Buzz Lightyear Toy Story Birthday Cake:
Make the candy clay a day or two in advance. I used the recipe in the book Cupcakes, Cookies & Pie, Oh My! which is a really cute book, recommend it.
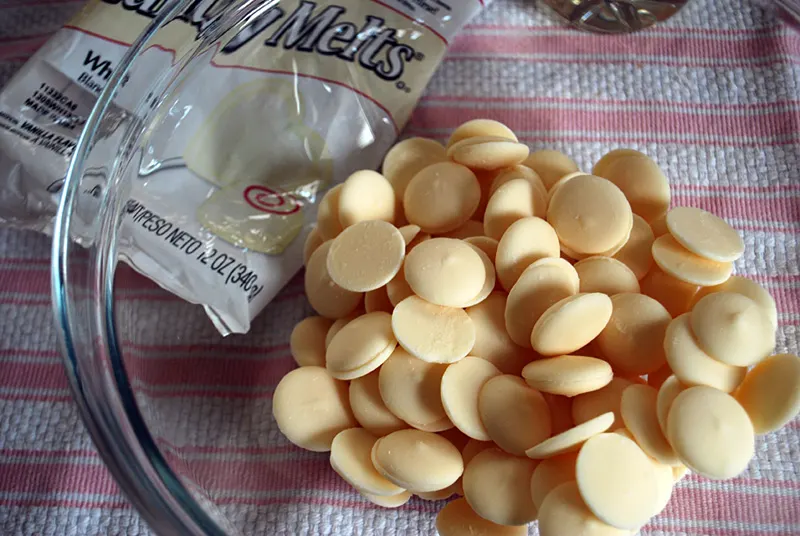
Place 1 bag (12 oz) of white Wilton candy melts in a medium glass bowl.
Microwave on high, stopping to stir every 20 seconds or so, until the candy is melted and smooth, about 1 minute (it is important to not overheat).
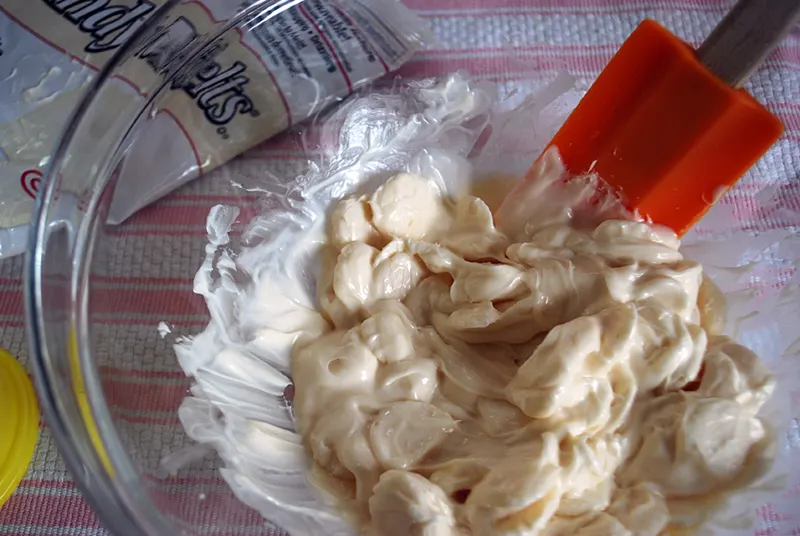
It took me three zaps but every microwave is different.
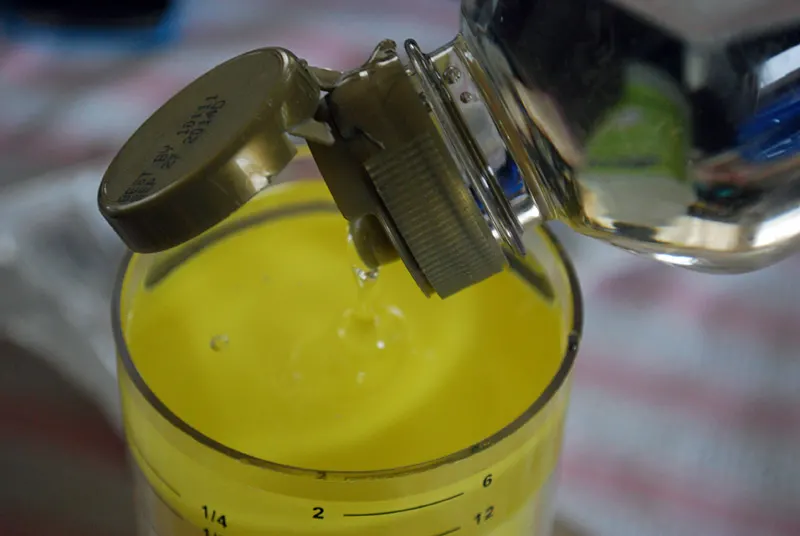
Measure 1/4 cup Karo light corn syrup. I hope my friend Heather isn’t reading this.
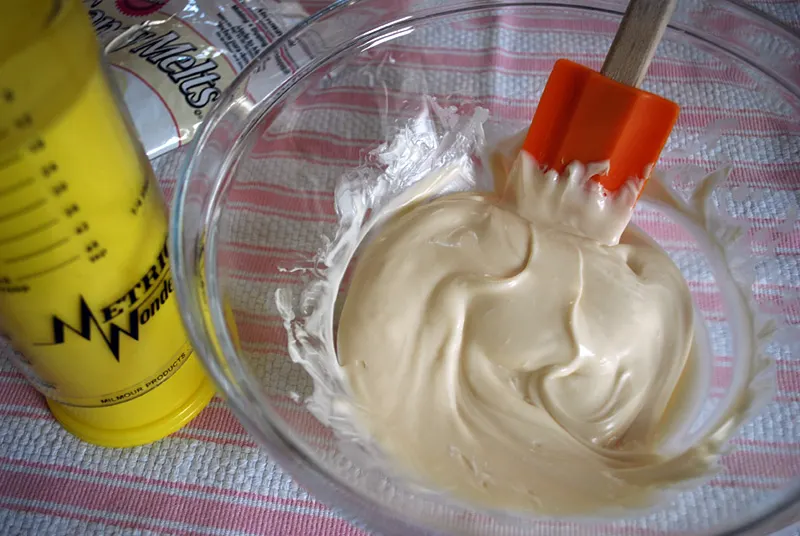
Add the corn syrup and stir with a rubber spatula until well combined.
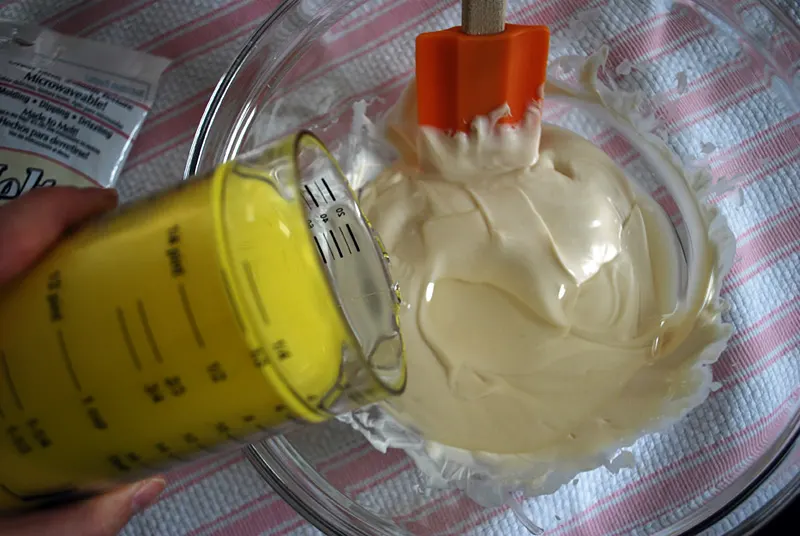
It will get kind of stiff and look kind of grainy like this.
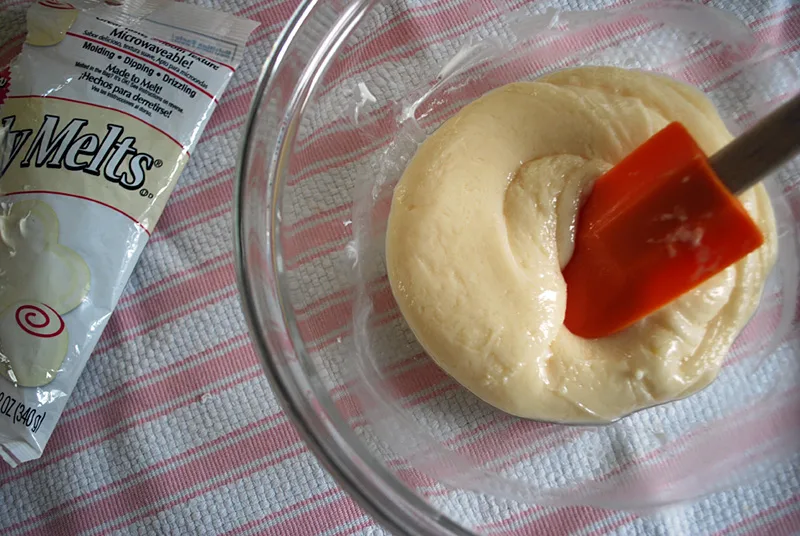
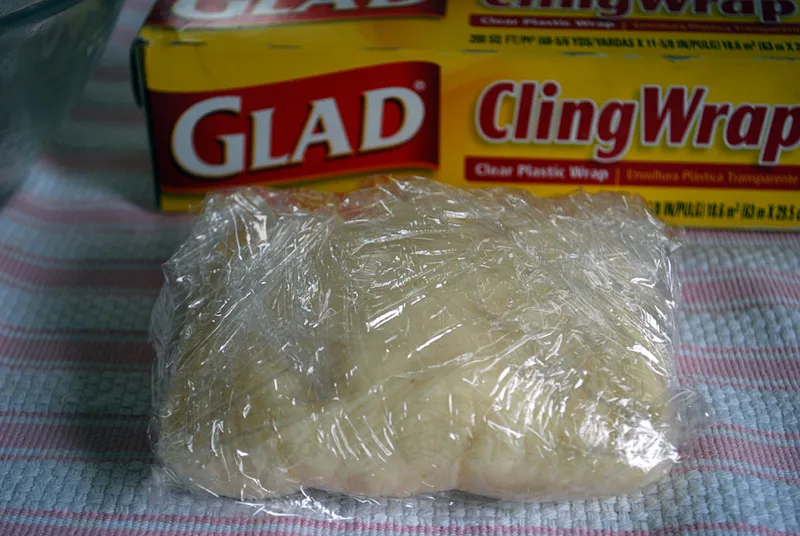
“Cover tightly with plastic wrap and let stand at room temperature for at least 3 hours to firm up. The candy clay can be made up to 4 days in advance and stored, covered, at room temperature.” Yes, this seems kind of weird to me but I did it and ate it and everything was fine.
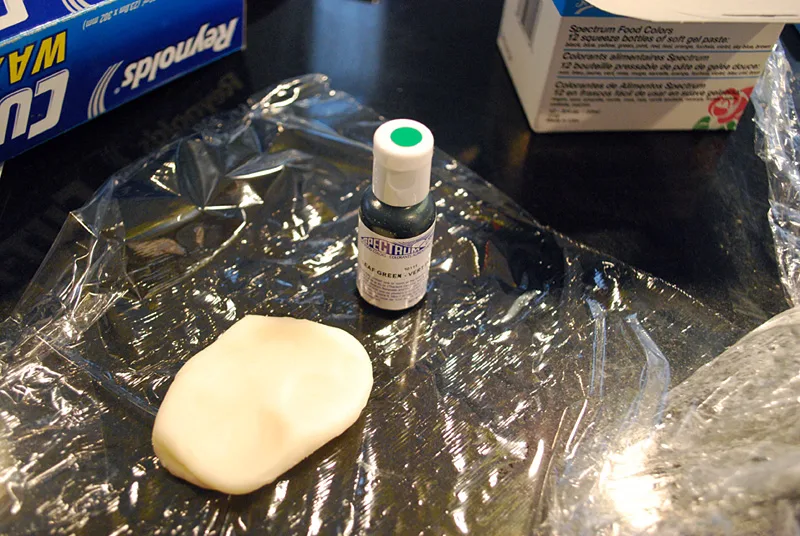
When ready to use, make all of your colors. Knead until smooth. If you made it in advance and it’s a little stiff, then microwave the clay for 5-10 seconds to soften it up. Break off about the amount you think you’ll need for each color. Tint it using food coloring and knead it well to blend the colors. I wore plastic food gloves to keep my hands from getting food coloring all over them.
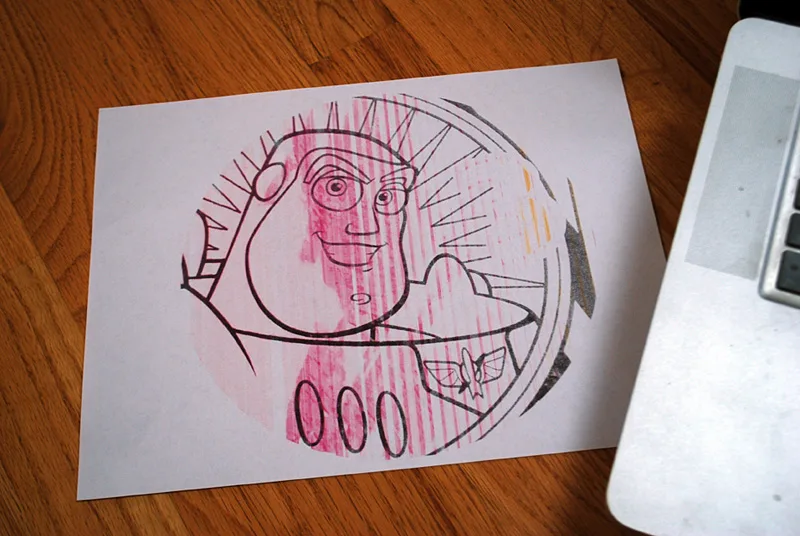
Print out my free Buzz Lightyear cake pattern which will fit on an 8″ round cake. Or make whatever pattern you want on a Xerox machine.
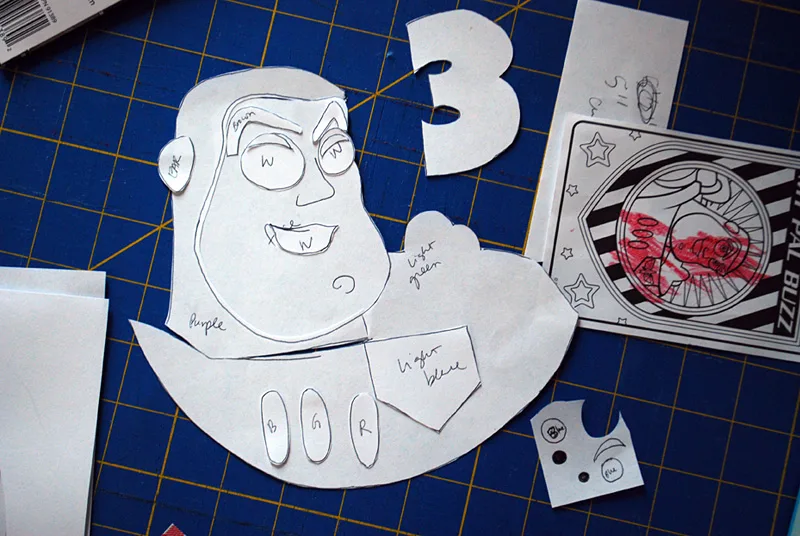
I cut out all of the pieces. Later I realized that you really only need to cut out the big pieces — just the face, hat, and suit — and the rest you can “trace” …I’ll show you that in a minute.
Roll out the candy clay between two sheets of waxed paper to 1/8-inch or thinner. Mine were on the thick side.
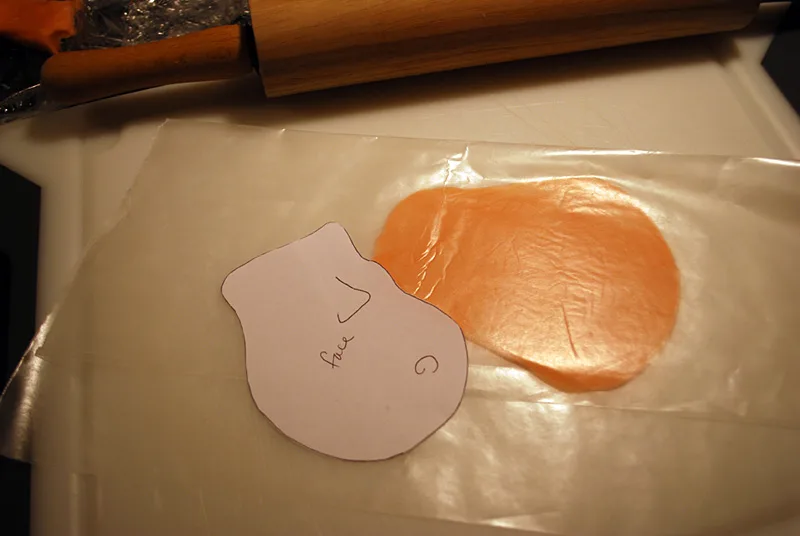
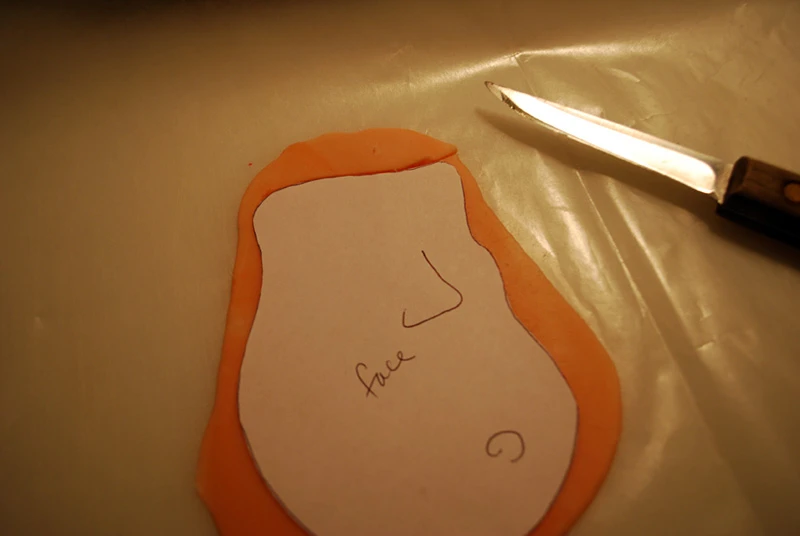
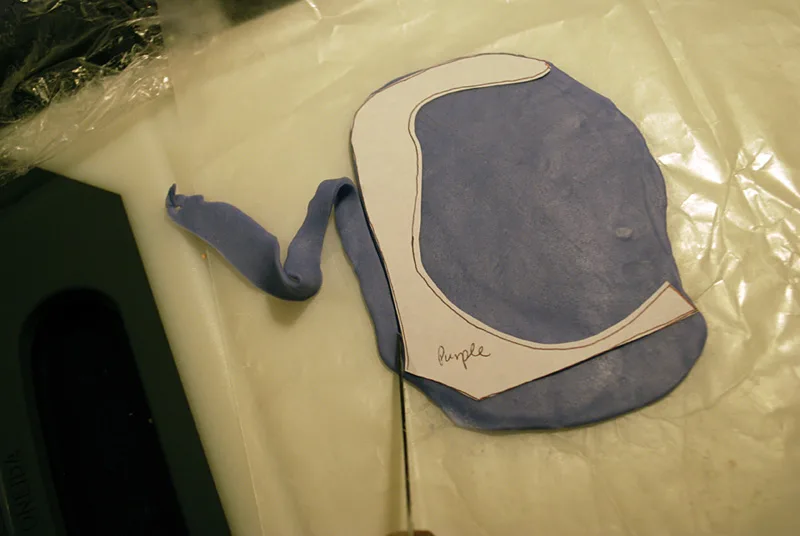
Open up the wax paper, place the pattern on top, and run a knife around the outside. The candy clay is easy to cut and peel away.
For smaller pieces like the eyebrows, eyes, buttons, etc. just put a piece of wax paper on top of your printout and either cut it out or just mold it on (again my printout was red because Elise had colored it).
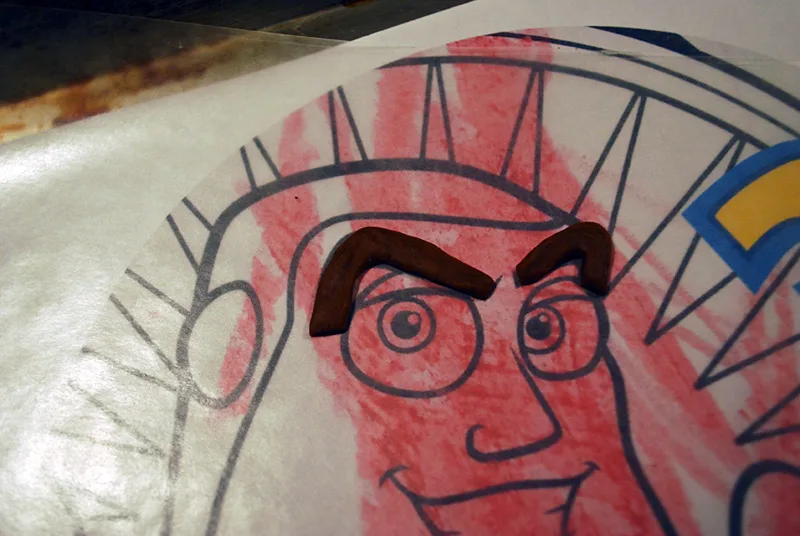
Start to layer up the pieces. Looking like Buzz, yes?
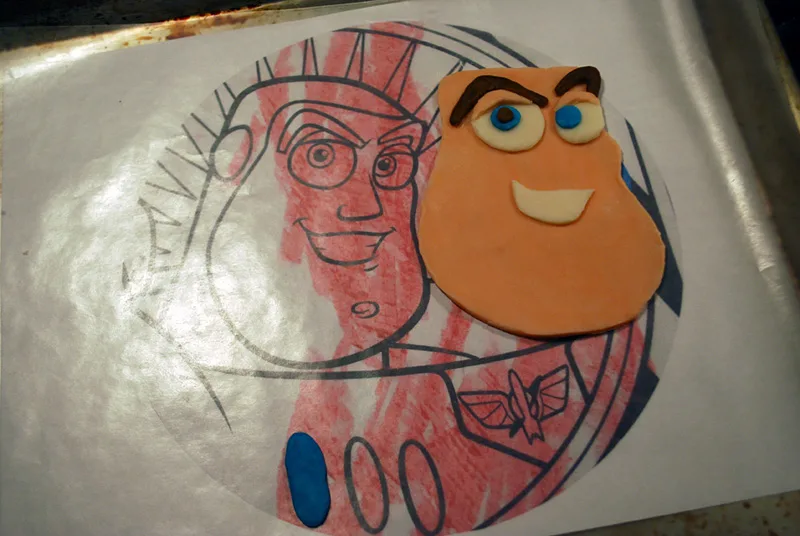
Keep going. Here’s the purple helmet…
Cut out stars using a cookie cutter.
OK so here are all the pieces. Cover it all in plastic wrap and work on the cake.
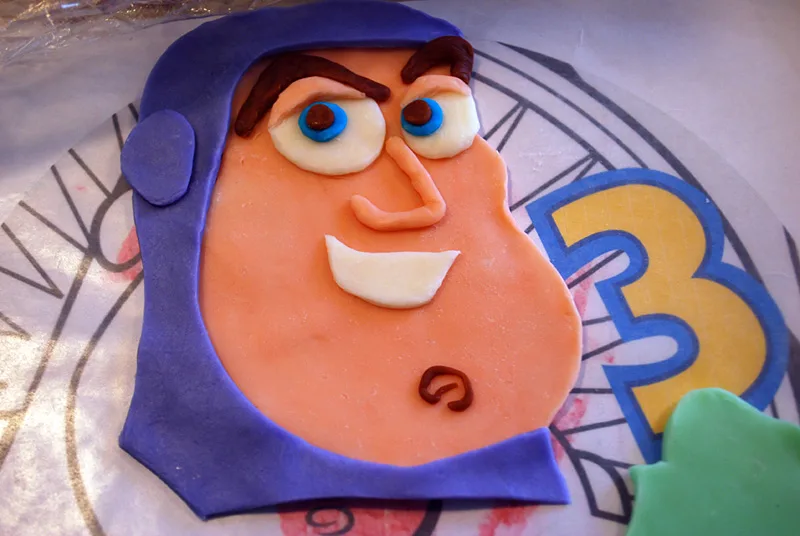
I used the Cake Girls recipe for vanilla cake and Brenda’s Buttercream Frosting recipe. Those ladies sure know what they’re doing. Both the cake and frosting tasted awesome. The frosting recipe made a ton of icing. A TON. And no, my icing job here wasn’t that smooth but you’ll cover it up here in a minute.
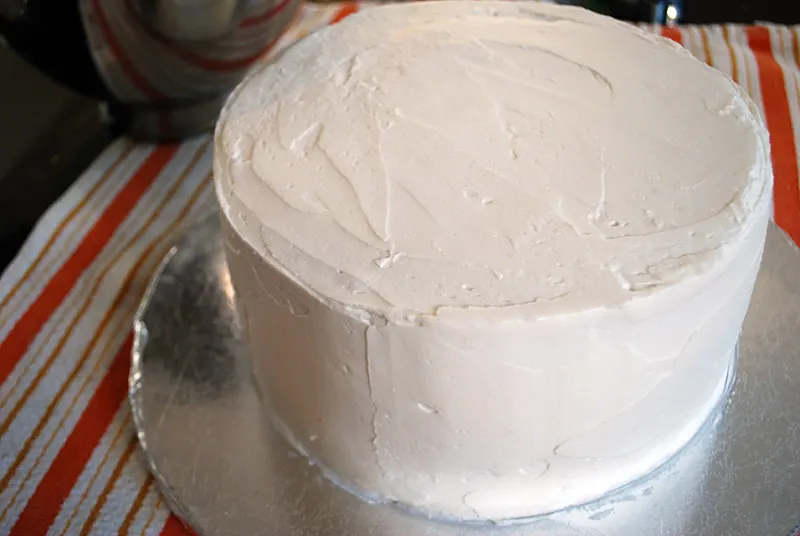
OK so now place the suit onto the cake.
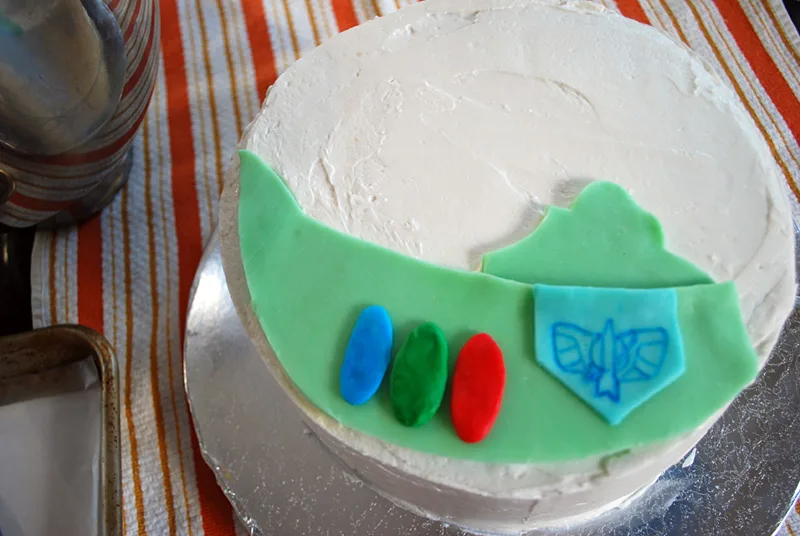
And layer on Buzz’s head.
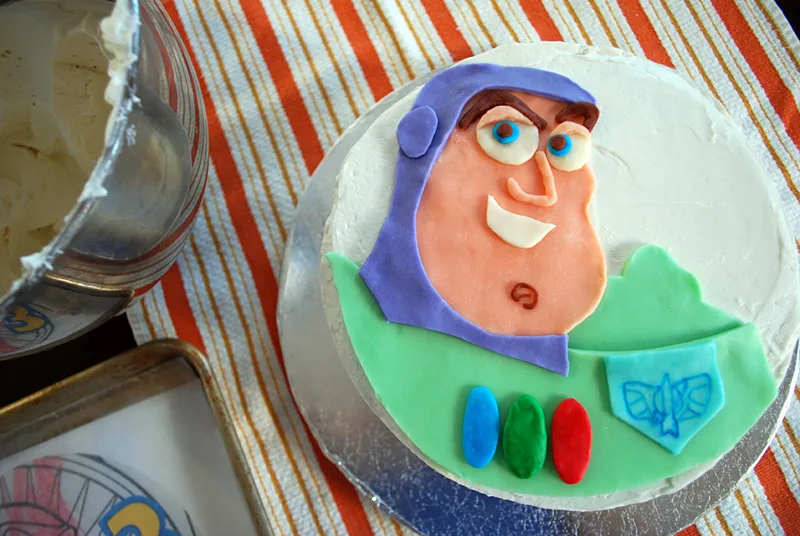
Press the stars around the bottom edge.
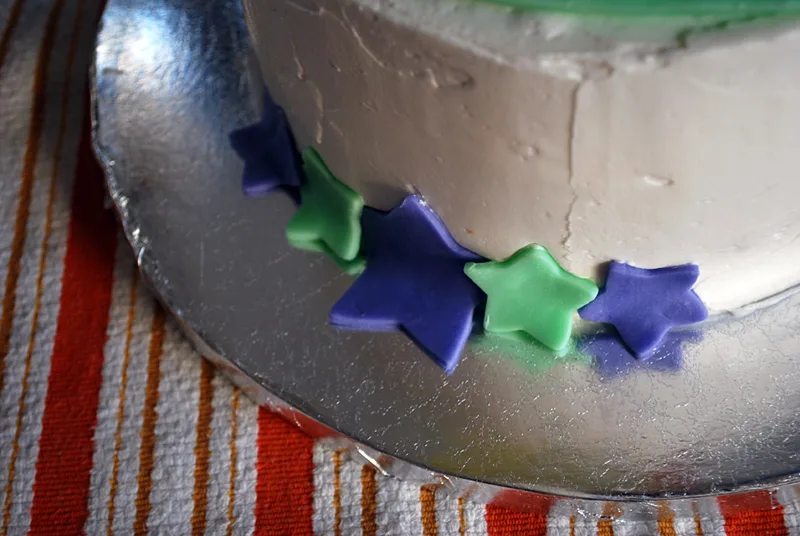
Put in the fridge until the party. I had it loosely wrapped in plastic wrap but this photo is cuter.

If you made it, share it. Post a comment, share photos on the MerrimentDesign.com Facebook page or tweet a picture to @merrimentdesign.

samantha
Saturday 28th of May 2016
I love this! I also wanted to say we were born on the same day !
Rachel
Monday 18th of August 2014
Love this! How far in advance can you make the shapes with color? Can you make them, refrigerate and assemble the next day? How far in advance can I assemble the cake?
Also, I am planning to make a cookie cake. Any concerns putting the clay directly on the cookie? Do I need to frost part of the cookie to ensure the clay sticks?
I really appreciate this idea, your instructions. I am not a baker or a decorator.
Thanks, in advance, for your counsel!!
Kathy Beymer
Thursday 21st of August 2014
Hi Rachel! Yes, you can totally make the clay shapes the day before and refrigerate them. I think if you are making a cookie cake then you will want to use a bit of frosting to adhere it, or you could alternatively use this edible glue gel that my friend Mary (who is an actual professional baker, which I am not, ha!) http://thecakegirls.com/pre-made-edible-glue-piping-gel-tube.html
Would you please post your final cake to my facebook page so that I can see it and share with the group? It sounds so fun! http://www.facebook.com/merrimentdesign
AB
Saturday 5th of April 2014
Thanks so much for the idea and instructions! I made a version of this cake and it turned out great! Here a few tips to make it easier.
You can use different colour chocolate wafers to make the different colours instead of colouring different batches of white. The bulk store carries all of the colours in the rainbow.
Also, once you make the chocolate/corn suryp misture you can put it in the fridge to cool it done and then its ready to use immediately. However too long in the fridge and it becomes very hard and unworkable so I would suggest checking every 10 min.
Thanks agaiin for introducing me to this technique I will be using it all the time now!!
Kathy Beymer
Tuesday 8th of April 2014
Awesome tips! Thanks for sharing them.
Jennifer
Monday 27th of January 2014
No worries! It worked out in the end. Kept the clay chilled & that seemed to help a lot! Your page got me onto the right track, which I appreciate! My son loved the cake!
Jennifer
Monday 27th of January 2014
Don't worry! It turned out okay in the end! I rolled out the clay & then put it in the fridge to firm it up. My son LOVED it! You got me onto the right track so I thank you! This weekend's cake fun will be Cinderella for my little princess' 3rd birthday. Thankfully found a little Cinderella figure at the checkout in Target. Blue cake. Slap Cindy on top. Done. ;)