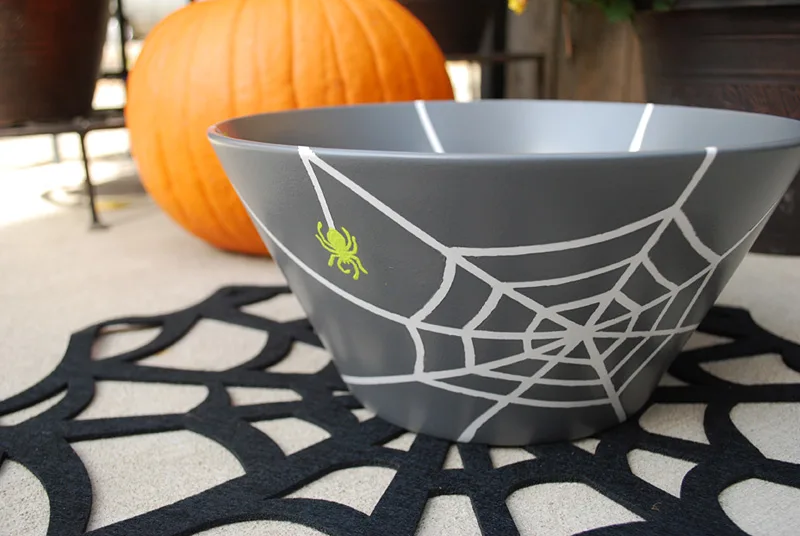
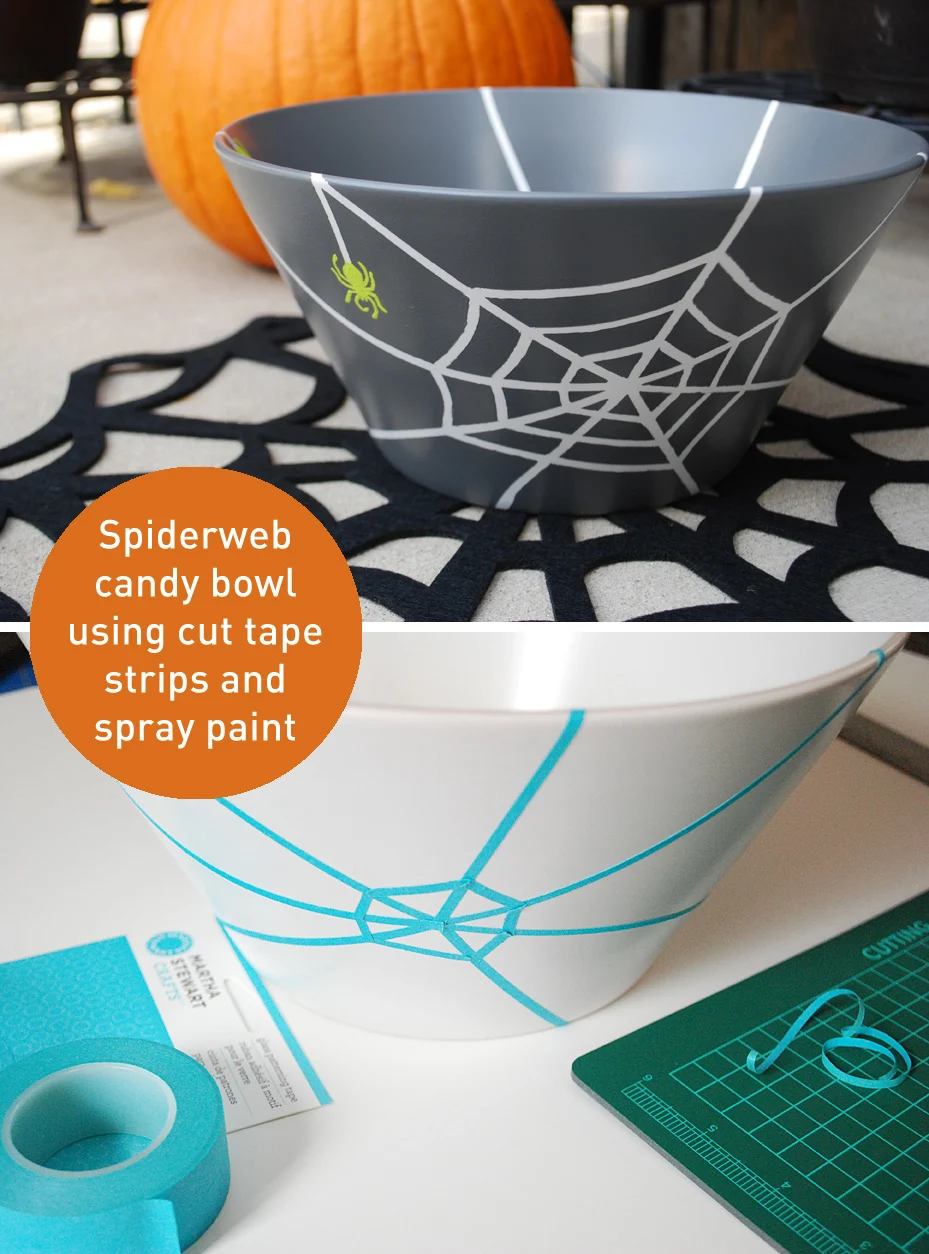
This painted spiderweb DIY Halloween candy bowl for trick-or-treat ranks at the top of my all-time favorite Halloween crafts.
Each Halloween my downstairs neighbors and I sit on our Chicago city stoop with our candy bowl piled with chocolate treats for costumed kids (plus maybe a glass or two of wine for us).
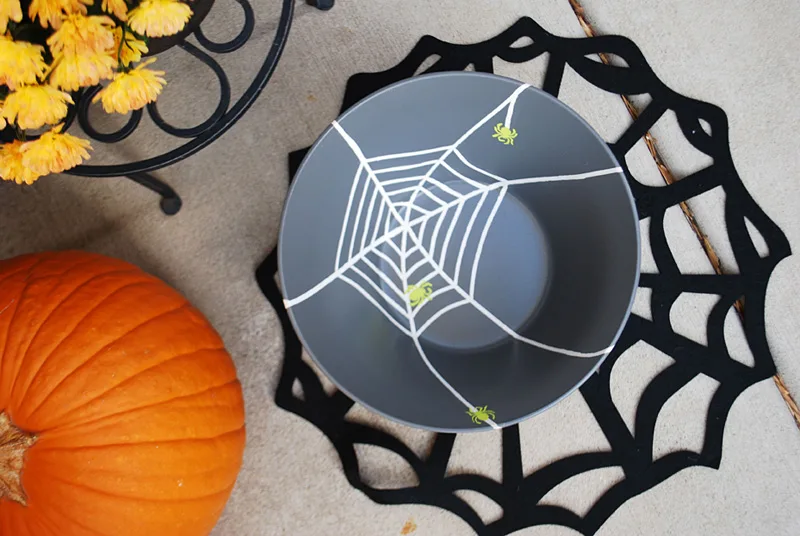
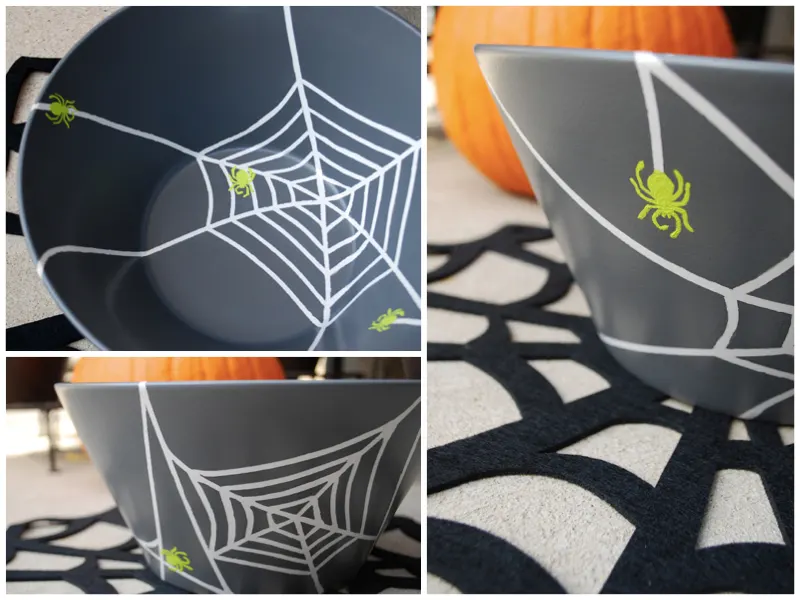
I made us a new spiderweb Halloween candy bowl this year using simple painting techniques that you can do too with a little help from Martha Stewart Crafts.
See also: ‘Subtle Spiders DIY Halloween Front Porch Decoration’ »
This post is sponsored by Martha Stewart Crafts; all opinions are my own. Martha Stewart Crafts sent me a delicious box of Martha Stewart paints in Halloween colors. They asked me to create a Halloween craft using the supplies which I painted on our rooftop deck with its Willis/Sears Tower view. Great paint colors, yes?
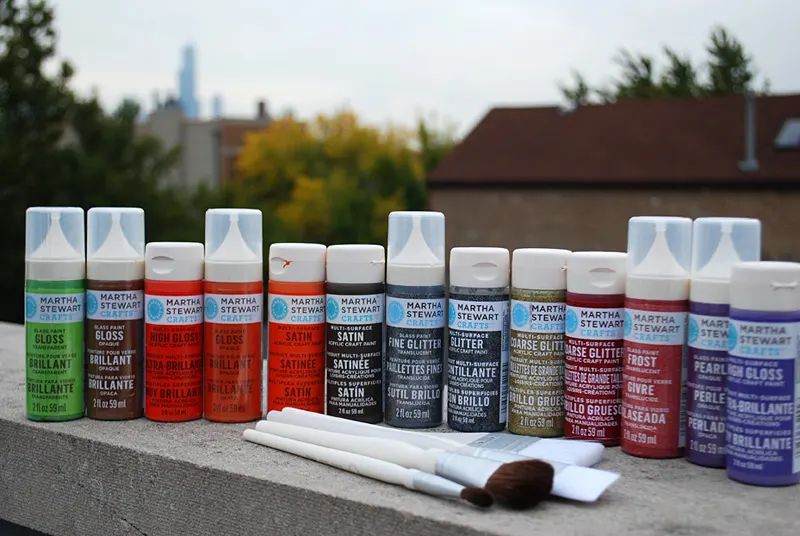
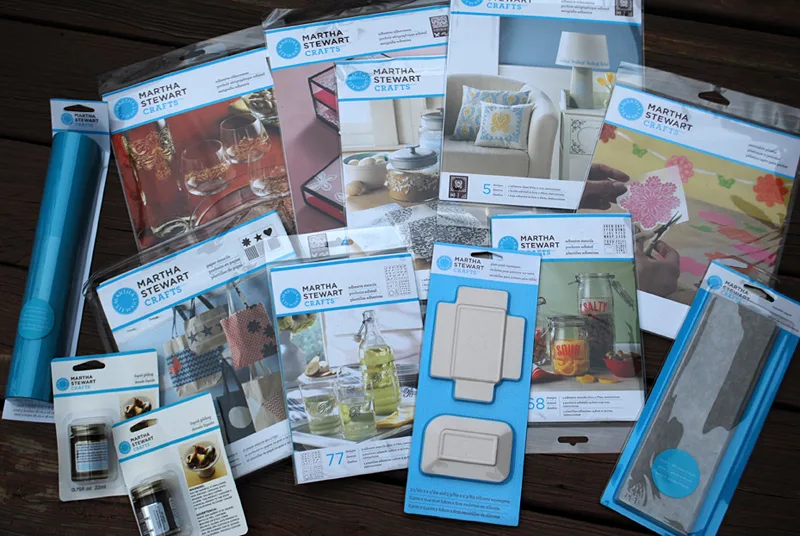
They also sent me Martha Stewart adhesive stencils, silkscreens, brushes, glass patterning tape and more. Now this is my kind of trick-or-treating…
++++++
How to make a DIY Halloween candy bowl
Step 1: How to make a DIY Halloween candy bowl
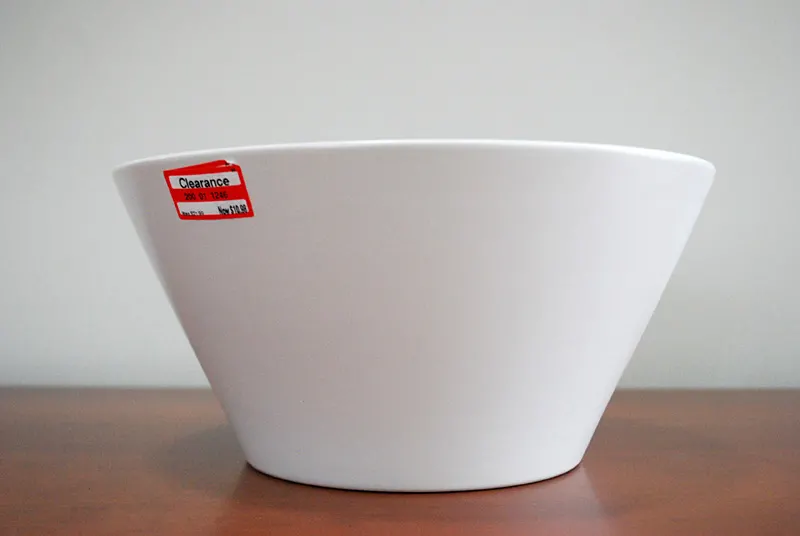
I started with a plain cream ceramic bowl that I found on clearance. I recommend a ceramic bowl because you can quickly cure it in your oven when you’re finished to really harden the paint.
Then I cut the pretty turquoise Martha Stewart Glass Patterning Tape into thin strips using a craft knife…
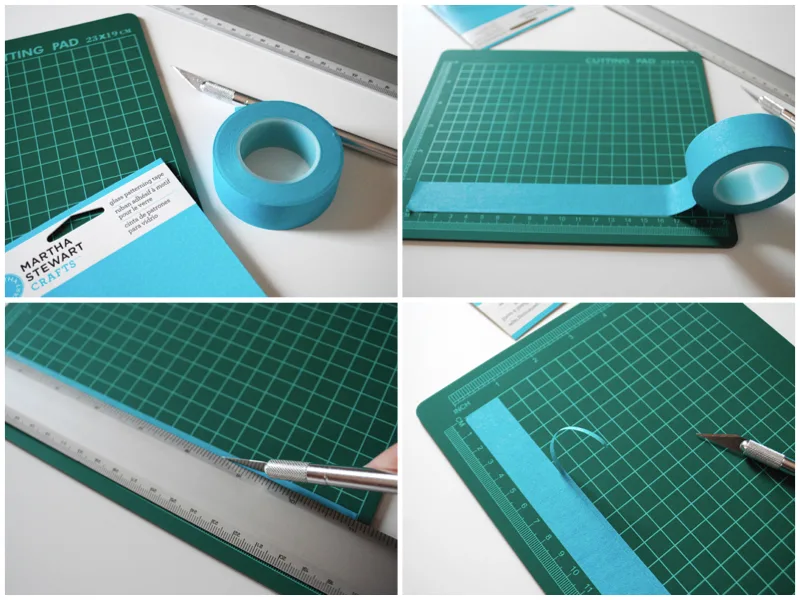
…and then curved and maneuvered the glass patterning tape strips to freehand spiderwebs onto the bowl.
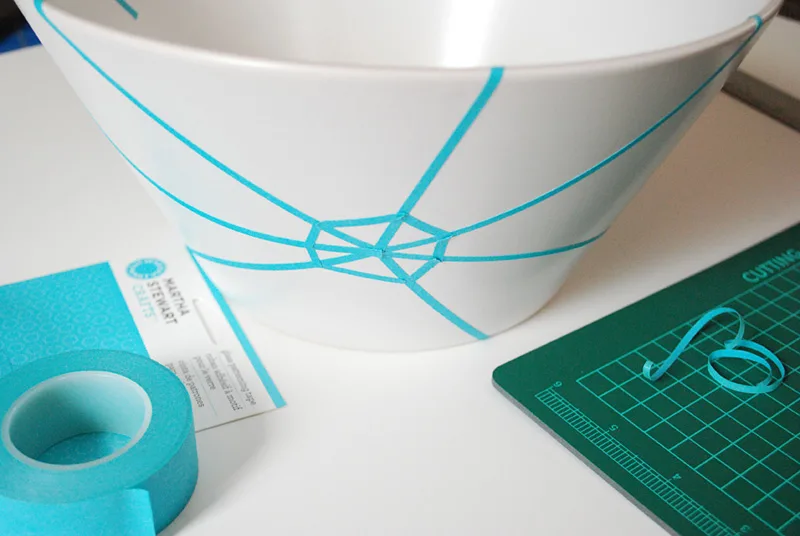
This was so much fun to do and I loved how cutting thin strips put a little twist on how to use Martha’s glass patterning tape.
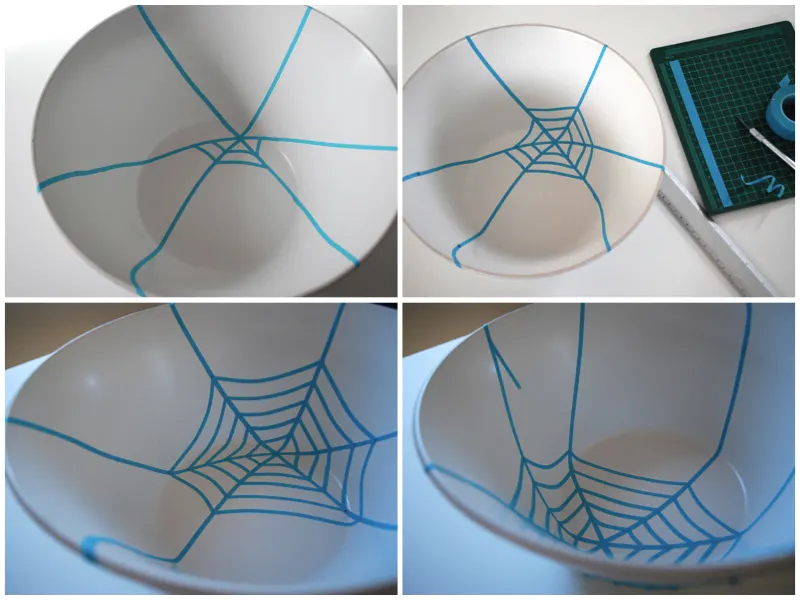
I love how these webs look and it was really easy to do.
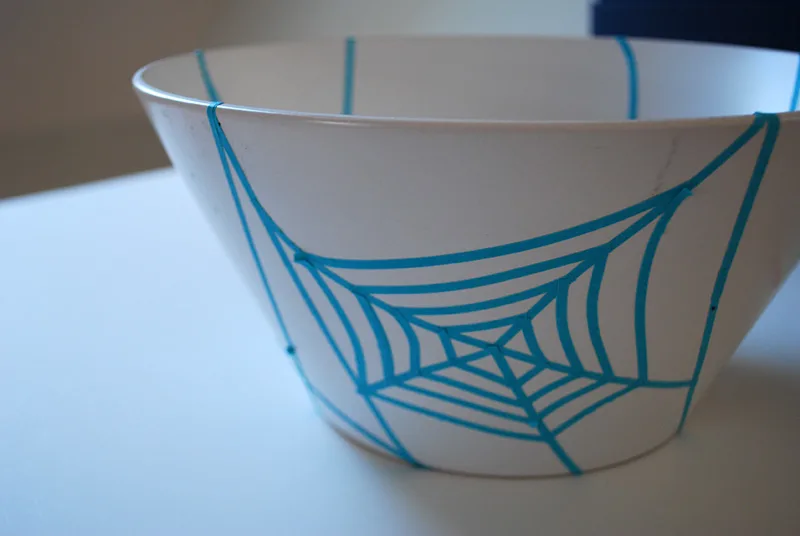
And I admit that as a novice painter I got nervous and almost wished I could stop here — scared to mess this up!
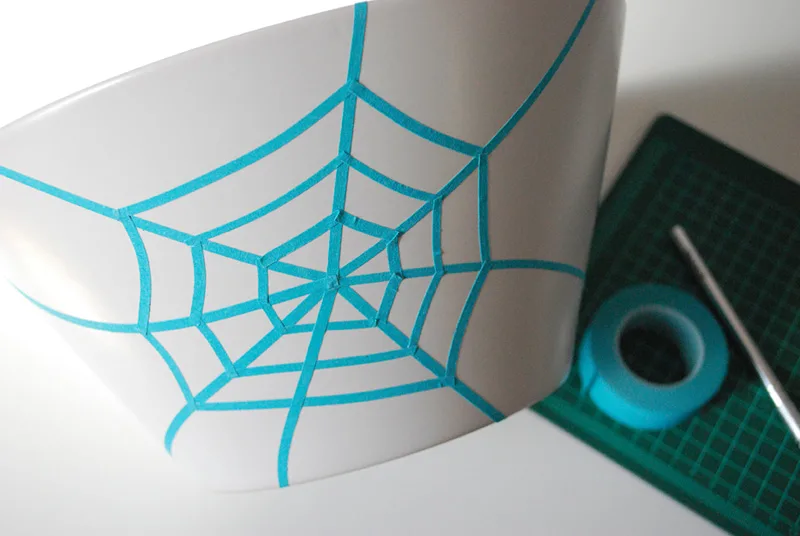
Step 2: Spray paint your DIY Halloween candy bowl
I finally stopped procrastinating and busted out the Martha Stewart Satin Spray Kit to quickly and evenly paint the bowl gray. And, well, I’m hooked.
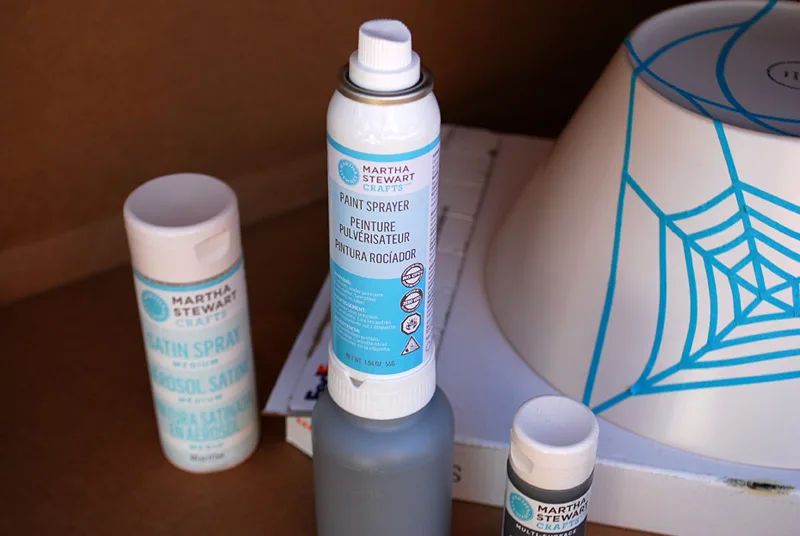
The Martha Stewart Satin Spray Kit is basically a genius way of turning almost any Martha Stewart Crafts paint into spray paint — which comes in super handy for me in Chicago where it’s illegal to purchase spray paint within city limits.
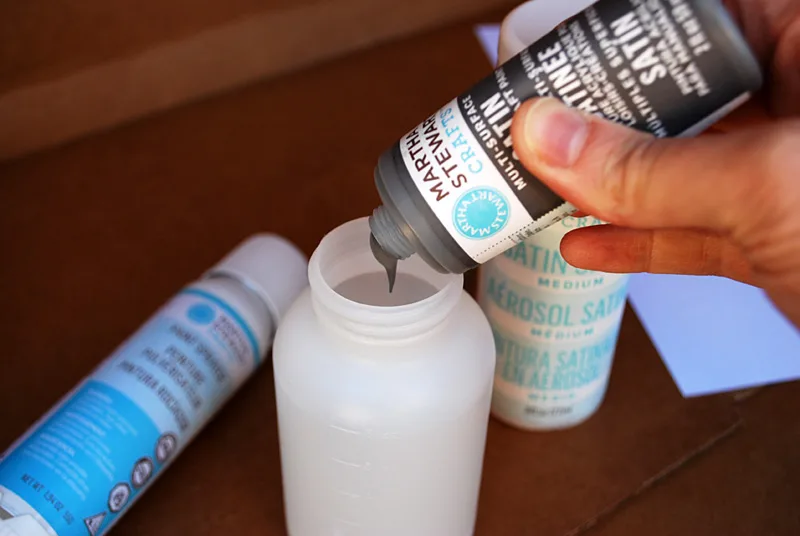
The system is so nifty that I wrote up a step-by-step post on how to use the Martha Stewart Satin Spray Kit so you can create your own custom spray paint colors too.
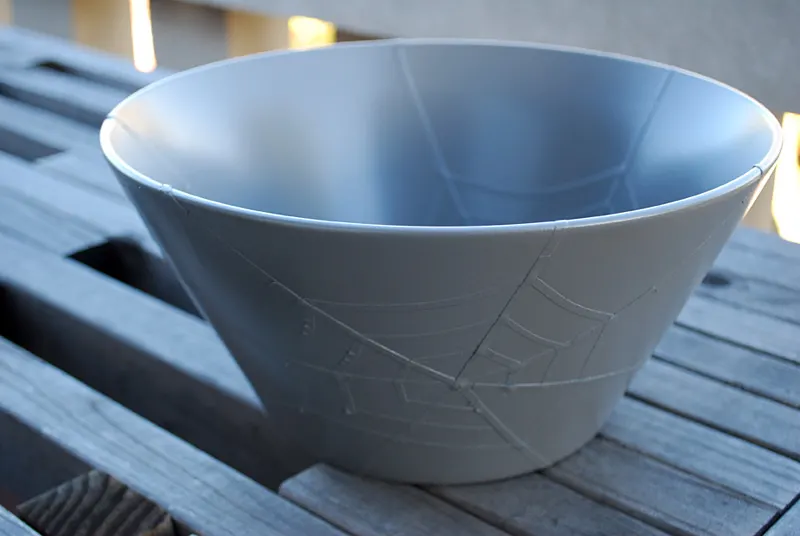
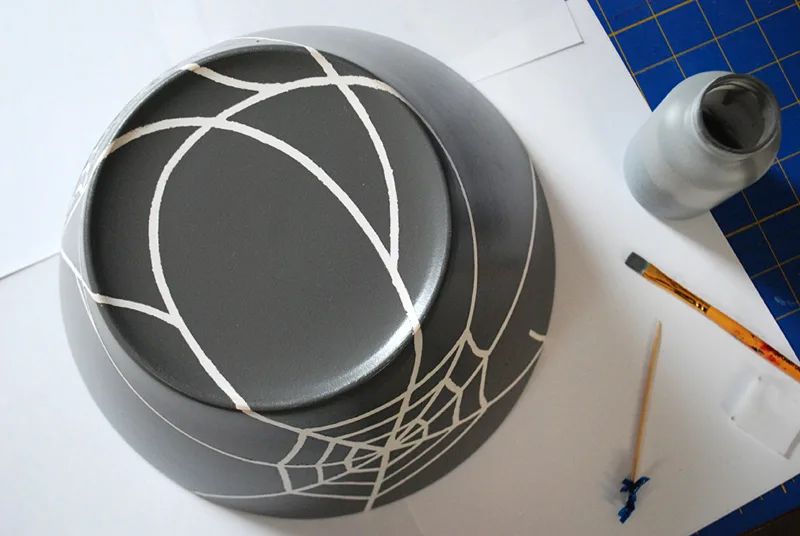
When the gray paint was all dry I peeled off the painter’s tape strips to reveal the ecru spiderwebs below from the original bowl.
(NOTE: I have since learned that I should have either pulled up the painting tape while it was wet or scored around the dry painted tape with an Xacto knife so it would have pulled up more cleanly. So take that step and avoid the touch ups, folks.)
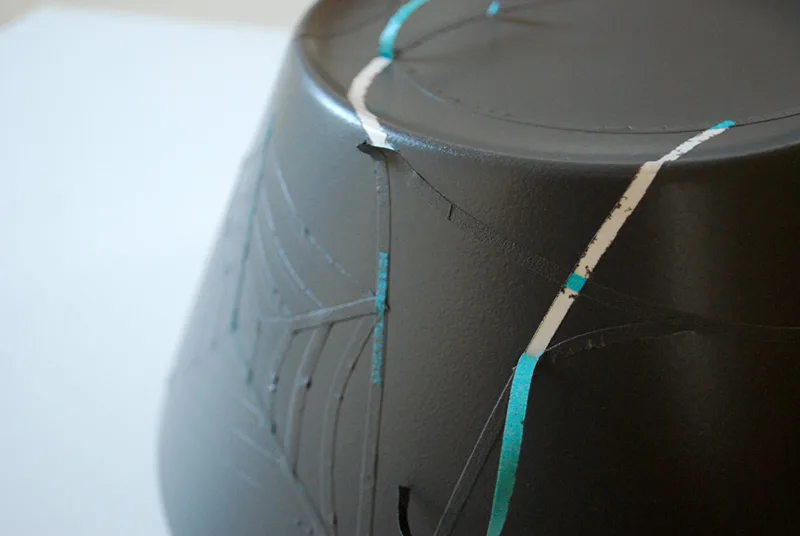
So I had to do a little cleanup where the paint bled under some bits where I should have pushed down the tape more, and touch up with paint in places where I pulled off more paint than I wanted. It actually turned out pretty cool – I like how it almost looks like the webs are hand painted onto the Halloween candy bowl even though it’s really the reverse.
Step 3: Stencil on spiders
Then I added some spiders to my DIY Halloween candy bowl using Martha Stewart Crafts paint in Granny Smith and reusable holiday adhesive stencils. These stencils stick to the surface even they’re washed and dried.
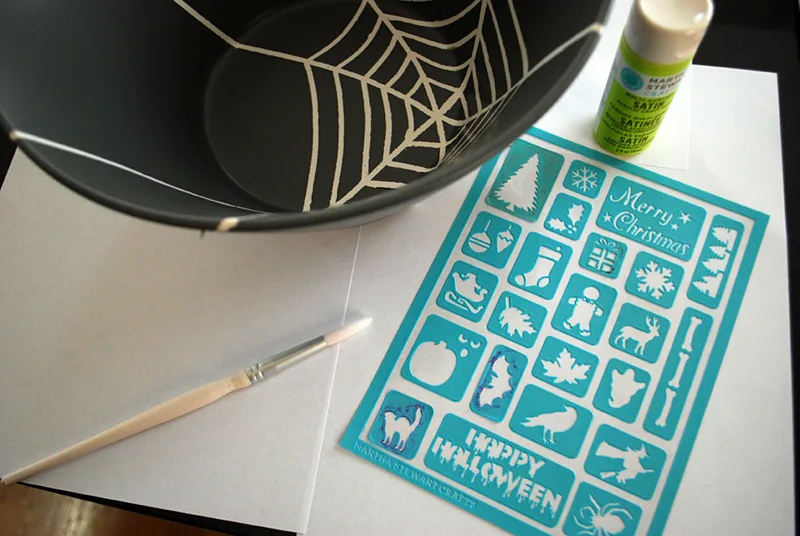
I’m not a painter or a stencil-er. Never really done it before. So I knew starting with a spider stencil was a bold move.
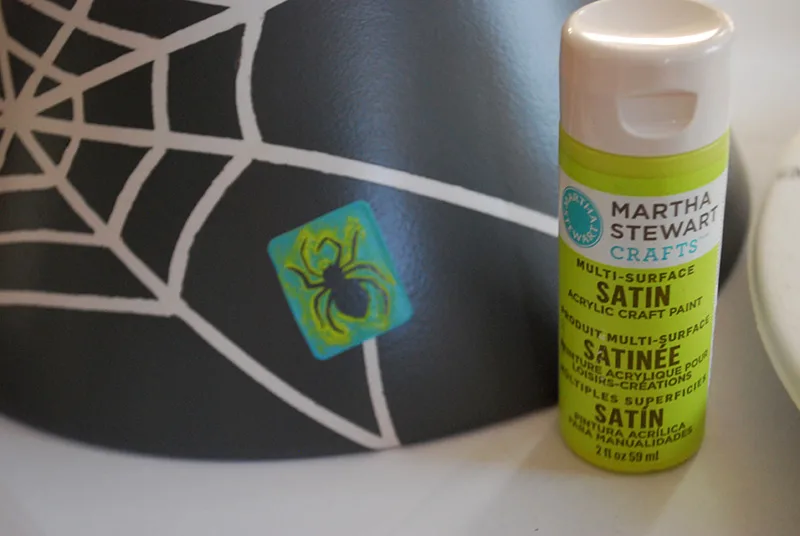
And so I practiced a few times on paper before putting it on the bowl itself and all was well.
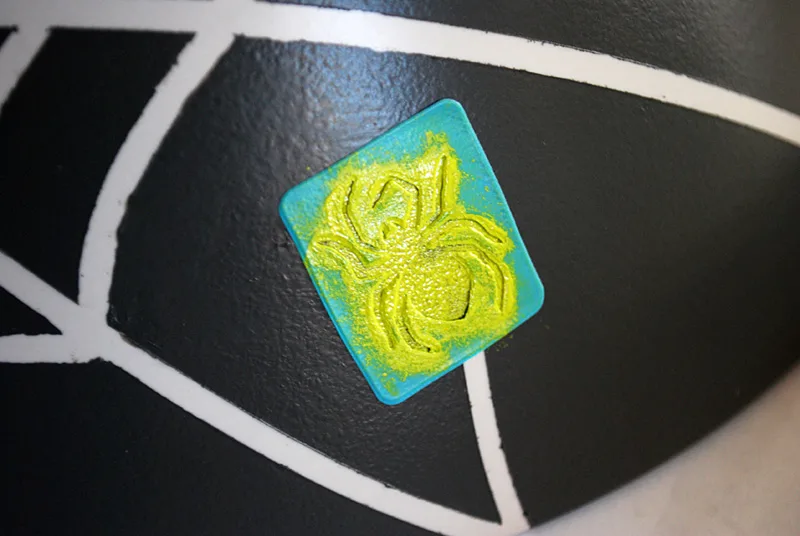
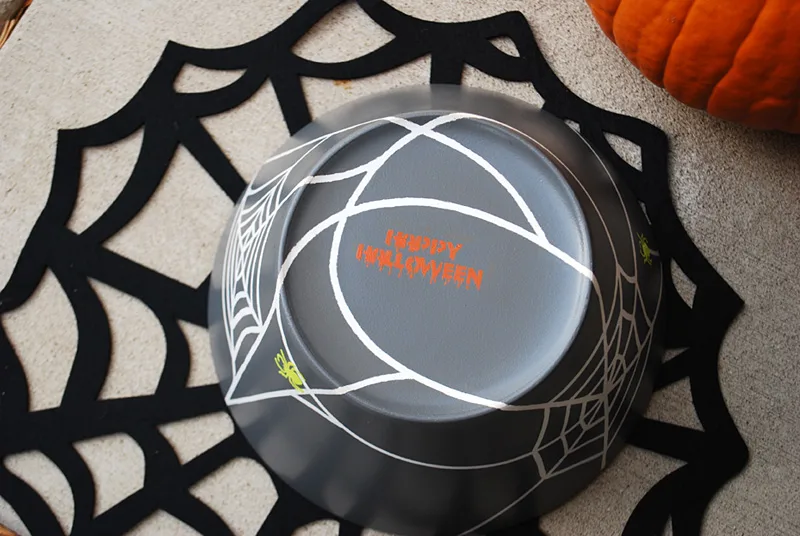
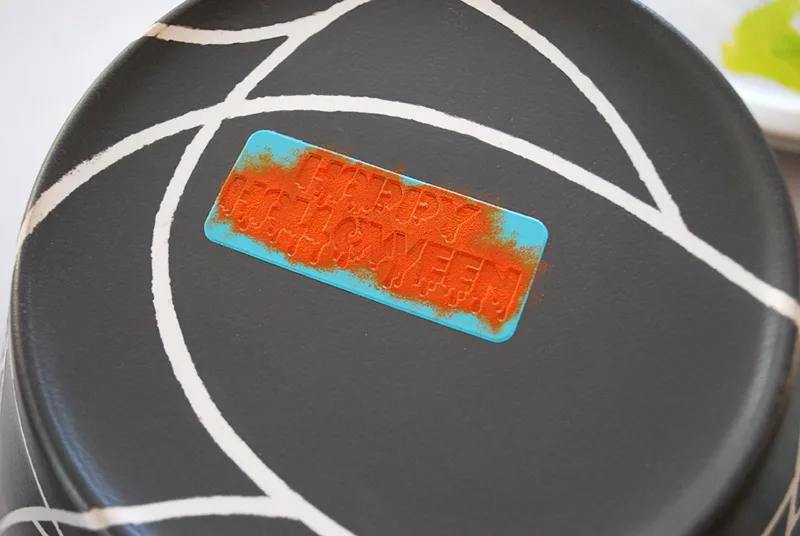
When the spiders were in their webs I added a Happy Halloween message on the bottom of the bowl.
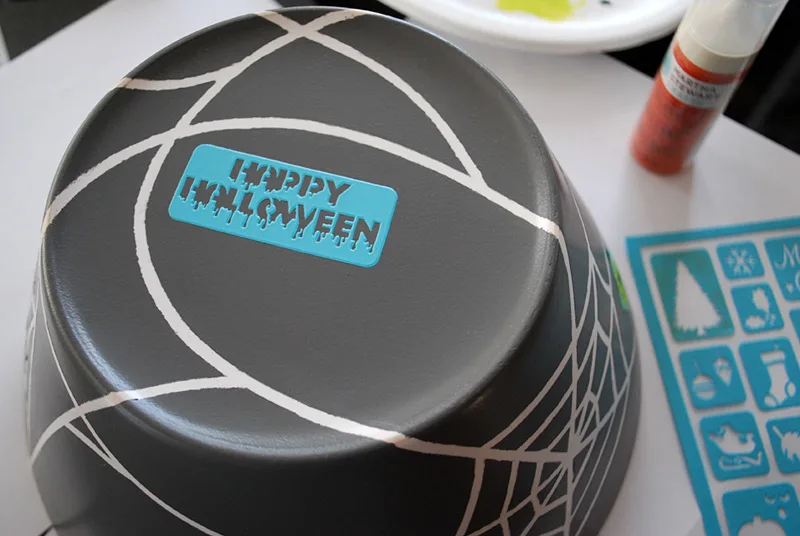
And if you get a little paint outside the stencil like I did here just wipe it off with a wet cloth before it dries. Let the bowl cure for 21 days or you can oven cure it – I’m doing the 21 day version and then I’m going to take a look at it, maybe I’ll need to seal it at that point because I peeled some of the paint away so I’ll keep you posted. I think I may also add a layer of Martha Stewart Crafts Glow-In-The-Dark Finish. Once cured the paint bottle says that it should be top rack dishwasher safe although I’ll probably still hand wash.
I’d like to thank Martha Stewart Crafts and Plaid for all the painting treats that you saw here and more.
- Plaid on Facebook: http://www.facebook.com/InspiredByPlaid
- Plaid on Twitter: http://www.twitter.com/PlaidCrafts
- Plaid on Pinterest: http://www.pinterest.com/PlaidCrafts
This is a sponsored post in partnership with Blueprint Social and Martha Stewart Crafts. All opinions are mine.
Feeling inspired? See more DIY Halloween craft projects, costumes, and DIY treat bags.
—
Like it? Share it!
The nicest way to say you like it is to pin it on pinterest, post a comment, follow Merriment Design on Facebook, pinterest or sign up for monthly emails. Enjoy! 🙂
Copyright stuff: You’re more than welcome to use this free project and tutorial for personal use. Contact me for commercial use and etsy sales.

Artisanal Creations
Wednesday 11th of July 2018
Looks Awesome!
Megan
Saturday 13th of October 2012
This turned out awesome :)
Michelle L
Thursday 11th of October 2012
This is fabulous! What a great use of that tape - I never woulda thought of that. Love it!
Virginia
Wednesday 10th of October 2012
This is awesome! And you make it sound so easy!
Wendy
Wednesday 10th of October 2012
If this disappears from your front stoop on Halloween, you know where to look! Love it!