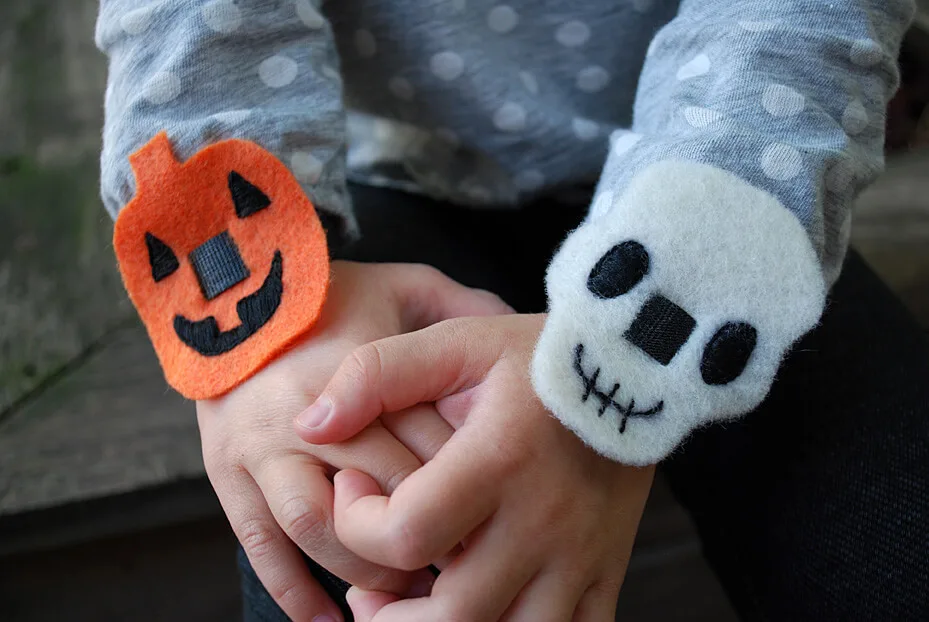
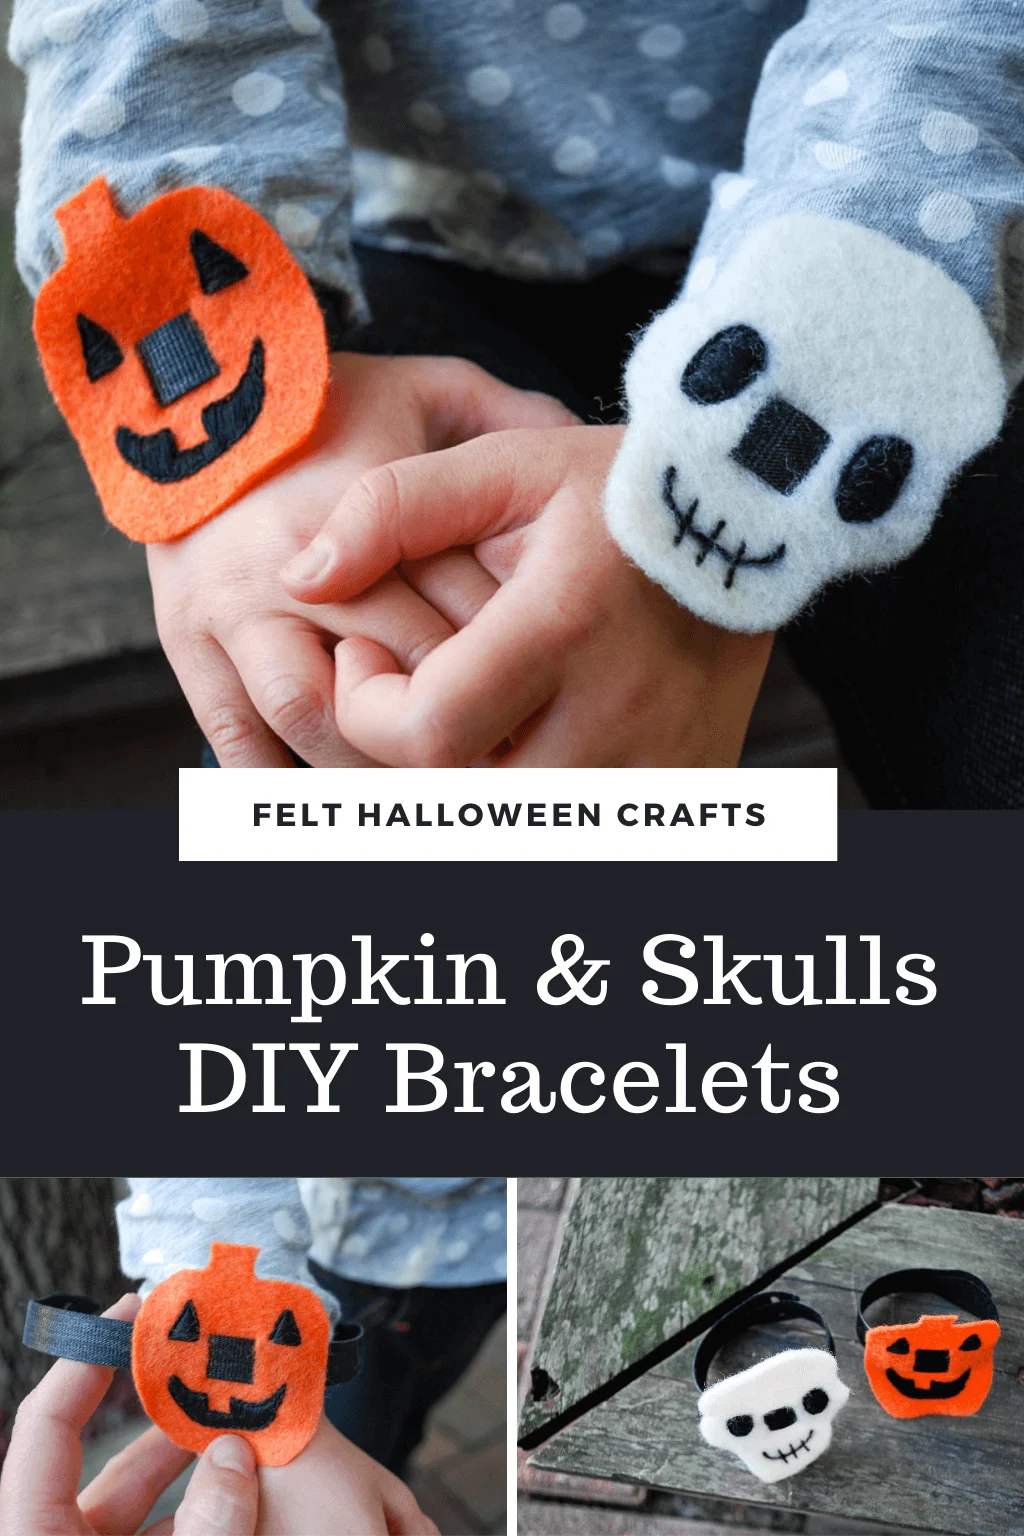
Looking for fun felt Halloween craft ideas? Make these cute felt Halloween bracelets! My no-sew felt Halloween crafts free pattern includes pumpkin and skulls/skeletons printable templates. It’s a cute Halloween craft with felt that you can make in just one evening!
Lately, I’ve been dreaming up Halloween crafts for kids while re-watching Season 1 of The X Files. Now that Elise is almost 3 she’s really getting into Halloween. She’s already practicing her “trick-or-treats” and directing costume ideas for the entire family (currently all Toy Story characters). So I thought making her some felt Halloween bracelets would be fun.
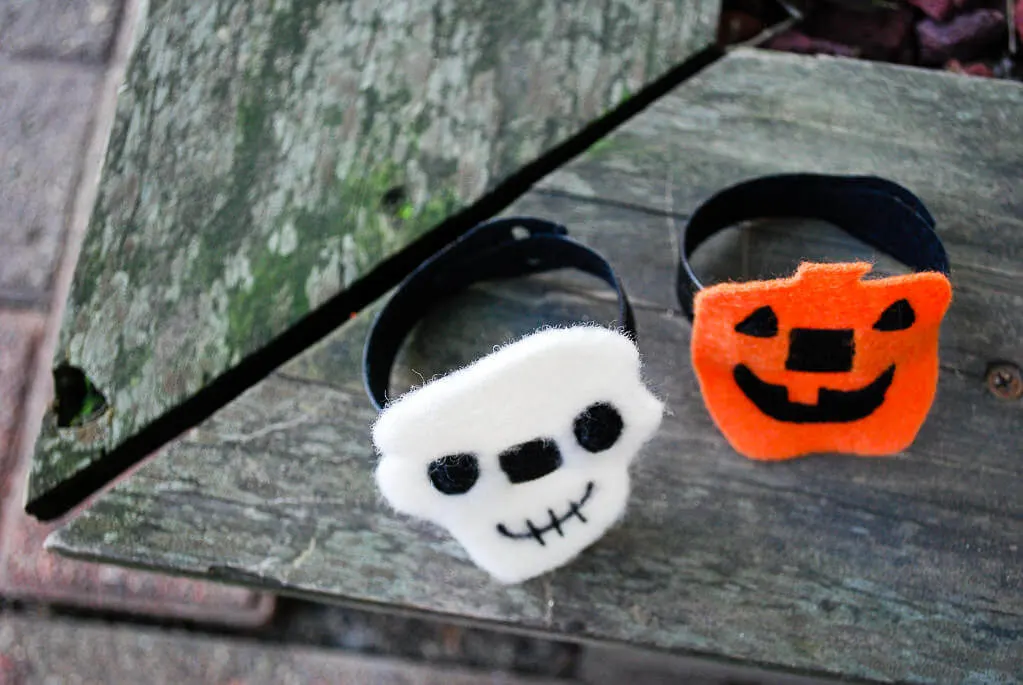
This no-sew Halloween kids bracelets craft is based on my easy no-sew felt flower bracelets. But this time instead of VELCRO Plant Ties I’m using VELCRO Reusable Ties For Wires & Cords.
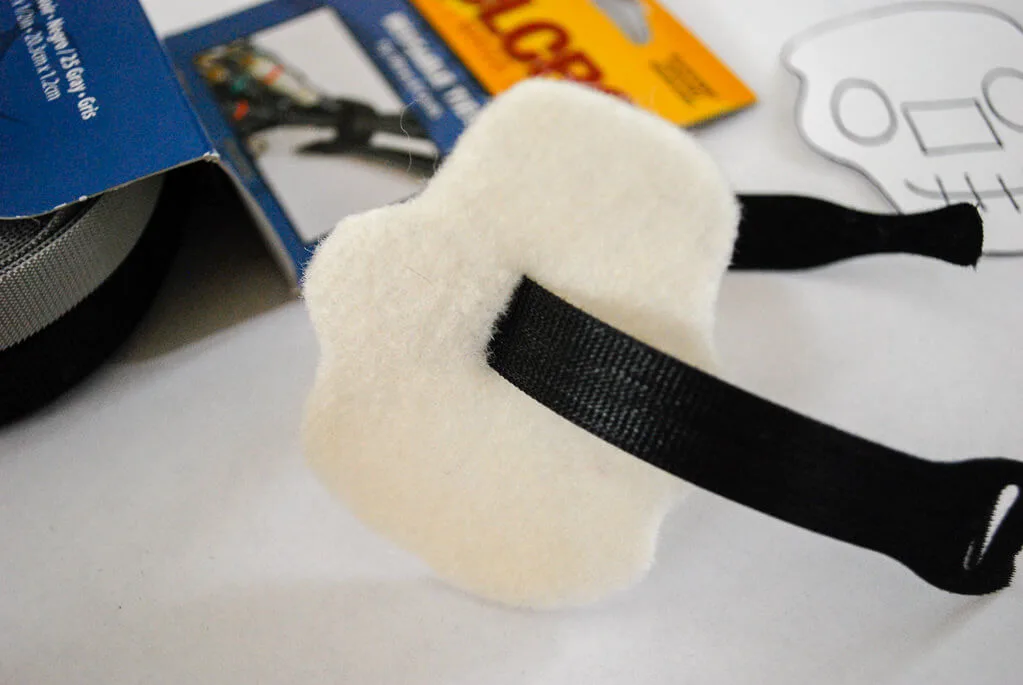
The bracelet sticks to itself — yes, itself!
It sticks to itself (yes, IT STICKS TO ITSELF!!) so there’s no need to make any kind of clasps or put on buttons or size it or measure or cut or anything — the bracelets are truly one size fits all. And you weave the VELCRO ties through slits in the felt to make cute little noses.
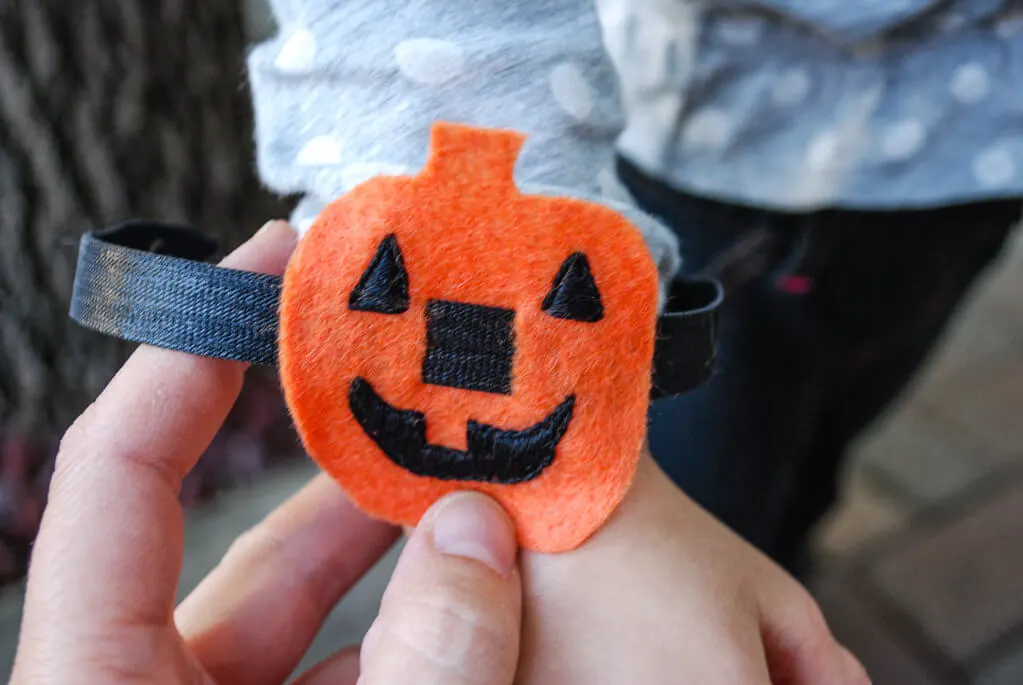
Make it a no-sew project with a Sharpie
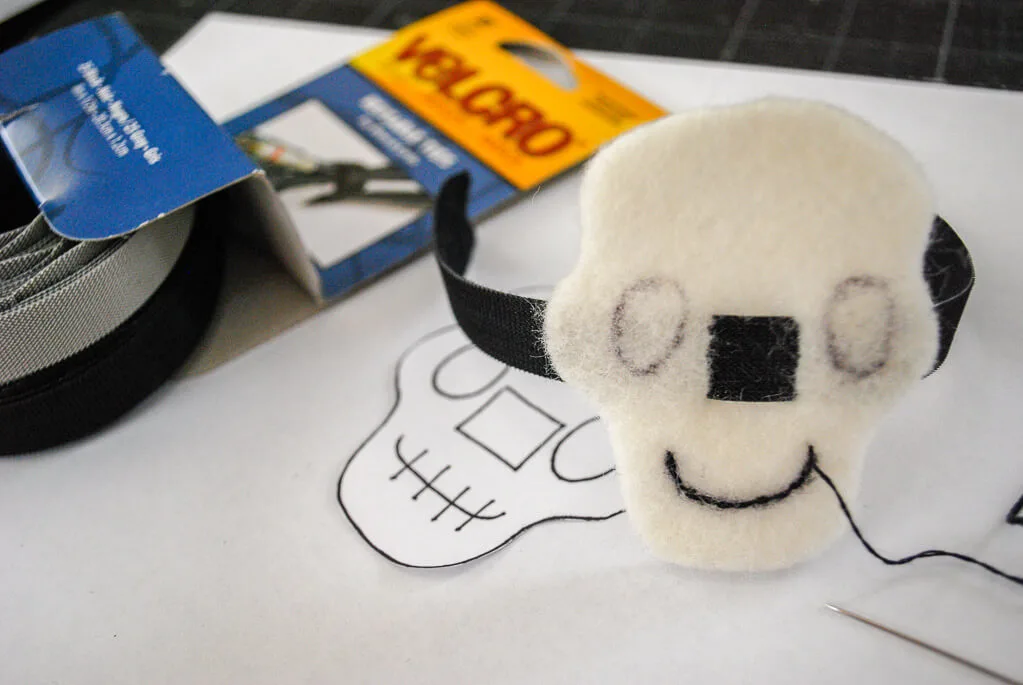
You can make this Halloween craft extra easy by just using Sharpies to draw faces. I took the time to embroider the faces because for some reason my husband Shane and I are re-watching The X Files and I need to multi-task to keep from getting too creeped out, especially by the contortionist, oh nightmares!
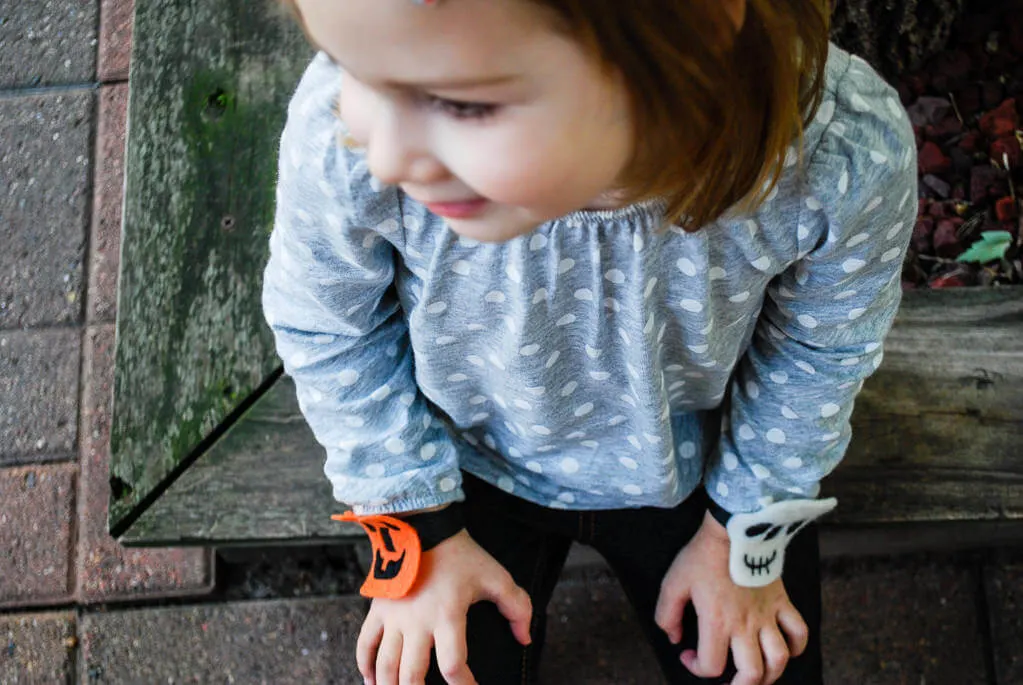
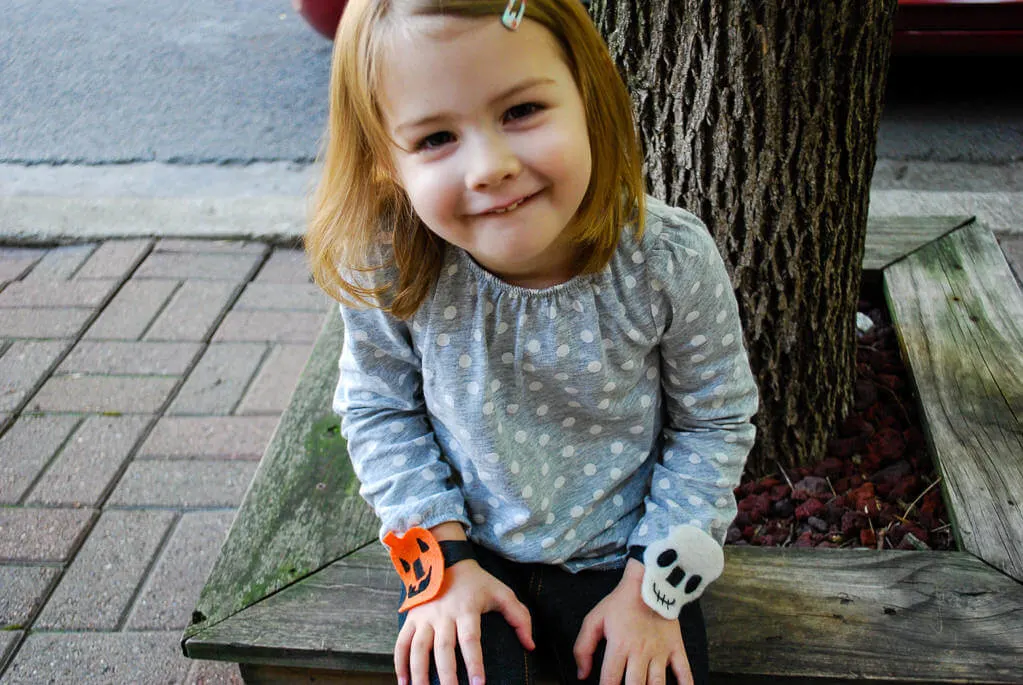
The skull was a special request from Elise; she’s simultaneously obsessed with ‘ghouls’ (skulls/skeletons) and points them out whenever she sees them BUT she’s also kind of scared of them …kind of like me making kids bracelets to half-watch The X-Files, heh…
This post contains affiliate links which means that products I recommend may give me a nominal commission at no extra cost to you. Thanks – your clicks help me make more free DIYs!
++++++
Supplies for making Easy Halloween No-Sew Pumpkin and Skeleton Bracelets:
- Kathy’s free Halloween pumpkin and skull/skeleton pattern (PDF or just freehand draw some yourself)
- VELCRO® Reusable Ties For Wires & Cords (or you could use VELCRO® Plant Ties, VELCRO® One-Wrap Straps, VELCRO® Get A Grip Straps in Multi-Colored OR you could just use grosgrain ribbon instead of VELCRO altogether)
- Felt in cream and orange
- Disappearing ink pen
- Sharpie marker in black
- Tape measure or clear plastic ruler
- Good fabric scissors and paper scissors
- Seam ripper (optional)
- Embroidery floss (optional) and embroidery scissors
VELCRO® Brand gave me the VELCRO® Reusable Ties For Wires & Cords. Thank you!
—
How to make Easy Halloween No-Sew Pumpkin and Skeleton Bracelets:
Step 1: Print and cut out my Halloween felt crafts printable templates
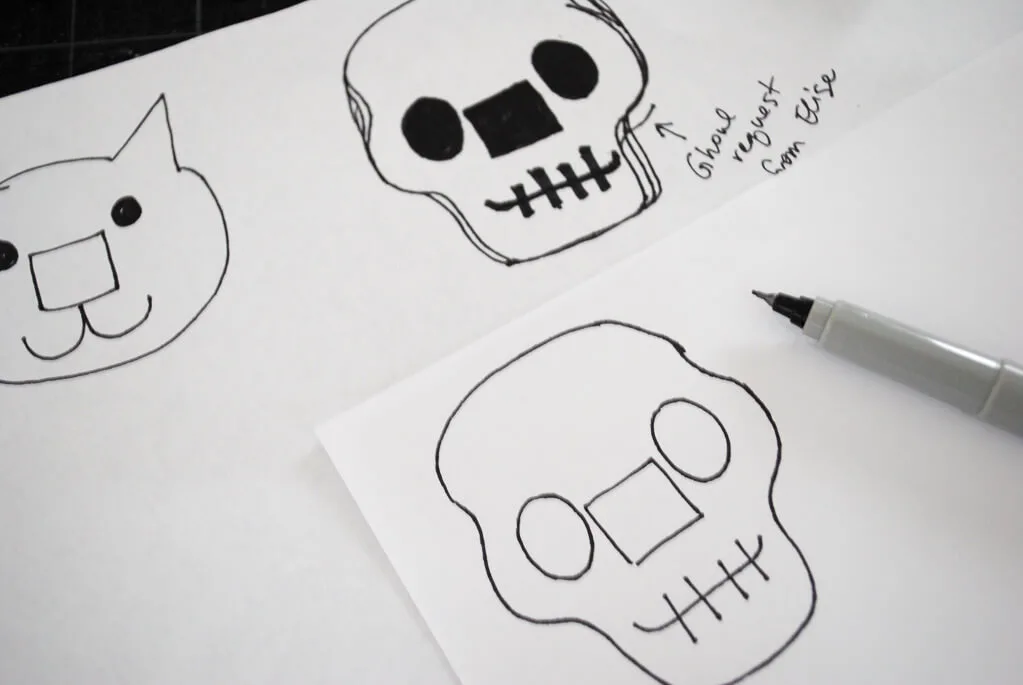
Print and cut out my free Halloween pumpkin and skull/skeleton bracelet template. The free pattern is sized for kids so just increase the size on a copier if you’d like them larger. I just drew them until I liked it and then traced a pattern from what I drew. Elise calls skeletons “ghouls” and it was a special request. I also almost made a black cat bracelet. Maybe next Halloween?
Step 2: Cut the Halloween pattern out of felt
Place the free skull/skeleton pattern onto the felt. You can either trace the pattern using a disappearing fabric ink pen or just hold the pattern tightly to the felt and cut. I am lazy so I just cut it out.
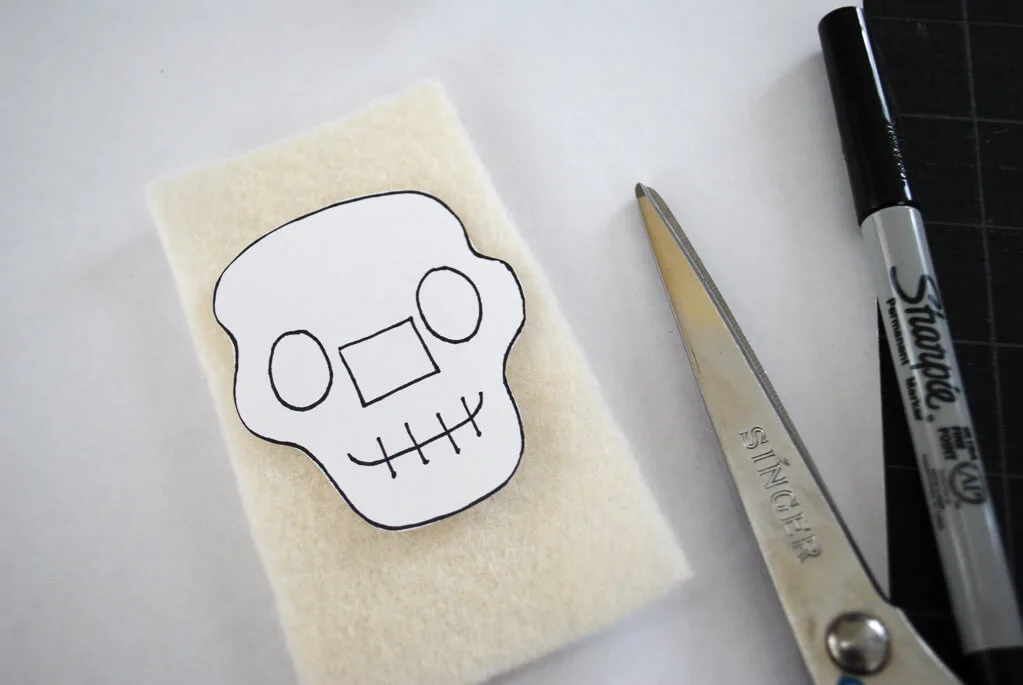
Here it is the cutout skull/skeleton pattern on top of the felt.
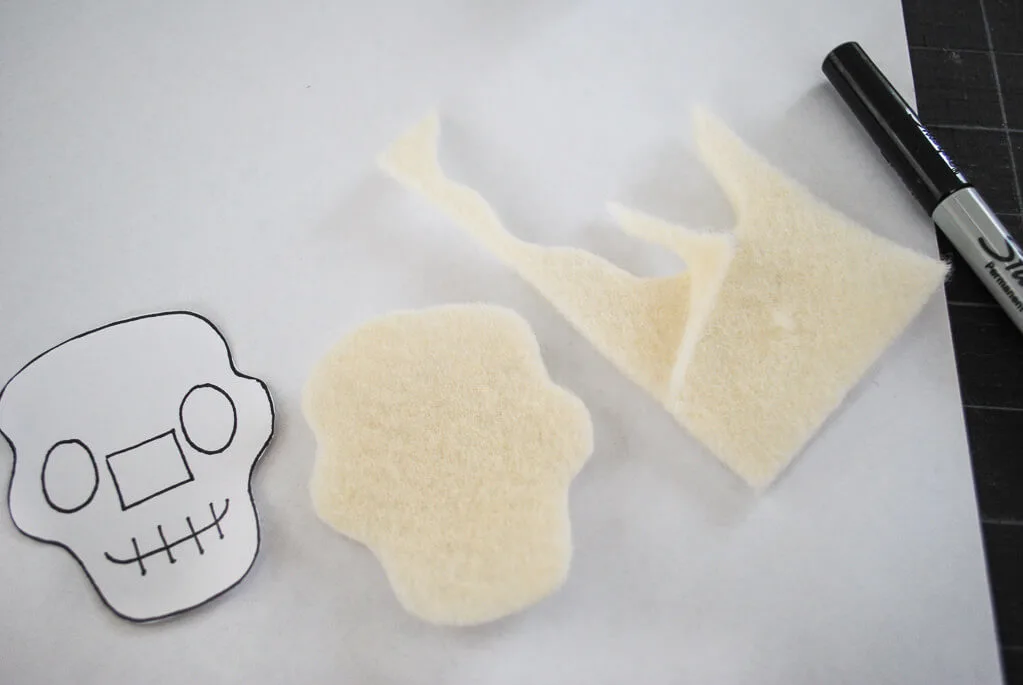
Step 3: Trace and cut the nose sides for the bracelet
Now you’re going to trace the nose onto the felt skeleton. Place the felt up against a window and you should be able to see through it. Trace the left and right sides onto the felt using a disappearing ink pen; it’s a little trick to write with pen on felt so I just tap-tap-tap it on. No need to trace a top or bottom — you’re only going to need the right and left sides.
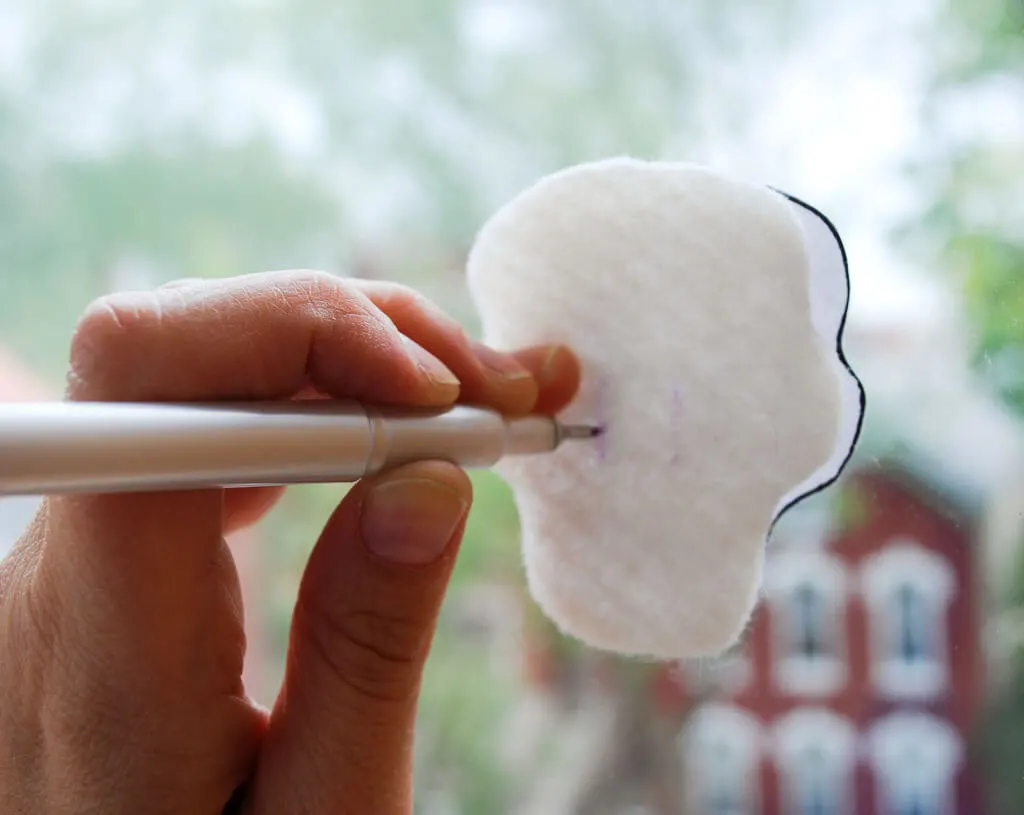
Carefully cut the nose slits on the right and left sides only. I used scissors this time but when I made my easy no-sew felt flower bracelets I used a seam ripper and I think that’s probably a better call.
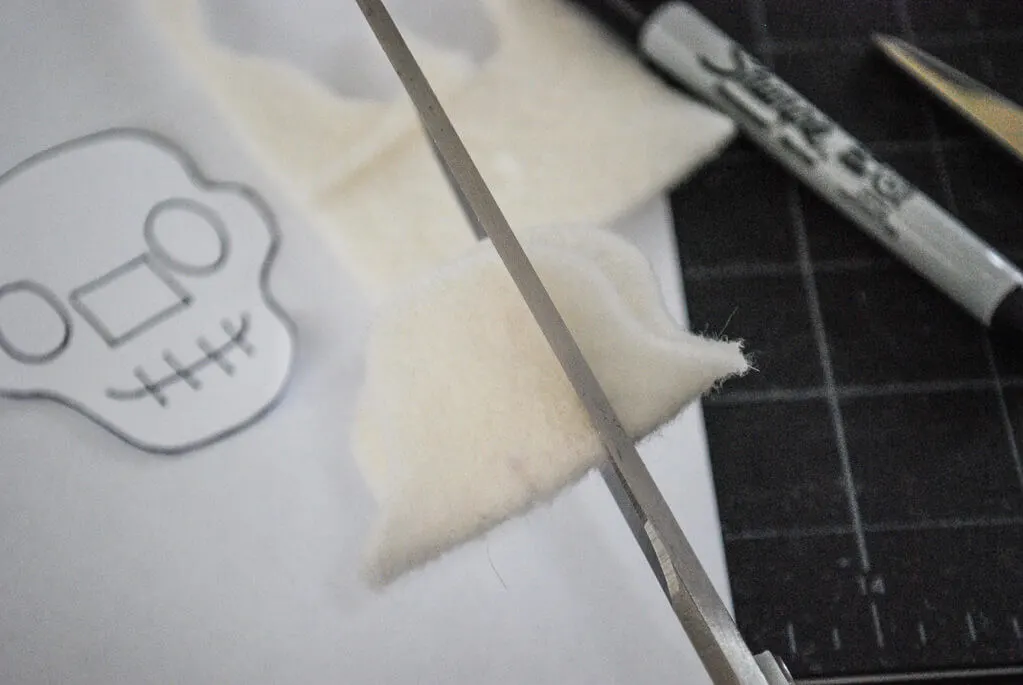
Step 4: Thread VELCRO® Brand ties through the nose sides
Now your secret weapon: Take one VELCRO® Reusable Ties For Wires & Cords and thread the end of it through the slit. Felt is naturally going to stick to the hook (scratchy) side, so when you thread it through, try to thread it so that the felt is touching the smooth side. Go slowly so to avoid tearing a bigger slit into your felt.
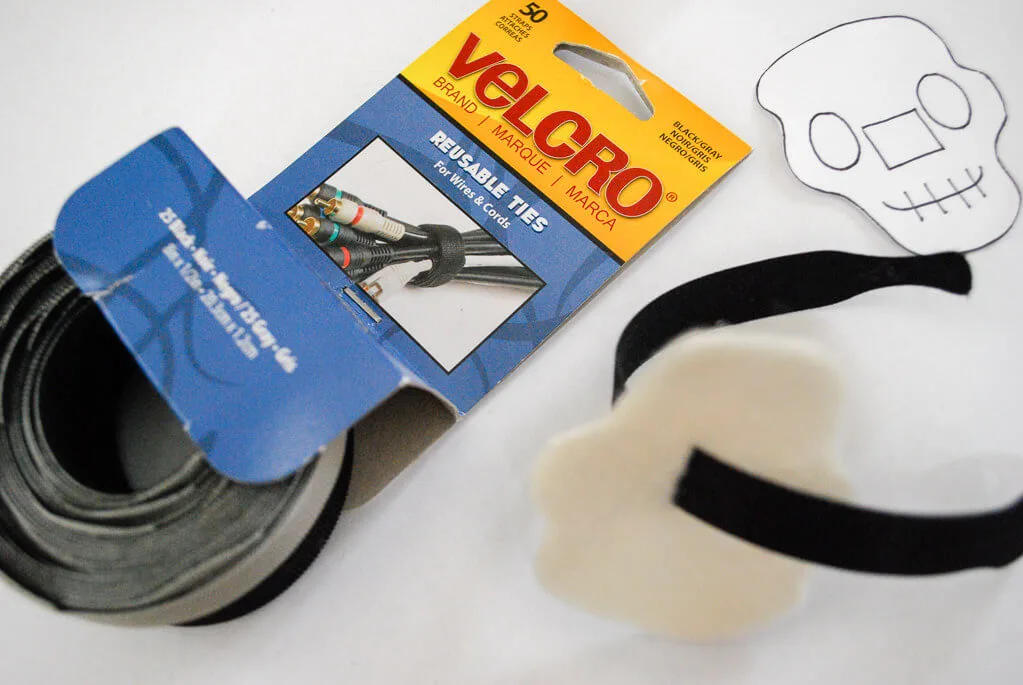
Thread the pumpkin or skeleton onto the felt VELCRO® Reusable Ties For Wires & Cords so that it’s almost in the middle of your tie — remember that you cut some extra for overlap so it should be slightly to one side.

Now thread the end back through the other slit, which will make a nose in your pumpkin or skeleton.
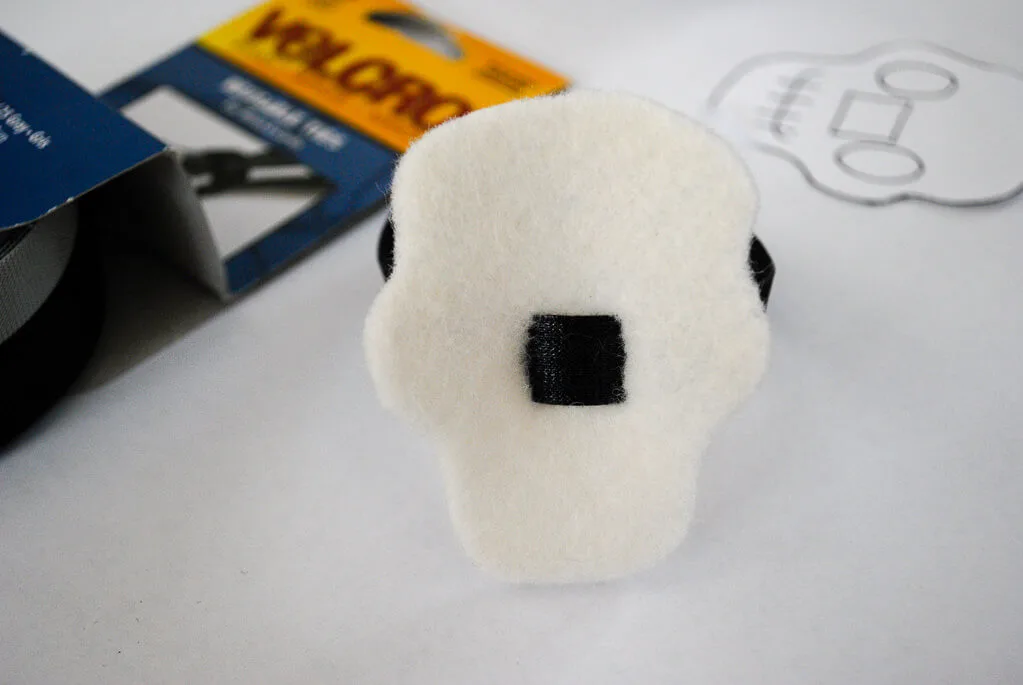
Step 5: Draw the face, add embroidery if you like
Now take a Sharpie marker in black and draw the eyes and mouth. The trick with using Sharpies on felt is to dab dab dab them with the tip rather than try to draw a normal line.
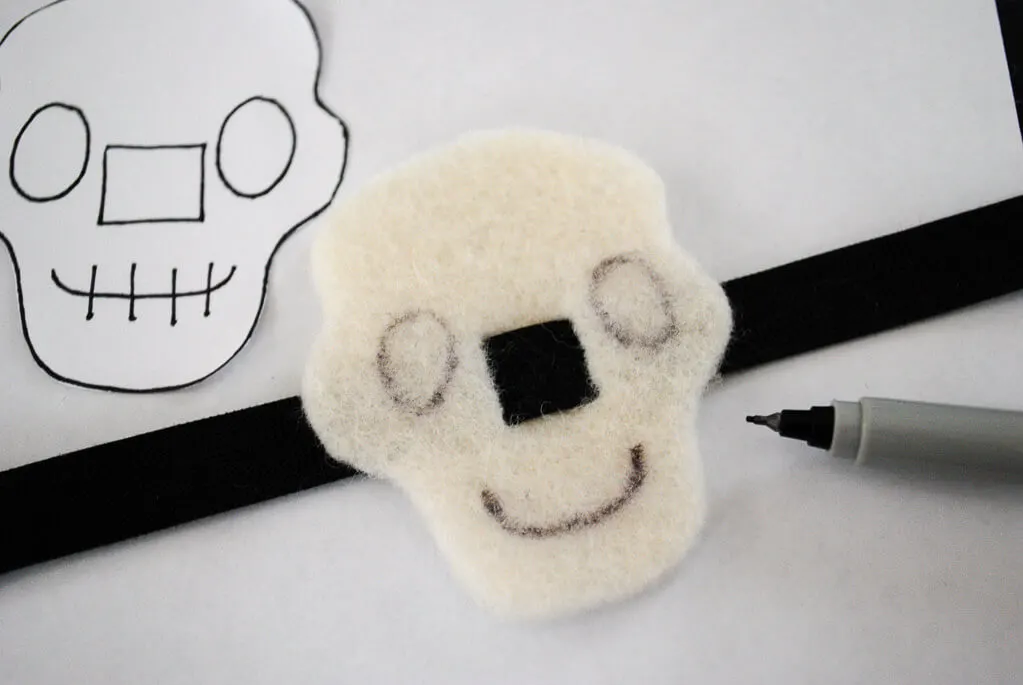
Now you could stop here and just wear the bracelets with the Sharpie. I wanted something a little bit nicer and deeper black too so I decided to embroider black embroidery floss on top of the Sharpie marker.
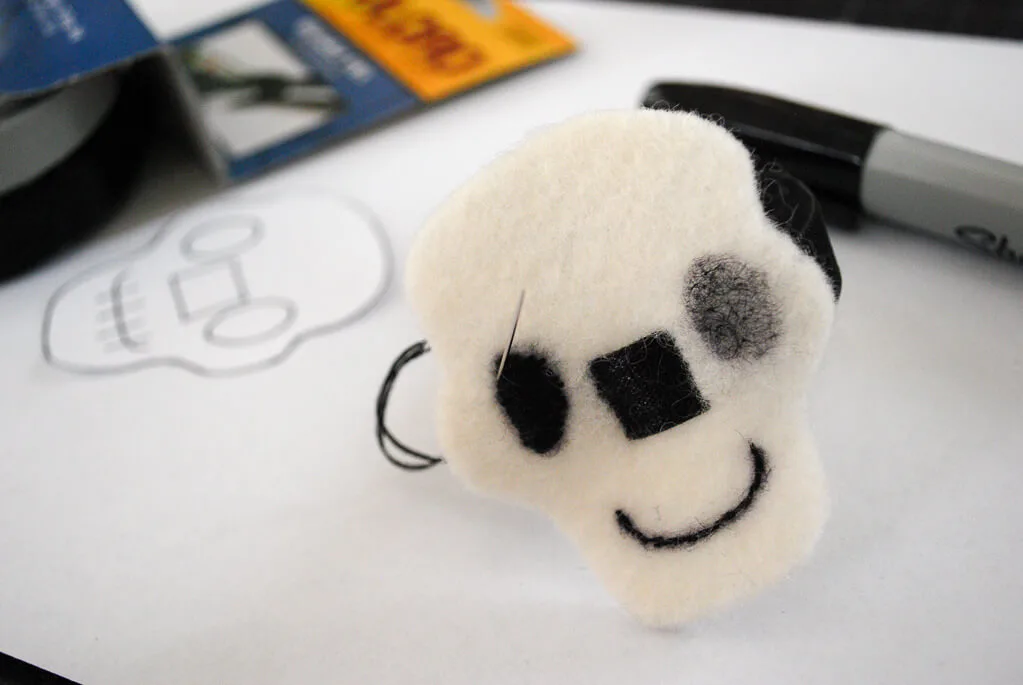
Now just wrap the pumpkin bracelet and skull bracelets around your wrist.
++++++
Be sure to pin this Pumpkin & Skeleton DIY Bracelets Cute Felt Halloween Craft Idea:
And see more DIY Halloween craft projects like my printable tombstone Halloween cupcake toppers and DIY trick-or-treat bag with moving spiders.
—
Like it? Share it!
The nicest way to say you like it is to pin it on Pinterest, post a comment, follow Merriment Design on Facebook, Pinterest, Instagram or sign up for monthly emails. Enjoy! 🙂
Copyright stuff: You’re more than welcome to use this free project and tutorial for personal use. Contact me for commercial use and Etsy sales.

Danielle
Thursday 17th of October 2013
These are gorgeous!!! Thank you for sharing your creation with the rest of us. Now I'm going to try to find some velcro like that here in the south of France :)
Margo
Tuesday 30th of October 2012
I just made the skull -- very cute! Only comment is that the Velcro ties I used (3/4 in. wide) had to be trimmed significantly to fit through the nose slit. Thanks for the idea!
Jennifer
Friday 28th of September 2012
These are really cute, I think I'll give them a try. Thank you!
hilke
Wednesday 26th of September 2012
Super cute! And a really nice instruction! Thank you!