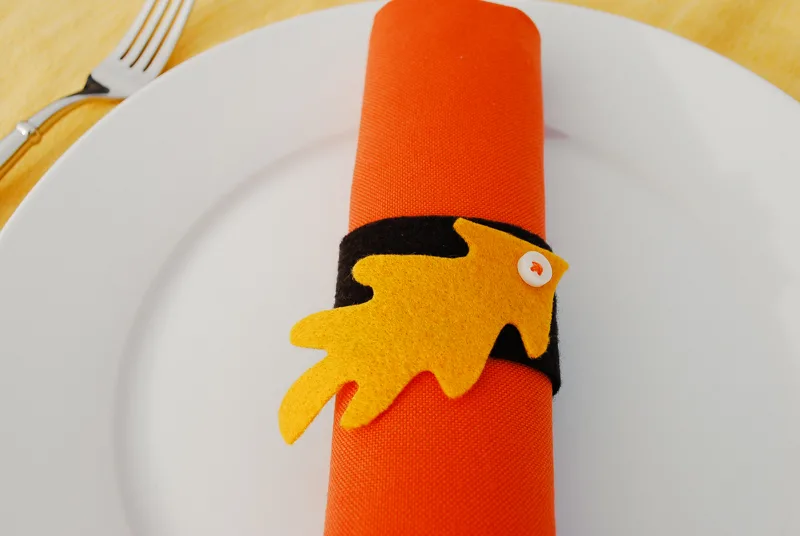
This is our fifth year hosting Thanksgiving in Chicago for the twelve members of our joint families. Each year we try to do something slightly different for food and table decor.
I came up with a Thanksgiving napkin ring idea solely using things here at home because (a) my craft closet is to the brim and (b) trekking to Jo-Ann Fabrics & Crafts on a cold Sunday in Chicago is none too appealing.
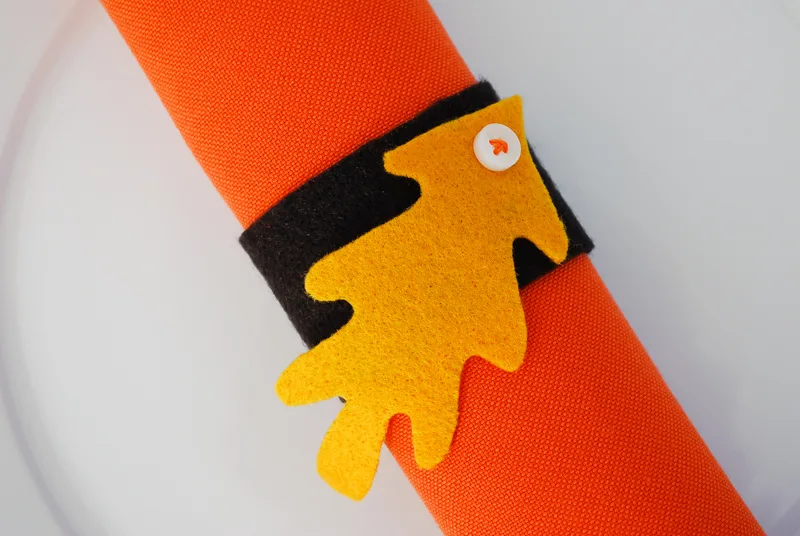
So using a leftover pack of chocolate paper placecards from our wedding, extra felt from my campfire coffee cozy, and orphaned buttons, I came up with this easy and festive felt leaf concept for the table — no sewing machine required (yay!).
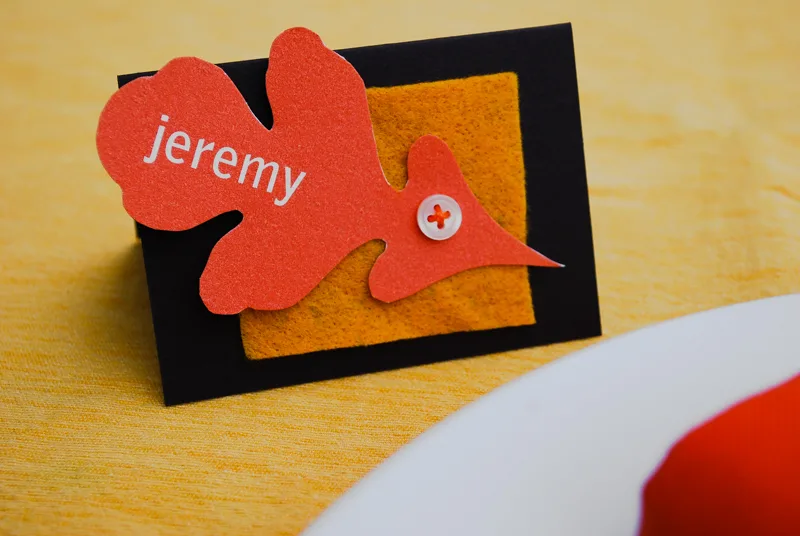
You’re welcome to use these instructions and templates for free for your own personal use. Anyone using the template simply post a comment below.
Supplies:
- Kathy’s free templates for leaf placecards in Adobe Photoshop (also available in PowerPoint) and felt leaf napkin rings (PDF)
- Chocolate brown felt and gold felt
- Orange embroidery floss
- Disappearing ink fabric marking pen
- 8 1/2″ x 11″ white or cream paper
- Rotary fabric cutter, clear fabric ruler and self-healing mat
- Pack of pre-cut chocolate brown placecards
- Good paper scissors and good fabric scissors (yep, you should own both)
Felt leaf napkin rings. Print out my felt leaf template pattern. Choose one or more leaf shapes and cut out to use as a pattern.
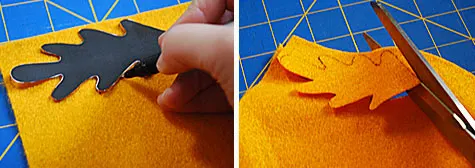
Trace your leaf pattern onto the gold felt and cut out. Use disappearing ink pen if you can; because mine is dry I used a Sharpie and just cut inside the lines to make up for it.
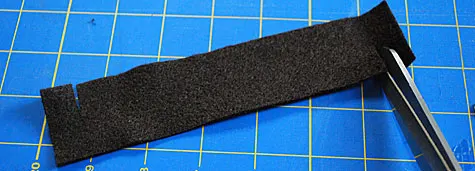
Cut your brown rings 7″ wide x 1.5″ tall using a rotary cutter, clear fabric ruler
and rotary mat
. Measure 1/2″ from the left side and cut a slit halfway through (so your slit will be half of the 1.5″ tall). Repeat on the right side, but make sure the slit is opposite like in the photo above.
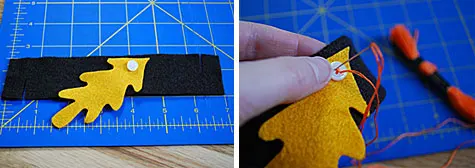
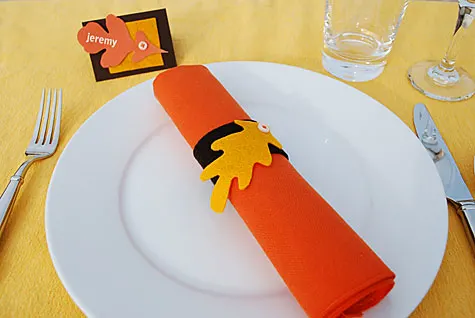
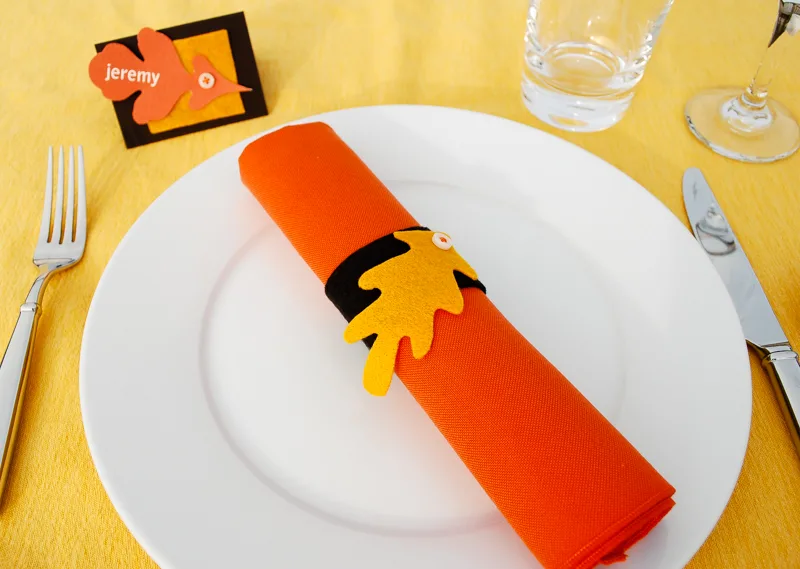
Place your leaf in the middle of the brown ring. Place a small button on top. Sew through the button, leaf and ring using orange embroidery thread. Tie a knot in the back.
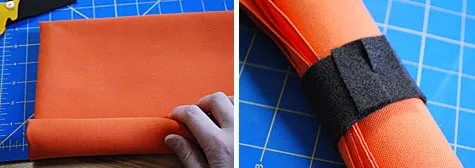
Roll your napkin. Wrap the napkin ring around and slip the napkin ring slits together like so.
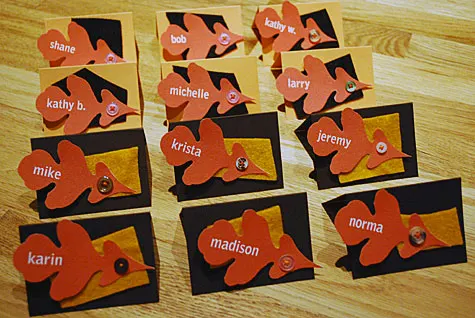
Placecards. Open my free template in Adobe Illustator or PowerPoint. Type the names of your guests. I used the Bell Gothic Standard font so if you don’t have it, switch to your desired font.
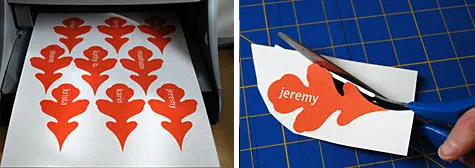
Print and cut out the leaves.
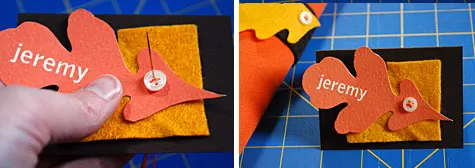
Cut a gold felt square; any shape will be fine. Layer the gold square on top of the placecard, then the leaf and the button. Sew through all layers using orange embroidery thread.
Bring on the turkey and green bean casserole!
—
Like it? Share it!
The nicest way to say you like it is to pin it on pinterest, post a comment, follow Merriment Design on Facebook, twitter, pinterest, Google+, instagram or sign up for monthly emails. Enjoy! 🙂
Copyright stuff: You’re more than welcome to use this free project and tutorial for personal use. Contact me for commercial use and etsy sales.

Brandi
Sunday 11th of November 2012
These are so cute and simple! Thanks! I plan to use them this year for Thanksgiving!
Lindsey
Tuesday 15th of November 2011
These are so cute! I love the tutorial for this. Would you be interested in submitting this to the Make and Takes spotlight page? I think it would be perfect. http://www.makeandtakes.com/spotlight
Kathy Beymer
Friday 18th of November 2011
Thanks, Lindsey! I hadn't seen your new Spotlight yet - I just submitted it today. Thanks for thinking of me. And Happy Thanksgiving!
jennifer
Wednesday 19th of October 2011
I hope to use these this Thanksgiving!
Gina
Monday 1st of August 2011
Nice Thanksgiving idea thank you
Lindsey
Thursday 17th of February 2011
I love this idea! I'm so excited to try it out!