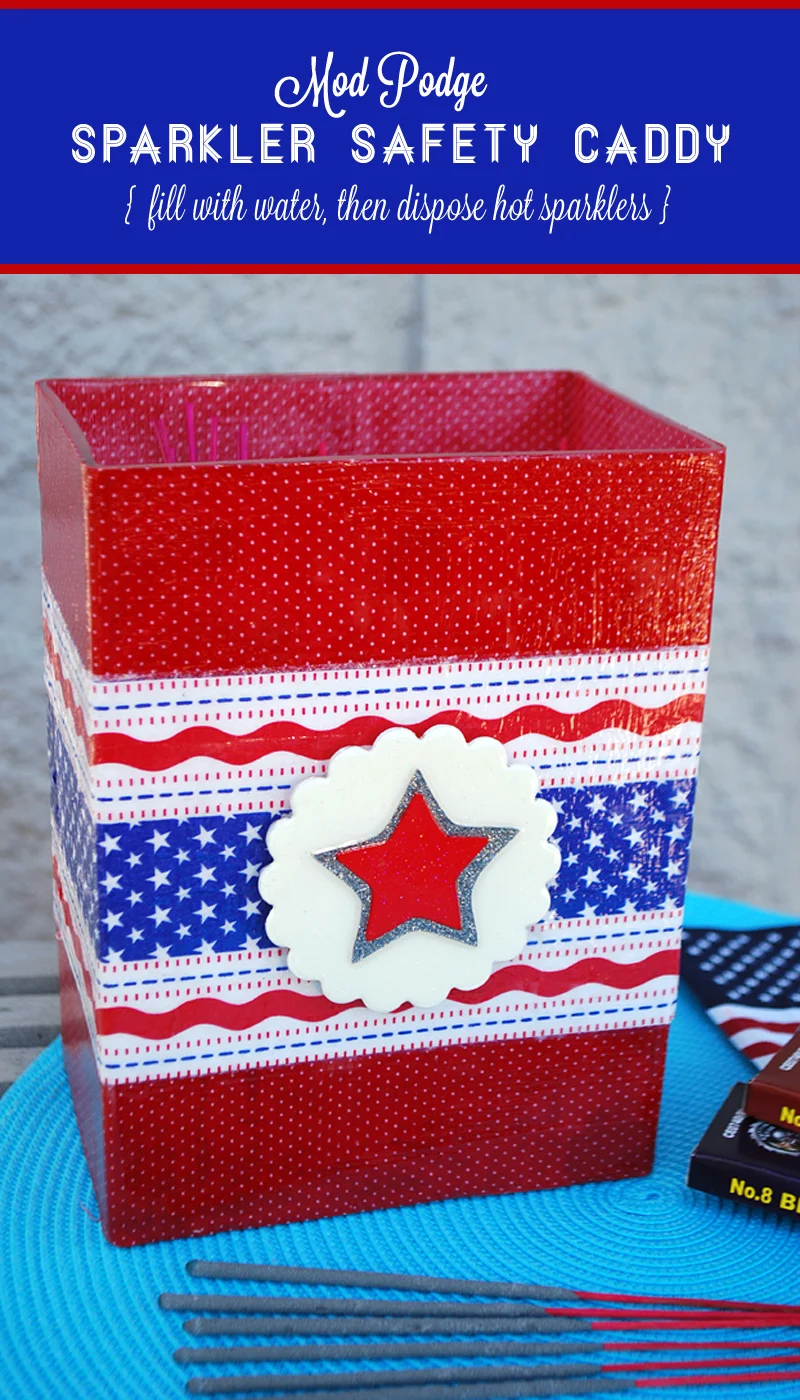
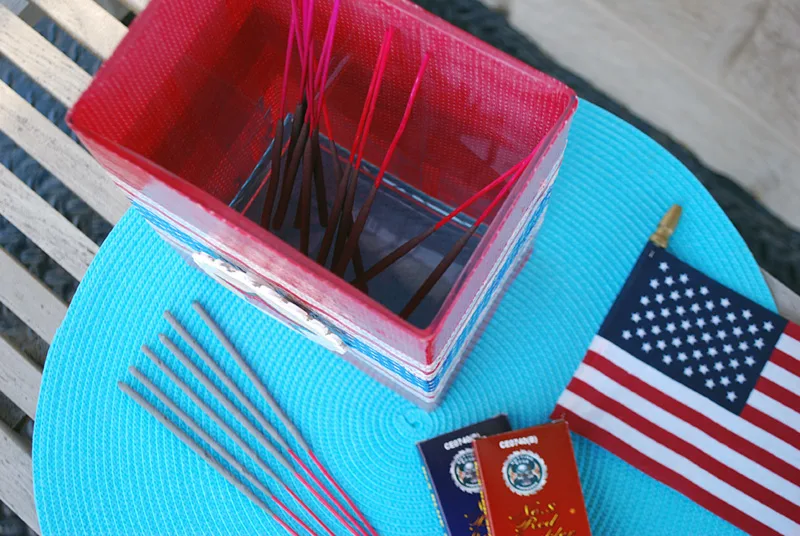
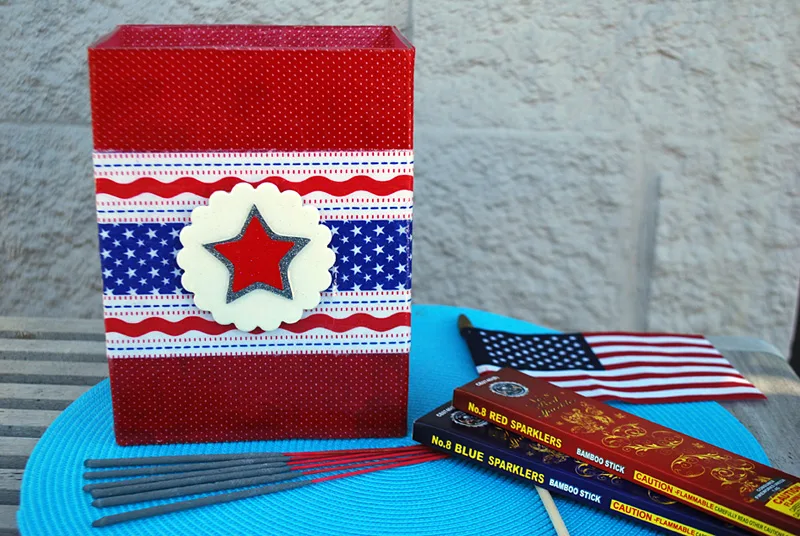
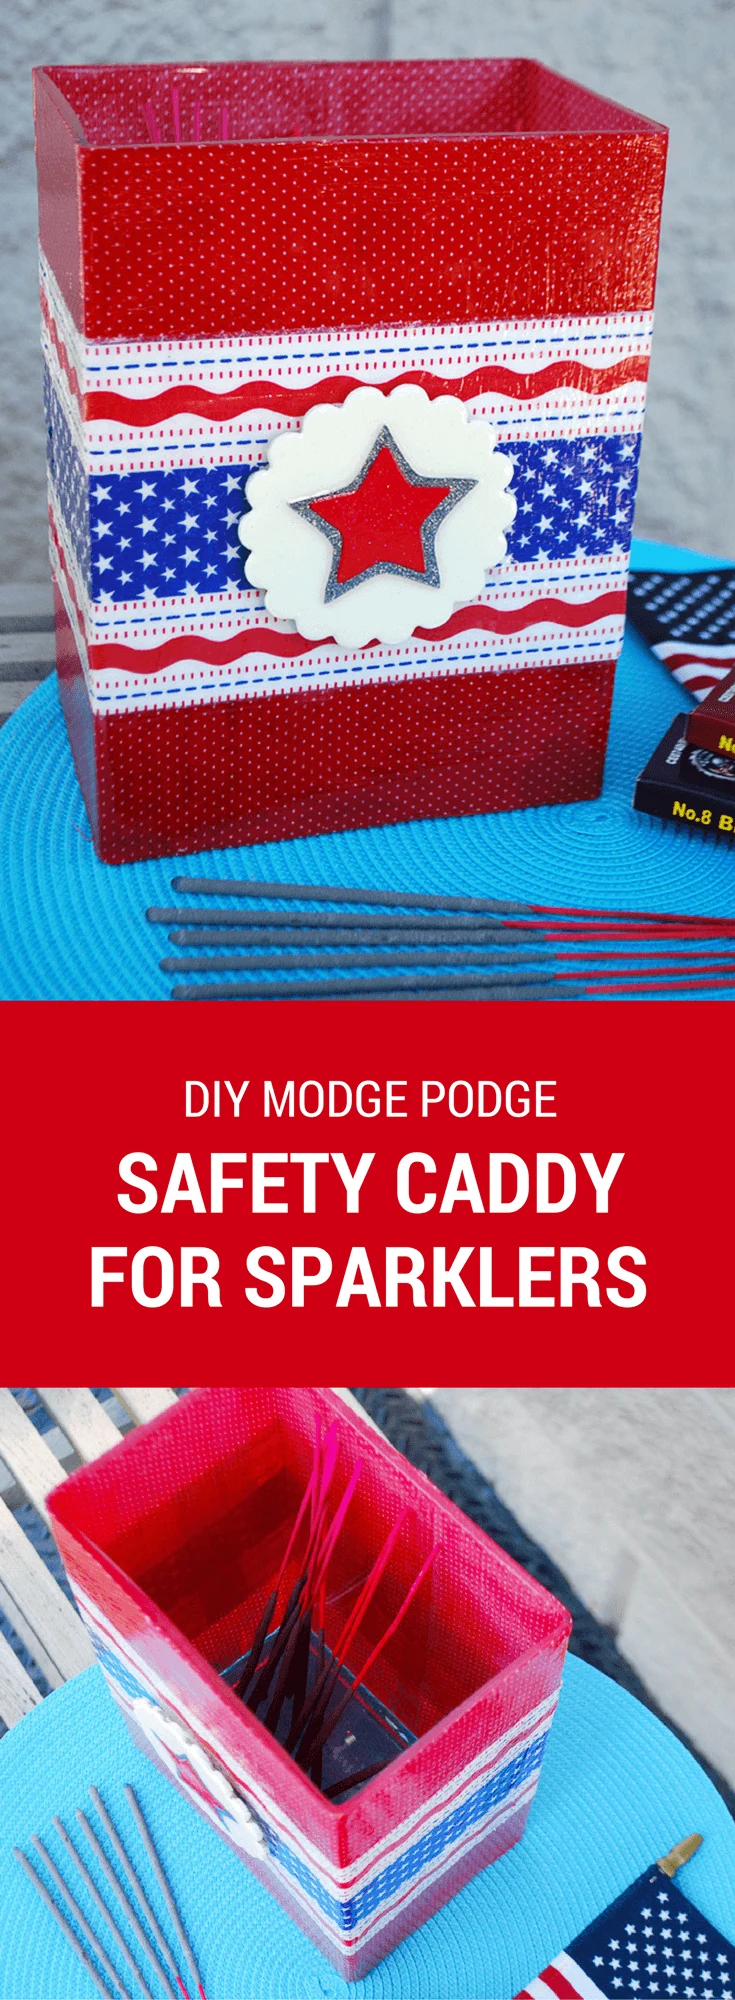
Sparklers are super pretty and fun but holy wow, do they ever get hot! Yeeowch. Help prevent accidental burns from used sparklers this 4th of July by making my DIY Sparkler Safety Holder Bucket. Just add water and place burnt sparklers inside the sparkler holder bucket for a safer way to dispose of hot metal sparkler rods. The sparklers go into the water-filled container that’s decorated for the Fourth of July on the outside. It’s a festive and safer way to throw away burnt sparklers and avoid fireworks burns. And the best part? Make this sparkler holder bucket once and re-use it again and again any time that you light up sparklers.
I wrote this post as part of a paid campaign with Plaid Crafts and Blueprint Social. The craft ideas and opinions in this post are my own. And sparklers get hot as Hades so please keep them away from young children and imbibed party guests.
How to safely dispose used sparklers
Sparklers will forever remind me of fireworks-filled Fourth of July celebrations with my cousins on my Grandma and Grandpa’s Indiana farm. Back then for safety, my uncle would fill a bucket of water for us to toss in our used sparkler rods. Smart, yes?
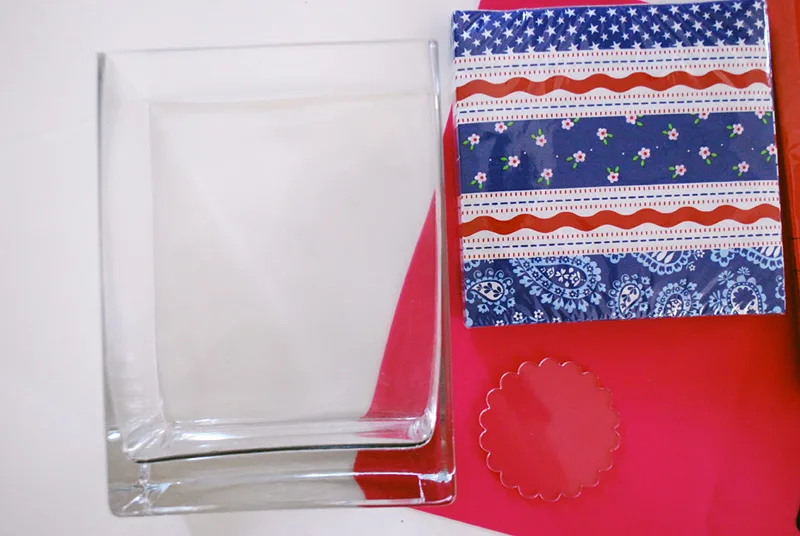
Mod Podge sent me a box of new products that I decided to use to class up the ol’ sparkler safety bucket. Thanks so much to Mod Podge for sponsoring this post. First I started with a plain glass vase, 4th of July paper napkins and Mod Podge new Podgeable Designer Shapes…
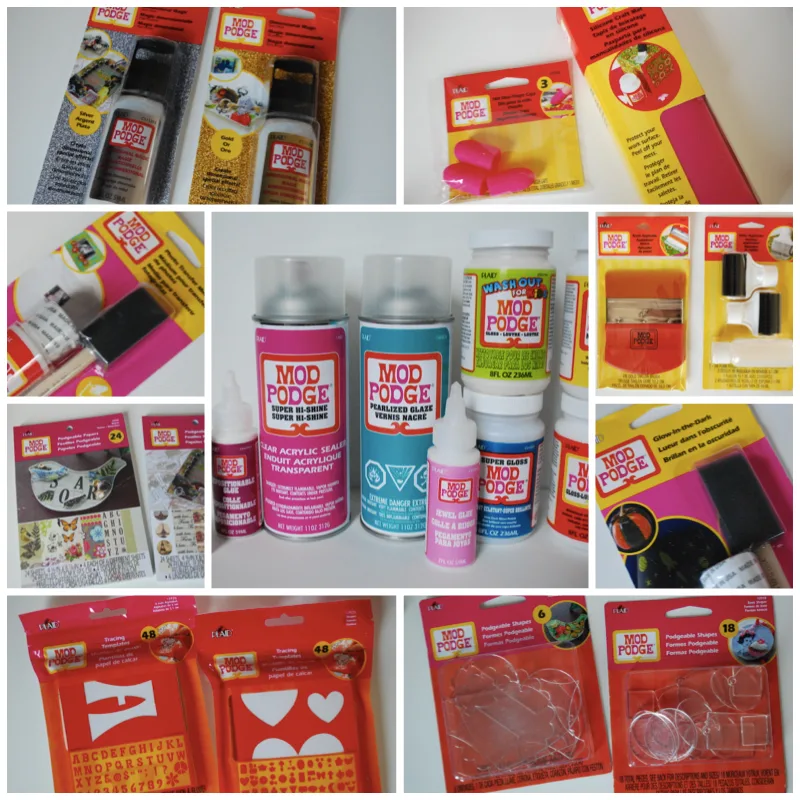
…then I added the Mod Podge Wash Out for Kids formula, Dimensional Magic (so cool), Tracing Templates Basic Shapes, Super Hi Shine Clear Acrylic Sealer, Silicone Craft Mat, and Mod Podge Fabric formula …and as you can see there are a lot more fun new Mod Podge products that I want to play with later especially the Glow In The Dark formula and Photo Transfer Formula.
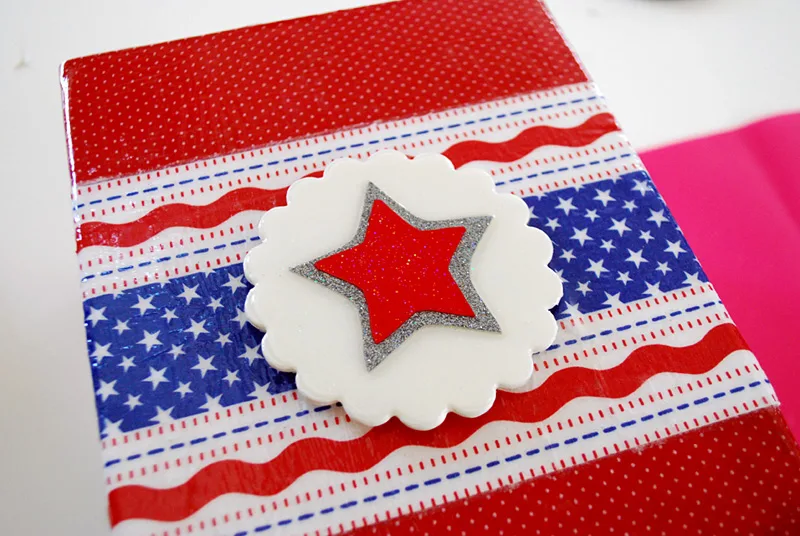
Dimensional Magic is my favorite new Mod Podge product. Hands down. Dimensional Magic creates a sort of glass-like sheen and 3D effect on what you create. I used Podgeable Designer Shapes and Dimensional Magic to create a little medallion for the front of the Sparkler Safety Caddy. First I painted the clear flower-ish looking shape, then pour in the Dimensional Magic (I used the silver glitter version) and let it dry for 3 hours.
It’s cloudy at first but will dry totally clear with a hint of glitter — without the glittery mess that normally gives me the hives.
I am also loving the bright pink Mod Podge silicone mat — it protects your work surface and you can just wash or peel off dried Mod Podge and craft glue for easy clean up.
Safely disposing burnt sparklers
Now Elise is still too young for sparklers at the moment but the older crowd will be using this sparkler safety caddy in force. I think this Mod Podge Sparkler Safety Caddy is a fitting homage to those old days running around at night with sparklers drawing shapes and spelling our names, dancing and leaping with the sparkling lights.
For the latest on new Mod Podge products: check out Plaid on Facebook, twitter and Pinterest. Amy Anderson from Mod Podge Rocks not only has a new Mod Podge Rocks: Decoupage Your World book but also hosts a community Mod Podge Pinterest Board with projects and inspirations like this one.
Supplies for making a DIY sparkler safety holder for used sparklers:
- Glass vase – mine was a rectangular 4″ x 6″ x 8″ glass vase
- Mod Podge – I used Kid’s Washable Formula but you could also choose Gloss, Matte or Outdoor
- Mod Podge Dimensional Magic in Silver Glitter
- Mod Podge Podgeable Shapes
- Mod Podge Clear Acrylic Sealer
- Mod Podge pink working mat (optional)
- Mod Podge 3D Adhesive Mounts or craft glue
- Foam brush or Mod Podge applicator
- Fabric for covering the vase
- Fourth of July napkins (or fabric)
- Piece of white text-weight paper (if using napkins)
- Xacto knife, fabric rotary cutter, clear plastic ruler and self-healing mat
- Water to fill the vase
- Sparklers!!!
How to make a sparkler safety bucket to dispose burnt sparklers on the Fourth of July:
Step 1: Cut fabric slightly larger than your glass vase
Measure your vase and cut a piece of fabric slightly larger than the measurement. Mine was 4″ x 6″ x 8″ so I needed a finished piece that was 20″ x 8″ (6+6+4+4 = 20) …so I cut a piece that was 21″ x 9″. You cut a slightly larger piece so that you can cut really nice edges with no raveling — keep reading below.
Step 2: Put Mod Podge onto your fabric
Prepare the fabric using Mod Podge fabric formula using the instructions in Amy Anderson’s book – basically paint a thin layer onto the fabric and let it dry completely.
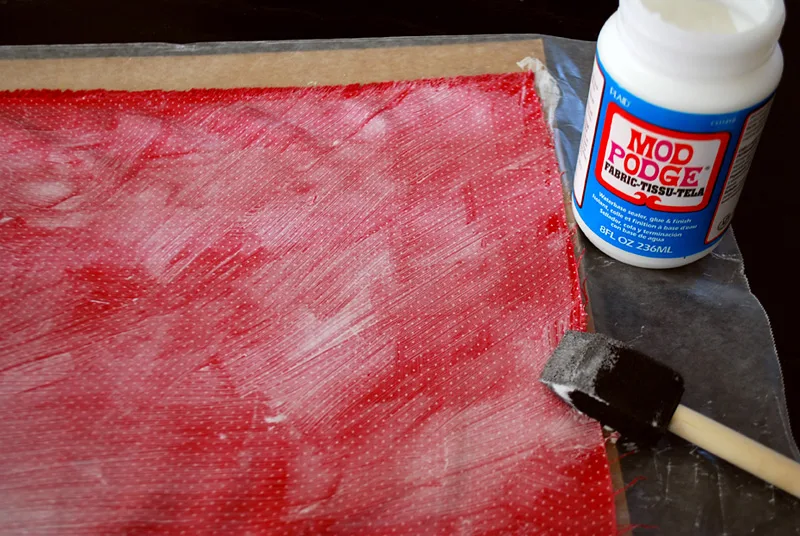
Here’s what it looks like after it dries. Kind of shiny and sort of feels like laminated cotton.
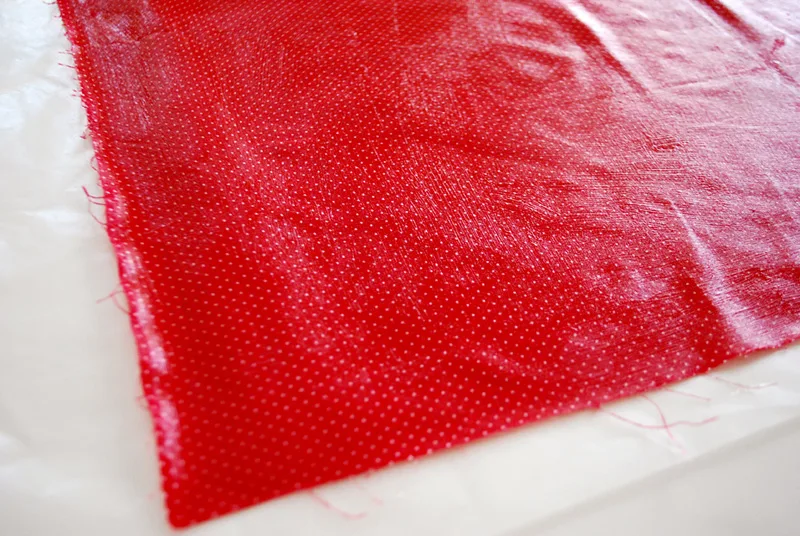
Step 3: Cut Mod Podged fabric to exact size
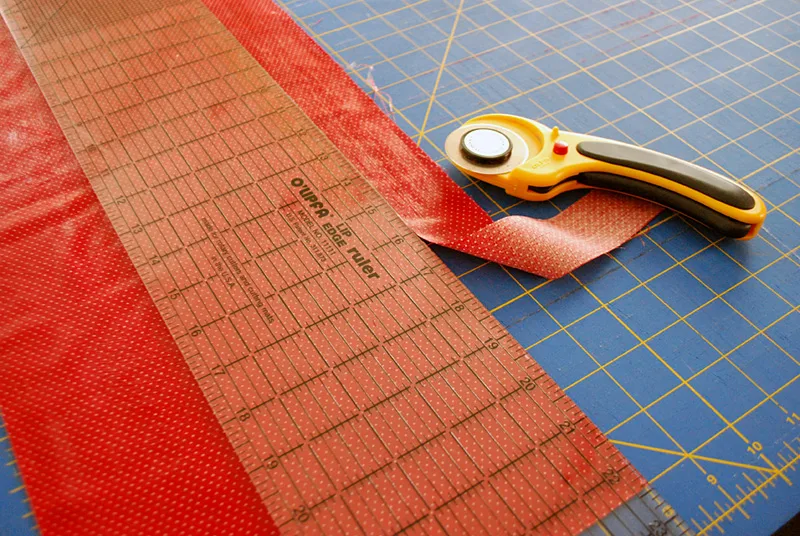
Now cut it to your exact size using your rotary fabric cutter, clear plastic ruler and self-healing mat. Again, mine was 20″ x 8″.
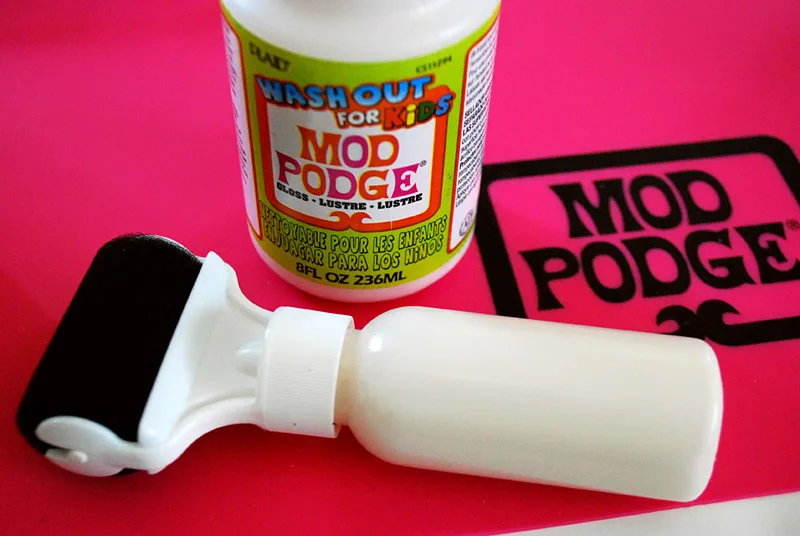
Here are a few of the new goodies from Mod Podge: Wash Out for Kids, the roll-on applicator, and the pink Mod Podge craft mat.
Step 4: Adhere fabric to the glass vase using Mod Podge
Spread a medium amount of Mod Podge onto the vase. Elise helped me with this step and we first used the Mod Podge roller tops and bottles but it seemed like it was going on a bit too thin — I think this tool is awesome but perhaps it would be better for finishing coats than gluing.
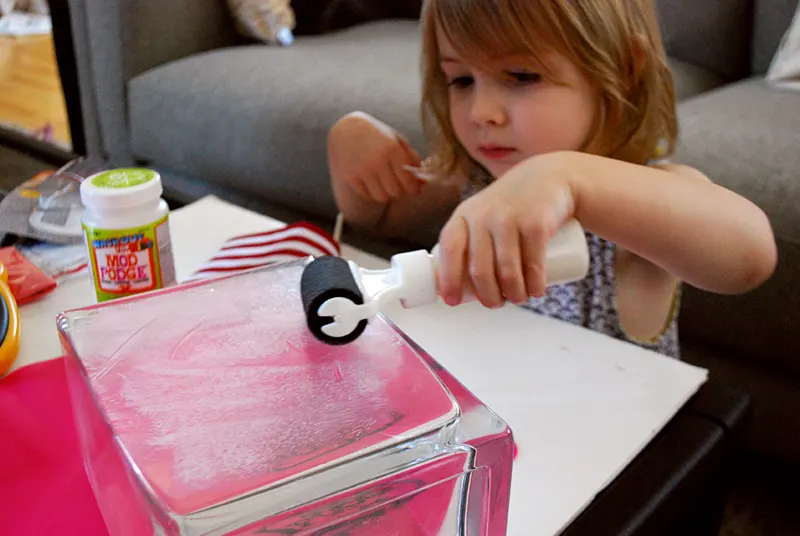
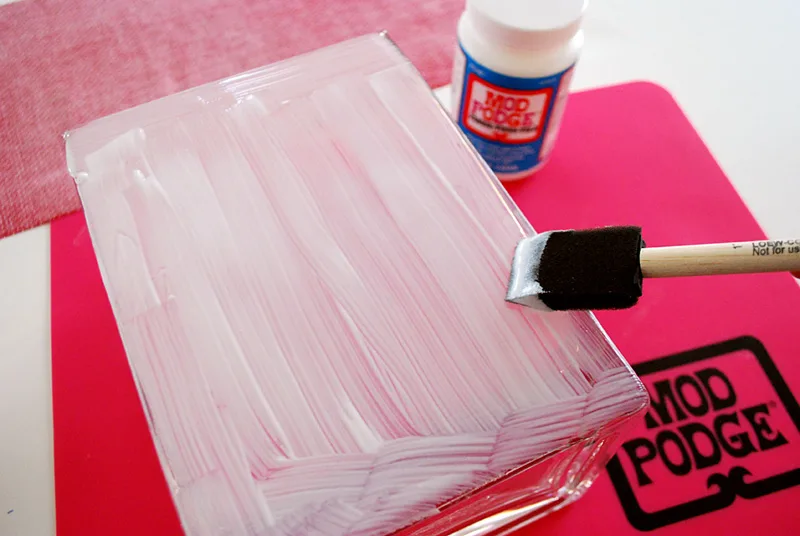
So we switched over to a foam brush to put on a medium coat of Mod Podge.

Now lay the fabric on top of the Mod Podge and smooth down. You can use the Mod Podge Brayer or Squeegee if you’d like but the prepared fabric was so easy to work with that I just used my fingers.
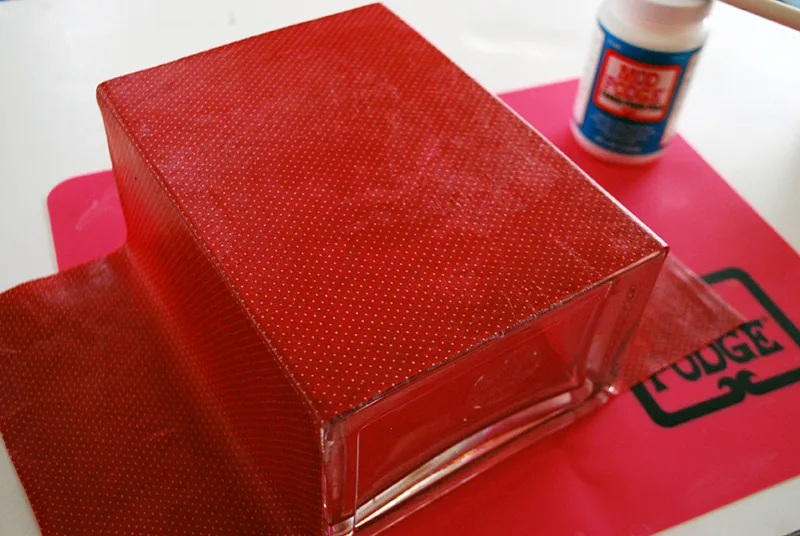
Flip over to the back and repeat. Let it dry for about 20 minutes.
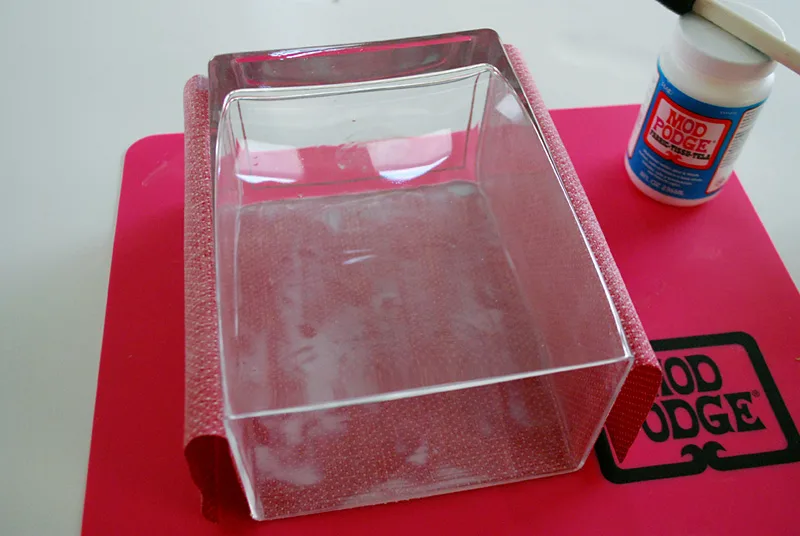
Step 4: Add a 4th of July stripe to your DIY sparklers holder (optional)
This step is optional but cute. While it’s drying, take a Fourth of July napkin and open it up. Quick note here: napkins are really hard to decoupage without wrinkles. I really liked this napkin so I went with the wrinkle trade-off. But if wrinkles are going to bother you, you can just use fabric instead for this layer. OK, let’s keep going…
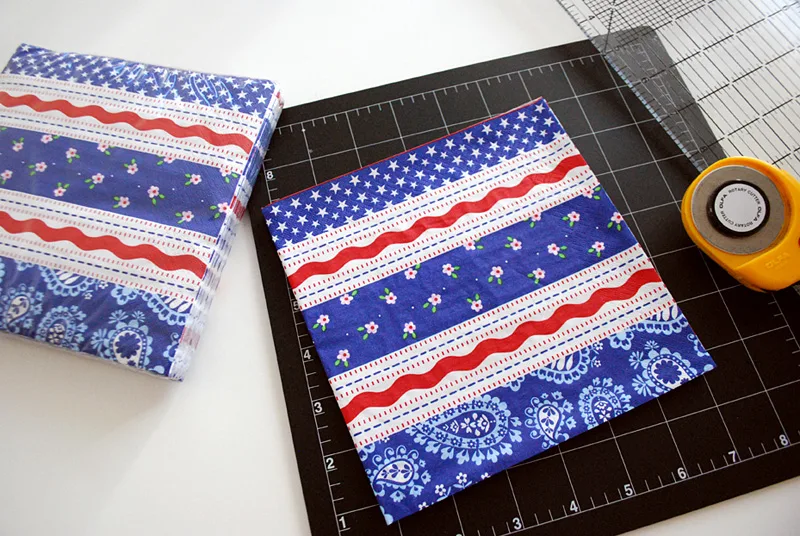
Slice off the pattern that you’d like to have on your Sparkler Safety Caddy.
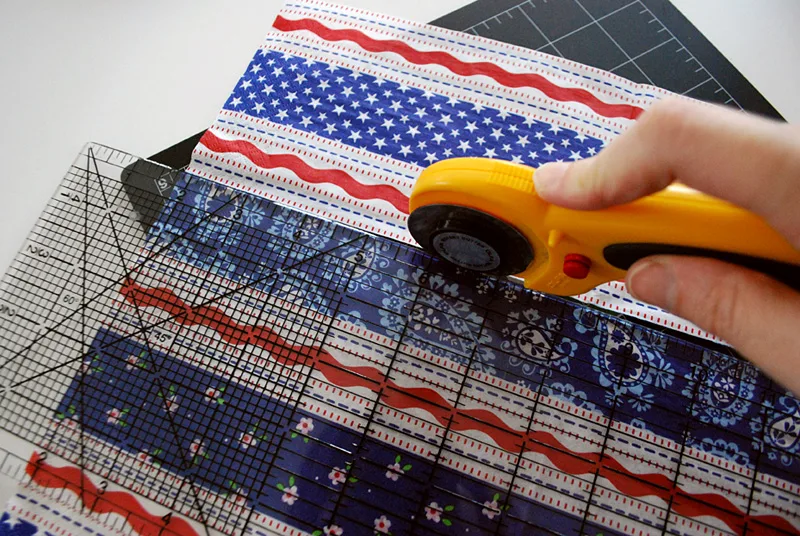
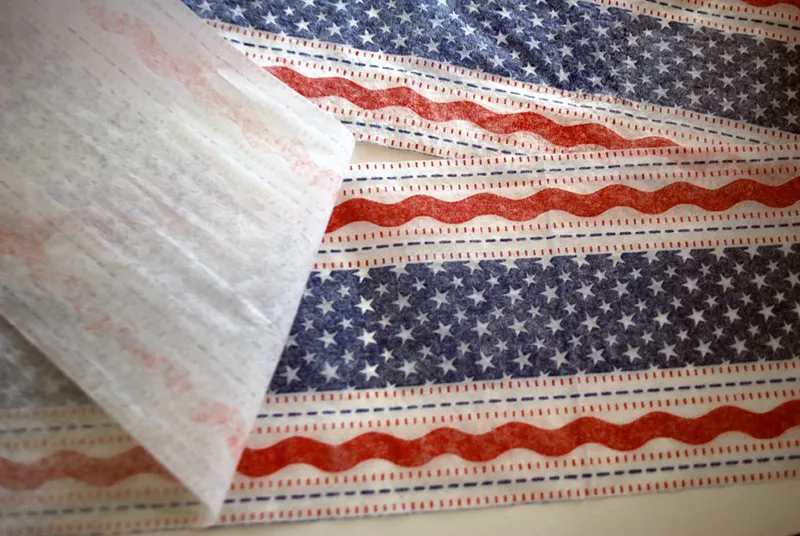
Assuming your napkin is 2-ply, carefully peel off the 2-ply backing — it will reduce the amount of wrinkles that you’ll get with napkins.
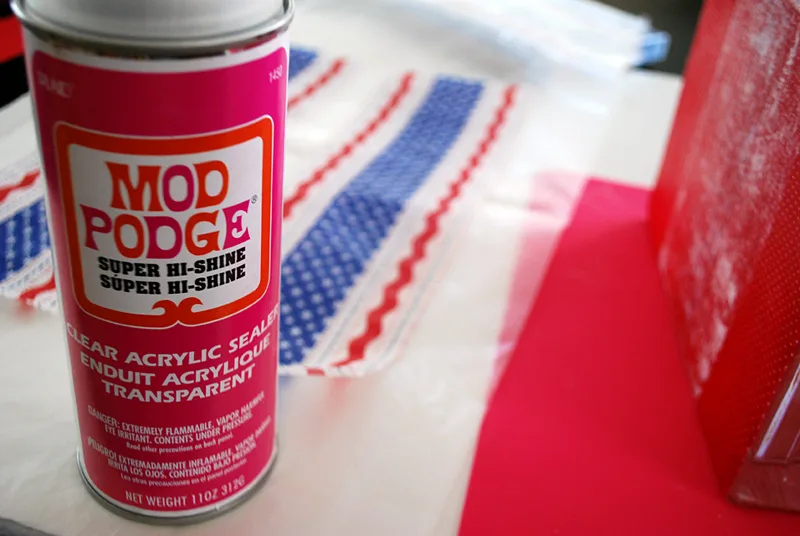
Spray your napkins with a bit of Mod Podge Clear Acrylic Sealer and let dry. This will make it a little easier to work with and help keep the wrinkles down.
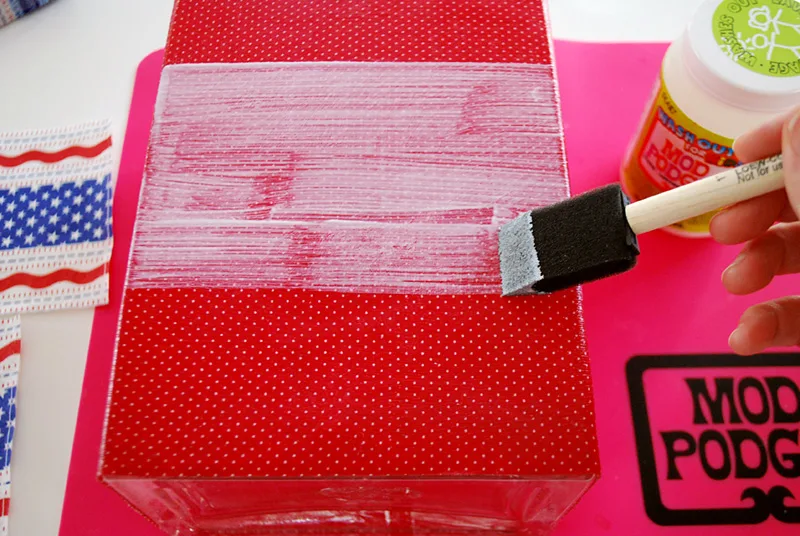
Put on a medium layer of Mod Podge around the band.
OK so it’s known that I plan for the 5%, and I was afraid that the napkin might be too see-through once I put it on. So first I added a white piece of printer paper around the band and let it dry for 20 minutes. Again, if you’re using fabric instead of a napkin you could probably skip this step.
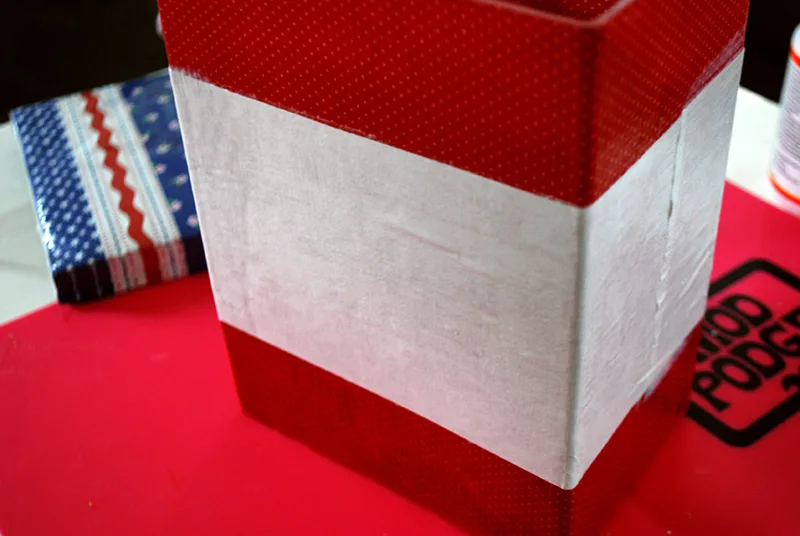
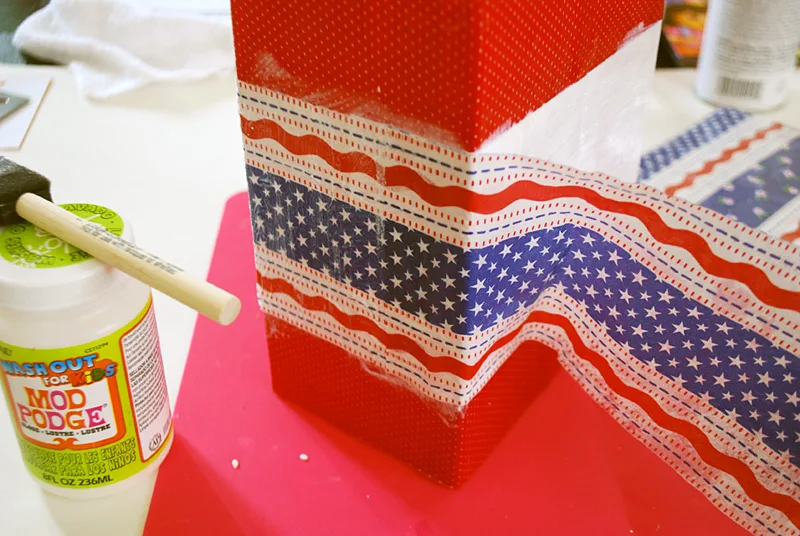
Now put a medium layer of Mod Podge on the white band. Place the napkin down carefully, smoothing down wrinkles (at least as many as you can) and adding some Mod Podge on top to seal. Let it dry about 20 minutes.
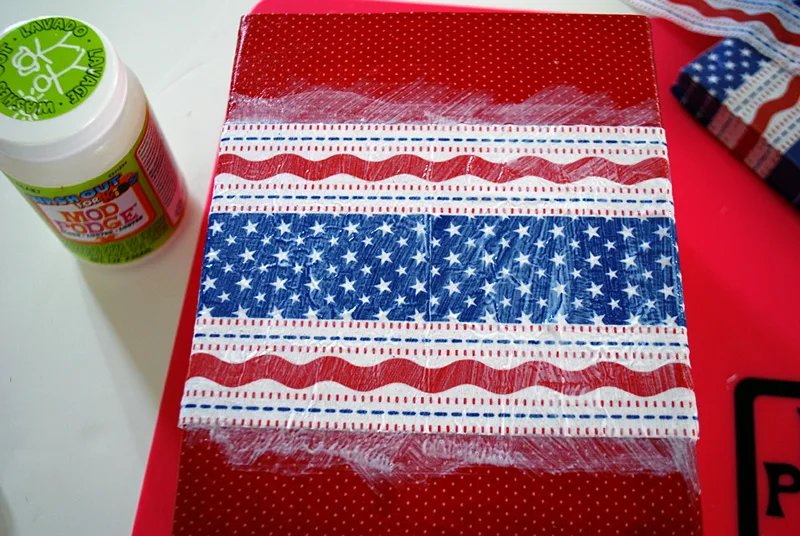
Work your way around the Sparkler Safety Caddy. Set it aside to let it dry. Then add 1-2 more coats of Mod Podge all over the caddy to finish it off.
Step 5: Seal your DIY burnt sparklers holder (also optional)
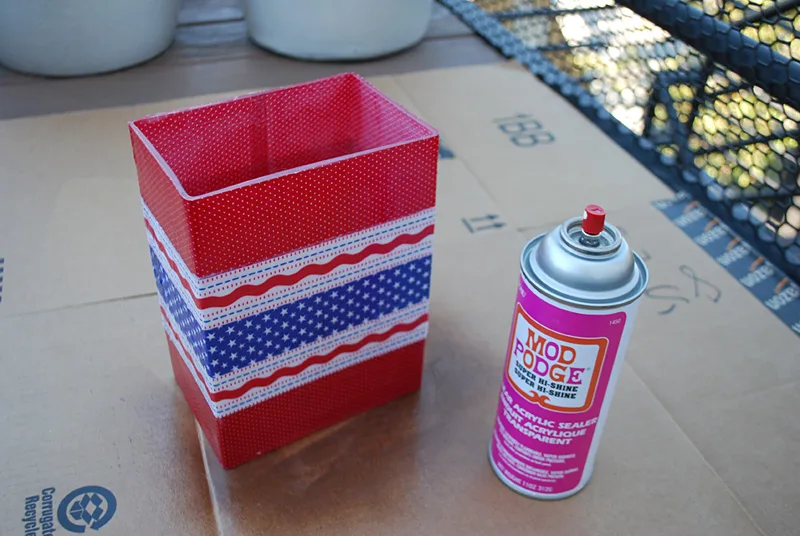
Spray it with Mod Podge Clear Acrylic Sealer if you’d like to really seal the Mod Podge from moisture. I did a couple coats. Now it says not to touch it for 24 hours so be sure to factor that in to your plans.
Step 6: Decorate your DIY used sparkler holder (also optional)
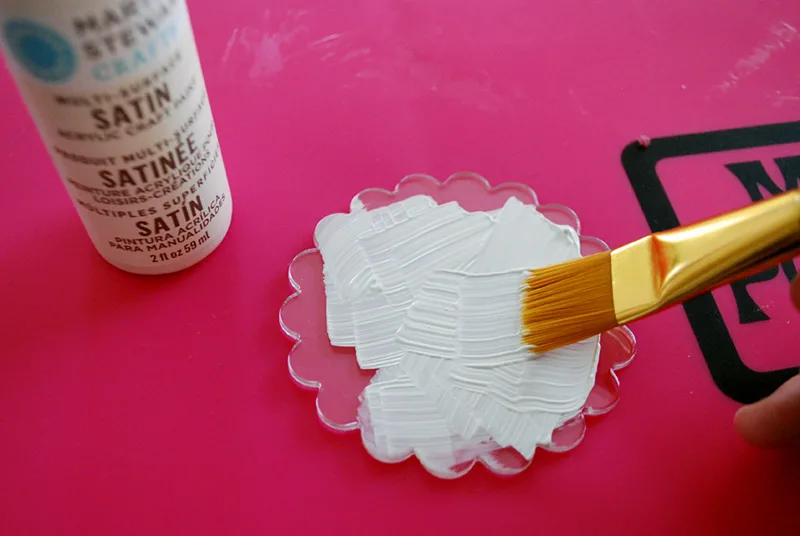
This step is also optional and cute. Here’s how to make the medallion decoration: Use Martha Stewart craft paint to paint the Mod Podge Podgeable clear shape white.
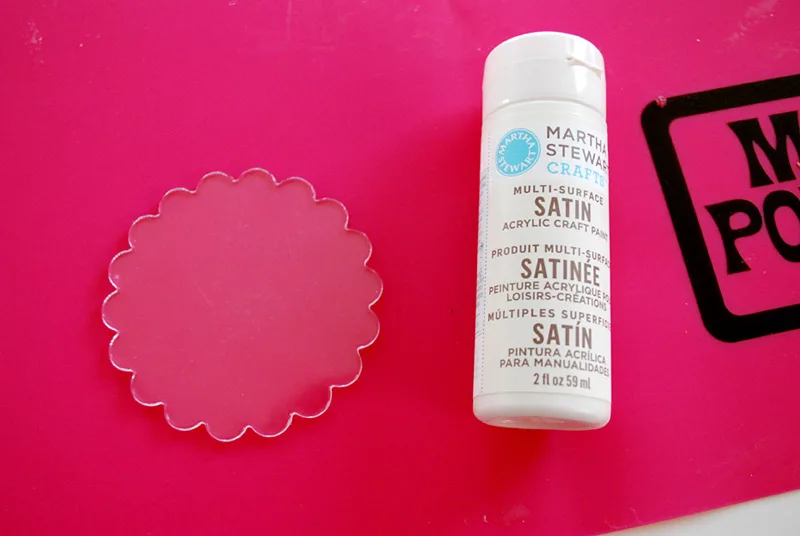
Put a bit on and spread it around with your brush. I painted three thin coats and it ended up looking really smooth.
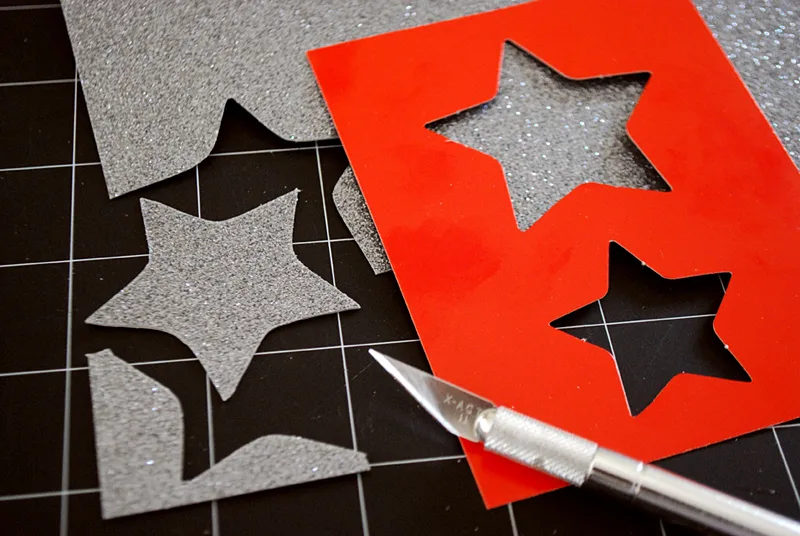
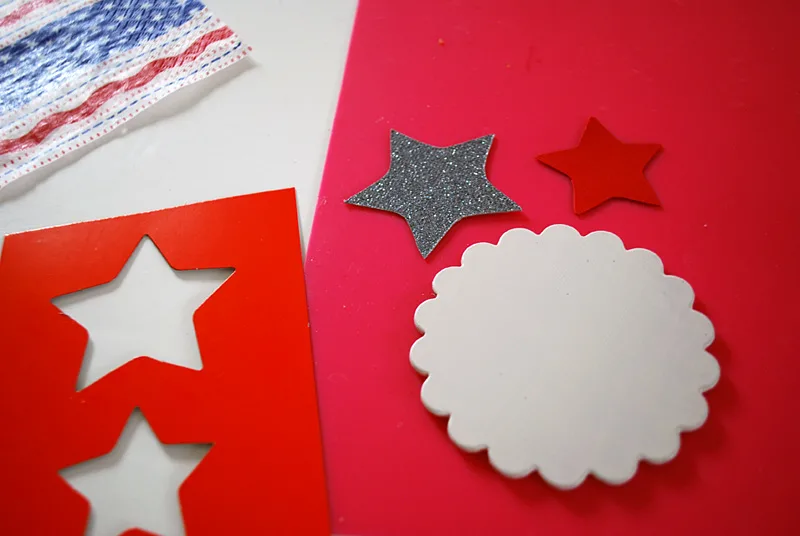
Use the Mod Podge Tracing Templates to trace a star out of silver glitter paper. Cut it out with an Xacto knife or scissors.
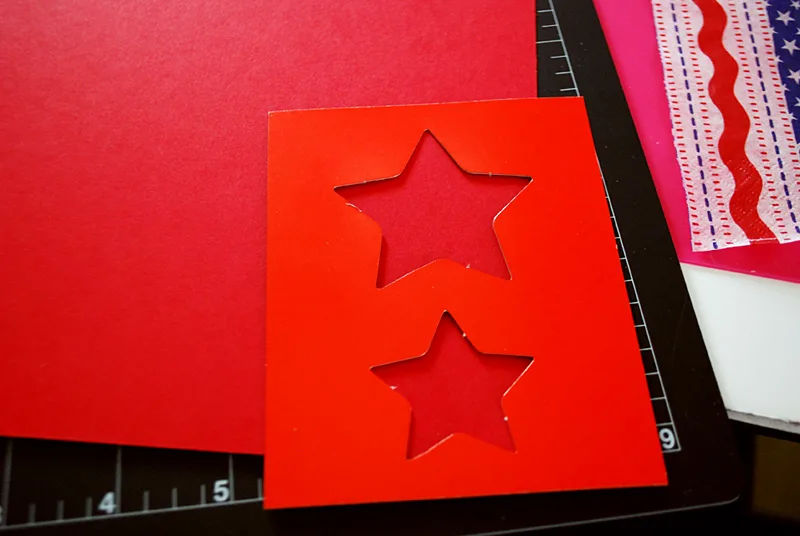
Cut out a slightly smaller red star using the slightly smaller Mod Podge Tracing Template.
Now you’re ready to assemble…
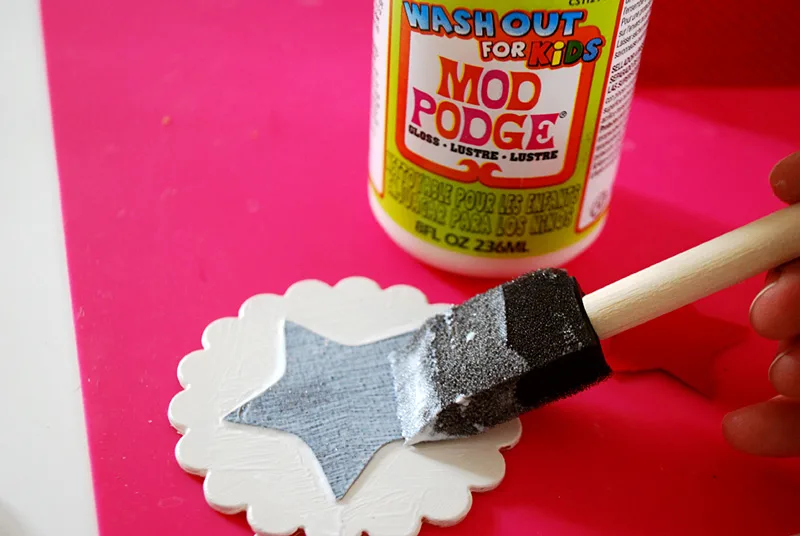
Mod Podge the silver glitter star on first…
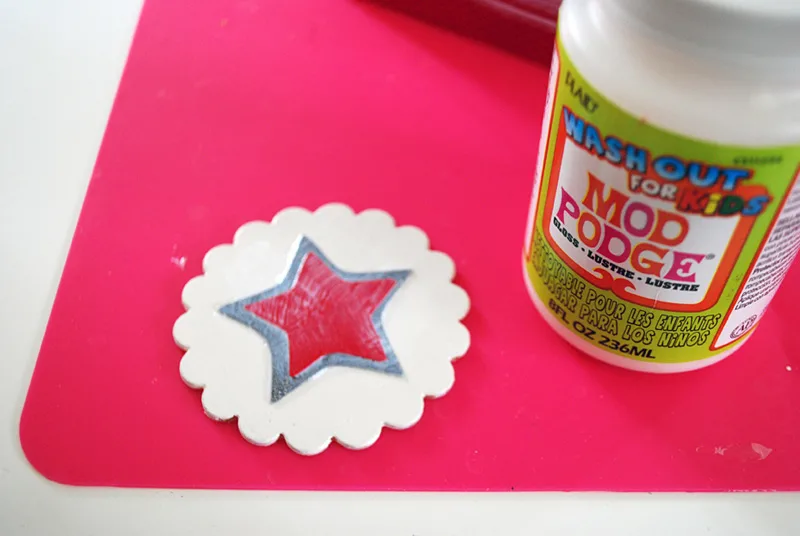
…then layer on the slightly smaller red star next.
When it’s dry, get out your Mod Podge Dimensional Magic. Here’s how to use Mod Podge Dimensional Magic:
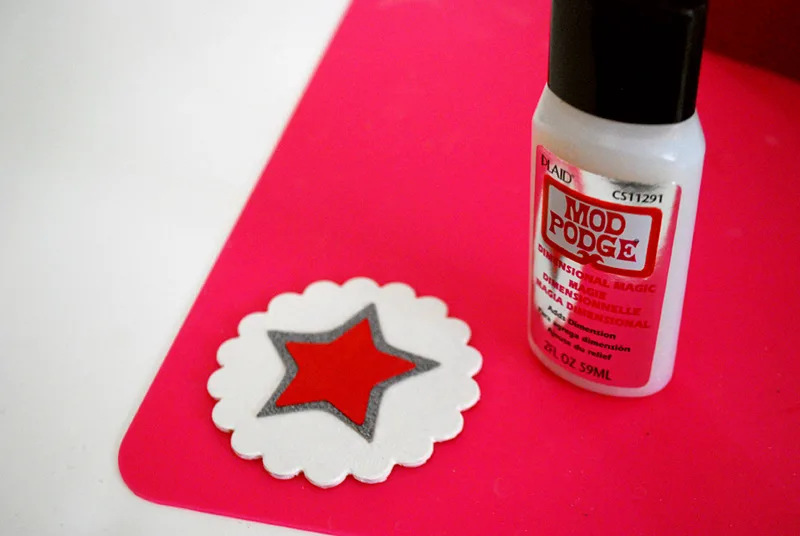
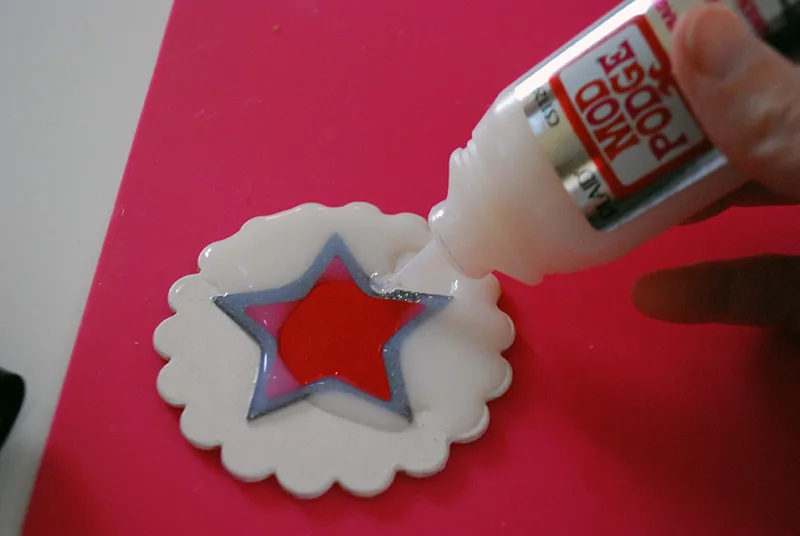
Drizzle it on the top of the Mod Podge Podgeable shape.

Generally the Dimensional Magic is thick enough to just sit on top, but I did overflood it in a couple of places. Good thing I was using the Mod Podge pink craft mat — it just peeled off once dry.
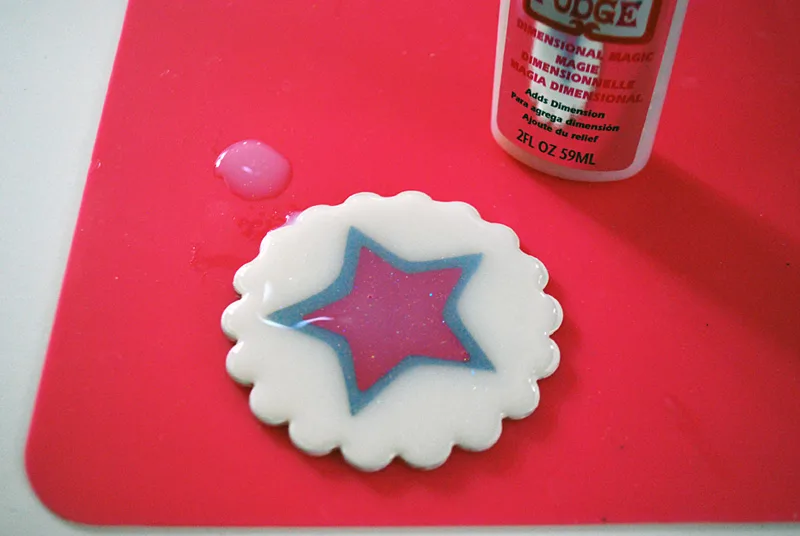
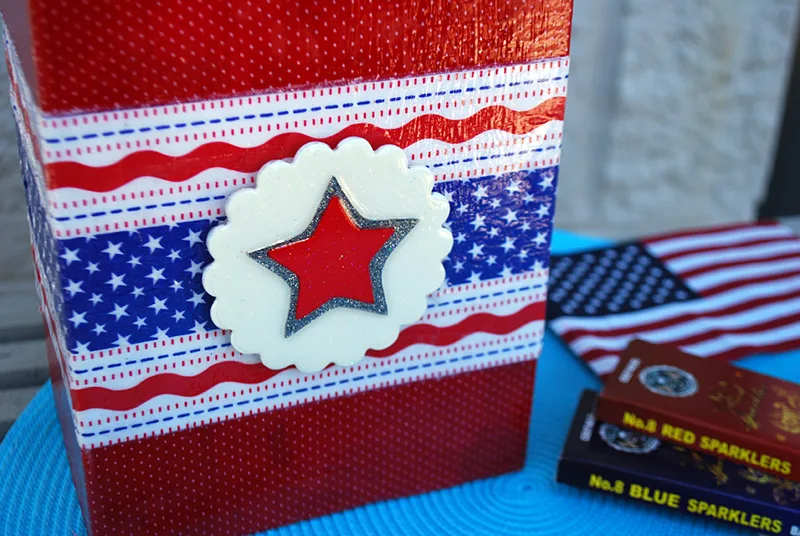
Let it dry at least 3 hours — I let it dry overnight. See how it looks kind of clear and 3D? Now get out the Mod Podge 3D Adhesive Mounts or craft glue.
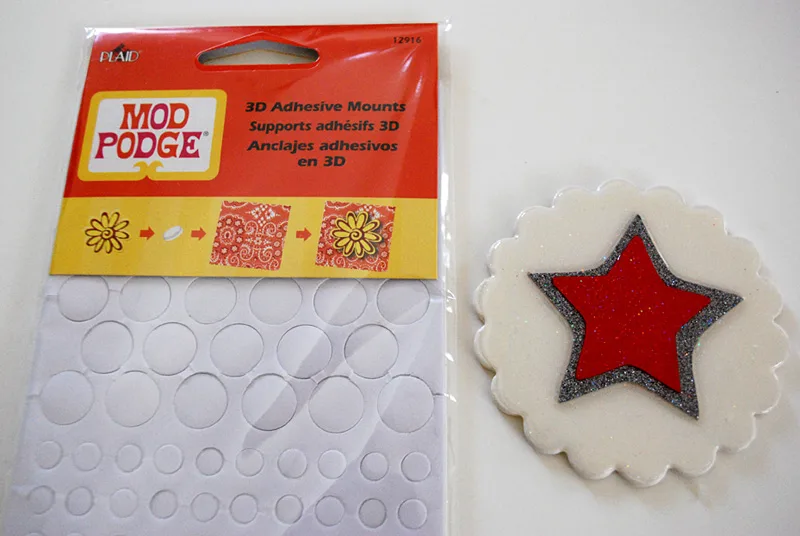
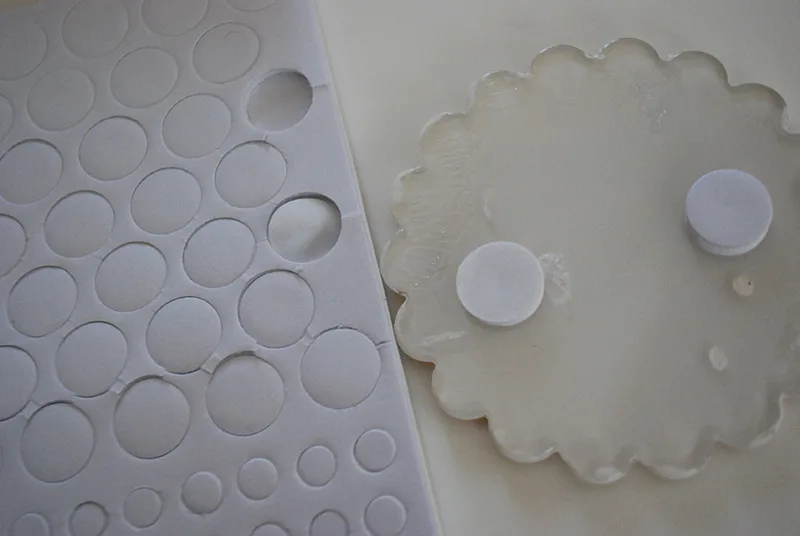
Peel off two of the adhesive dots and place them on the back of the medallion.
Center the medallion on your DIY used sparkler safety holder.
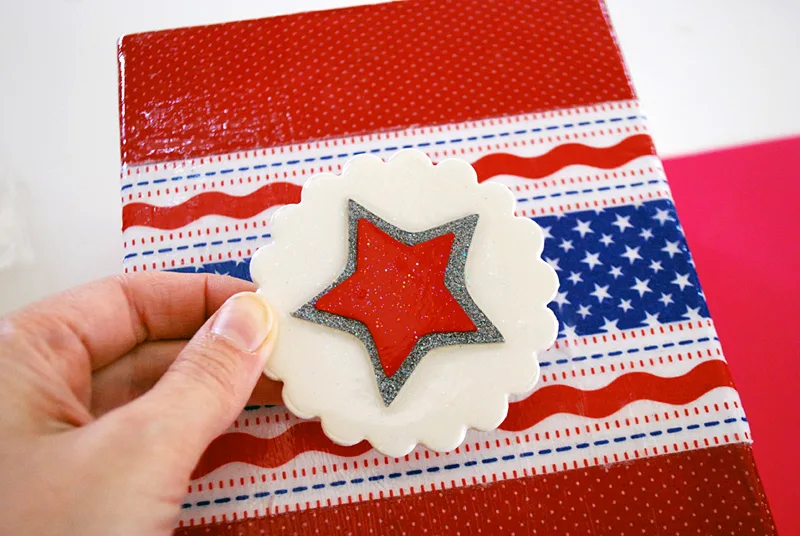
And hold until it adheres. Now add water and sparkle the night away!
Be sure to pin my DIY sparkler holder to safely throw away used sparklers
—
Like it? Share it!
The nicest way to say you like it is to pin it on pinterest, post a comment, follow Merriment Design on Facebook, twitter, pinterest, Google+, instagram or sign up for monthly emails. Enjoy! 🙂
Copyright stuff: You’re more than welcome to use this free project and tutorial for personal use. Contact me for commercial use and etsy sales.
Save

Wendy
Wednesday 27th of June 2012
So much better than grandpa!s 5 gallon water filled bucket. I LOVE sparklers!
Mod Podge Amy
Wednesday 27th of June 2012
This is so cool! I love it! I was laughing thinking about how much this was better than a beer bottle too! :D
Katie F.
Wednesday 27th of June 2012
What a great idea in the spirit of the holiday!
Emma
Wednesday 27th of June 2012
CUTE! And there are so many great napkin designs on the market right now.
laura
Tuesday 26th of June 2012
So cute! And much more stylish than the typical empty coffee can (or beer bottle) to dispose of the hot sparklers. Great project!