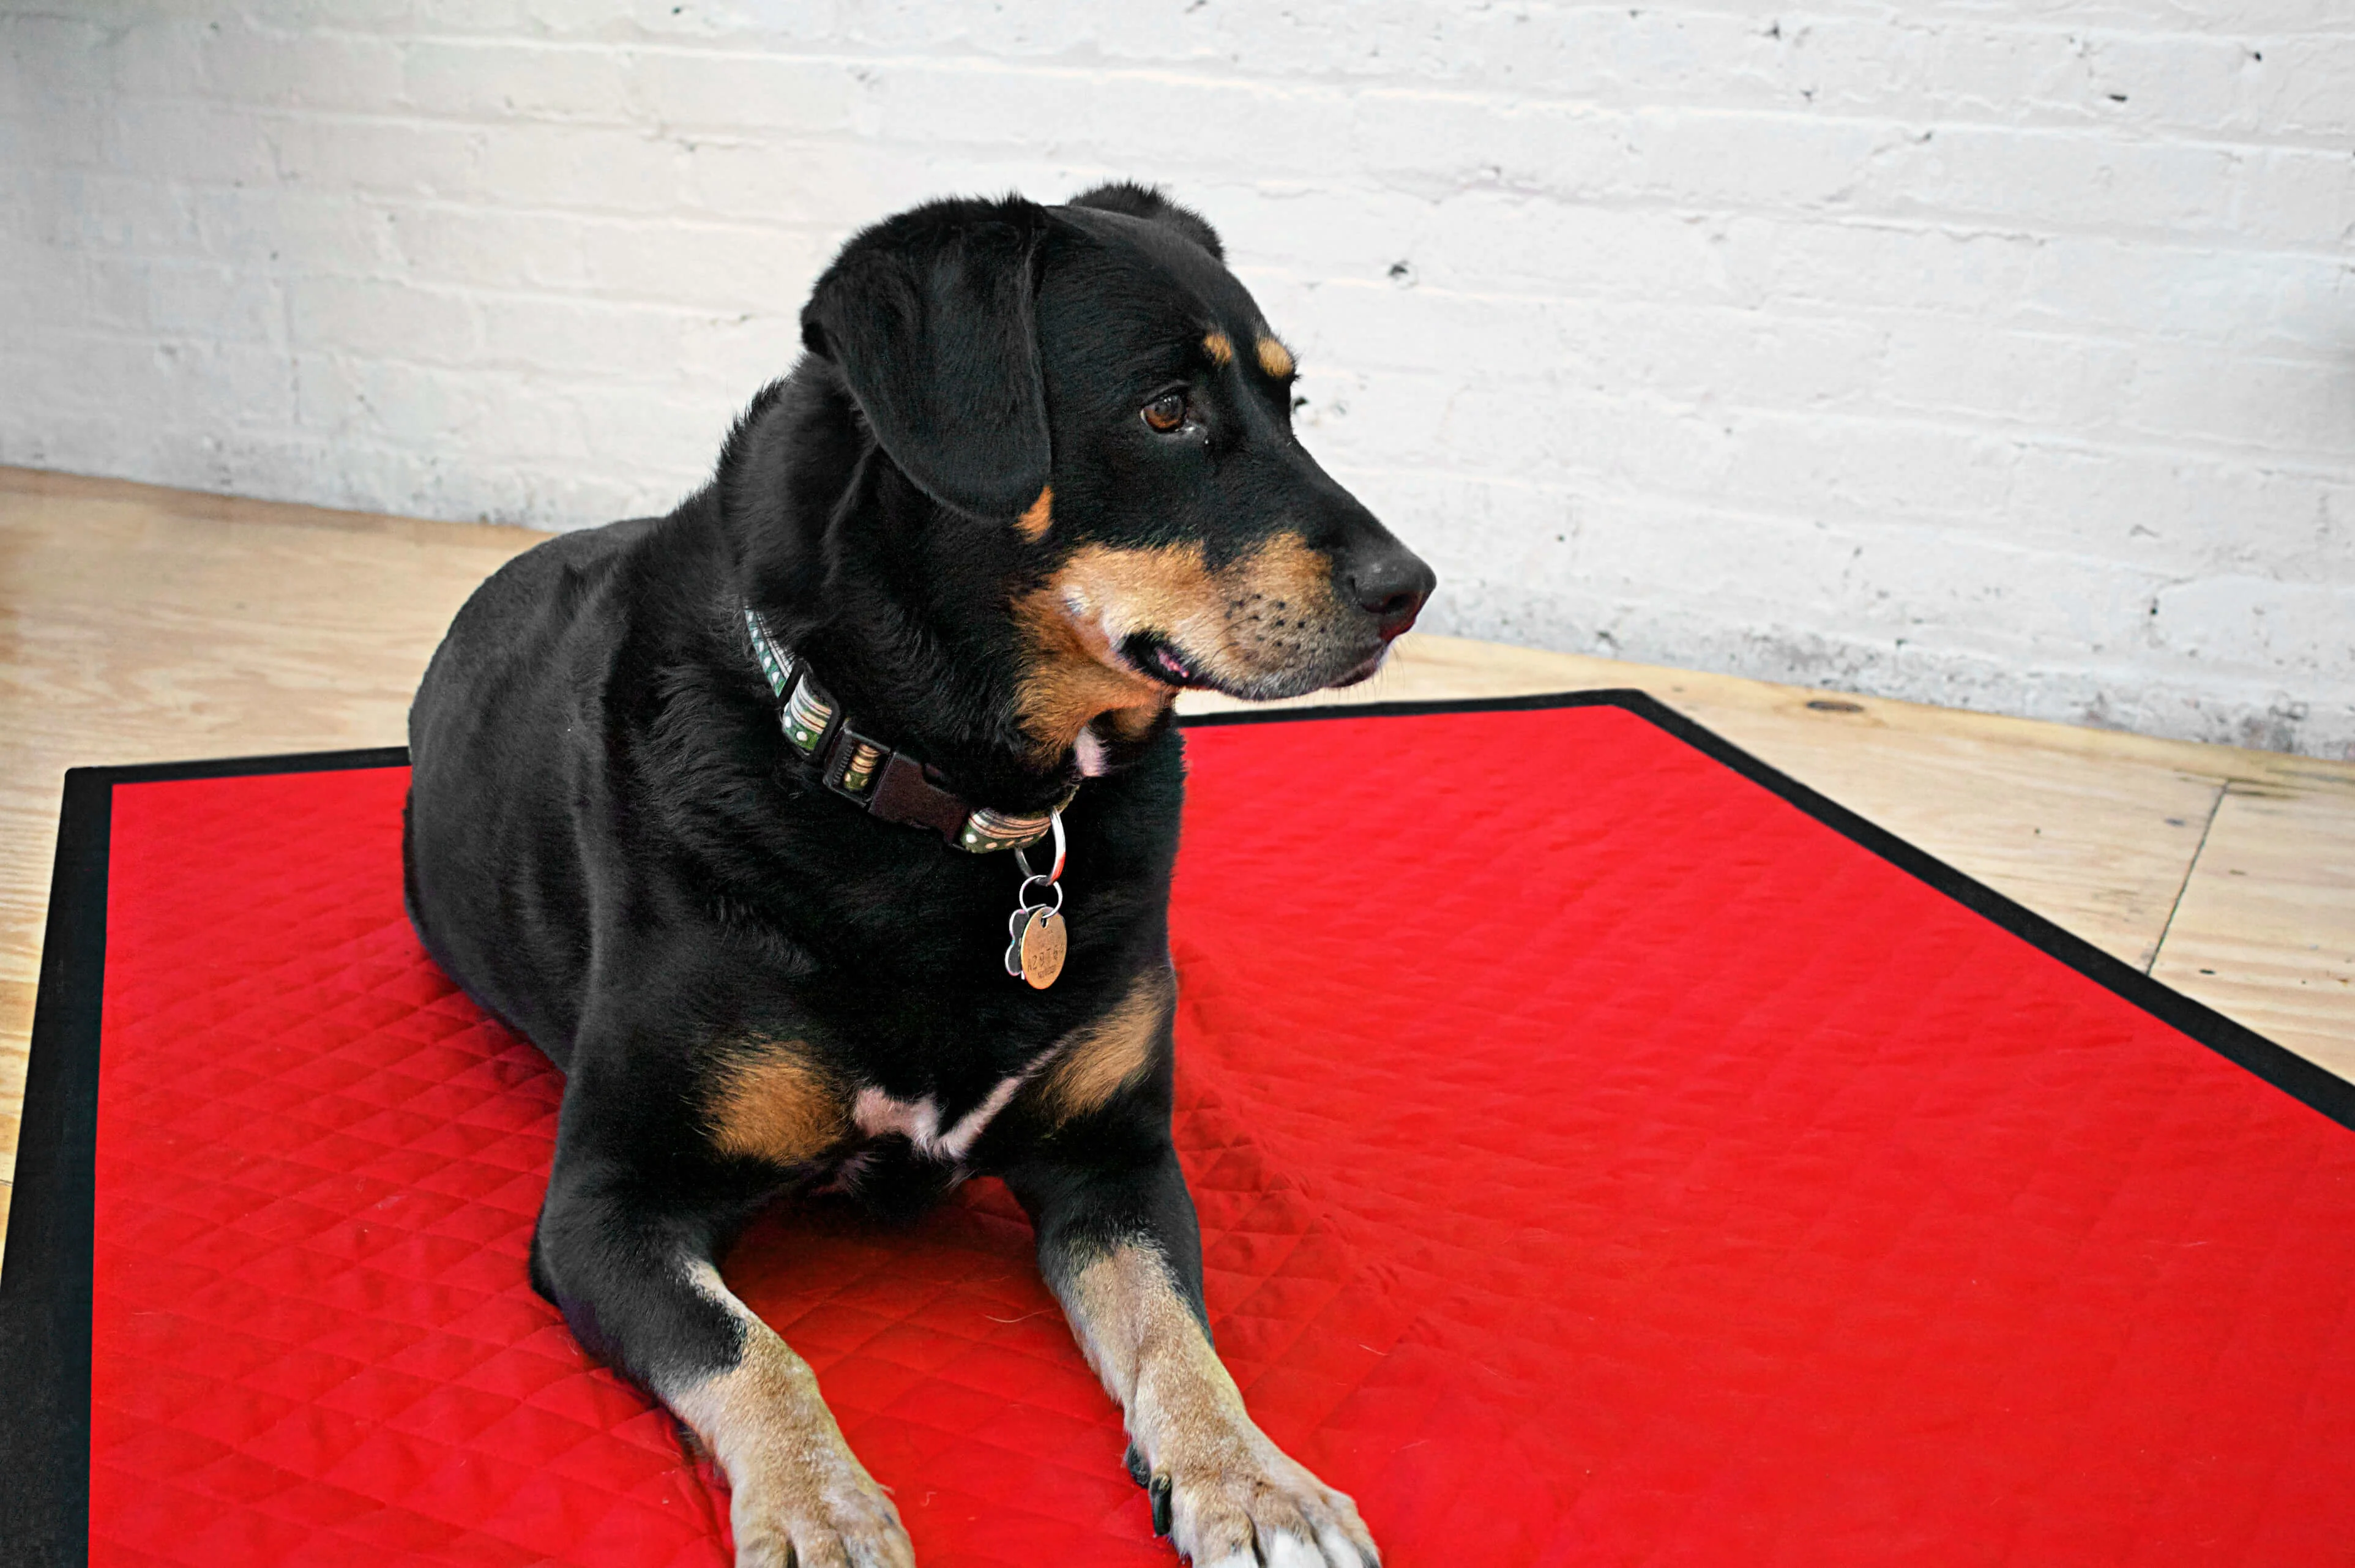
Kaya is such an awesome dog that she deserves an equally awesome DIY dog blanket for the floor. And this DIY dog blanket for is so easy to make – no quilting nor backing fabric required! You can use the pre-quilted diamond fabric that we used — it comes in several solid colors –or choose fleece material for your pet blanket. Whatever the fabric, you can make this beginner sewing project in just a couple of hours.
See also: ‘Easy Baby Tag Blanket Free Sewing Pattern’ »
Kaya is my friend Cristin’s best pal who comes daily with her to work. And Kaya and Cristin also volunteer in the Sit Stay Read program for Chicago Public Schools — basically, kids read books out loud to dogs and the program been proven to boost the children’s reading skills. Kaya listens attentively to the kids while sitting on her red and black DIY dog blanket. Adorable.
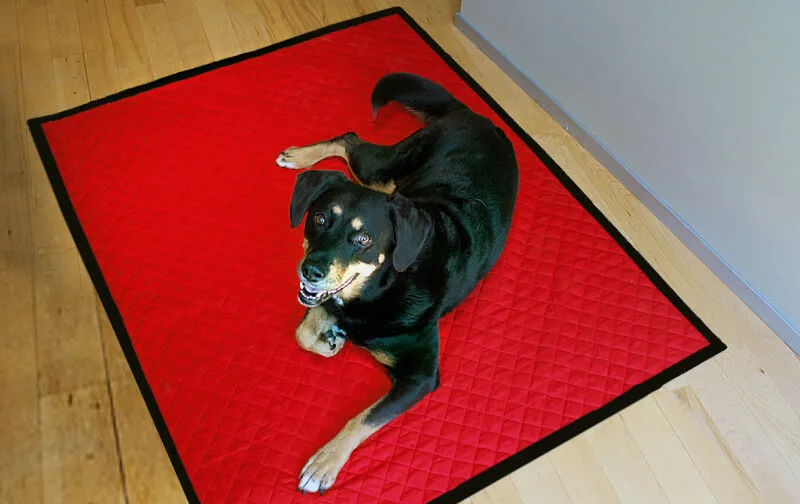
Pre-quilted fabric or fleece material – both work great!
The surprise trick in making this easy and cute dog floor blanket is buying pre-quilted diamond double-faced fabric (available in lots of colors) — that way it’s already quilted and automatically reversible too. So there’s no need to quilt this project yourself! Pre-quilted diamond fabric comes in 16 different solid colors, or you can choose fleece material if you’d like a patterned look.
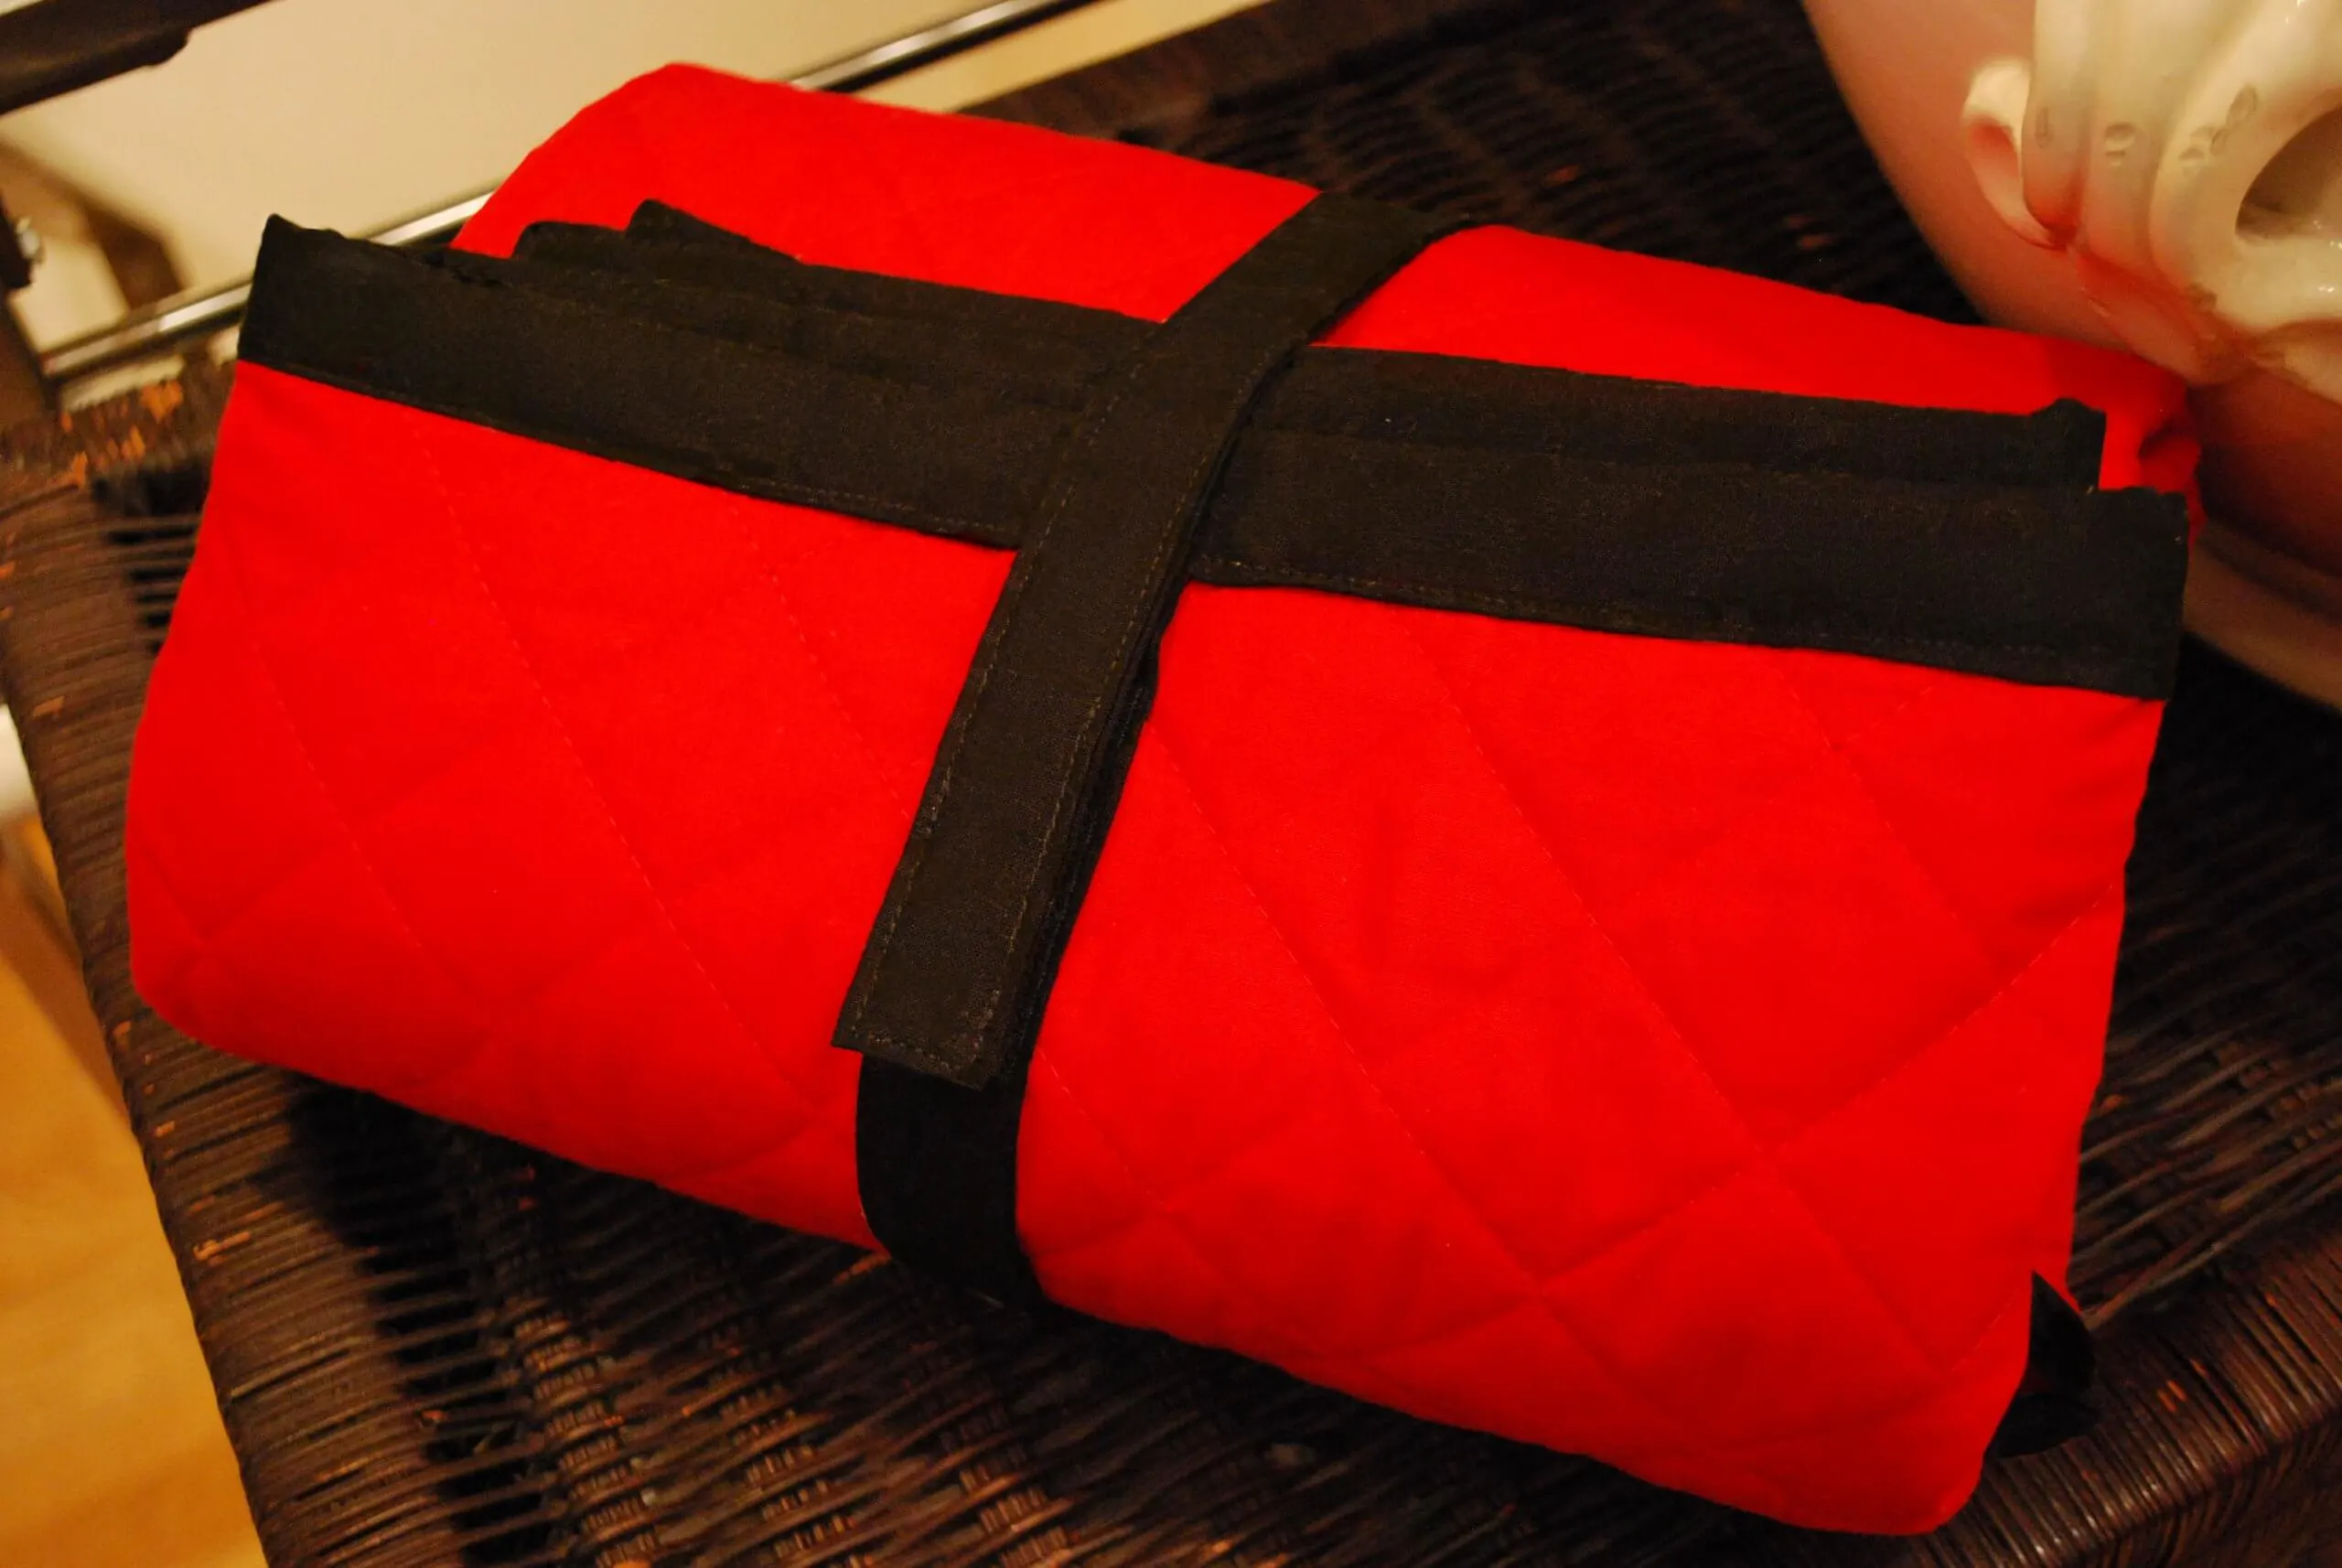
My free dog blanket sewing pattern has a strap too with a VELCRO® Sew-On fasteners so you can roll and carry the dog blanket anywhere. It almost makes me want to get a dog myself. Almost. Keep reading for my step-by-step tutorial for how to make my DIY dog blanket.
This post contains affiliate links which means that products I recommend may give me a nominal commission at no extra cost to you. Thanks – your clicks help me make more free DIYs!
++++++
Supplies for making an easy DIY dog blanket:
- 1-1/2 yards of pre-quilted diamond double-faced fabric or fleece material
- 1-yard cotton fabric to make your own custom double fold 1″ quilt binding — or you can buy double-fold 7/8″ quilt binding – it will save time but will be less cute because it only comes in solid colors
- VELCRO® Brand Sew-On tape (optional, for the strap)
- Thread
- Good fabric scissors
- Glass head pins
- Air soluble fabric marking pen
- Rotary fabric cutter, ruler and self-healing mat
++++++
How to make an easy DIY dog blanket:
Step 1 (Optional): Make custom binding — or you can just purchase pre-made binding to save time
First, we’re going to make custom binding. If you’d like to skip this step, just purchase double-fold 7/8″ quilt binding in a solid color and go to step 2.
Because this blanket has no curves on it, there’s no need to spend the time to cut bias strips (which are strips cut on a 45-degree angle). Instead, you’re going to cut 4″ strips perpendicular to the selvage (which is the edge of your fabric with the writing and stuff on it) to make 1″ double-fold binding. This means that a 4″ strip will end up making a 1″ visible edge around your dog blanket.
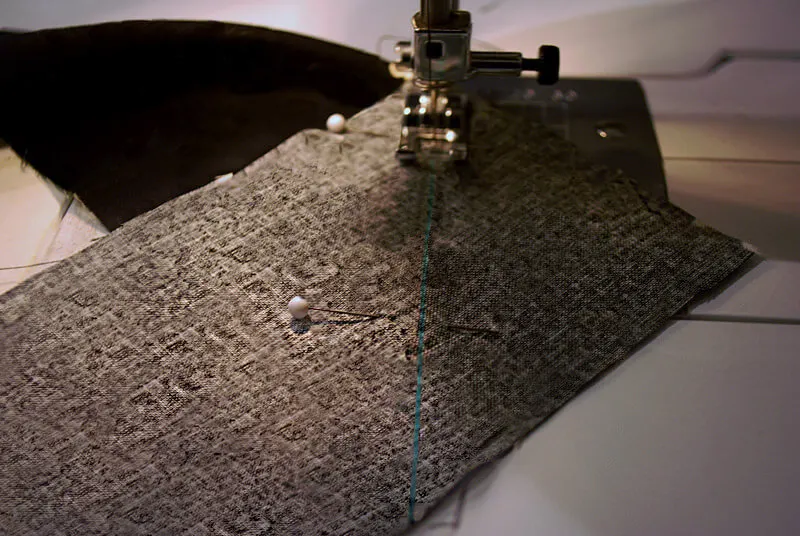
After you’ve cut your 4″ strips, you’re going to connect them all together. Place one strip face up. Now place the other strip face down to make a corner like below. Draw a line from corner to corner using an air soluble fabric marking pen. Then pin and sew along the line.
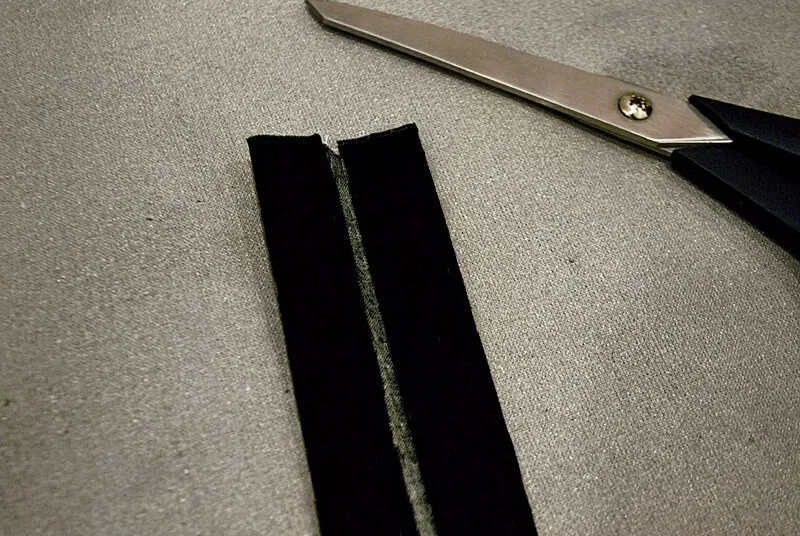
Here comes the ironing part. You can either hand-iron the strips or use the Simplicity Bias Tape Maker. For this project, Cristin and I ironed it — well, mostly Cristin. First iron the seams open and trim them down to 1/4″. Then iron your binding in half. Open it up and iron the raw edges into the center fold. It will look like this:
Step 2: Cut a rectangle from pre-quilted diamond double-faced fabric
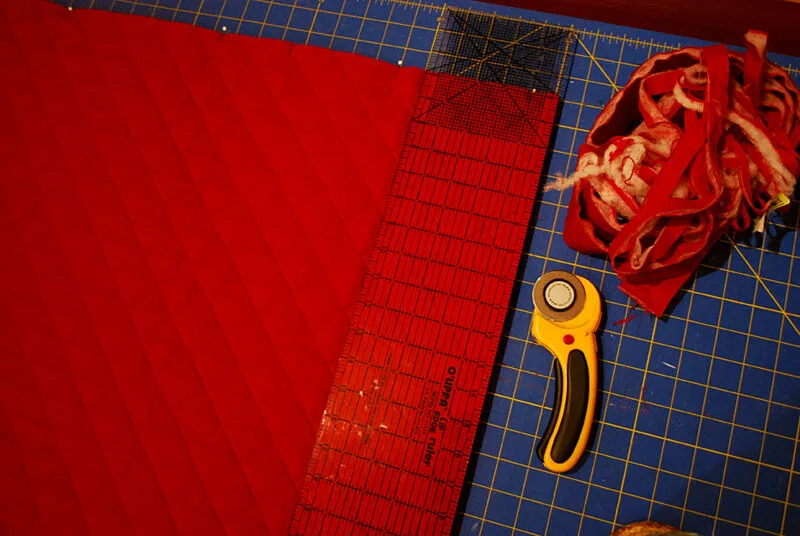
Square off your pre-quilted diamond double-faced fabric or fleece material so that you have a nice, straight rectangle by using your rotary fabric cutter, ruler, and self-healing mat. Cristin’s fabric was cut pretty crooked at the store so Kaya’s blanket ended up being 42″ x 52.”
Step 3: Attach binding to the dog blanket
Now we’re going to follow the same steps to attach our binding that we use to sew bias tape with mitered corners. I’ll paraphrase here but be sure to watch my bias tape corners video on YouTube to see this step live.
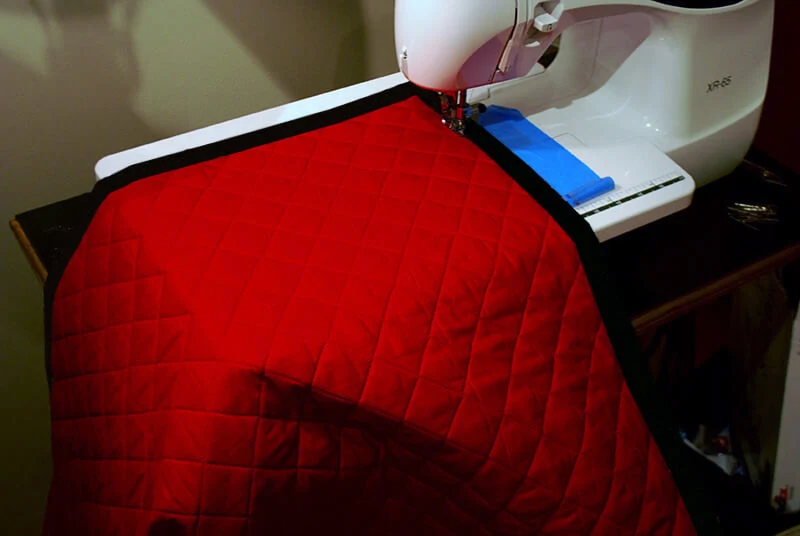
Pick a place along the blanket to start. Open the bottom edge of the quilt binding so raw edges are together. Turn the corner down and pin (or don’t pin at all, or use barrettes – on this blanket I started with a few pins and then just sewed without them).
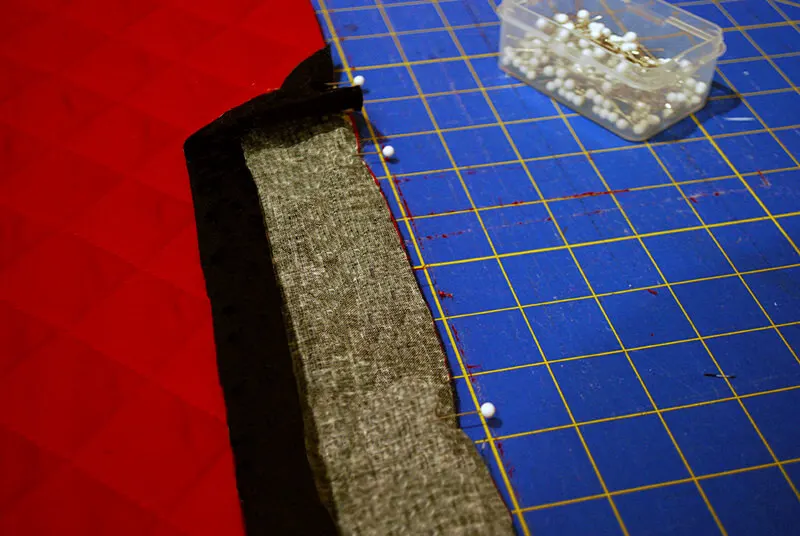
Stitch along the quilt binding fold that’s closest to the raw edge. My fold is at 1″, so that’s what I’m sewing below.
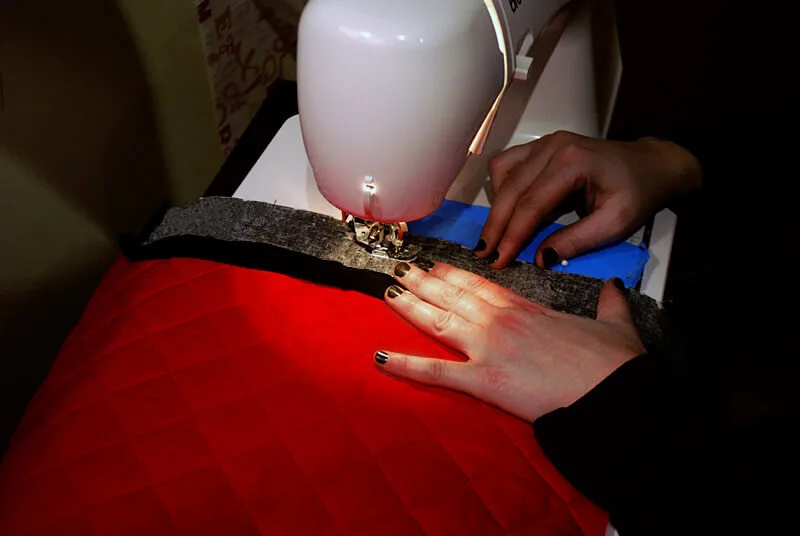
When you get to a corner of the DIY dog blanket, start to slow down. You’re going to want to stop when you get 1″ short of the corner itself, backstitch, and cut your thread.
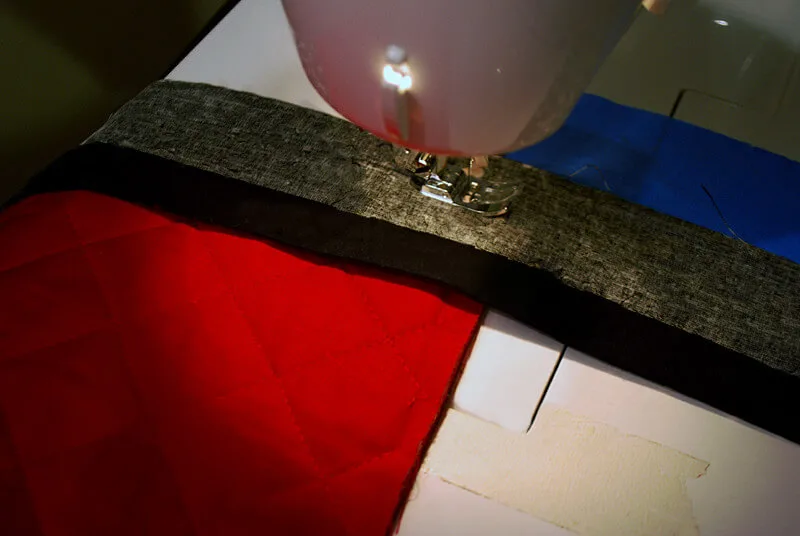
Fold the binding to the right, lining up the lower raw edge of the binding with the raw edge of your fabric edge. It will make a triangle on the corner. The top edge of your triangle (which is the quilt binding’s folded edge) should be perpendicular to the stitched edge that you just sewed. Press the binding down with your fingers and make sure the triangle looks nice and straight. (Now you can see why there’s no need to pin down the entire quilt binding — I think it’s just easier to pin one side at a time when sewing quilt binding). Again, watch my bias tape corners video for step-by-step details.
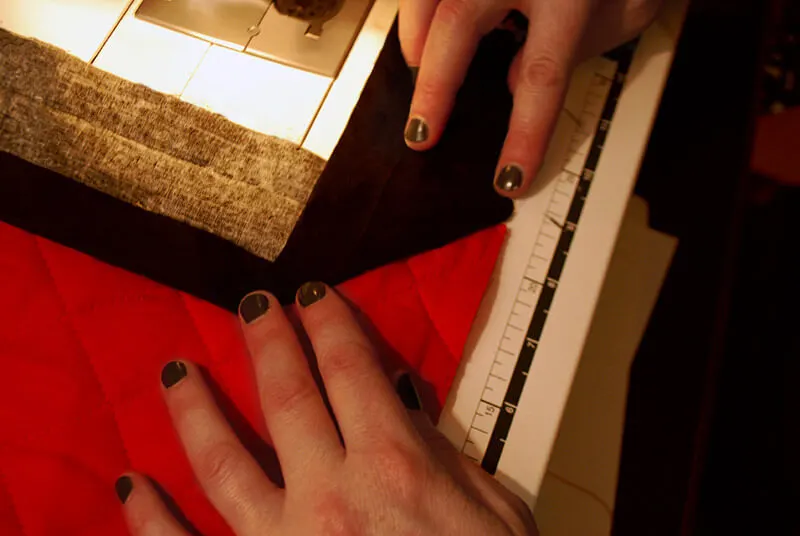
Carefully fold the binding back to the left, folding the binding edge so it lines up with the fabric edge, and making extra sure to keep your binding triangle intact underneath. Line up the binding edge with the raw edge of your unsewn raw fabric edge (the right edge in the photo below) and either pin or use a barrette.
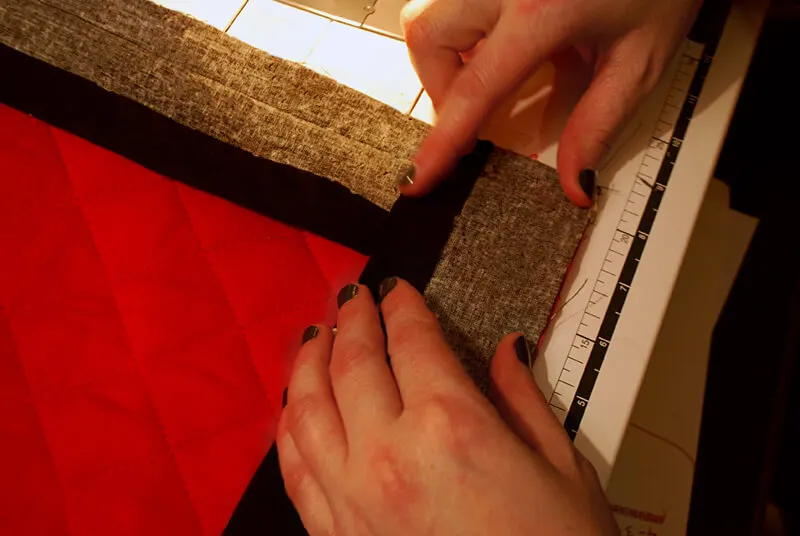
Now start sewing the binding to your fabric again along the quilt binding fold (again, mine was 1″ from the raw edge) and you’re off again along a straight edge.
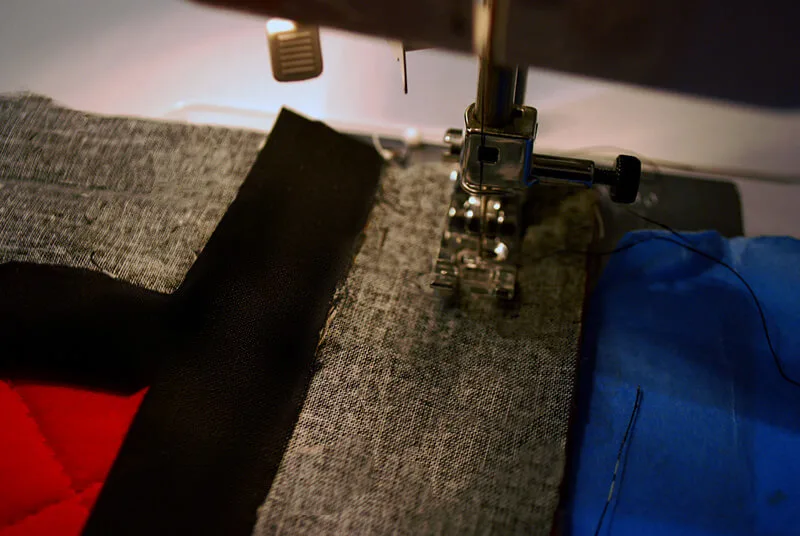
Repeat around all corners. When you get to the end, overlap your binding a couple of inches, backstitch, and cut your thread. Cut your quilt binding tape too. UPDATE: Watch my bias tape corners video on YouTube for an updated way to attach binding together that looks super professional.
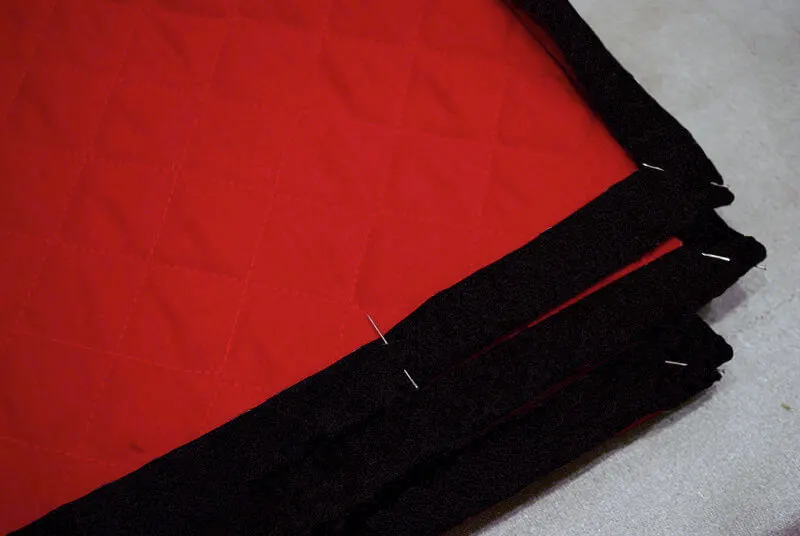
Now fold the binding over your raw edge to the back. Be sure to pull the binding tightly so that it will catch when you sew it later from the front. This is one case where I do like to pin.
Step 4: Make the dog blanket carrying strap (optional)
Time to make the dog bed strap. We’re going to make the strap out of the binding that we already made. Cut a piece of binding 25″ long from your leftover binding. Open up the binding. Fold the top edge of one side down 1/4″ wrong sides together to hide the raw edge.
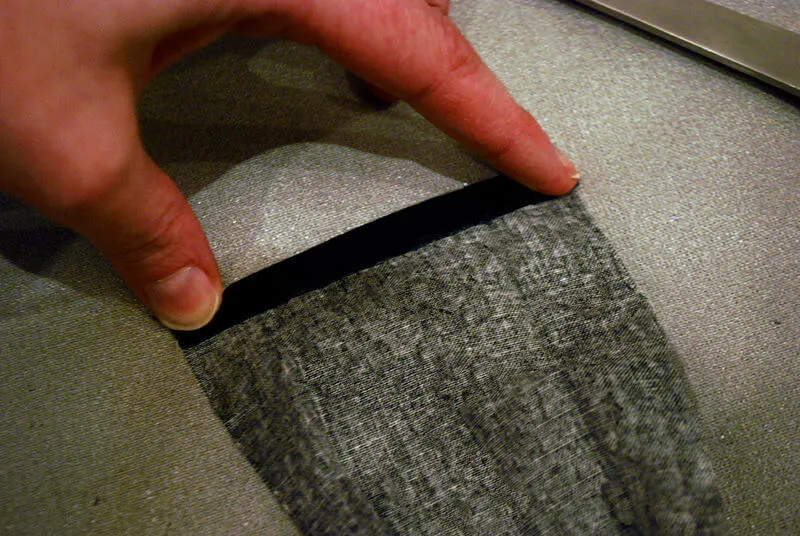
Then fold the binding all up again and pin the end. Looking like a strap, yes?
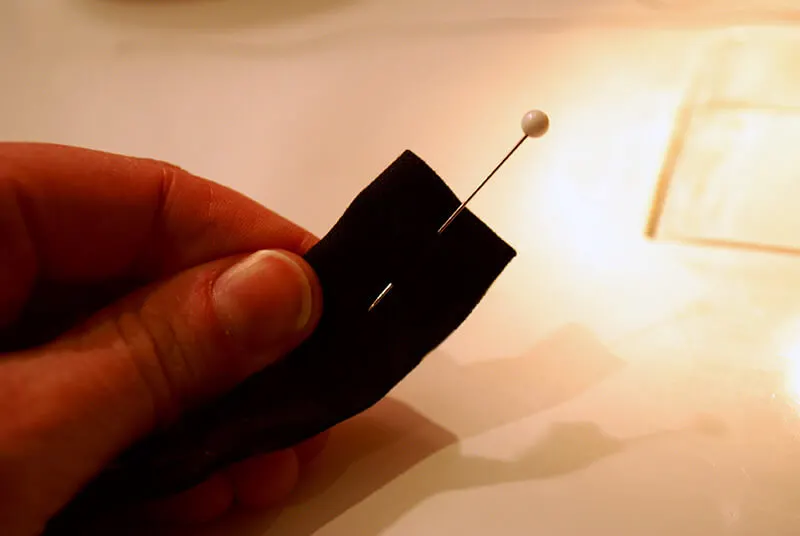
Sew close around the edge of the binding-turned-strap.
Step 4: Attach the carrying strap to the DIY dog blanket (optional)
Fold the DIY dog blanket up how you’d like. Then pick a spot to put the strap.
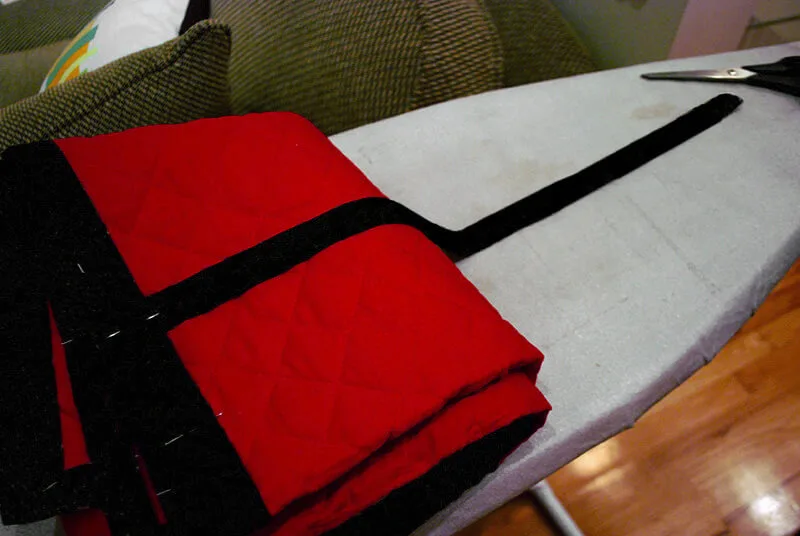
Cut a 3″ piece of VELCRO Sew-On Tape. Pin one piece of your VELCRO onto the top back of the strap and pin.
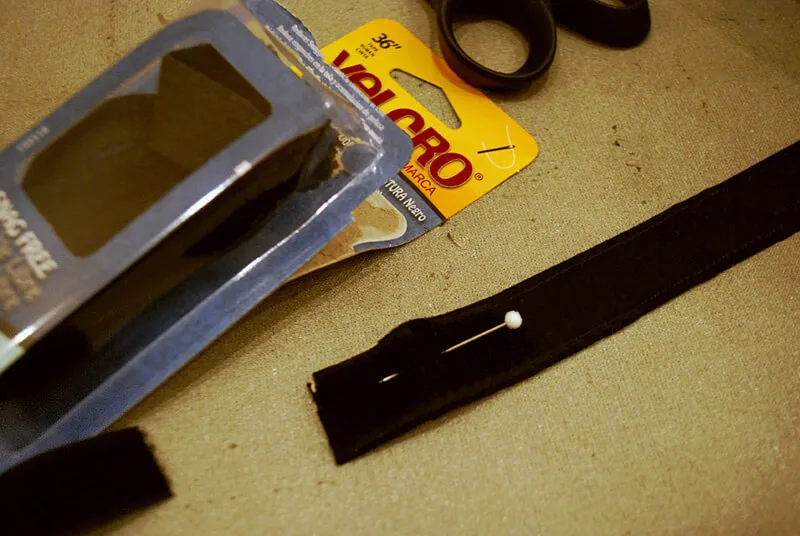
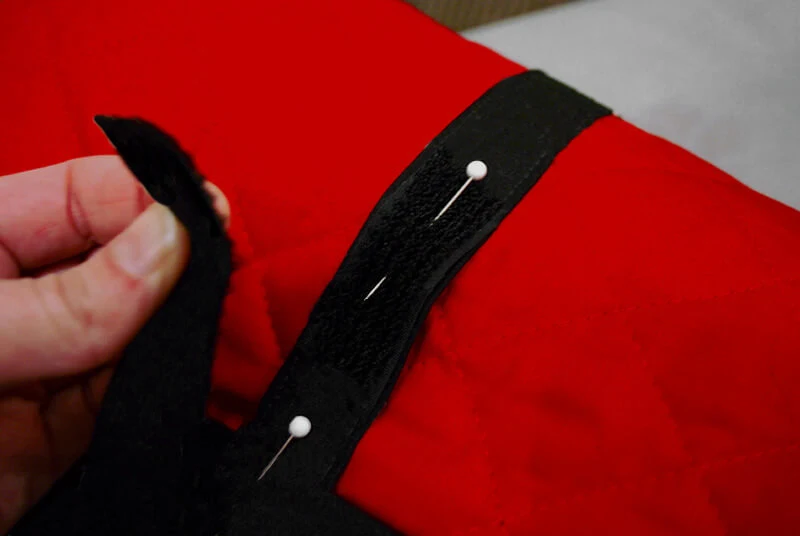
Wrap the strap around the dog bed to decide where to place the other side of your VELCRO Sew-On Tape. Pin the other side of the VELCRO in place.
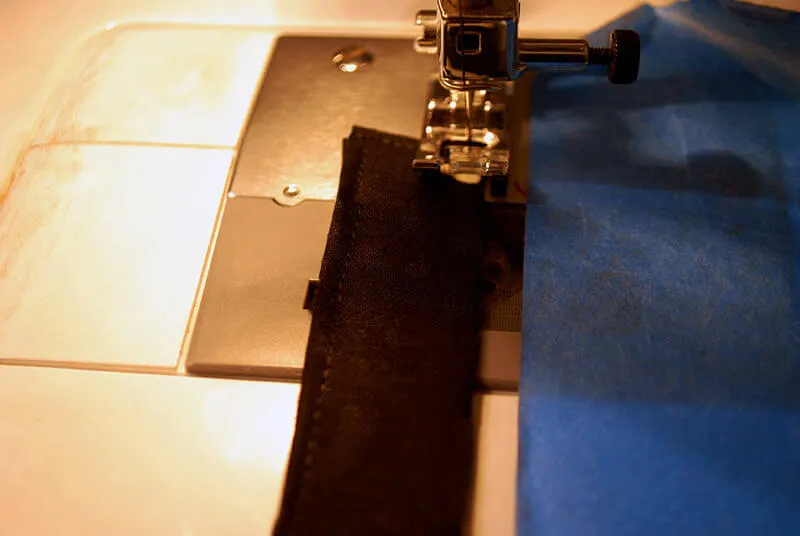
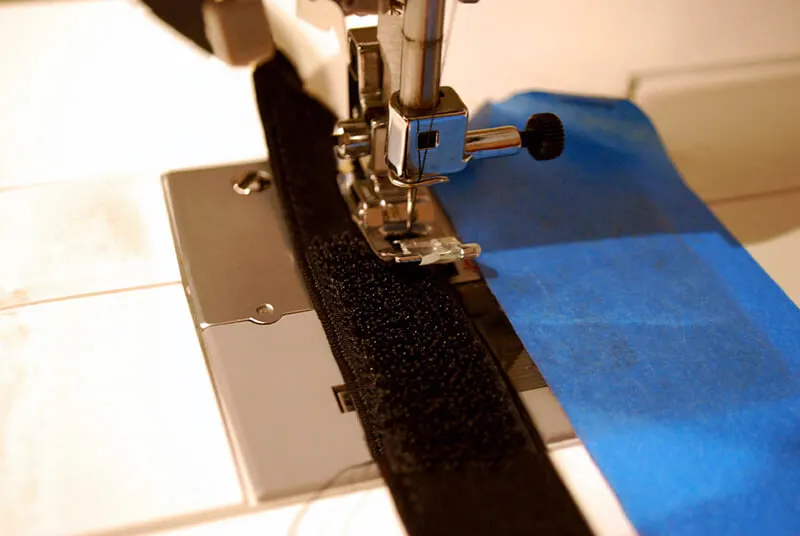
Sew the VELCRO Sew-On Tape onto the strap by sewing close to the edge, VELCRO-side up.
Now you’re going to sew the strap onto the dog blanket. Give the straps a little more reinforcement by opening up the quilt binding pinned edge, then pinning the raw edge of the strap to the raw edge of the blanket, and sewing back and forth a couple of times.
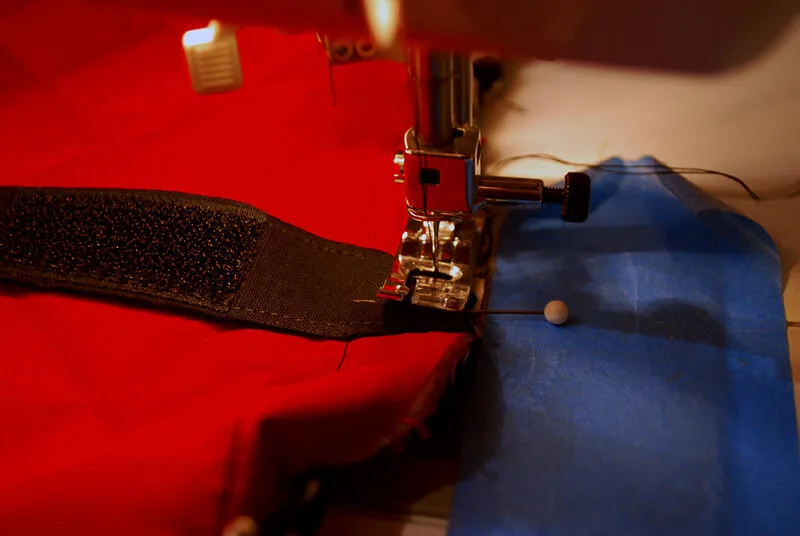
Fold the quilt binding edge back up again with the reinforced strap snuggled inside and pin. Flip the blanket over so the strap is on the bottom.
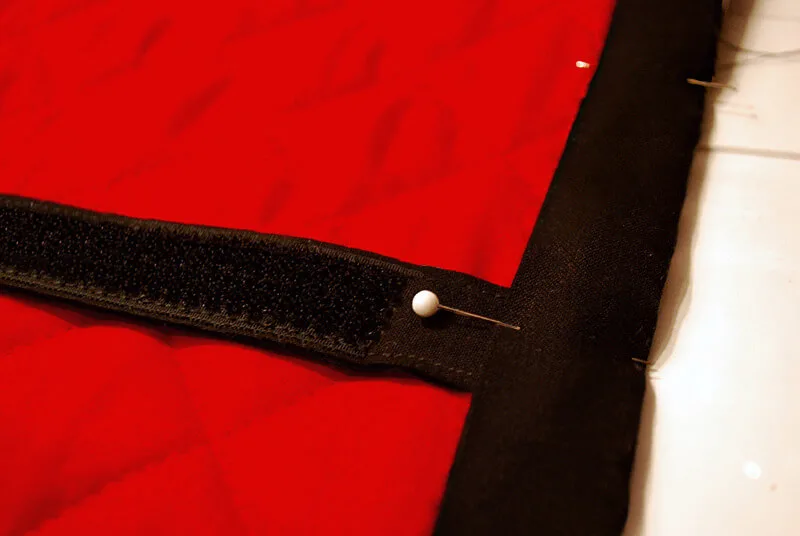
Almost done! Now all you need to do is sew close to the edge to secure the quilt binding on the backside, making sure to catch the binding on the back when you sew.
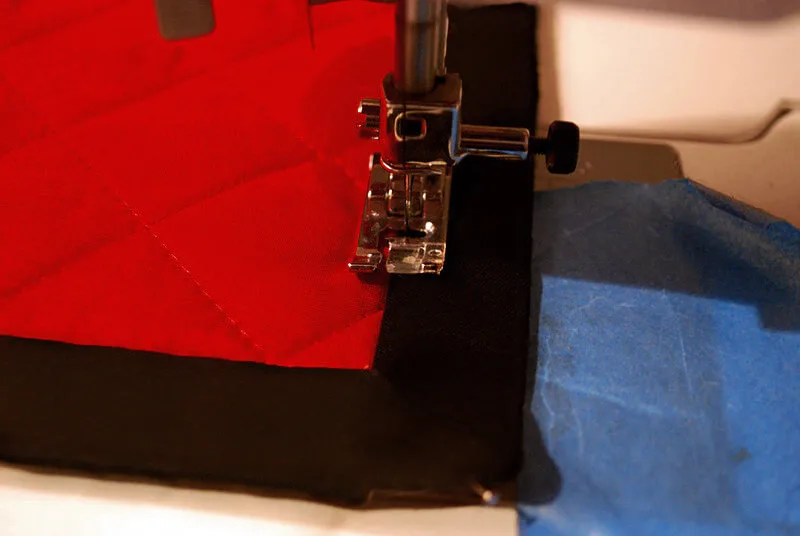
And because the binding mitered corners are pretty deep, I like to sew them down too. Just sew down the triangle and back up again and then continue around the blanket.
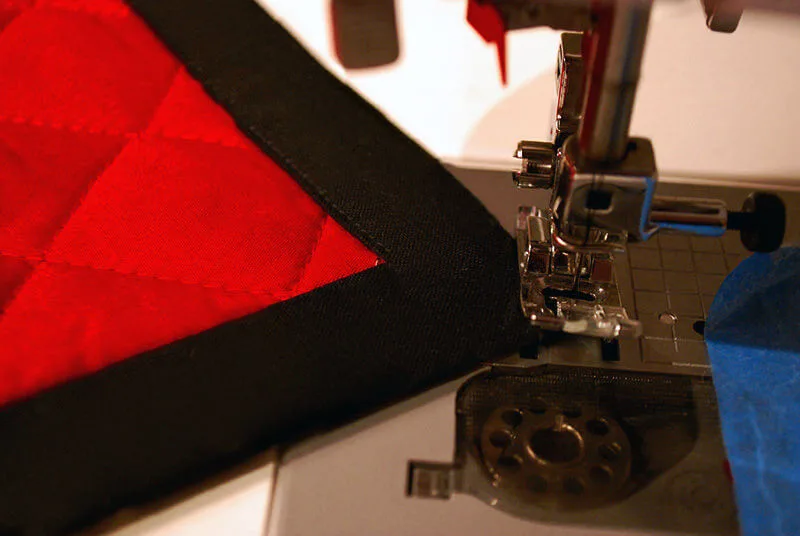
Looking good! And with that, the dog blanket is ready for Kaya and her elementary school reading pals in Sit Stay Read program for Chicago Public Schools.
++++++
Be sure to pin this DIY dog blanket tutorial:
++++++
And be sure to see more free sewing tutorials like my reusable sandwich bags, pencil case zipper pouches, and oven mitt sewing pattern.
—
Like it? Share it!
The nicest way to say you like it is to pin it on Pinterest, post a comment, follow Merriment Design on Facebook, Pinterest, Instagram or sign up for monthly emails. Enjoy! 🙂
Copyright stuff: You’re more than welcome to use this free project and tutorial for personal use. Contact me for commercial use and Etsy sales.

pamela
Wednesday 23rd of October 2013
i love this. what was the cost to make? i would love to make a bunch for a local rescue
Kathy Beymer
Friday 25th of October 2013
Hi Pamela, that's a good question. Jo-Ann recently changed their links - here's the updated one, looks like it's on sale for $5.99/yard right now. Would love to see a picture of your blankets for the shelter when they're finished! What a sweet thing to do.
http://www.joann.com/diamond-double-faced-quilt-fabric/prd18961.html
Beverly Jones
Saturday 14th of September 2013
This is so sweet! Nothing is to good for my dogs and all dogs. This would be an ideal thing to do for dogs in shelters. I just love dogs. Thank you for this dog project.