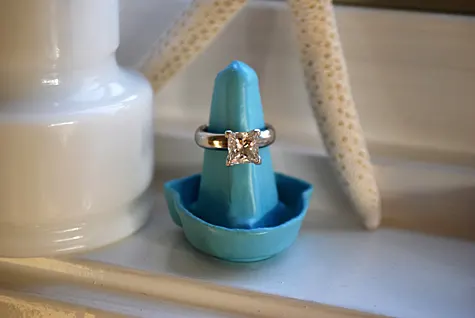
I made this ring holder from a recycled cardboard egg carton as a gift for my friend Debbie’s recent engagement. Would you ever guess that this ring holder was made out of a recycled egg carton if I hadn’t told you? Is this crazy or what?
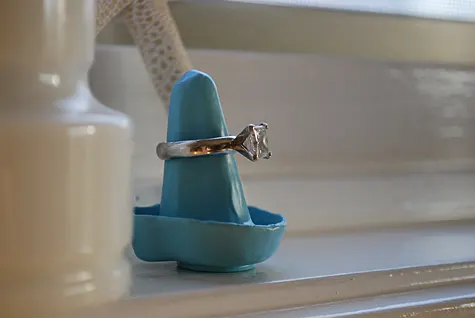
I’ve been eyeing our empty cardboard egg cartons before putting them into our recycle bin trying to picture something simple and useful. Then Debbie got engaged and I thought to make a ring holder.
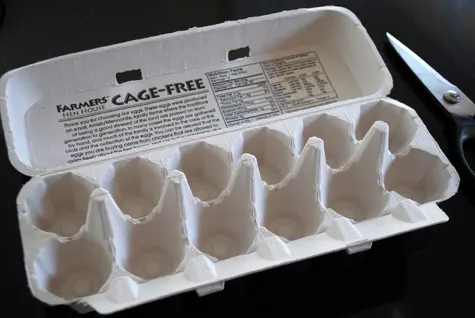
Well, I realized pretty quickly that the pointy separator things on egg cartons are just too big to hold a ring — at least too big for my ring size and my fingers aren’t exactly dainty. So I played around with cutting and twisting and gluing the cardboard and figured out the best way to cut and manipulate the egg carton to create one small enough to hold a ring while keeping a nice shape.
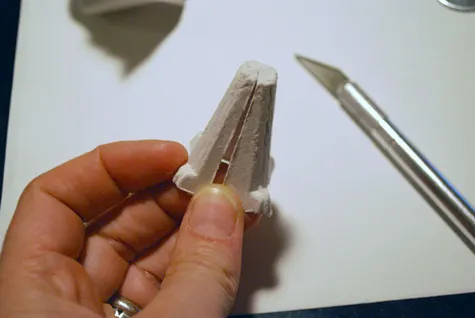
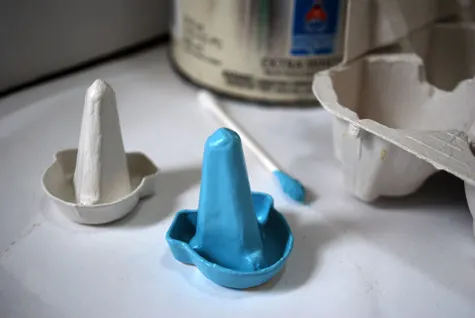
I made a series of ring holder samples to see what style worked best. Here’s a white one…
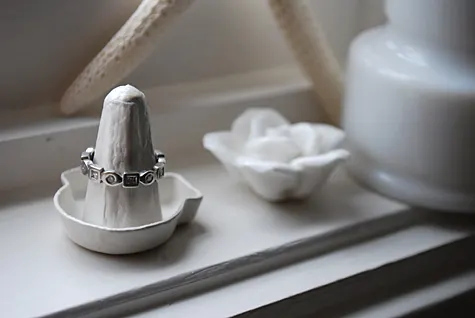
…and here are two different ring holder heights.
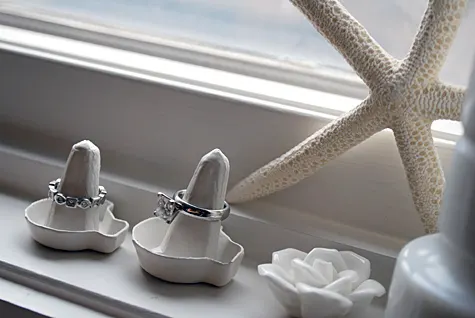
I was so proud of Debbie’s finished ring holder that I almost kept it [just kidding]. Really I decided to make one for myself to hold my rings while I wash dishes because I do not like the feeling of having water under my rings, no not at all. So it appears that this ring holder is a great recycled crafty gift not only for a newly engaged bride-to-be like Debbie but also for an old married lady like me.
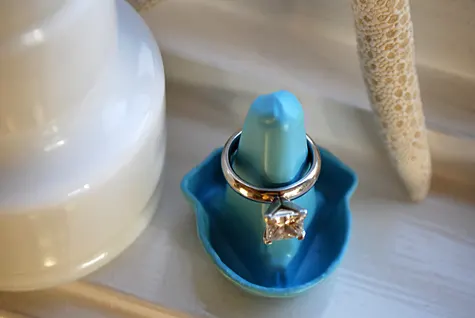
Supplies for making a ring holder from a recycled egg carton:
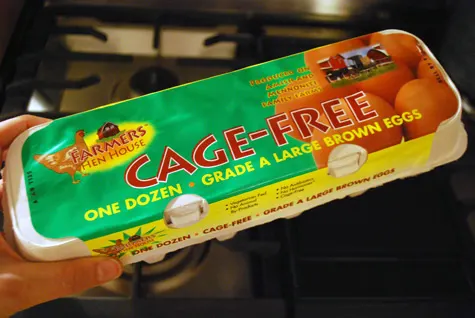
- Empty cardboard egg carton – for best results use an egg carton with smooth rather than bumpy cardboard – I used Farmer’s Hen House Brand – Amish and Cage Free 😉
- Leftover paint (I used semi-gloss white for the undercoat and the eggshell Tiffany-esque turquoise blue from Elise’s table for the topcoat) or acrylic craft paint
- Metal washer (one per ring holder, get at your local hardware store)
- X-Acto knife
- Glue gun and glue sticks
- Q-tips
- Toothpicks
Grab an empty egg carton. Be sure to use an egg carton with smooth cardboard rather than bumpy cardboard; I used Farmer’s Hen House Brand – Amish and Cage Free which is a smooth cardboard.
Using your X-Acto knife, cut off one of the pointy separators at the base. Cut if off as evenly as possible.
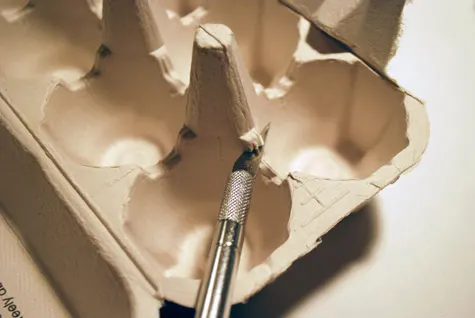
Make a slit from the middle of the top all the way down one of the four slides.

Now twist it so the sides overlap. Pinch the top so it is as pointy as possible. Your separator will now have three sides instead of four. Glue it shut using a glue gun and glue sticks [and yes that is old glitter stuck to my glue gun; you never can really get rid of glitter, folks].
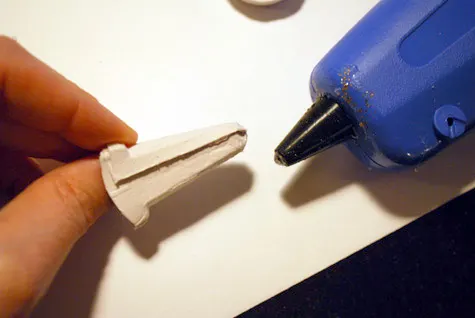
Now I forgot to take a photo for this next step so pay attention. You need to trim up the bottom of your pointy ring holder piece. But you are going to want it to lean a bit to the back (and make sure the glued seam faces the back). So use your X-Acto knife to trim off a the bottom of your pointy ring holder piece until it is even all around. Test it by setting it on your counter. Repeat trimming until you have an even bottom that leans a bit to the the back.
Cut out one of the egg holders from the carton using your X-Acto knife. Cut around it low as evenly as possible. If it’s a little uneven when you’ve finished, just run your knife around it again to even it off.
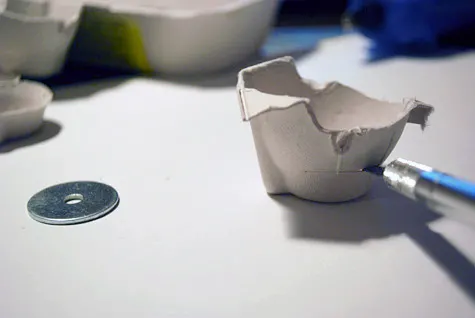
Flip the base over. Glue a small washer on the bottom of the base.
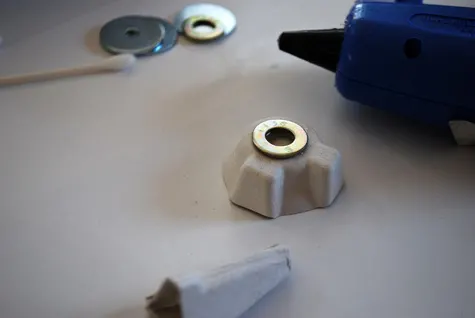
Now do this next glue gun step quickly. Run a thick bead of glue just on the inside of your pointy ring top. Quickly affix it to the base before the glue starts to harden.
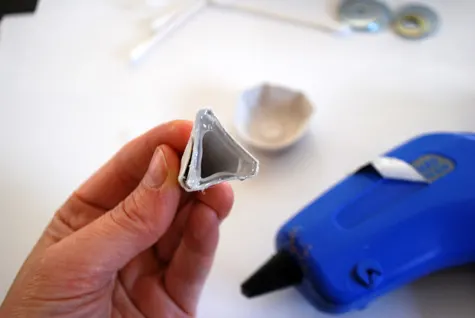
By running your glue just on the inside of the pointy ring top, all the glue will stay inside and it will look nice from the outside. (Note on this sample below, I didn’t squeeze the top to be as pointy as the other ring holders – personally I prefer the ring holders to be a bit more pointy than this one).
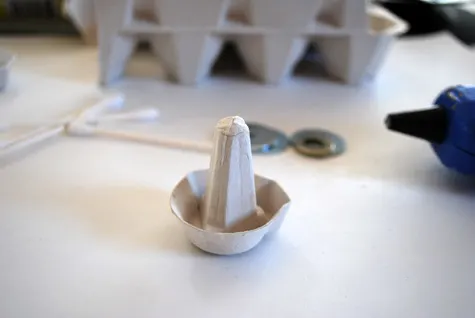
Now you’re ready to paint. I have a crap-load of leftover paint so thought I’d make both white and turquoise blue ring holders. For simplicity I used white on all of of the ring holders as the base coats and then painted a couple of the ring holders blue for their final top coat.
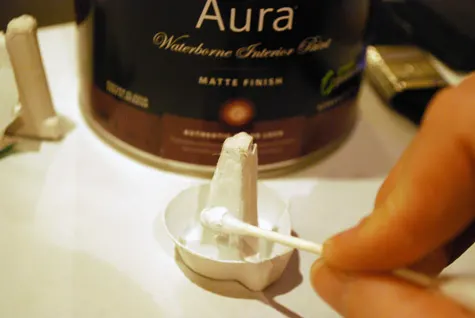
So here’s where I got a little obsessed. I wanted a smooth ring holder. We’re talking SMOOTH, like mimicking a ceramic ring holder as much as possible. So I painted lots and lots of semi-heavy coats – like 5 or 6 of the white – using Q-tips over about a week’s time in the evenings while watching TV. I even let the paint pool a bit inside the base to hide the seams. You can paint your ring holder faster; just be sure to let the ring holders completely dry between coats. The painting gets a little time consuming but it’s worth it.
You can use toothpicks to hold the ring holders upside-down to paint the bottoms. Note that in the photo below I only have the washer on one of these four ring holder samples but I would definitely recommend using a washer on yours – it adds weight and turns it the ring holder into an tip-averse Weeble Wobble.
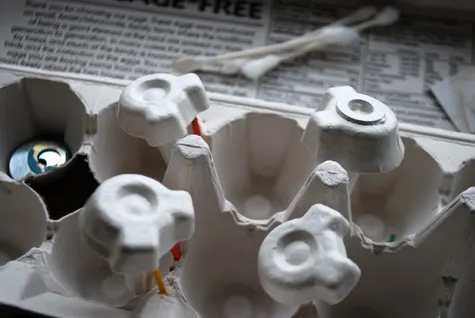
When you’re feeling pretty good about how smooth your ring holder is looking, go ahead and paint a top coat.
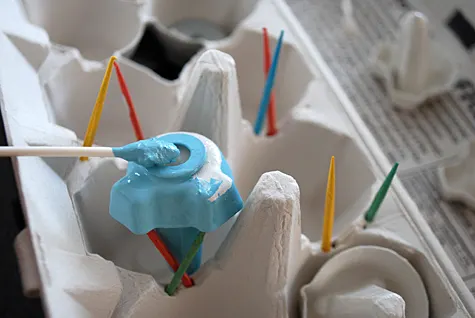
Again, I used sort of a heavy hand on the paint to make it look as smooth and porcelain-like as possible.
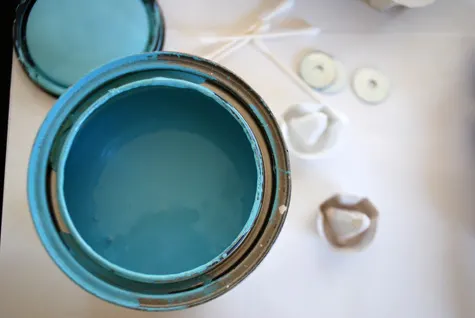
And voila! A ring holder made from a recycled egg carton and leftover paint ready to keep your rings safe and mess-free.
—
Like it? Share it!
The nicest way to say you like it is to pin it on pinterest, post a comment, follow Merriment Design on Facebook, twitter, pinterest, Google+, instagram or sign up for monthly emails. Enjoy! 🙂
Copyright stuff: You’re more than welcome to use this free project and tutorial for personal use. Contact me for commercial use and etsy sales.

Jess | Make and Do Crew
Tuesday 15th of December 2015
Thanks again for sharing this inspiring, upcycling tutorial (my fav kind!) and for commenting on the Buzzfeed post. Feel free to share it with your followers. The more traction it gets, the better results for all of us :)
Happy crafting! Jess
Jess | Make and Do Crew
Sunday 13th of December 2015
I just included this awesome ring stand idea in a Buzzfeed list I currateed called "16 Gifts You Can DIY From Stuff You Already Have Lying Around." Thanks for the great idea!
Jess
Kathy Beymer
Monday 14th of December 2015
Thanks, Jess, for including me! I tweeted it :D
Amber Brock
Thursday 6th of August 2015
Hello, It is fabulous idea. I will try to do it for my best friend. She has a birthday soon and I am going to steal the idea for ring holder. In my opinion it will look perfect in red. I will paint it in red color. Thank you for sharing this tip!
Kathy Beymer
Friday 21st of August 2015
Thanks, Amber! I think it will look really cute in red.
free bitcoins wallet
Thursday 12th of February 2015
Thanks for sharing your thoughts about bride. Regards
Bettina
Sunday 7th of July 2013
I saw the ringholder on Pinterest and thougt I had to give it a try. The tutorial was very clear and helpful, unfortunately it seems that Swiss egg cartons aren't that smooth, and even after several layers of paint, the carton pattern is still visible. Buth otherwise, it meets up with my expectations. Have a look at my blog, where I put some pictures of it, referring to your tutorial: http://www.rebekkascraftroom.blogspot.ch/2013/07/un-presentoir-digne-dune-belle-bague.html Thanks a lot for the idea!
Kathy Beymer
Wednesday 10th of July 2013
Hi Bettina, you're awesome for sharing this with me! Made my day. I think yours looks great, and such a cute ring. If it's OK with you I'll share your post on the Merriment Design Facebook page. A couple readers had some comments about how they made it more smooth. One person suggested Plastidip which I haven't used before but looks really cool. Enjoy it!