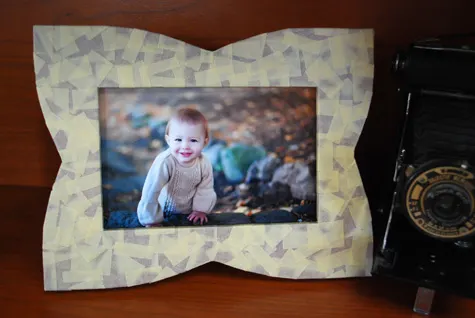
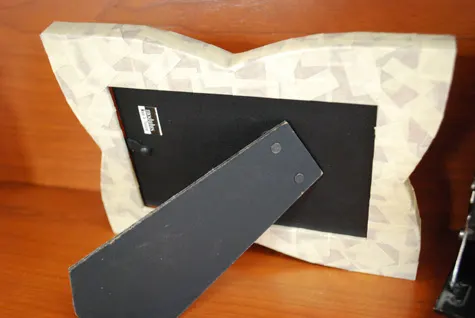
Today’s photo frame craft idea is all about recycling. I used masking tape pieces to cover an old red photo frame that I almost gave away to Goodwill and voila! A whimsical, throwback photo frame for Elise’s one-year-old portrait.
Anyone else out there make masking tape vases as kids at camp? At Camp Na-Wa-Kwa we took old glass bottles, covered them with ripped pieces of masking tape, and then used shoe polish to color them. Years later I saw blue tape vases on a floor display at Anthropologie and loved the idea just as much as when I was a Girl Scout.
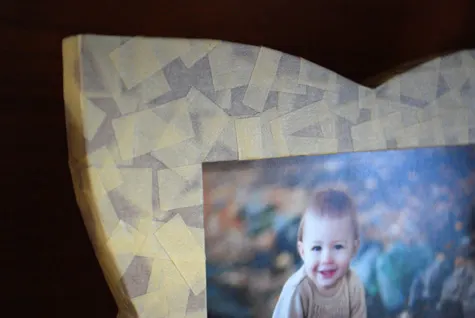
Instead of ripping masking tape pieces I decided to cut them with scissors to make it look more finished. And when I got the photo frame to the shoe polish step I balked – I liked it naked and textured, just as it is. So this tutorial stops short of coloring the frame with shoe polish but let me know how you decide to finish yours. Personally I think it would be cool to make one using electrical tape – I am a sucker for electrical tape and that stuff comes in a bazillion inspirational colors sure to match any home decor.
Supplies:
- Masking Tape
or washi tape
- (optional)
- Good comfortable scissors
Please post a comment if you use this project – it makes me smile. And you can post your photos to the Merriment “I made it!” flickr photo group.
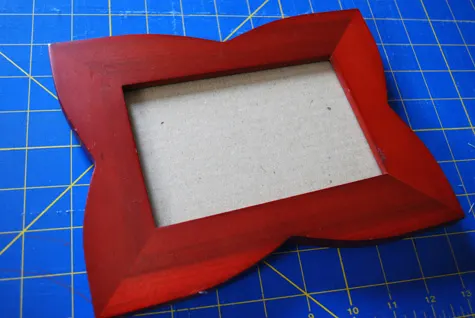
Find an old frame like these on ebay:
Take the frame apart, clean with an alcohol swab and let dry.
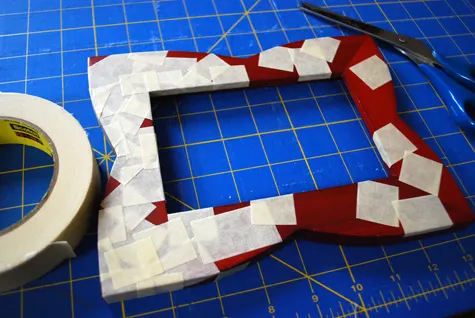
Start cutting pieces of masking tape either straight across, or you could cut it on the diagonal if you’d like, or rip it to be old school. Place the masking tape on the frame. Overlap piece after piece.
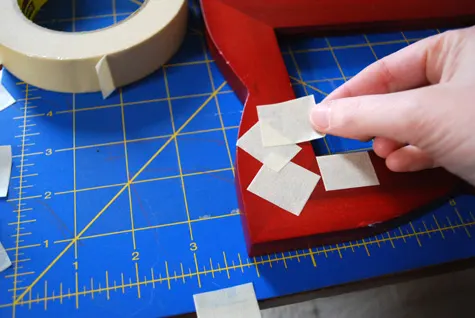
Curl tape around the inside onto the front.
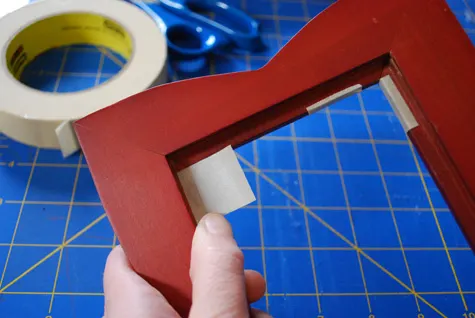
Keep going until it’s layered the way you like it. I chose to have mine a bit transparent in places so that you could see some dimension and texture.
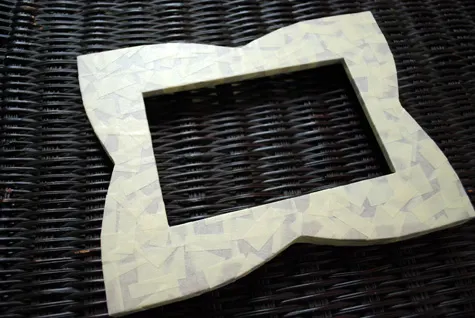
Optionally, rub shoe polish onto the tape and wipe off with a clean dry cloth. Repeat until you get the color intensity that you like.
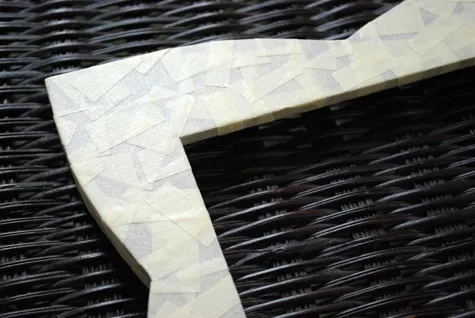
Be sure to cover the back too.
—
Like it? Share it!
The nicest way to say you like it is to pin it on pinterest, post a comment, follow Merriment Design on Facebook, twitter, pinterest, Google+, instagram or sign up for monthly emails. Enjoy! 🙂
Copyright stuff: You’re more than welcome to use this free project and tutorial for personal use. Contact me for commercial use and etsy sales.

Karen
Monday 30th of April 2012
I plan to use this in a class that I will have at our church Ladies Conference in July. The class is called Simple Souvenirs and is about gifts that you can make with supplies on hand or from the dollar store. The theme of our Conference is "Take Me Away". This will be a great project. Thanks so much for sharing!
Kathy Beymer
Monday 7th of May 2012
Hi Karen, I love it! Send me a pic of your conference and I'll share it with my followers. Have fun!
Sonata
Sunday 22nd of January 2012
I've made dozens of these as gifts - everyone loves them! But no one can guess what they're made of.
Another tip: Use different color shoe polish for different effects. I used black shoe polish - people thought it was made from birch bark.
Brown makes it look like bark or suede. Havn't tried other colors, but any color should fit well.
Also, I like to tear the edges so they are VERY rough - not at all straight. That is what helps give it a natural look. I don't, however, bother covering the back - or if I do, i use just complete strips of tape or paper.
radhika
Tuesday 26th of April 2011
That is a neat idea!