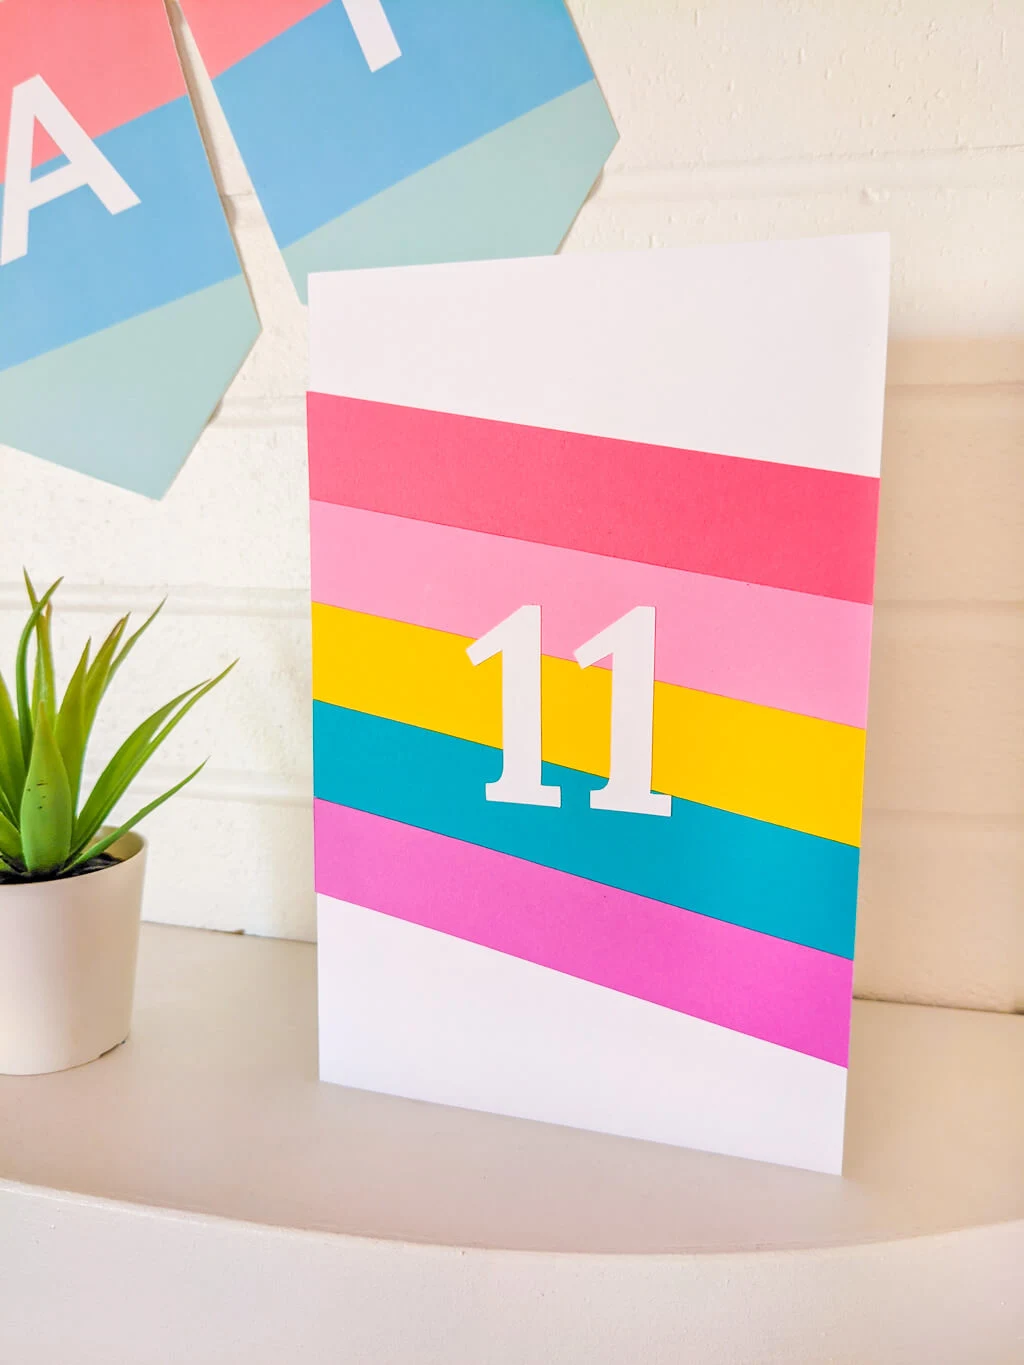
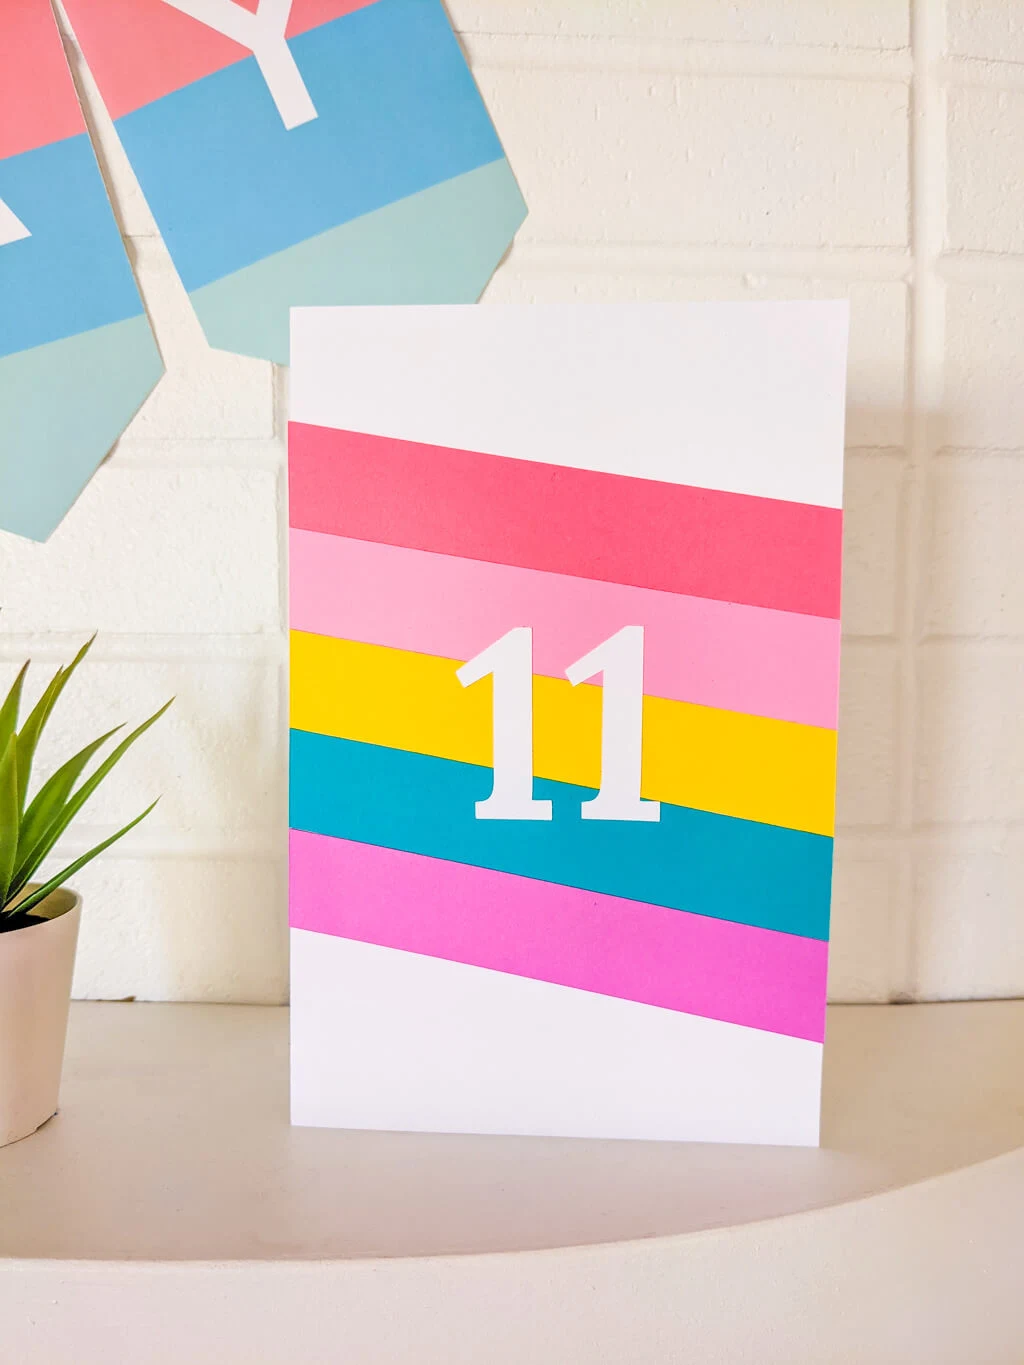
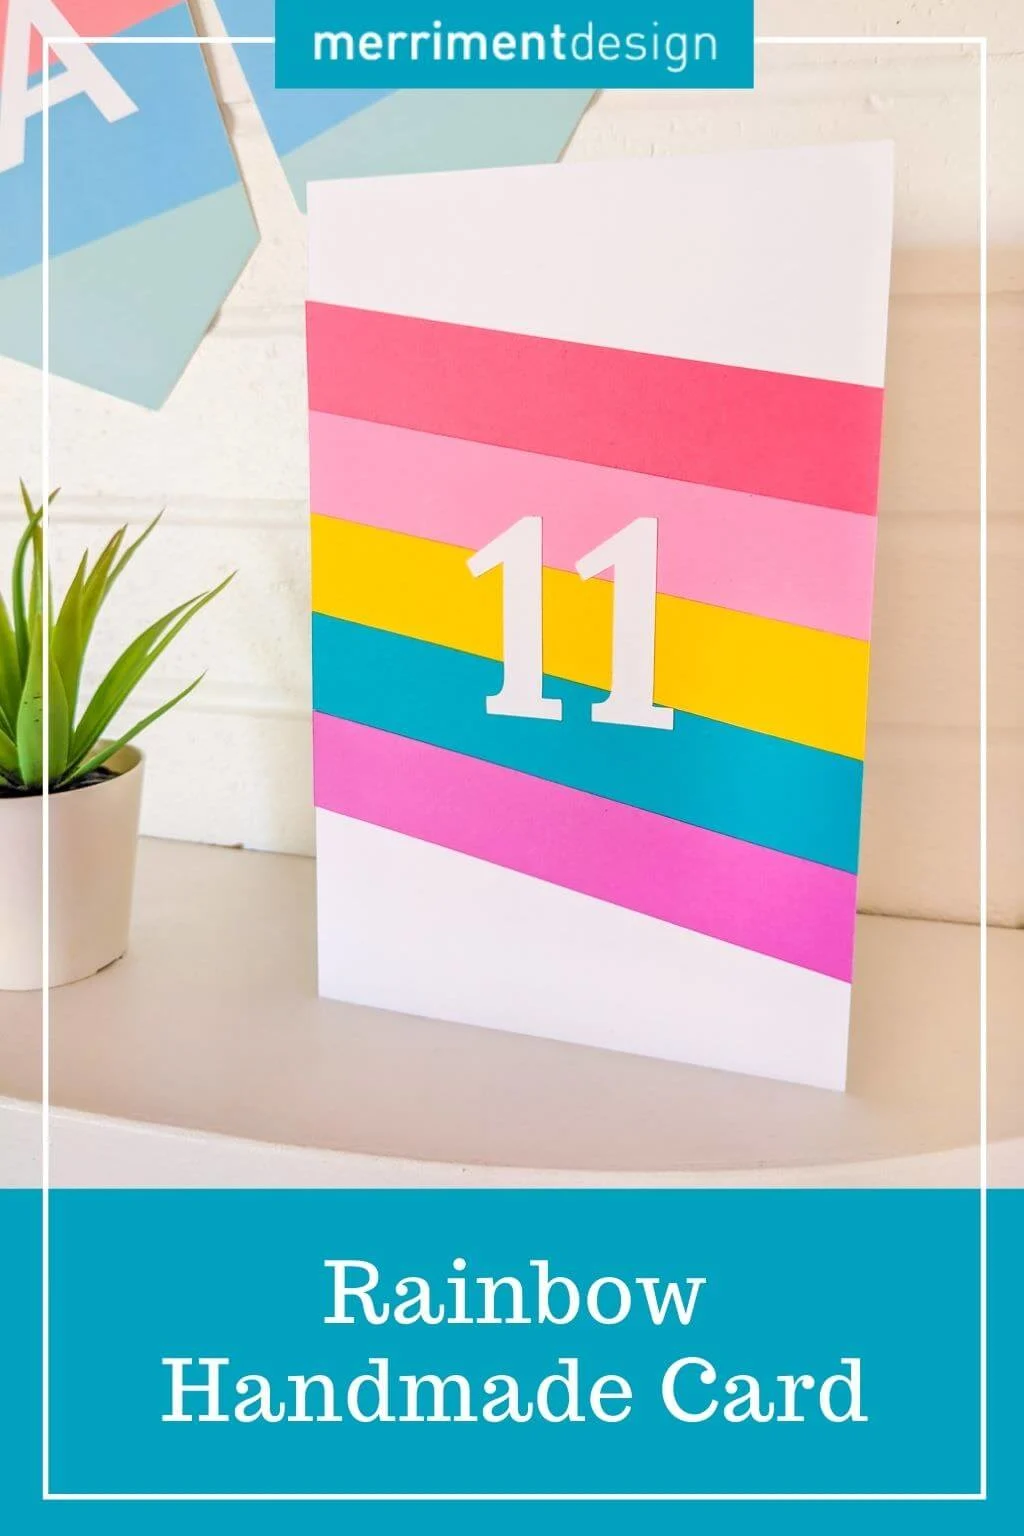
Like to make handmade cards? Try this cute rainbow birthday card DIY to send birthday wishes to a daughter, granddaughter, son, grandson, or friend. It’s an easy card that you can make quickly that uses up some paper scraps, too. Add the birthday girl or boy’s age to the front for a lucky year ahead.
See also: ‘Easy Unicorn Birthday Cake’ »
I made this handmade rainbow birthday card for Elise’s 11th birthday, clearly. Her birthday theme was Unicorns & Rainbows, and my handmade rainbow card coordinated with her unicorn and rainbows cake, unicorn mane balloon garland, and unicorn birthday banner. You know by now that I like a good birthday theme.
My rainbow paper card tutorial is easier to make than a pop up rainbow and just as fun. Download my printable template design below and say happy birthday with a handmade rainbow card.
Merriment Design is supported by readers like you. If you buy products that I recommend, I may earn an affiliate commission at no additional cost to you. Thanks – your clicks help me make more free DIYs!

Supplies for making a handmade rainbow birthday card:
- Kathy’s rainbow card printable template design (PDF)
- Bright white card stock paper
- Colored card stock paper – this is my favorite colored paper
- Glue stick
- Good paper scissors or craft knife, metal ruler, and self-healing mat
How to make a handmade rainbow birthday card:
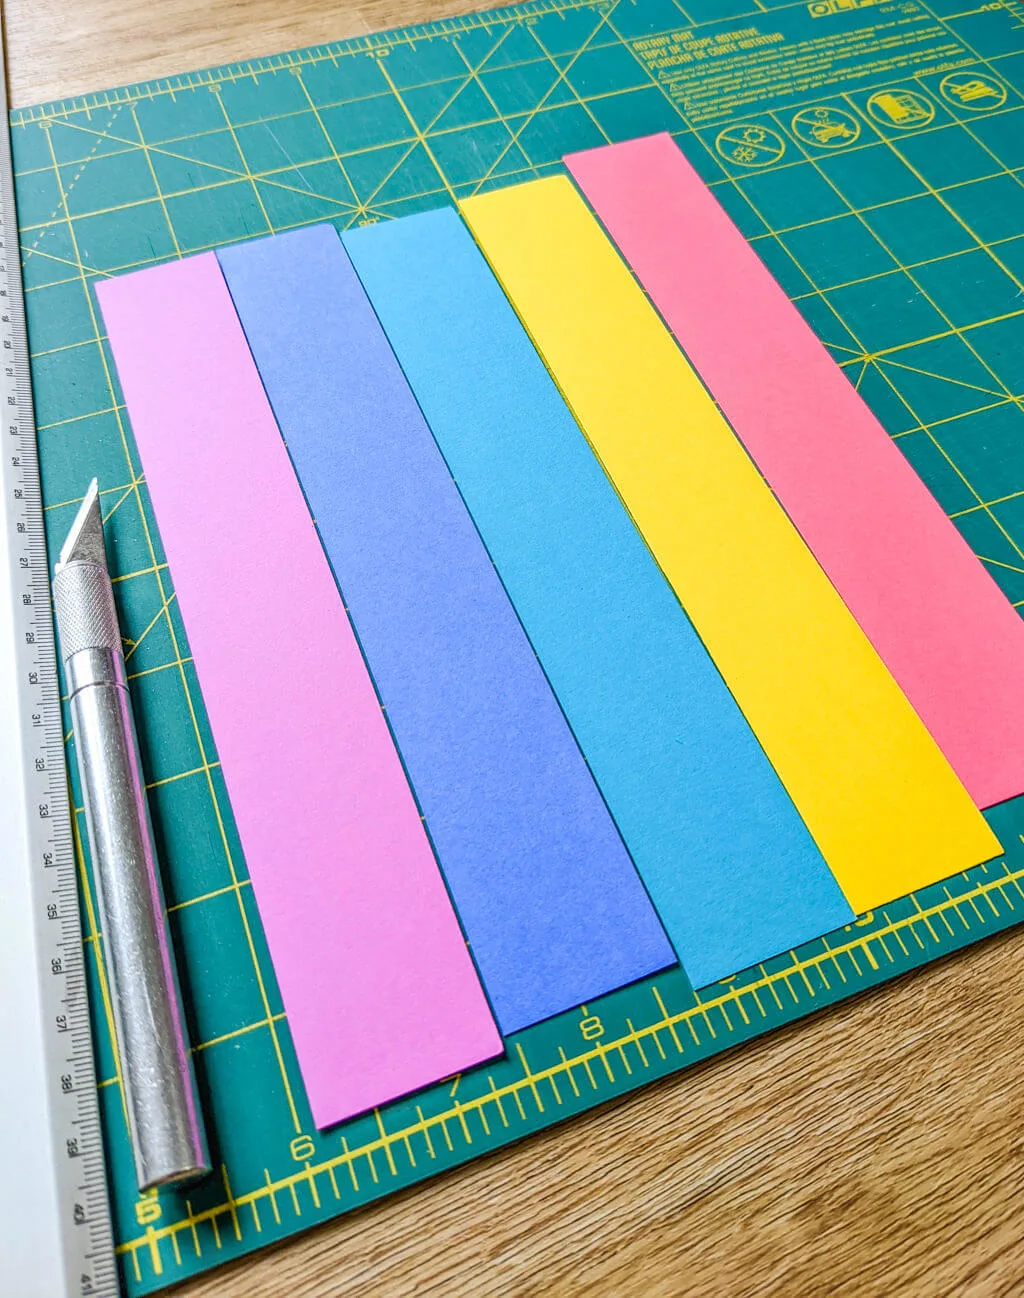
Step 1: Cut rainbow slices from card stock paper
Cut five pieces of colored card stock paper 1″ x 8-1/2″. You can measure this with a ruler, or print my printable rainbow card template PDF to use as a pattern. Choose whatever colors you like. I used purple, dark blue, light blue, yellow, and a pinkish red from my favorite brand of paper. I like to use a craft knife, metal ruler, and self-healing mat but you can also use good paper scissors.
Step 2: Glue rainbow paper strips onto a folded card
Fold a piece of bright white card stock paper in half. I like to score the middle of the paper with my craft knife to get a perfect fold. Then use a glue stick to glue the paper strips onto the card at a slight angle. The strips should hang over the edges on the left and right sides; you’ll cut them off in the next step. Let your card dry so that the rainbow pieces are nice and stuck.
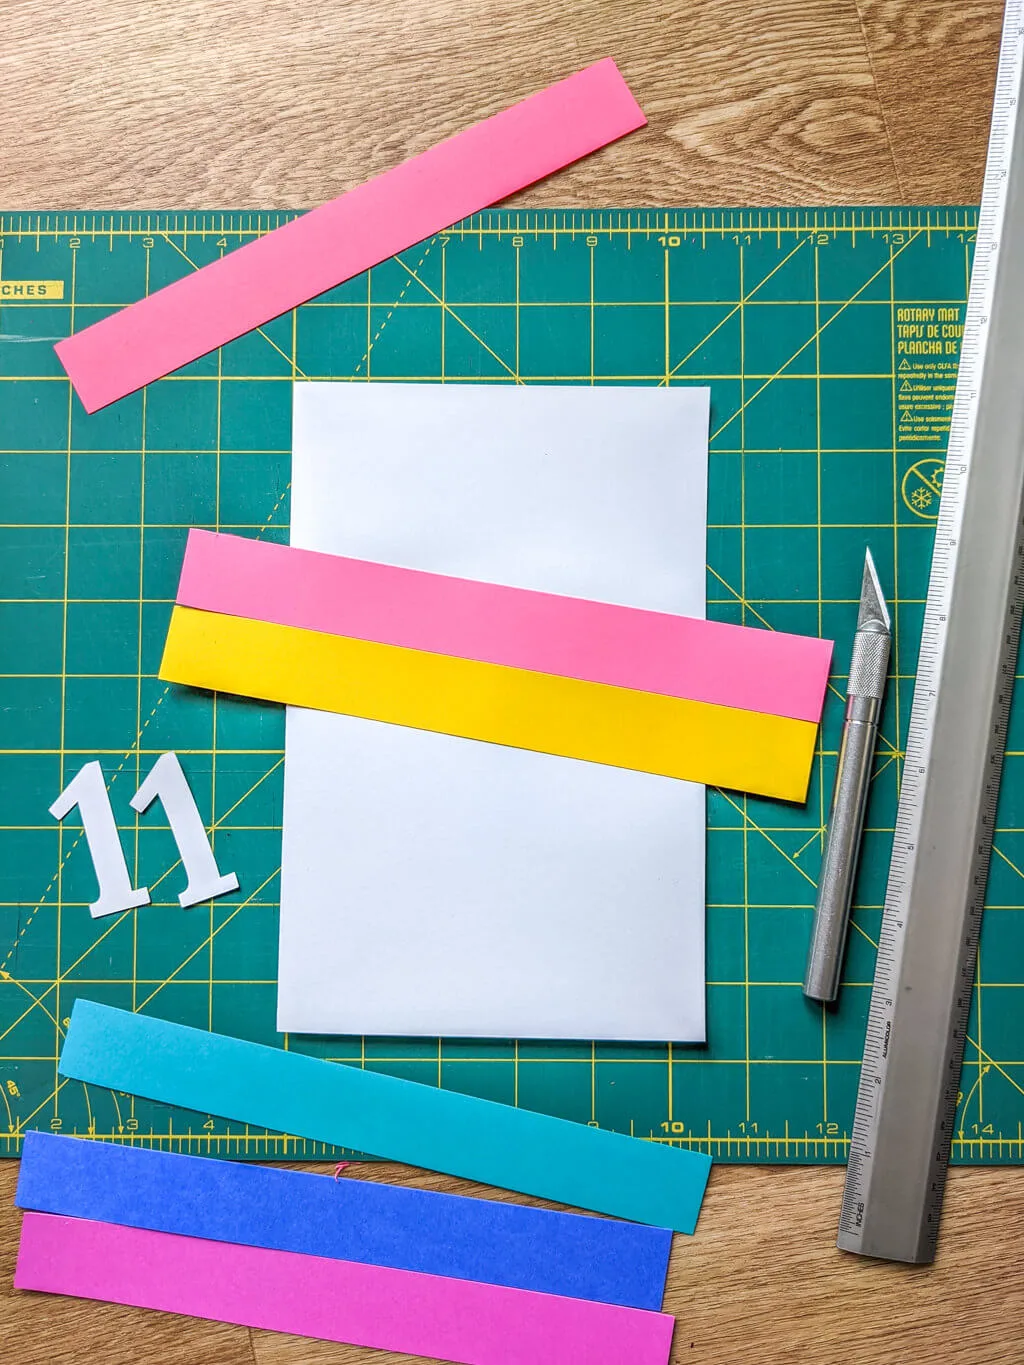
Step 3: Trim the rainbow to fit the card
You can use good paper scissors or a craft knife, metal ruler, and self-healing mat for this step. The craft knife method is going to give you a nice edge so that’s what I like to use. Place a metal ruler at the edge of the card, then run your craft knife along the ruler to slice off the extra bits of the rainbow.
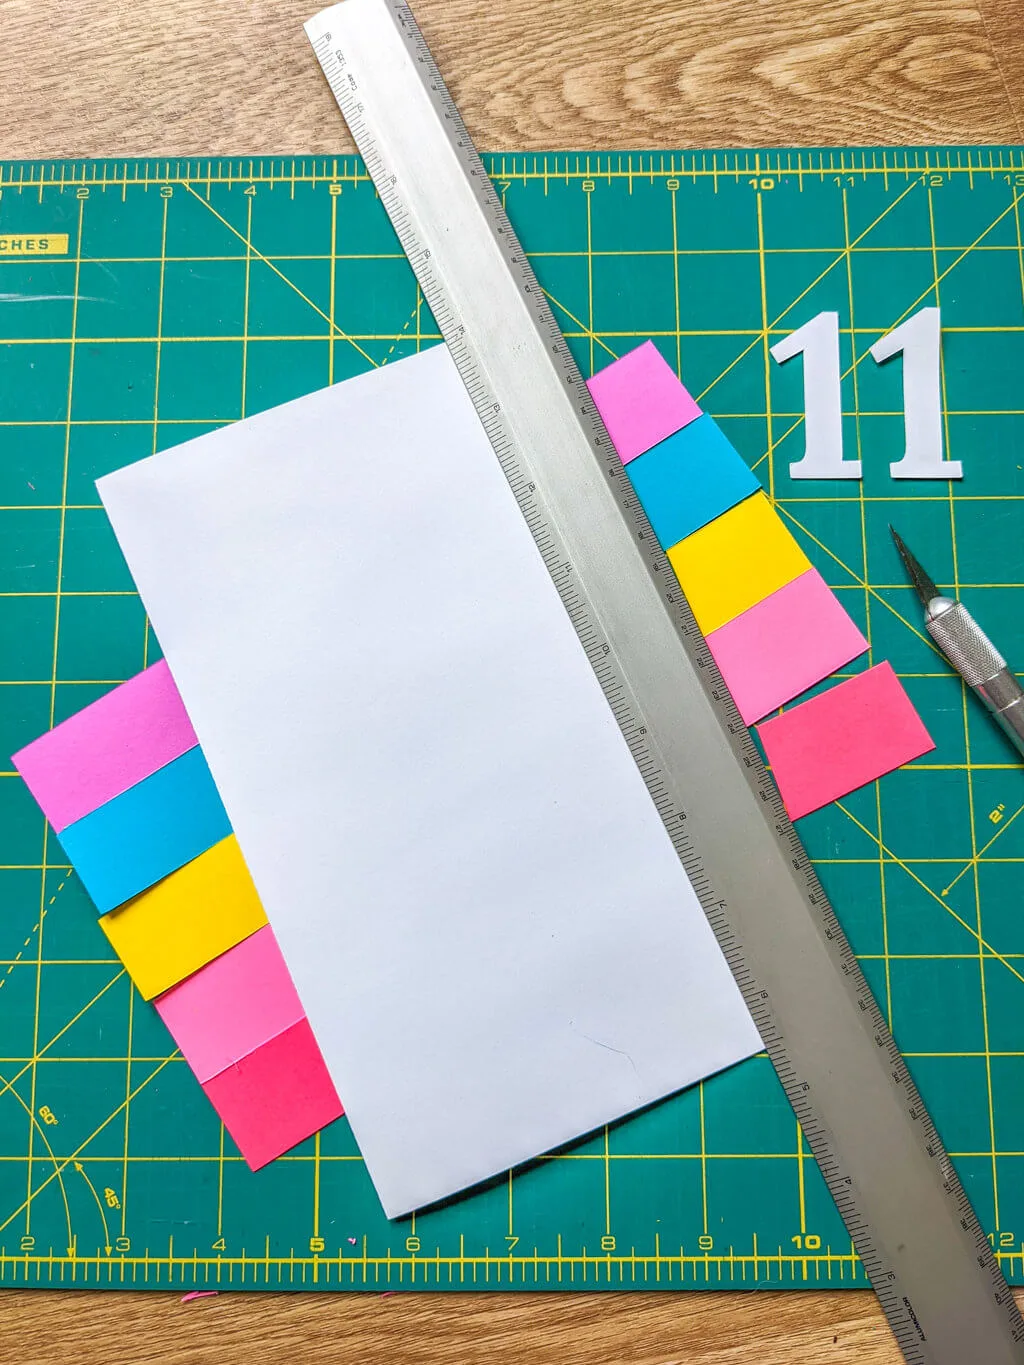
Step 4: Glue the birthday boy or girls’ age onto the card
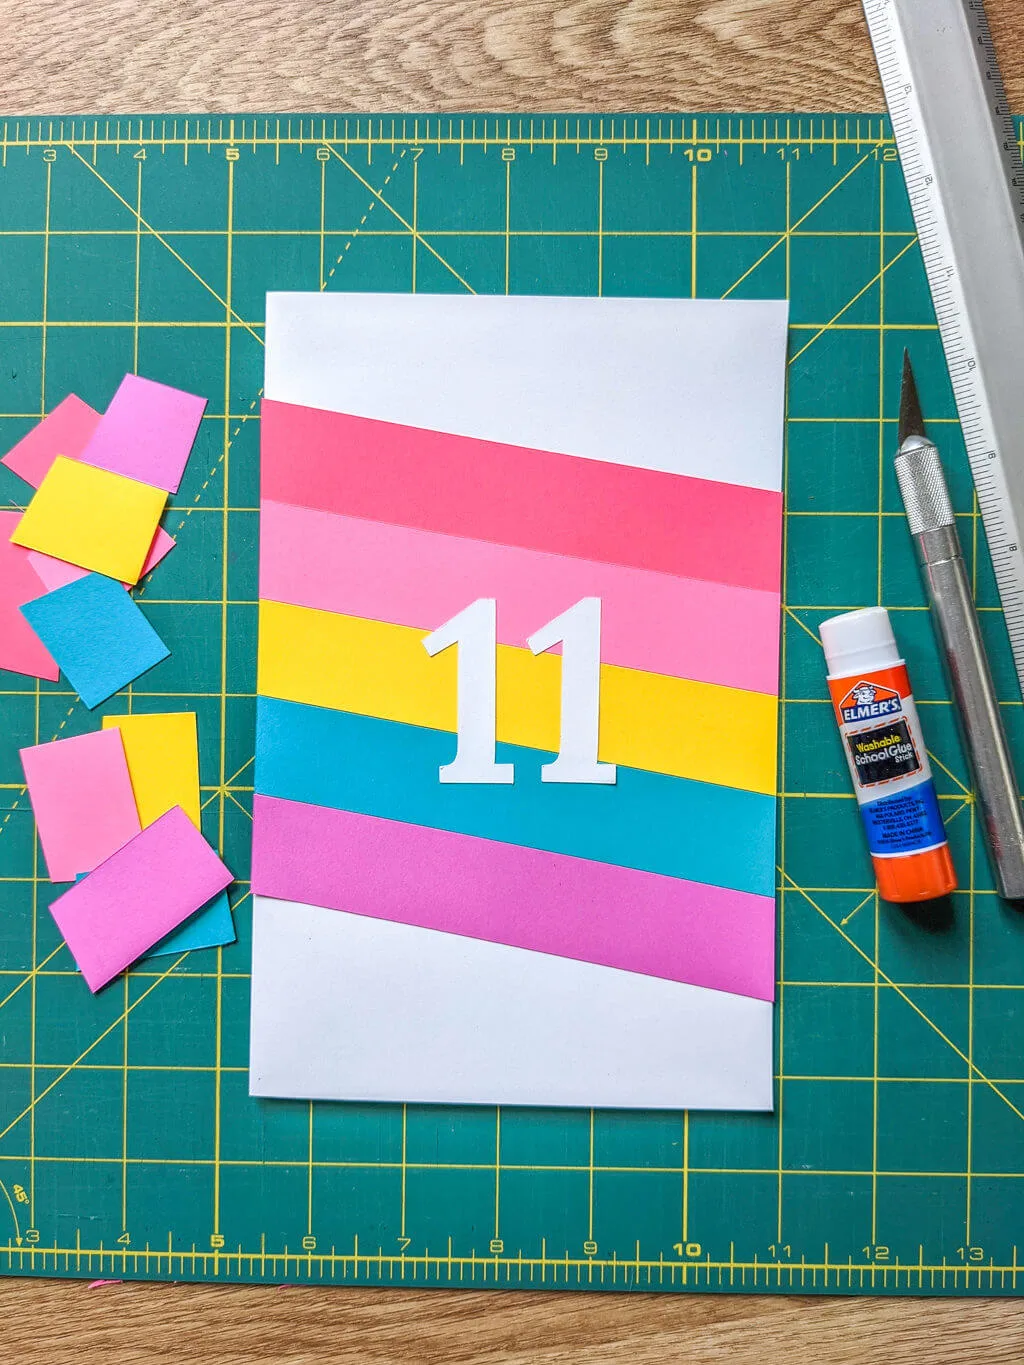
Cut out the age from bright white card stock paper using my rainbow card printable template, or just sketch a number freehand onto bright white card stock paper and cut out. Then use a glue stick to attach the birthday girl or boy’s age to the rainbow.

Be sure to pin this rainbow birthday card DIY project:
If you like this project, see more paper crafts, printables, and handmade cards.
++++++
Like it? Share it!
The nicest way to say you like it is to pin it on Pinterest, post a comment, follow Merriment Design on Facebook, Pinterest, Instagram or sign up for monthly emails. Enjoy! 🙂

