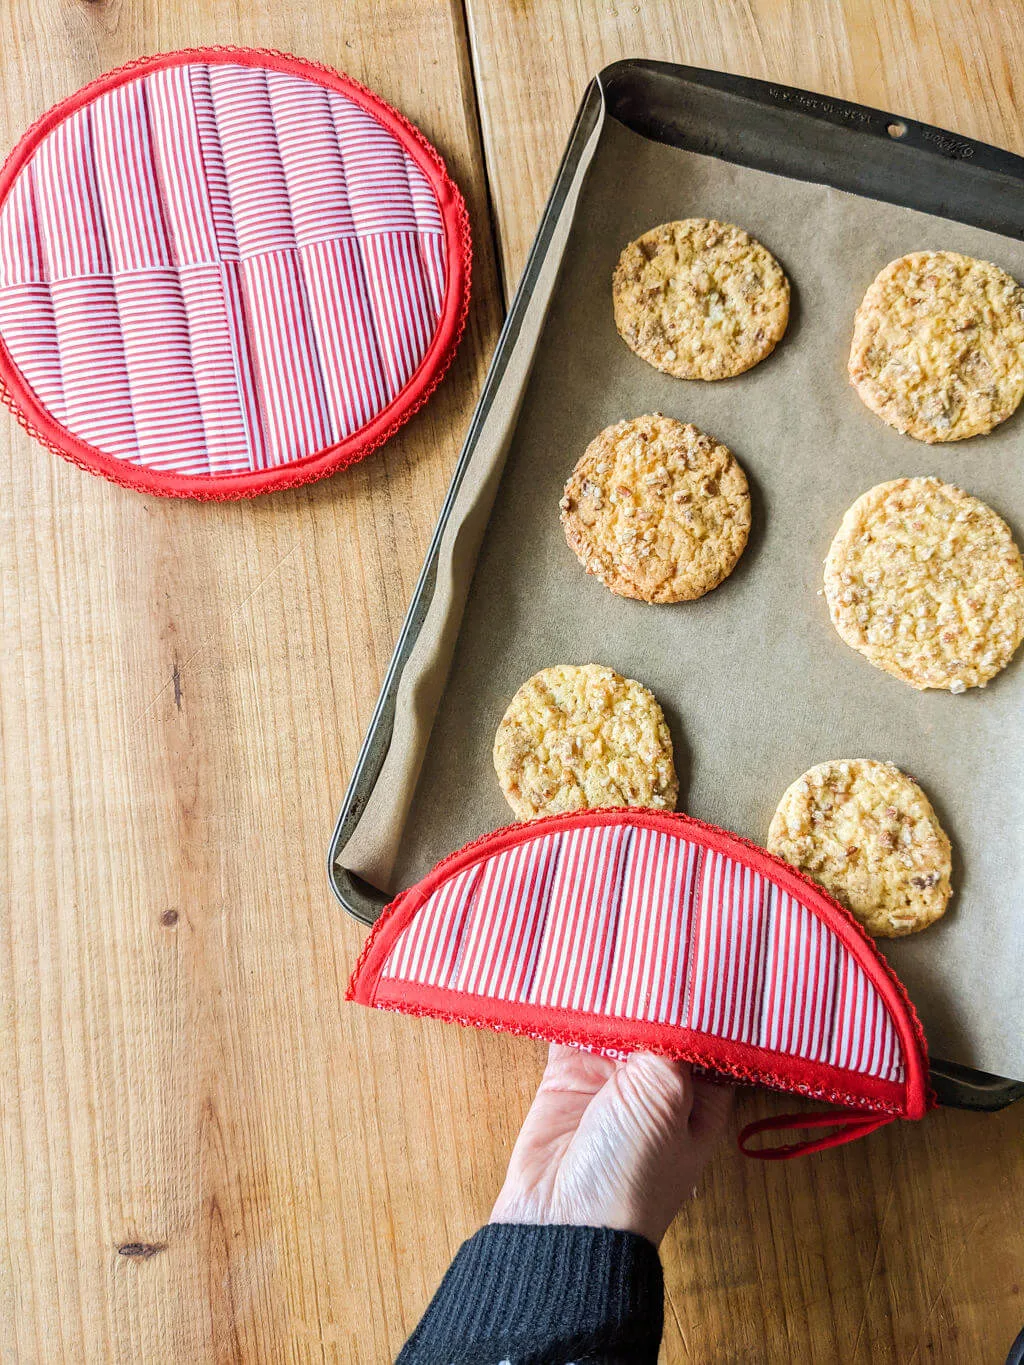
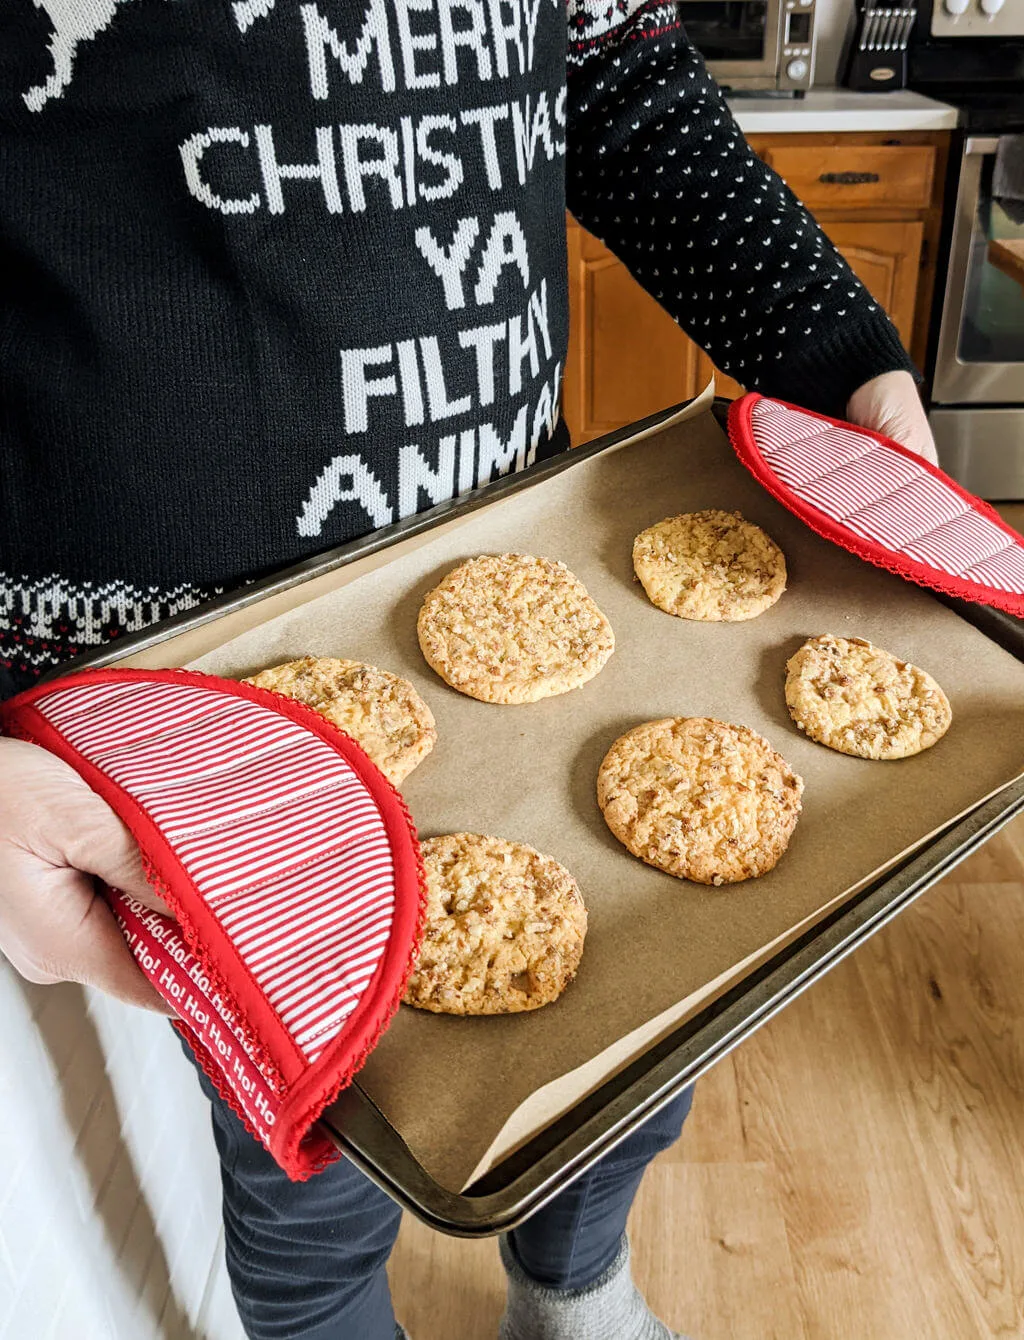
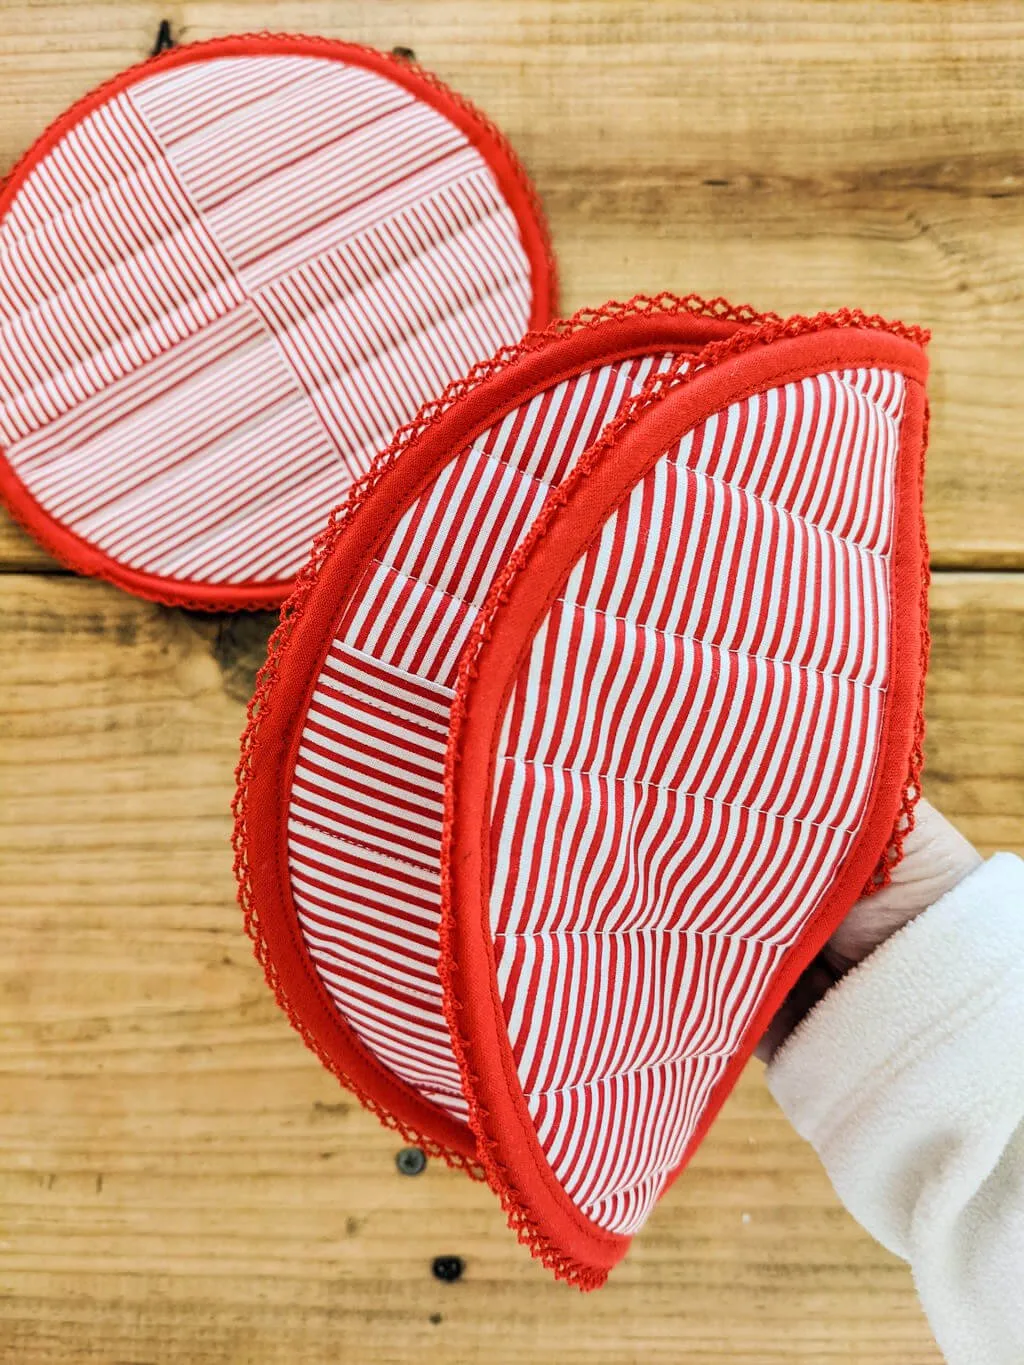
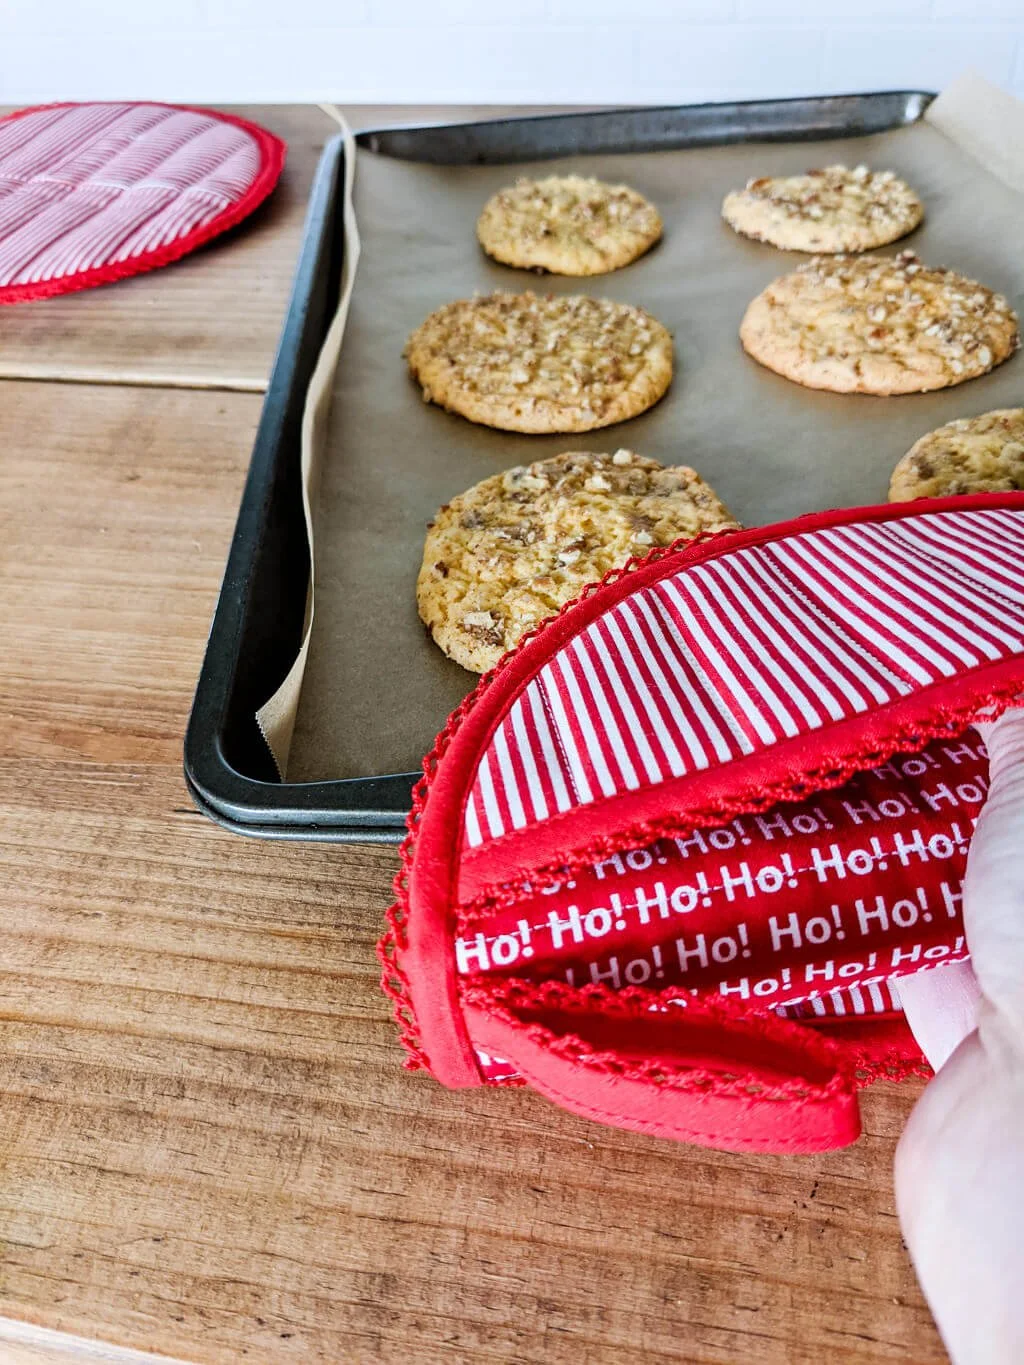
Here’s an easy round potholder sewing pattern and free tutorial that’s simple enough to make in an evening or two. My free quilted potholder pattern folds like a taco around cookie sheets and pot lids to protect your hands from the heat. This round taco hot pad style is both functional and cute. I mean, who doesn’t love tacos??
See also: ‘Oven mitt free sewing pattern’ »
DIY hot pads tutorial for beginners
My DIY hot pads tutorial is easy for beginner sewers. You can use your favorite fabric, or gather up your fabric scraps to sew simple potholders. Don’t be intimidated by the batting layers or the bias tape — I’ll show you exactly how easy and quick it is to sew potholders.
Fun DIY potholder gift ideas
I like to give potholders as a DIY gift idea because it makes a fun theme gift. Package your DIY quilted potholders with a fun baking cookbook, cute spatulas, colorful sprinkles, macaron baking kit, bread baking banneton baskets, and more baking treats. I’ve already sewn a bunch of potholders for my mom and sisters for Christmas this year and I have more pieces already cut and ready to sew.
I originally saw these cool taco-ish silicone pot holders style over at Food 52 and well, like most crafty sewers I said to myself, “huh, I think I can make that.” So I fiddled around with sizes and drawing some paper patterns and came up with a similar round potholder free sewing pattern that you can make for your own kitchen or as a DIY gift. My hot pads tutorial is perfect for Christmas cookies, don’t you think?
Merriment Design is supported by readers like you. If you buy products that I recommend, I may earn an affiliate commission at no additional cost to you. Thanks – your clicks help me make more free DIYs!

Supplies for making my DIY hot pads sewing pattern:
- Kathy’s round potholder free printable sewing pattern (PDF)
- Fabric yardage or fabric scraps for the potholder front and back
- 1/2″ Double-Fold Bias Tape (3 yards for two potholders) – I chose this super pretty red crochet edge bias tape
- Insul-Bright Insulated Batting
- Warm & Natural Cotton Batting
- Cotton thread – not polyester which can melt
- Pins
- Good fabric scissors
++++++
How to sew an easy DIY round potholder tutorial
Step 1: Cut round potholder sewing pattern pieces
Download and print my free round potholder sewing pattern. You’ll be cutting squares and rectangles, then quilting the squares together, and then cut one circle and two half circles from the quilted layers. This method makes sewing round oven mitts much easier because otherwise you’re trying to line up circles to perfectly sew and that’s harder to do.
For each round oven mitt potholder cut out these pattern pieces:
- One (1) 8-1/2″ x 8-1/2″ square of front fabric (alternatively, cut four squares 4.5″ x 4.5″ if you want to piece the front together as I did)
- One (1) 8-1/2″ x 8-1/2″ square of inside lining fabric
- One (1) square of 8-1/2″ x 8-1/2″ of Insul-Bright Insulated Batting
- Two (2) squares of 8-1/2″ x 8-1/2″ of Warm & Natural Cotton Batting
- Two (2) 8-1/2″ x 3-1/2″ rectangles of back fabric for the hand pocket
- Two (2) 8.5″ x 3-1/2″ rectangles of inside lining fabric for the hand pocket
- Two (2) 8-1/2″ x 3-1/2″ rectangles of Insul-Bright Insulated Batting
- Four (4) 8-1/2″ x 3-1/2″ rectangles of Warm & Natural Cotton Batting
Can you use regular batting for DIY potholders?
You could potentially use regular batting alone for hot pads if you layer it, but it’s really best to use a combination of regular cotton batting plus Insul-Bright Insulated Batting. The Insul-Bright Insulated Batting helps block the heat, and the cotton batting helps absorb the steam. I use one layer of Insul-Bright Insulated Batting sandwiched between two layers of regular cotton batting. Three layers, you say? Yep. They end up smooshing down when you quilt it so it’s not really that thick in the end. Oh – and don’t use polyester batting because it can melt.
How do you make potholders from scraps?
If you’d like to use up some fabric scraps for your quilted hot pad, just sew scraps together into an 8-1/2″ x 8-1/2″ square. You can sew four squares together as I did, or just sew a bunch of scraps or strips together until it’s large enough to fit an 8-1/2″ x 8-1/2″ square. Using scraps is optional though – you can make hot pads from fabric yardage, too, which is quicker to sew.
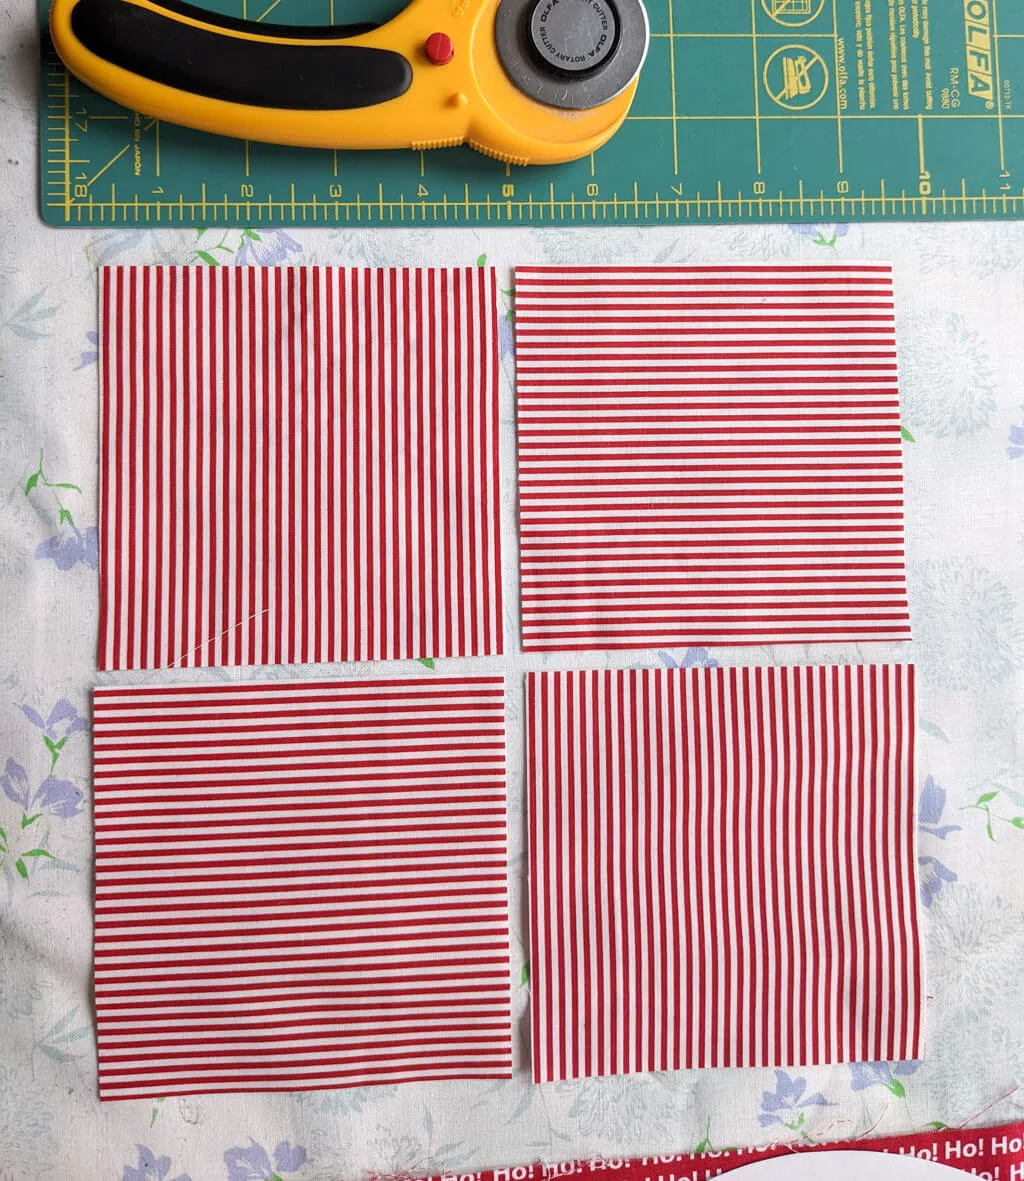
Step 2: Sew four front squares together (optional – only if you’re piecing the front)
Use 1/4″ seams to sew the squares together using 100% cotton thread – not polyester which can melt. If you’re sewing striped fabric then you can rotate them as I did below. Sew two squares together, then press, then sew those pieces into one 8-1/2″ x 8-1/2″ square.
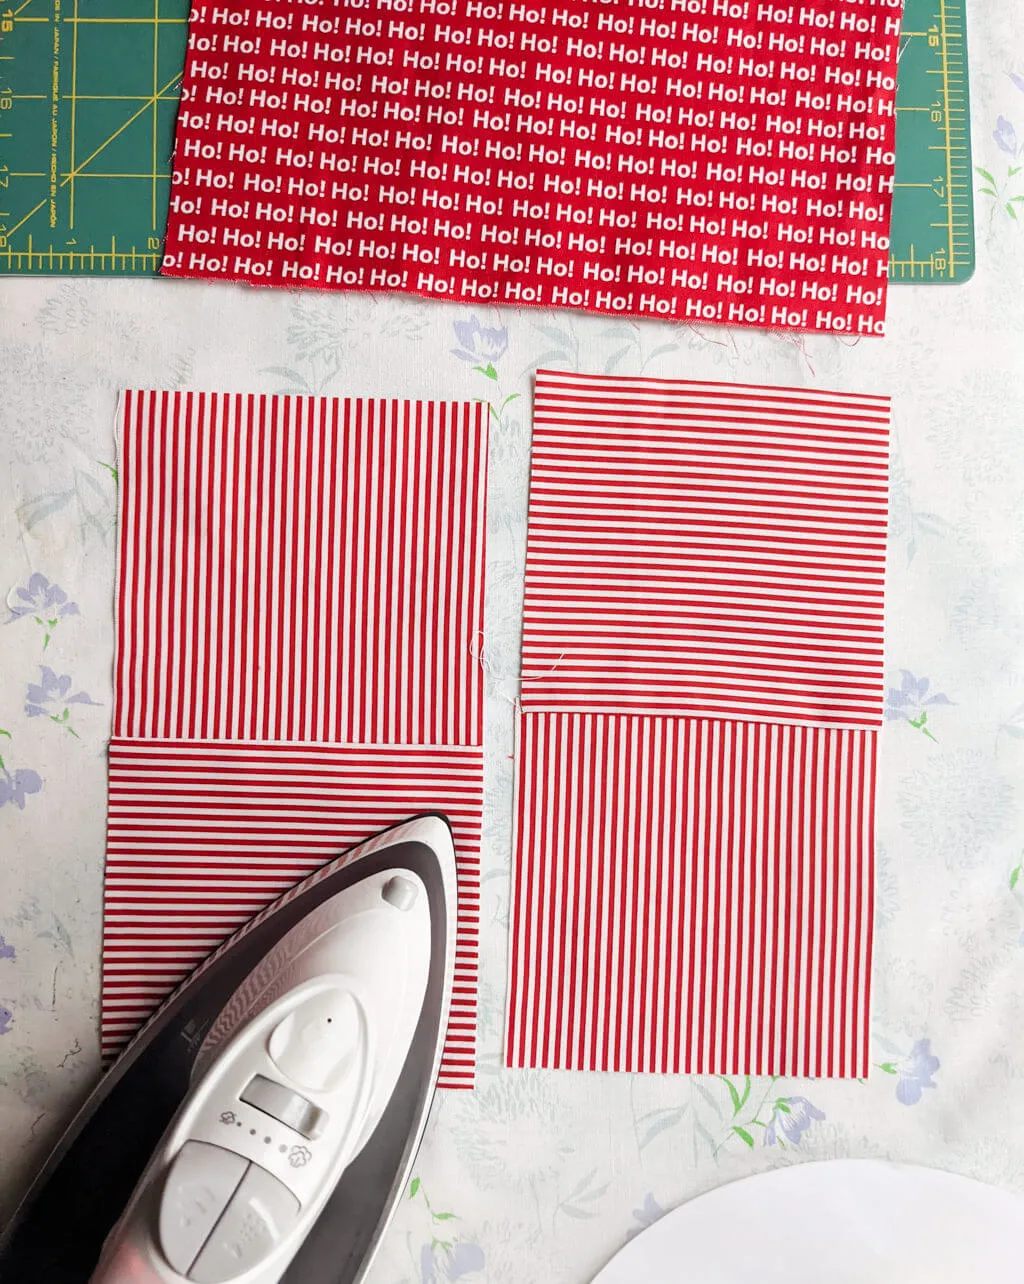
Step 3: Make the quilt sandwiches for the hot pads
Make three quilt stacks (one square for the front and two rectangles for the back) in this order:
- Lining fabric, wrong side up
- One (1) layer of Warm & Natural Cotton Batting
- One (1) layer of Insul-Bright Insulated Batting
- One (1) layer of Warm & Natural Cotton Batting
- Front fabric, right side up
See my oven mitts sewing tutorial for a longer explanation of why this is the best way to insulate DIY hot pads.
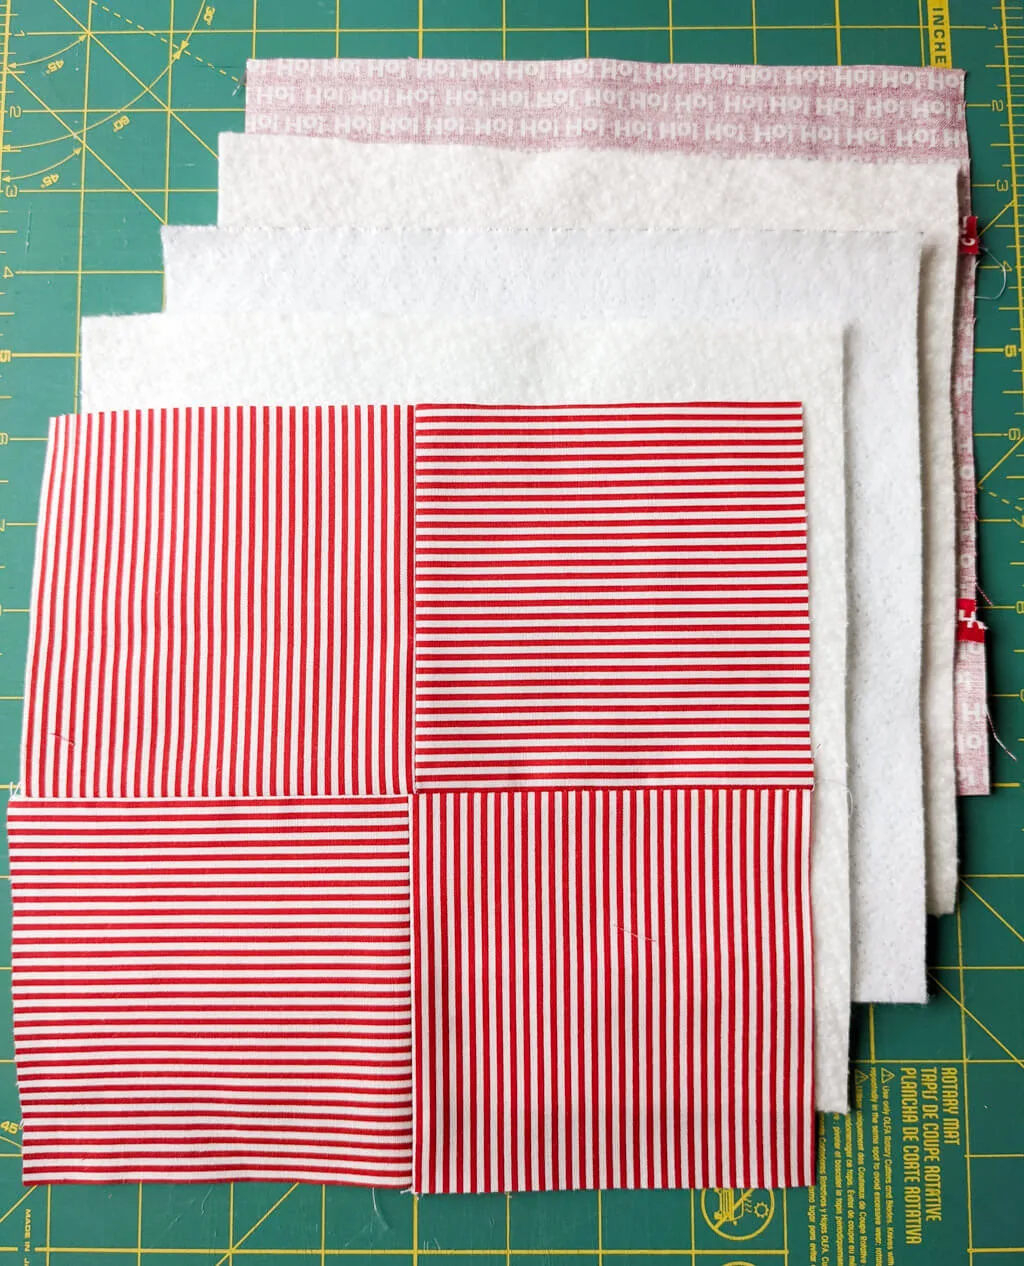
Pin the layers together, or use quilt basting safety pins if you have them. You should have one 8-1/2″ x 8-1/2″ quilt sandwich for the hot pad front and two 3-1/2″ x 8-1/2″ quilt sandwiches for the back.
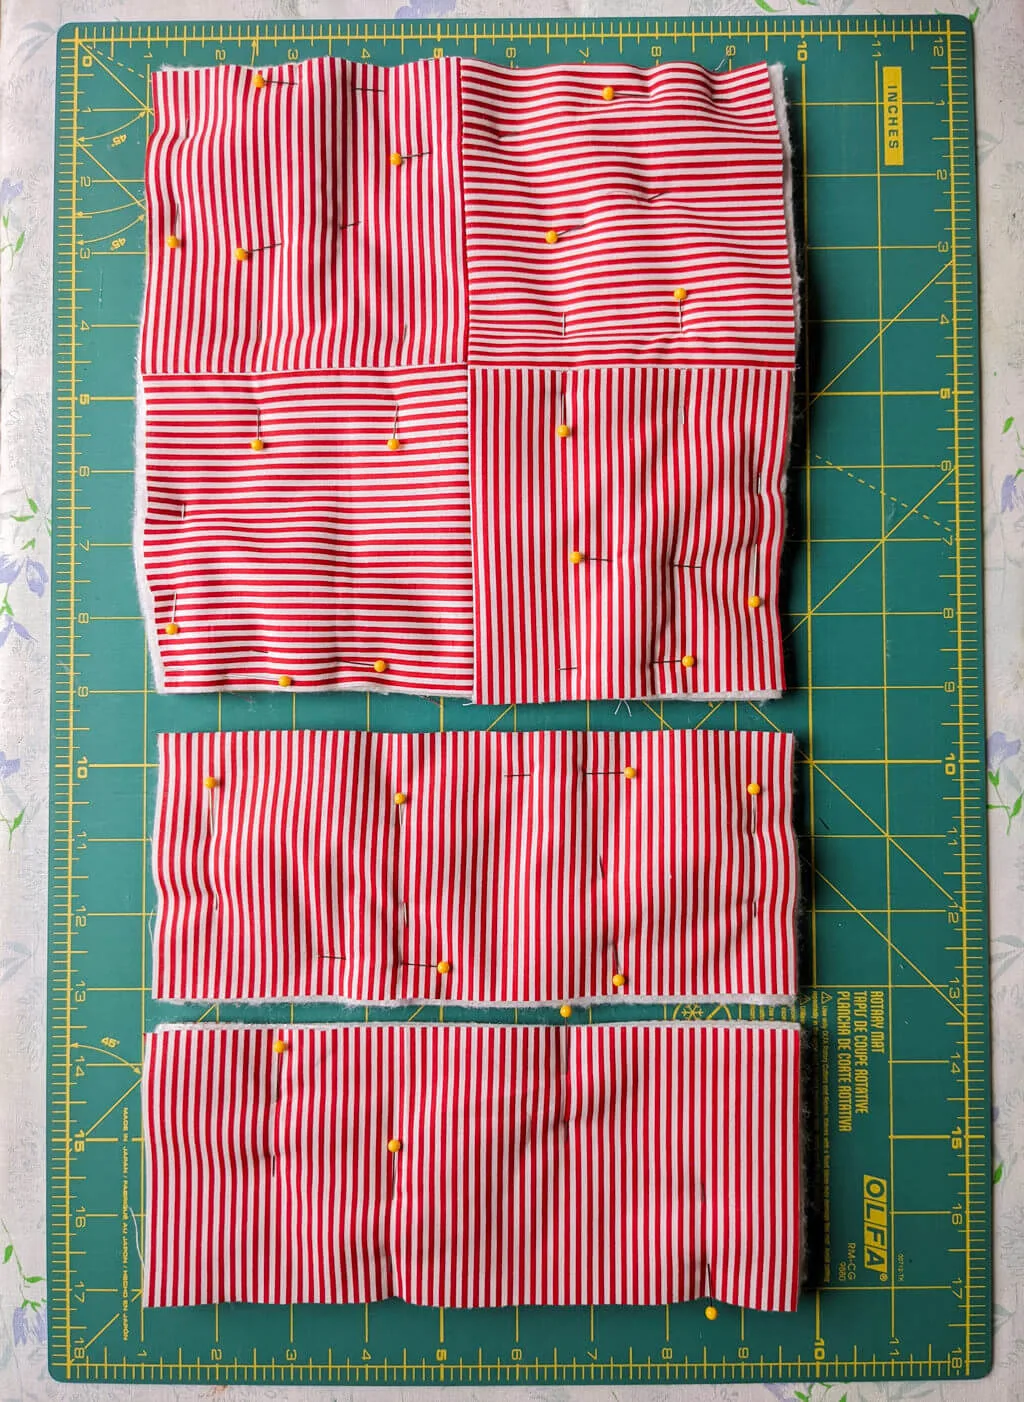
Step 4: Quilt the hot pads to hold layers together
Now, this part may seem intimidating but it’s really fine. Quilt the layers together however you like. Use 100% cotton thread – not polyester which can melt at high temperatures. I sewed straight lines 1″ apart from each other. Here’s an easy trick for that: Cut out a 1″ strip of paper and use it as a guide between your quilting lines. I like to remove the pins as I sew.
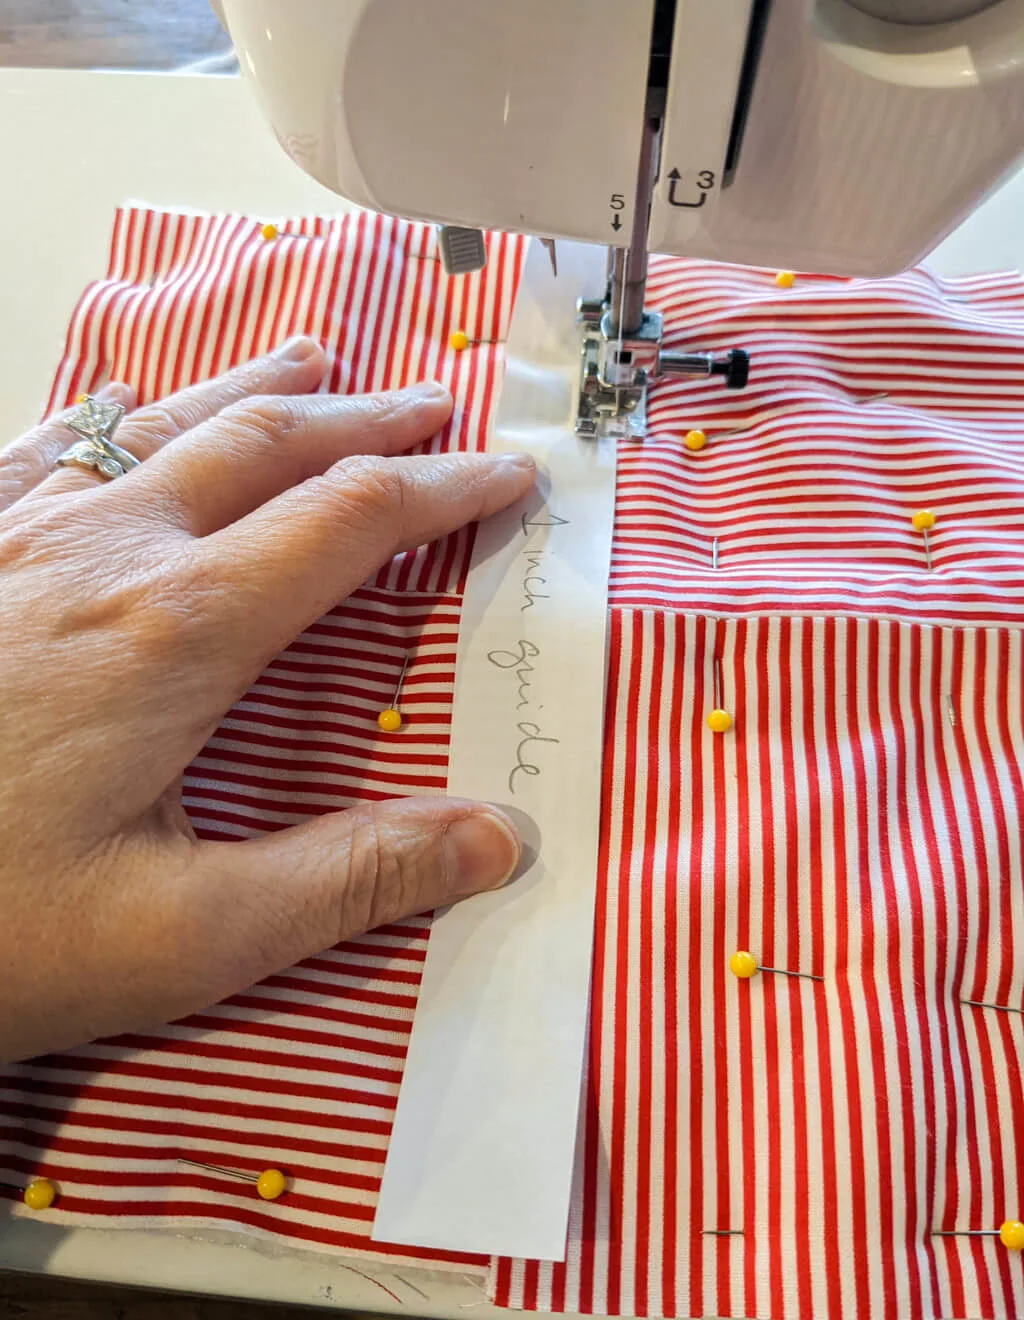
You may notice that I sewed horizontal quilting on one potholder and vertical on the other. Whoops! I don’t think my mom will mind but anyone who knows me knows that I absolutely do. So be sure to check the back and the front to make sure that you’re quilting it in the same direction for both potholders.
Step 5: Trace the circle hot pad front, then cut
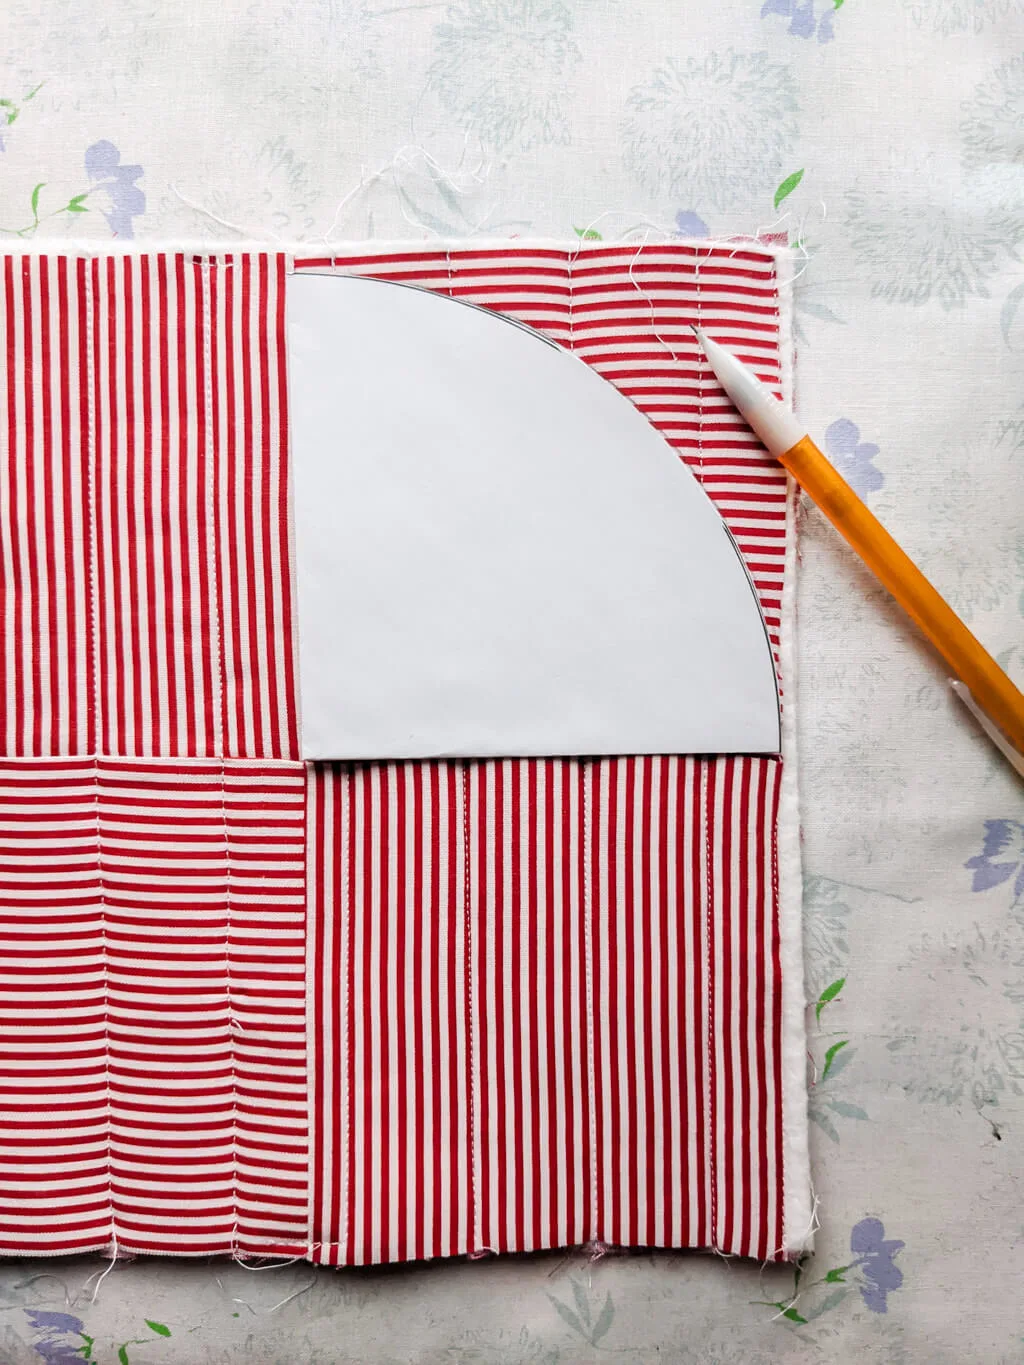
Trace the circle pattern onto the quilted front. I like to fold up the pattern into a slice to make sure that the middle is lined up. This is less important if you chose not to piece together the front of your pot holder. Cut the circle using good fabric scissors.
Step 6: Trace the semicircle pattern onto two rectangles for the back of the hot pads
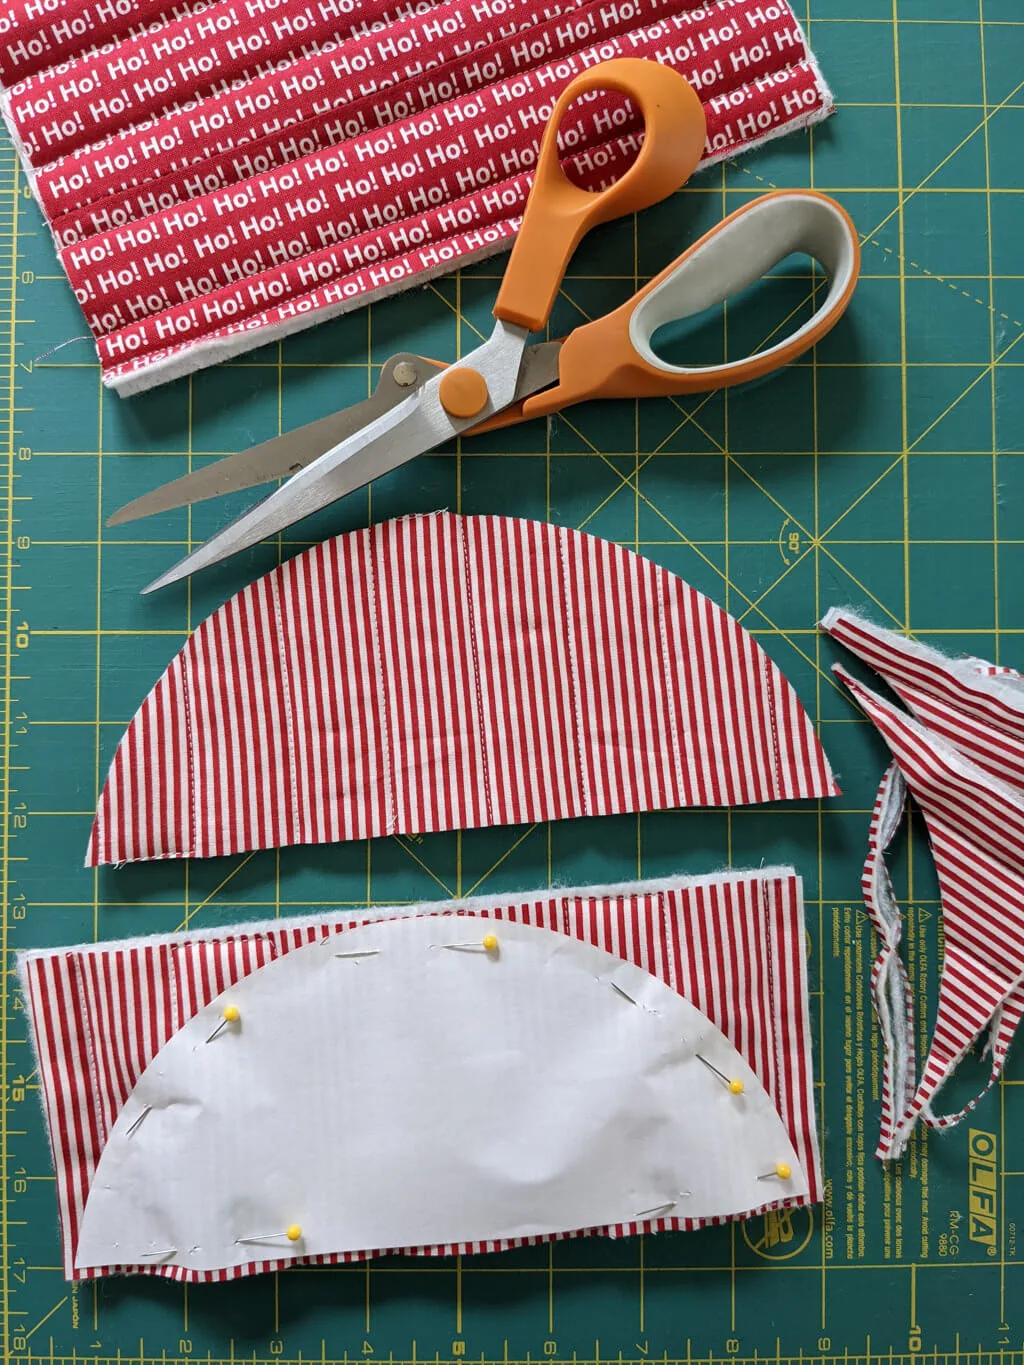
Now repeat this process for the two back semicircle pieces. Trace or pin the pattern, then cut using good fabric scissors.
Step 7: Sew bias tape on tops of the hot pad semi-circles
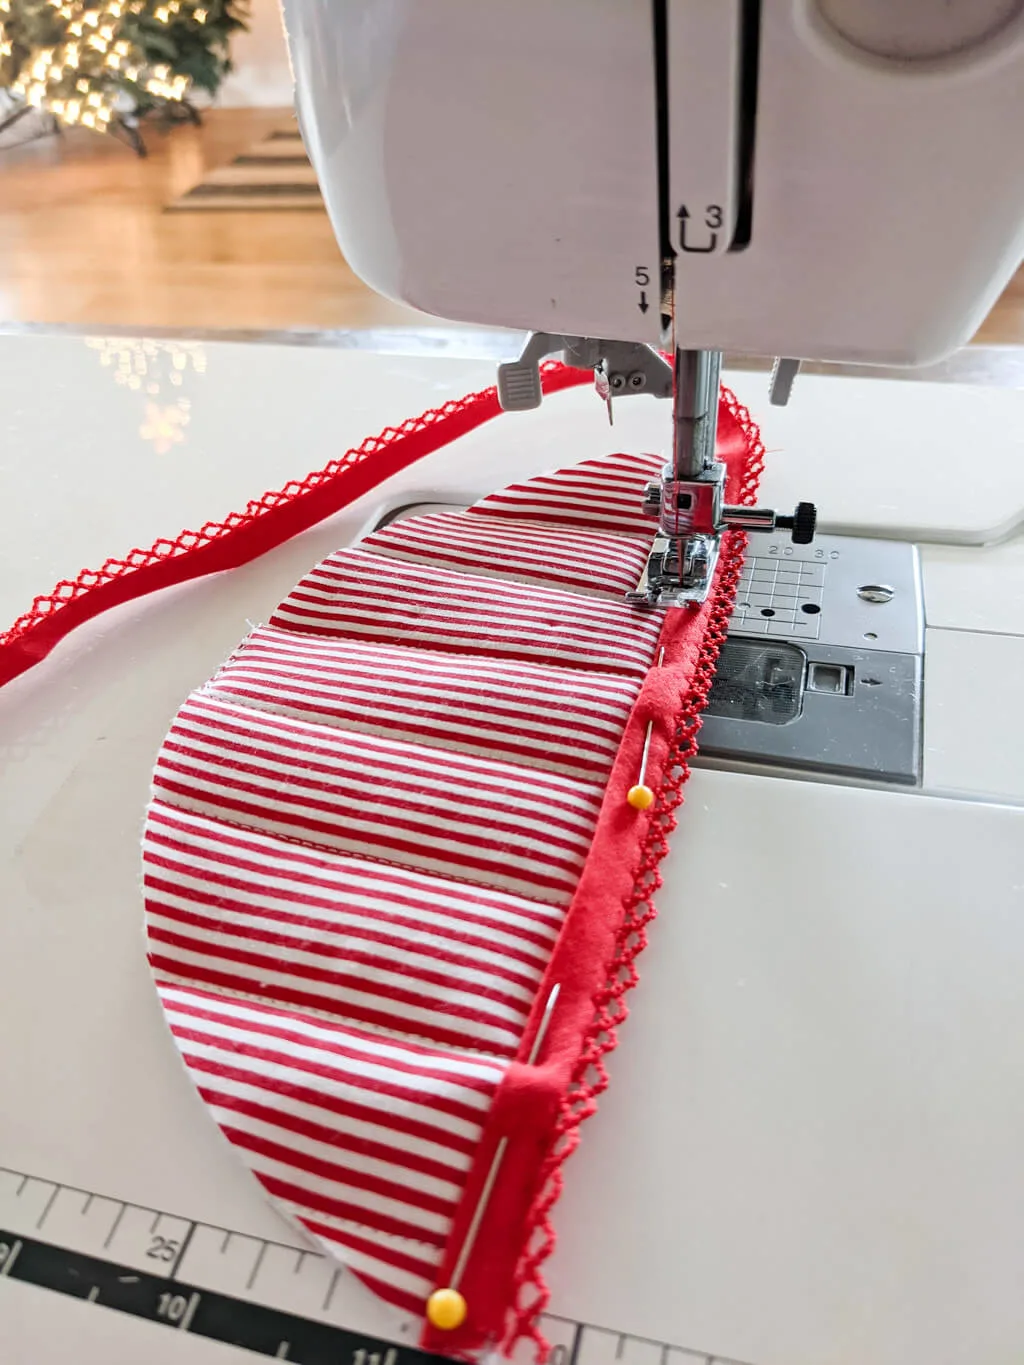
Pin and sew 1/2″ double-fold bias tape onto the straight edges of the semi-circles. Here’s the red crochet-edge bias tape that I used. If you’re new to bias tape or need a refresher, see my popular tutorial on how to sew on bias tape. Basically, open the bias tape and sew along the fold.
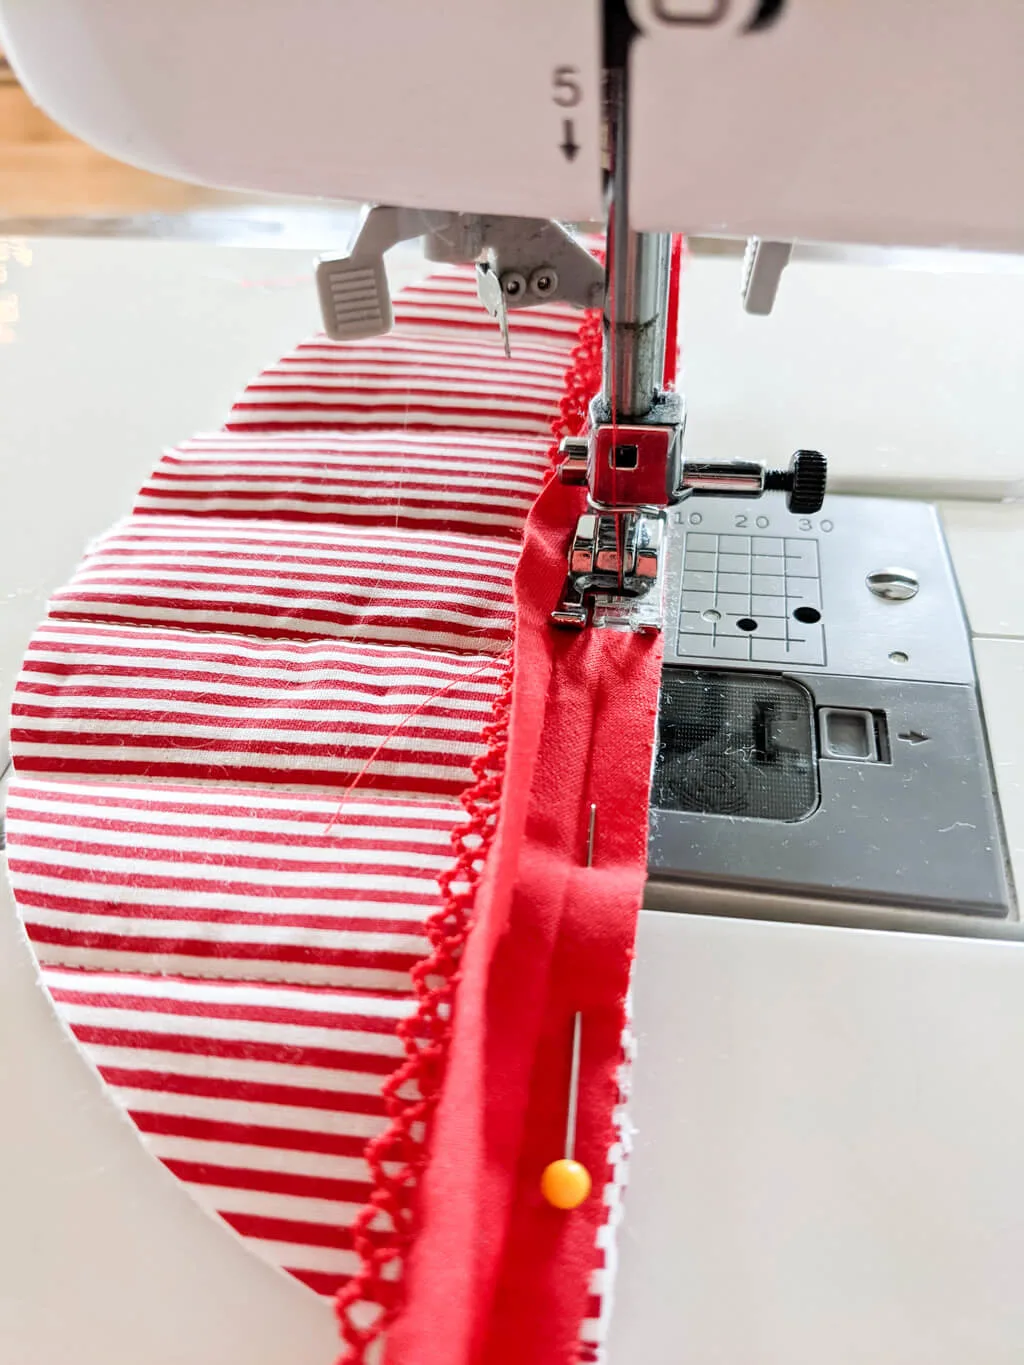
Then fold the bias tape over the raw edge and topstitch close to the edge, removing pins as you go.
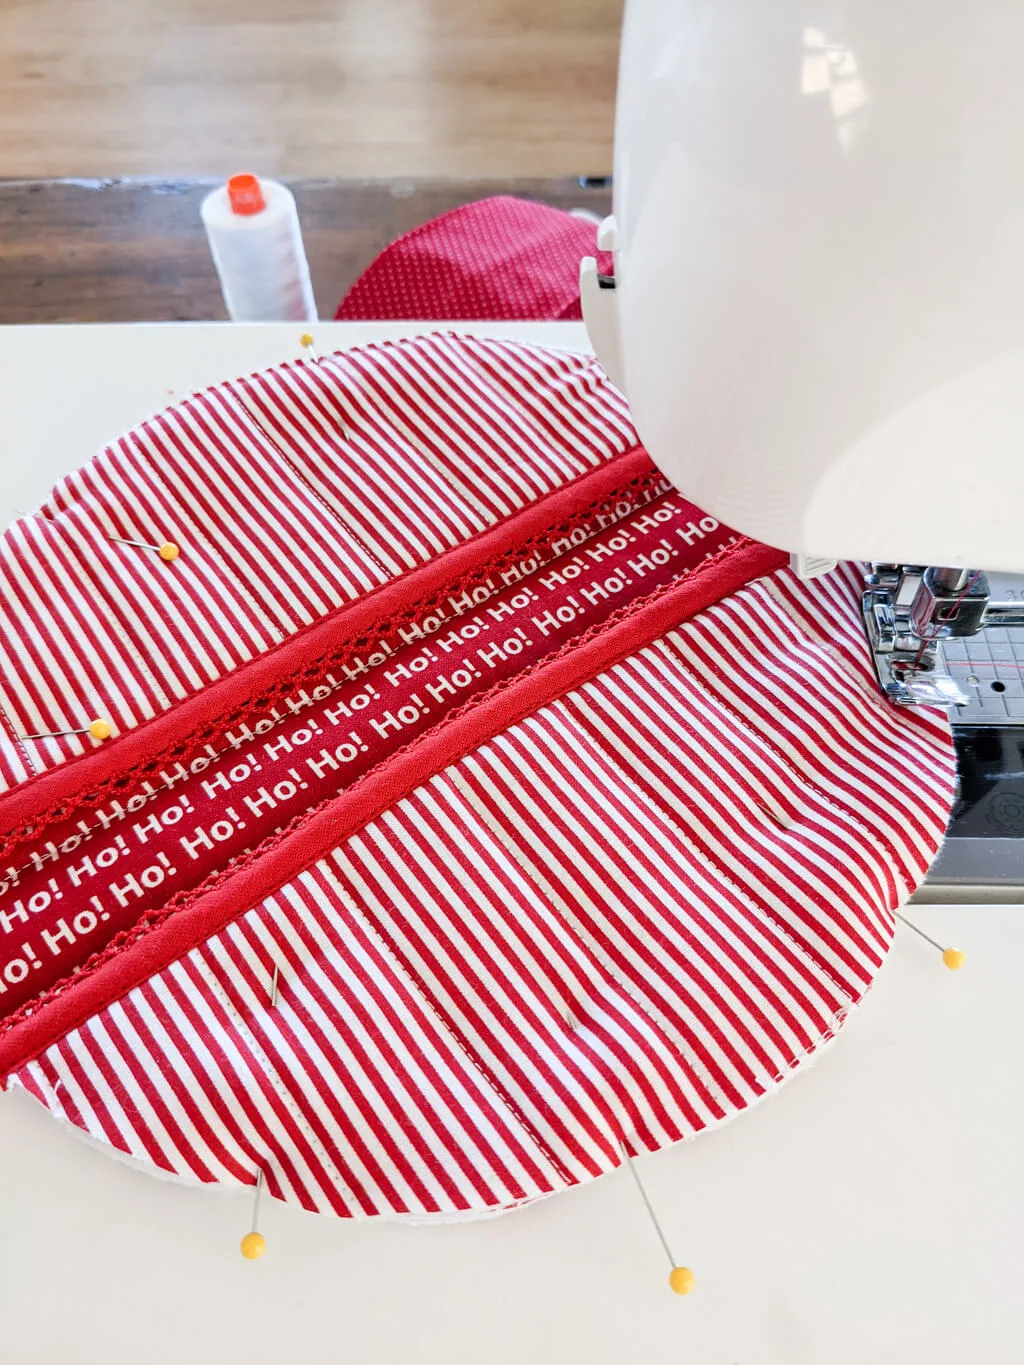
Step 8: Baste the semi-circles to the circle
It is easier to sew bias tape around the outside of the potholder circle if you first baste the semi-circles onto the front. Stack the two semi-circles onto the back of the circle. Baste them by sewing super close to the outer edge which will keep your basting stitches hidden once the bias tape is added.
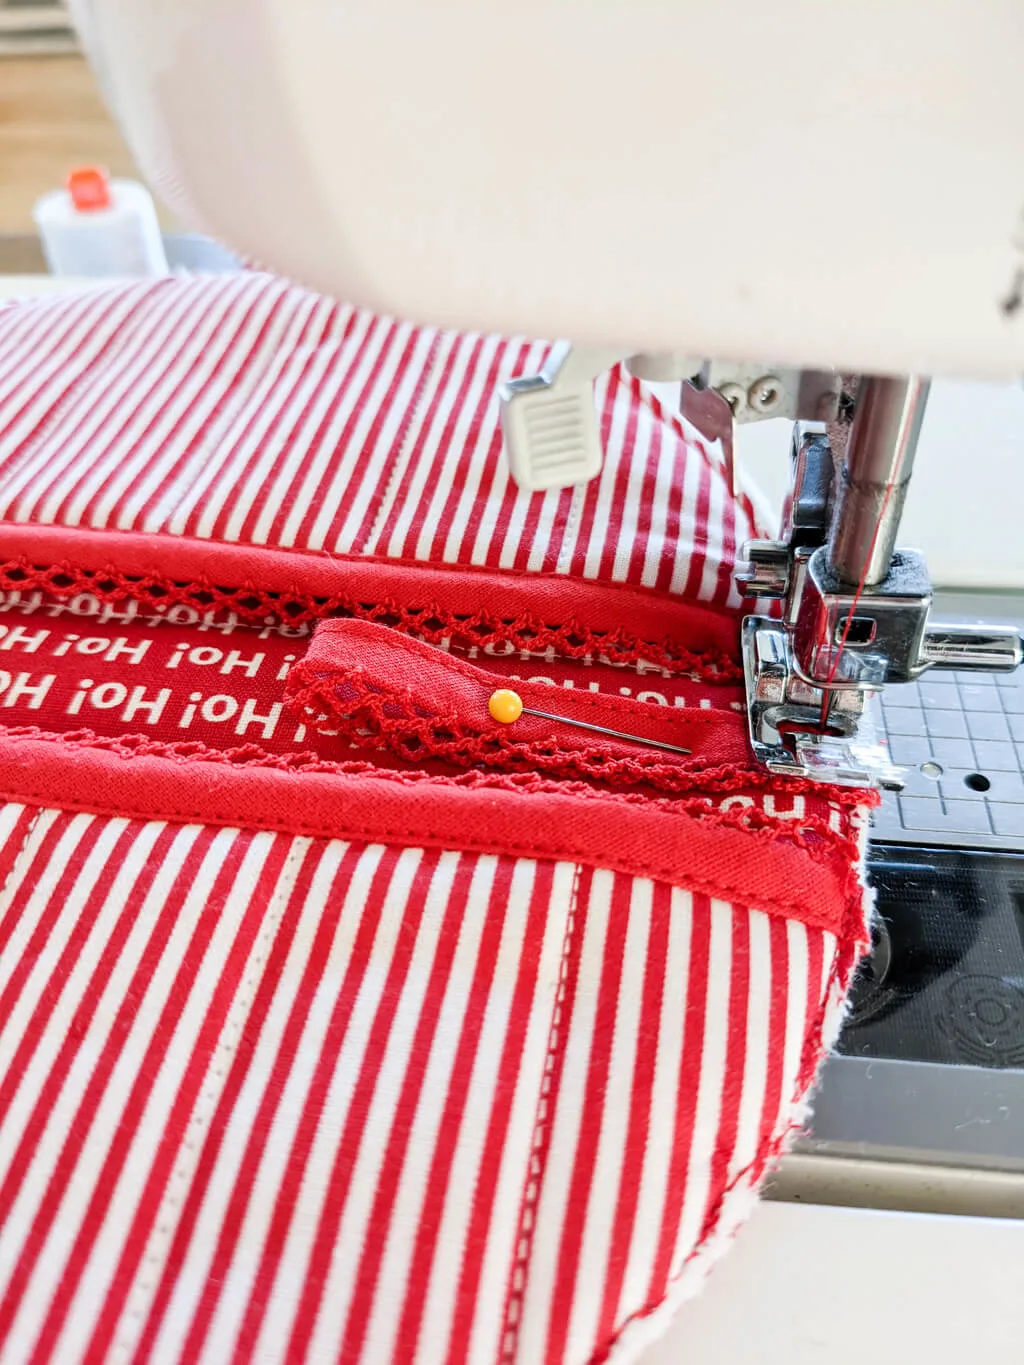
Step 9: Make a hanger (optional)
Cut a 5-6″ piece of bias tape. Sew the open edge together, then fold in half and pin onto the side of the potholder. The hanger will face into the circle like this.
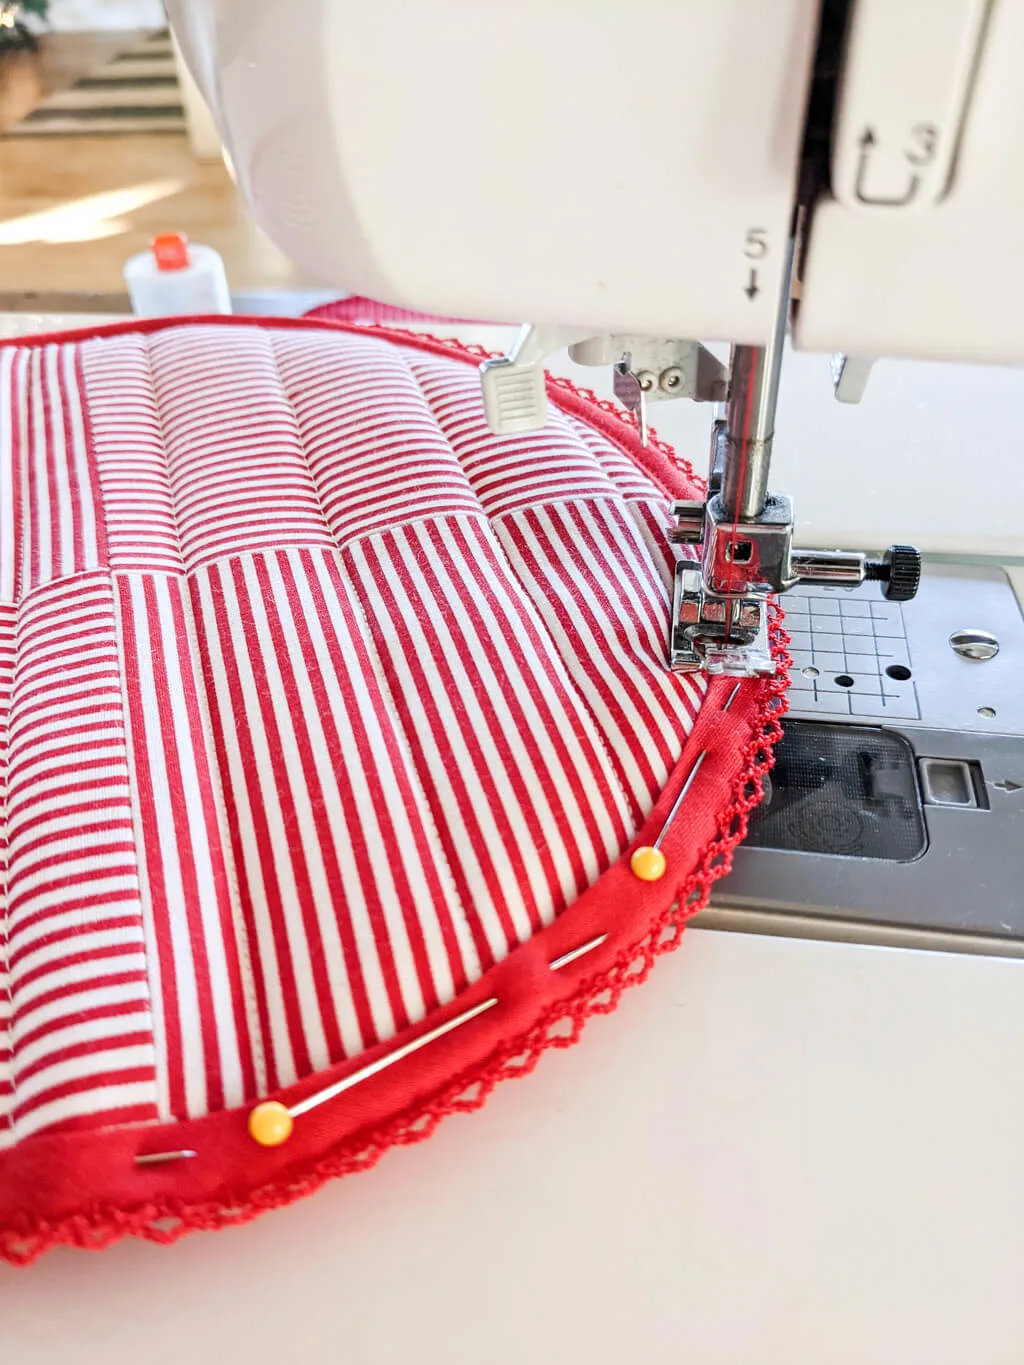
Step 10: How to sew bias tape on a potholder
First, you’ll sew bias tape onto the outside of the circle. Again, if you’re unfamiliar with bias tape or need a refresher then see my bias tape video. I’ll show you the best way to start the bias tape and the best way to join the edges together in my bias tape video. And yes, the video also covers mitered corners but you can skip over that part because this potholder is round — no corners!
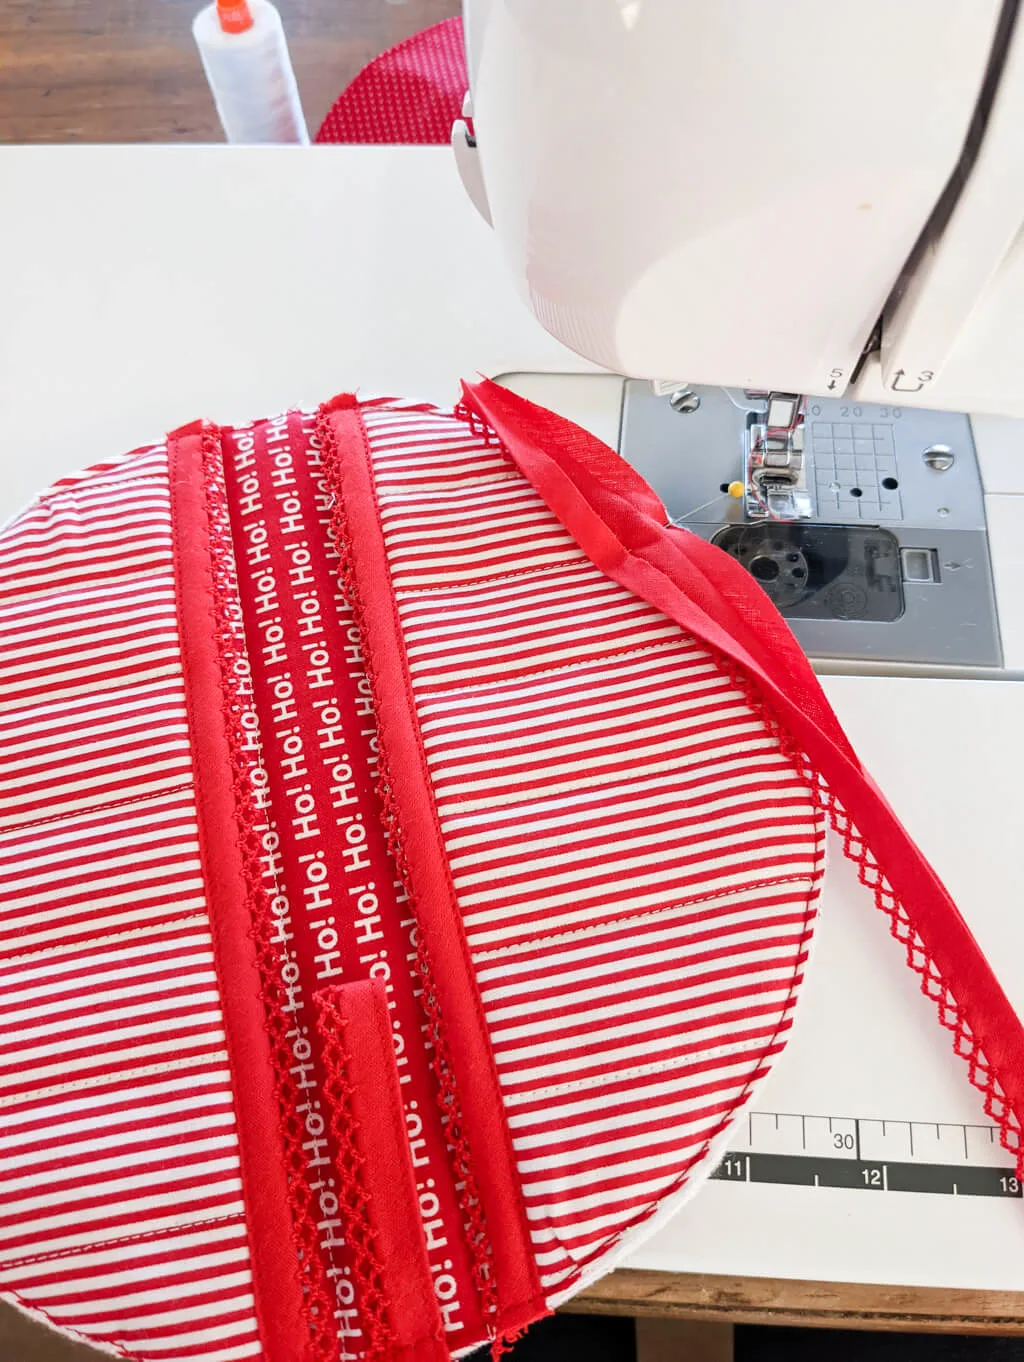
Here’s how to perfectly join bias tape edges, below. Again, watch my bias tape video if you don’t already know how to do this.
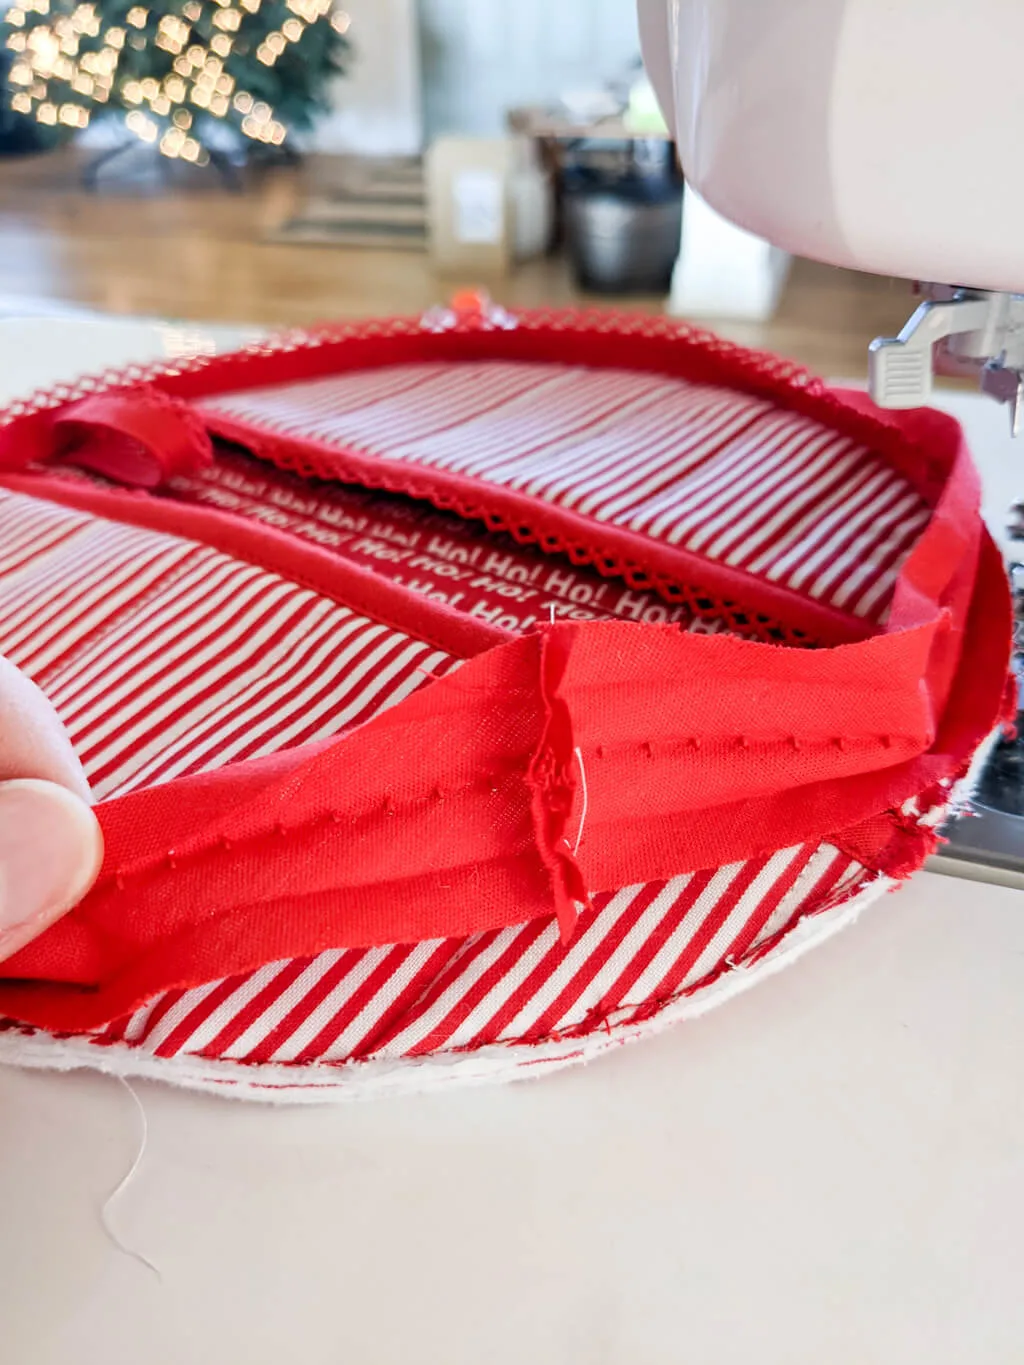
Finally, fold the bias tape over the raw edges, and stitch close to the edge to secure. And that’s it – you sewed a DIY potholder that protects hands by folding like a taco!

Be sure to pin my round potholder free sewing pattern
—
Like it? Share it!
The nicest way to say you like it is to pin it on Pinterest, post a comment, follow Merriment Design on Facebook, Pinterest, Instagram or sign up for monthly emails. Enjoy! 🙂
Copyright stuff: You’re more than welcome to use this free project and tutorial for personal use. Contact me for commercial use and Etsy sales.
