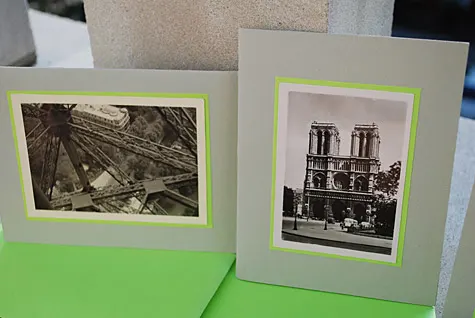
Recently I took part in the first inaugural Chicago Craft Social hosted by Amanda Edwards, Megan Hall, Megan Heep, and Jessica Jones.
In addition to meeting tons of super cool crafty Chicago ladies, I made these fun retro Paris notecards out of old time-y black-and-white France vacation photos. Table leader Lisa Haskin of Faux Transformations said that her sister-in-law had inherited stacks of old photo albums stashed in a neglected corner of her new home’s attic.
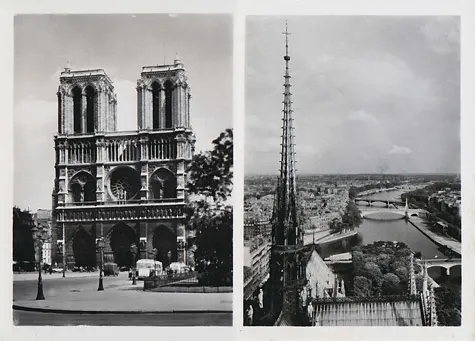
My guess is that the photos are probably from the 1950s. Check out Notre Dame on the left. When I visited Paris, the front area was a landscaped pedestrian walkway but here it looks like people used to be able to drive right up to it.
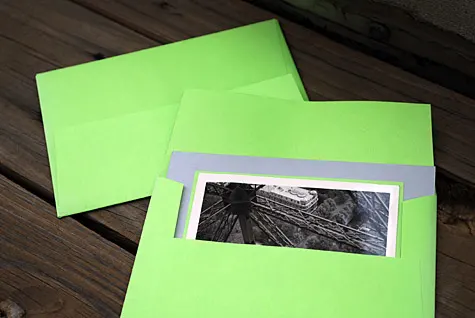
Lisa also was generous enough to provide her envelope template to create matching A2 size envelopes from lime green pieces of paper. Not only nifty and economical but also nicely coordinated!
I like these photo notecards so much that I scanned in all the original Paris vacation photographs so you can make your own retro Paris notecards.
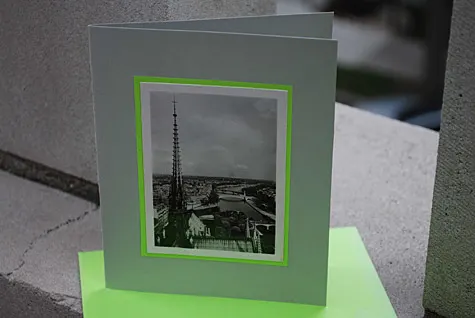
Supplies:
- 1950s-ish Paris vacation photos from an old family album (PDF, 9.6MB, 300DPI)
- Glossy 8 1/2″ x 11″ photo paper or 8 1/2″ x 11″ 210g white text paper or other heavy paper (for printing photos)
- A2 size (4 1/4″x 5 1/2″) folded notecards in light gray
- Lime green 8 1/2″ x 11″ colored paper (for envelopes and trim)
- Lisa’s A2 size envelope template (PDF, 176KB, print on letter or legal sized paper)
- Cardboard or posterboard large enough to fit the A2 size envelope template (optional)
- Pencil
- Rubber cement or glue stick
- Remoistenable envelope glue
(this stuff is cool)
- Rotary paper trimmer
OR Xacto knife
(this is my kit) and metal edge ruler
and gridded self-healing rotary mat OR good paper scissors
Make your cards
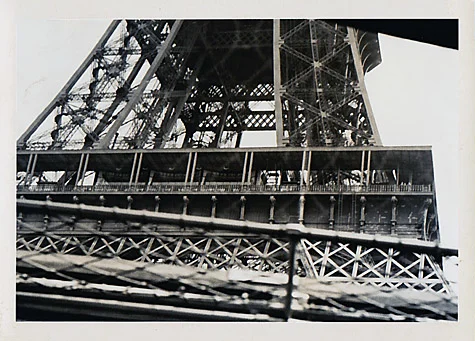
Print my free 1950s-ish Paris vacation photos template ideally on glossy photo paper to mimic the “photo” look, or on heavy white paper. I included two photos per template of Notre Dame because it’s just such a great shot. Cut them out using your Xacto knife, metal ruler and self-healing mat.
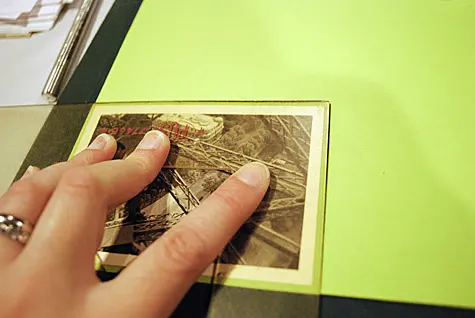
Next, cut squares of colored paper about 1/8″ larger than each photo. Please note that I kept the photos the same sizes as the originals, so the close-up Eiffel Tower photos are slightly larger than the other two.
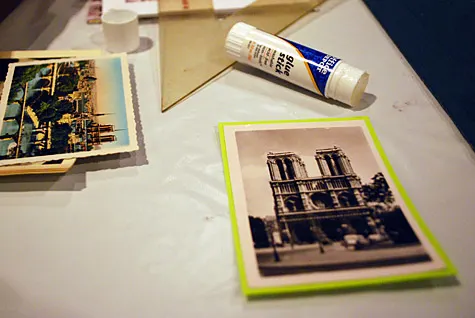
Affix one photo onto one colored square using rubber cement or a glue stick; then glue in the center of your light gray folded notecard.
Make your envelopes
Print out Lisa’s free A2 size envelope template and cut out (note: if you’d like, you can trace it onto cardboard or posterboard for a more sturdy template). Place your cut-out template onto a piece of 8 1/2″ x 11″ colored paper. Lightly trace around the template and put it to the side.
Cut out just inside your pencil markings using either an Xacto knife, ruler and self-healing mat or scissors.
(Tip: If you’re pretty good with an Xacto knife, you can cut out a stack of envelopes at one time. Simply stack 5 sheets of paper, use your knife/ruler/mat and to slice through all five layers).
Fold the two sides in. Fold the bottom up. Use rubber cement or glue stick to affix the bottom to the sides.
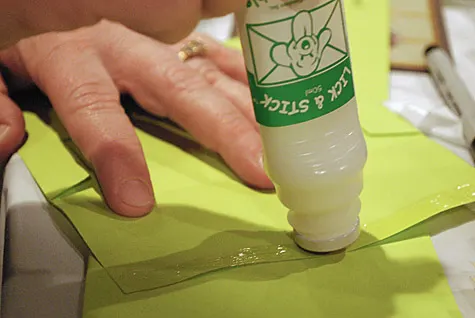
Fold the top flap down. Here’s a cool trick from Lisa: Spread a line of remoistenable envelope glue on the bottom edge of the top flap. Once it dries, you can lick it to close. Très cool, no?

Shanna
Monday 19th of October 2009
Thank you for the template. I'm using it to save money on a craft project that our MOPS (Mothers of Preschoolers) group is doing in November. These envelopes will be much prettier than anything we could have afforded otherwise!!!
Heather
Wednesday 7th of October 2009
Oh! Oh! Oh! I LOVE these. Sharp design.
Rachel
Thursday 1st of October 2009
Wow, this is fantastic! Thanks SO much, I'll be linking.